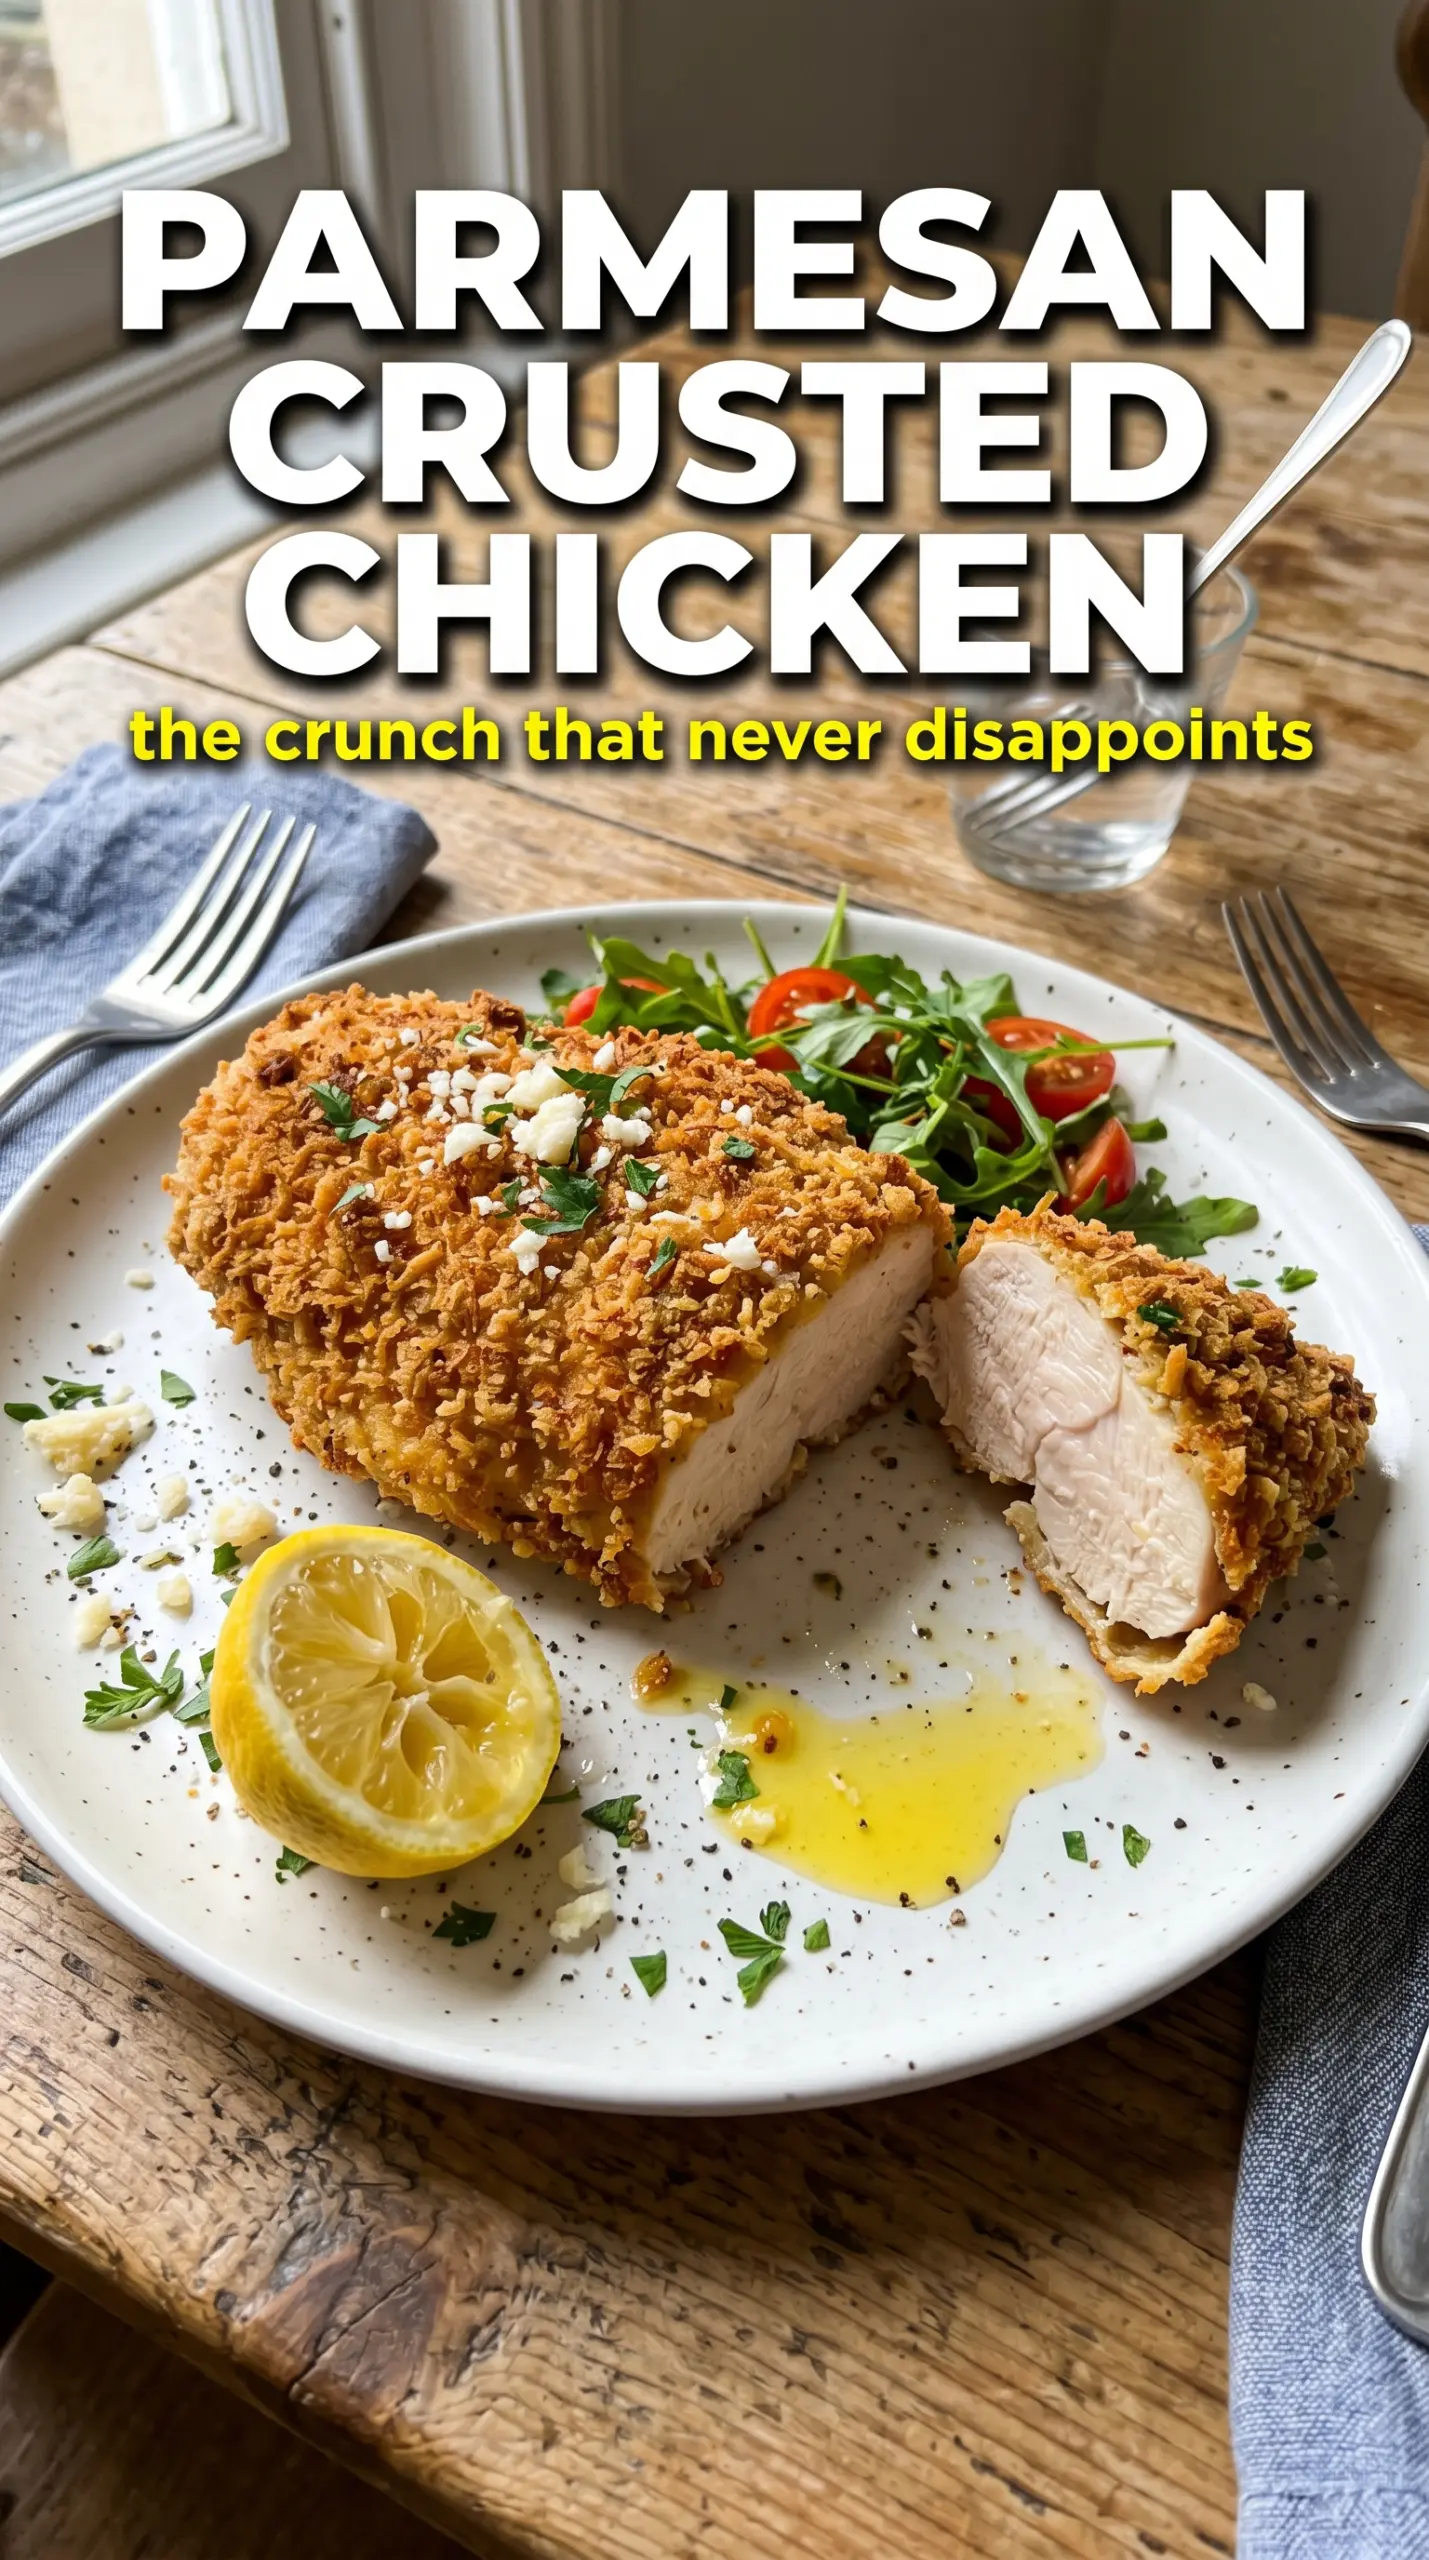
Thick Parmesan crusted chicken earns its place in the rotation because the coating turns audibly crisp in the oven while the chicken underneath stays juicy and tender. The crust isn’t just breaded for the sake of it; it bakes into a shattering, savory shell with browned edges, a toasty panko crunch, and that salty Parmesan bite that keeps you coming back for another forkful.
The difference here is the balance. Panko gives the crust lift and crunch, while freshly grated Parmesan melts into the crumbs and helps the coating set into a golden layer instead of turning sandy or heavy. A quick flour-egg-breadcrumb sequence gives the crust something to cling to, and the olive oil on top helps the breading brown in the oven the way a skillet sear would, without making the chicken greasy.
Below, I’m walking through the part that matters most: how to keep the crust attached, how to bake it until it’s deeply golden, and what to do if you want to adapt it for different diets or for leftovers that still reheat well.
The crust stayed on the chicken instead of sliding off, and the panko got crisp enough that even the edges had a nice crunch. I used the lemon at the end like you suggested, and it brightened the whole dish.
Like this Parmesan Crusted Chicken? Save it for the nights when you want a crisp, golden oven-baked chicken breast with almost no cleanup.
The Trick Is Keeping the Crust Dry Enough to Crisp
Most baked breaded chicken goes soft because the coating picks up moisture before it has a chance to brown. That’s the main problem to solve here. Pounding the chicken to even thickness helps it cook at the same rate, but the bigger win is the order of the breading steps: flour first, then egg, then the Parmesan-panko mix. Each layer has a job, and skipping one makes the crust patchy or prone to sliding off.
The other detail that matters is heat. A 425°F oven gives the coating enough heat to brown before the chicken dries out. The wire rack is part of the method, too. Air has to move around the chicken, or the bottom side steams against the pan and loses its crunch.
- Flour — This gives the egg something to grip. Without it, the egg can bead up and the crust won’t stay put.
- Panko — Regular breadcrumbs turn denser and finer. Panko stays lighter and crispier, which is what gives this chicken that crackly bite.
- Freshly grated Parmesan — Pre-grated Parmesan often contains anti-caking agents that keep it from melting and browning as cleanly. Freshly grated cheese gives the best crust and the most flavor.
- Olive oil — A little on top helps the breading color and sets the crust without frying. Spray or drizzle it evenly so you don’t get pale spots.
What Each Ingredient Is Actually Doing in This Recipe
- Primary ingredient (the star) — Quality matters most. Choose the best you can find.
- Cooking medium (oil, butter, or broth) — This carries flavors and prevents dryness.
- Seasonings (salt, pepper, spices, herbs) — Layer flavors so nothing overpowers. Build depth gradually.
- Aromatics (garlic, onion, herbs) — Cook with fat to bloom flavors. Become the foundation.
- Supporting ingredients — Complement the main ingredient without overpowering it.
- Sauce or liquid (if applicable) — Brings flavors together. Balance richness with acid.
- Acid (lemon, vinegar, wine, or other) — Brightens and prevents flat-tasting results.
- Final finish (garnish, glaze, or sauce) — Prevents one-dimensional taste and adds visual appeal.
Building a Golden Crust Without Losing the Juiciness
Setting Up the Breading Line
Start with three shallow bowls: flour in one, beaten eggs in the second, and the panko-Parmesan mixture in the third. Season the chicken before it goes through the line so the meat itself tastes like something, not just the crust. The flour layer should be thin, not dusty and clumpy; too much flour turns pasty once it hits the egg.
Pressing on the Coating
When the chicken reaches the breadcrumb mixture, press firmly on both sides so the crust actually bonds. Don’t just dip and lift. That light touch leaves bare spots, and those are the places where the chicken will peek through and dry out. Lay the coated pieces on the rack as you go, and keep your hands from dragging breadcrumb clumps back into the egg bowl.
Baking to the Right Color
Drizzle or spray the breaded chicken with olive oil before it goes into the oven. You’re looking for a deep golden crust and an internal temperature of 165°F in the thickest part. If the crust is browning too fast before the chicken is done, the oven is running hot; move the pan one rack lower and let the heat finish the inside more gently.
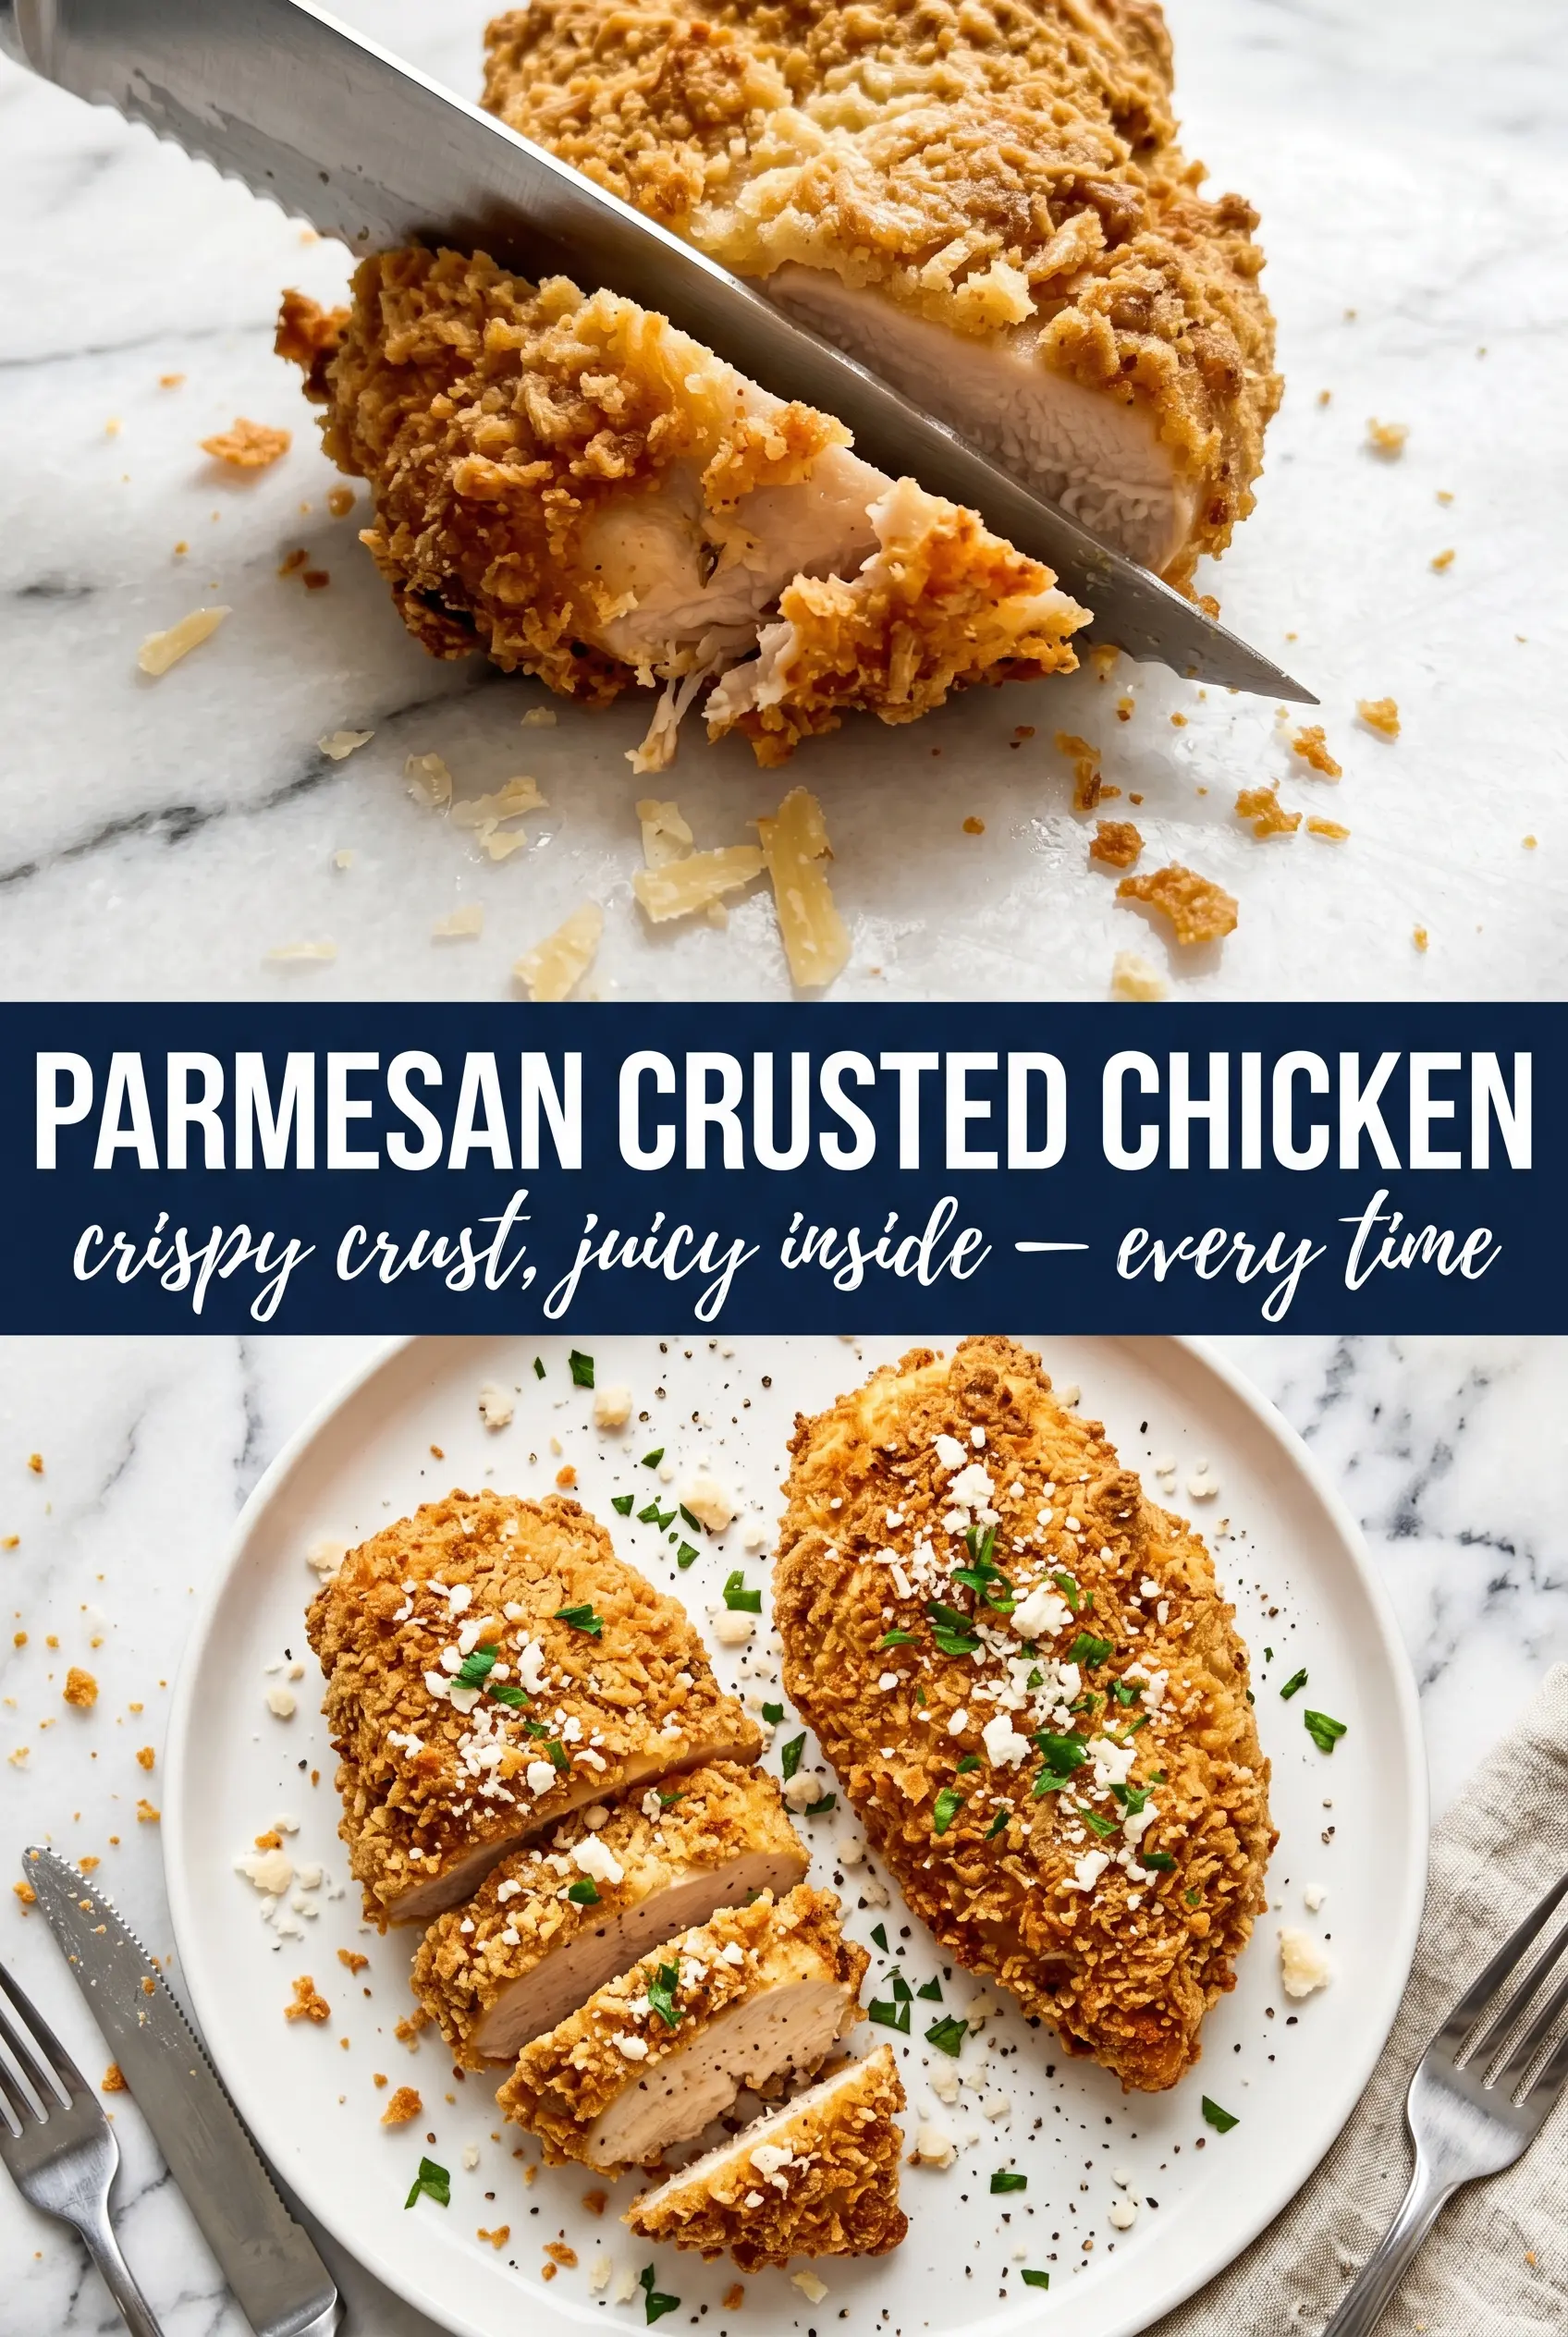
The Short Rest at the End
Let the chicken rest for 3 minutes after baking. That short pause keeps the juices from running all over the cutting board the moment you slice in. It also gives the crust a chance to set, which helps it stay crisp instead of cracking and flaking off all at once.
How to Adapt This for Different Pans, Diets, and Leftovers
Gluten-Free Version
Use a gluten-free flour blend and gluten-free panko. The coating still crisps well because the browning comes from the oven heat and the cheese, not from the wheat itself. Just check that your seasoning blend is gluten-free too, since some store-bought mixes include fillers.
Make It Dairy-Free
Swap the Parmesan for a dairy-free Parmesan-style alternative that grates finely and melts a little. The crust will be a touch less savory and less brown, but the panko still gives you crunch. Use enough oil on top to encourage color, since you lose some of the cheese’s browning power.
Using Chicken Cutlets Instead of Whole Breasts
Thin cutlets work well, but they cook much faster. Start checking them a few minutes early so the crust doesn’t overbrown before the center is done. You’ll get a higher crust-to-chicken ratio, which is great if you like extra crunch on every bite.
Storage and Reheating
- Refrigerator: Store in an airtight container for up to 3 days. The crust softens a bit, but it still reheats well.
- Freezer: Freeze the baked chicken on a sheet pan first, then wrap tightly and store for up to 2 months. Freeze it in pieces so the crust doesn’t get crushed in one solid block.
- Reheating: Reheat on a wire rack in a 375°F oven until hot through. The microwave makes the coating soggy, and that’s the fastest way to lose the crunch you worked for.
Questions I Get Asked About This Recipe
Parmesan Crusted Chicken
Ingredients
Equipment
Method
- Preheat the oven to 425°F and line a baking sheet with a wire rack; spray the rack with cooking spray for release and crisp edges.
- Season the chicken with salt, pepper, and garlic powder to taste.
- Set up a three-station breading line: place flour in the first bowl, beaten eggs in the second, and combine panko, Parmesan, Italian seasoning, garlic powder, and smoked paprika in the third.
- Dredge each chicken breast in flour, dip in egg, then press firmly into the Parmesan panko to coat all sides.
- Drizzle or spray olive oil over the breaded chicken, then place it on the prepared rack so air circulates for crispness.
- Bake for 20-22 minutes at 425°F until the crust is deep golden and the internal temperature reaches 165°F.
- Rest the chicken for 3 minutes to help the crust set before slicing.
- Garnish with fresh parsley and serve with lemon wedges.