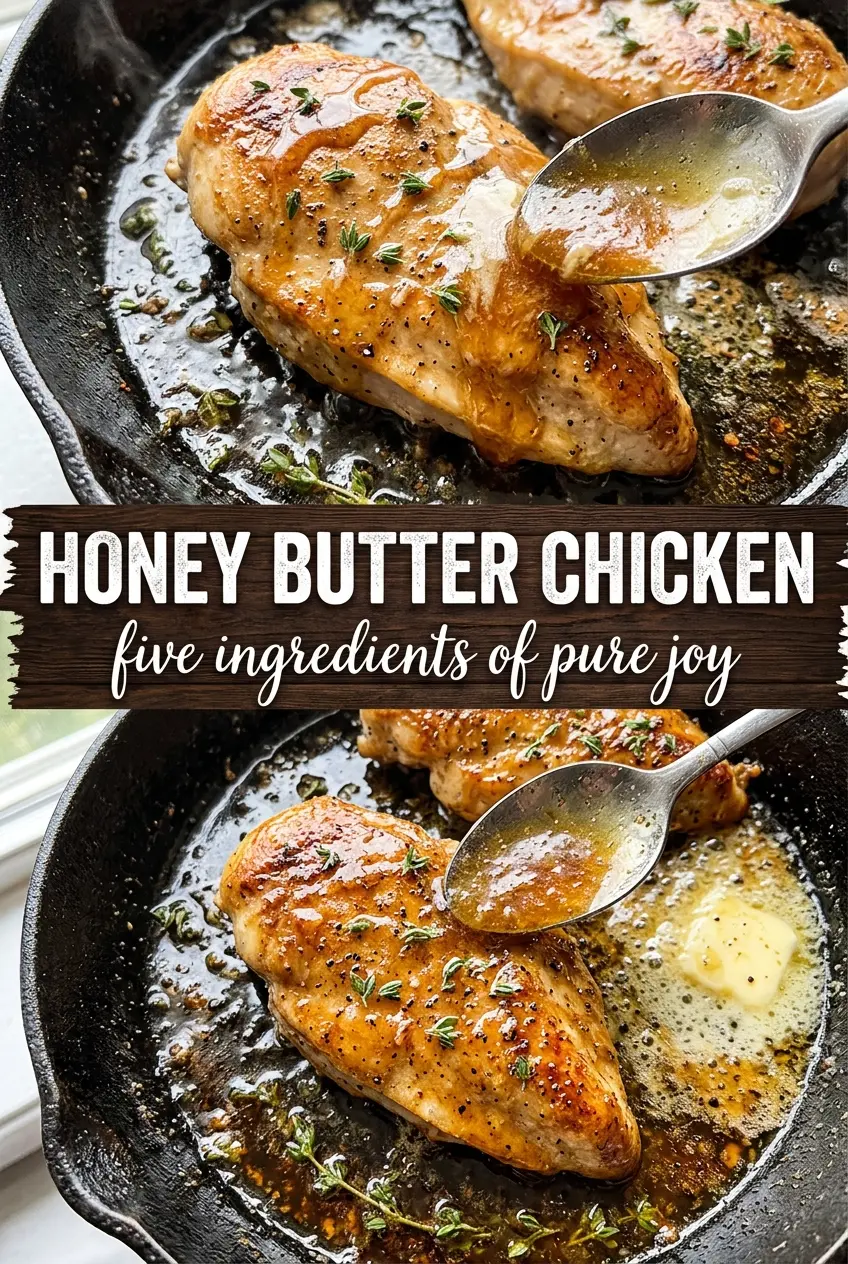
Honey butter chicken lands on the plate with a glossy amber glaze that clings to every bite. The chicken stays juicy, the edges pick up a deep golden sear, and the sauce brings that sweet-savory finish that makes people keep cutting “just one more piece.” It tastes like more effort than it takes, which is exactly why it earns a spot in the weeknight rotation.
The trick is building the sauce in the same skillet after the chicken comes out. Those browned bits left behind are doing real work, and the vinegar keeps the honey and butter from turning flat or cloying. A quick simmer is enough to thicken it into a lacquer; push it too hard and the garlic can burn or the sauce can get sticky before the chicken is coated.
Below, I’ve included the timing that keeps the chicken tender, the ingredient swaps that still hold up, and the one small finishing step that makes the whole dish taste finished instead of just sauced.
The sauce thickened into this glossy coating right after I added the chicken back in, and the vinegar kept it from being too sweet. My husband asked me to make it again the next night.
Save this honey butter chicken for a fast skillet dinner with a glossy sweet-savory glaze and almost no cleanup.
The Step That Keeps the Honey Butter Glaze from Turning Burnt
The glaze on this chicken needs a little restraint. Honey and butter can go from glossy to scorched fast, especially if you crank the heat while the sauce is bubbling. The chicken should go back into the pan only after the sauce has started to simmer gently, not boil hard, so it can thicken and coat without reducing into a sticky mess.
That quick turn-and-baste at the end does more than look nice. It helps the sauce cling to the chicken instead of pooling under it, and it lets the garlic and thyme stay fragrant instead of cooked flat. If your skillet looks dry before the sauce is ready, lower the heat instead of adding more honey. Extra honey just makes the glaze sweeter, not better.
What Each Ingredient Is Doing in the Pan

- Chicken breasts — Boneless, skinless breasts give you a lean base that takes on the glaze well. If yours are thick in the center, pound them to even thickness so the outside doesn’t overcook before the middle reaches temperature.
- Olive oil — This handles the first sear better than butter because it tolerates the higher heat needed for browning. Butter would brown too early and leave you with burnt milk solids before the chicken is done.
- Butter — This is the body of the sauce. It gives the honey its silkiness and helps the glaze coat instead of running off.
- Honey — This is what makes the sauce lacquer-like and sticky in the best way. Use a smooth, pourable honey; very thick honey can seize for a moment before it loosens in the warm pan.
- Soy sauce and apple cider vinegar — These keep the sauce from tasting one-note. Soy brings salt and depth, and vinegar sharpens the sweetness so the glaze tastes balanced instead of candy-like.
- Garlic — Fresh minced garlic is worth using here because it perfumes the butter quickly. It only needs a minute in the pan; any longer and it can go bitter once the honey goes in.
Getting the Sear, Sauce, and Final Glaze in the Right Order
Building the Golden Crust
Season the chicken all over with salt, pepper, garlic powder, and smoked paprika, then place it in a hot skillet with the olive oil. You want an audible sizzle right away and a crust that releases on its own before you flip it, usually after 5 to 6 minutes. If the chicken sticks hard, it isn’t ready yet, and forcing it can tear the crust.
Making the Butter Sauce in the Same Pan
Once the chicken is cooked through and resting, lower the heat to medium and melt the butter in the same skillet. Stir in the garlic and cook just until fragrant, about a minute. If the garlic starts to brown, pull the pan off the heat for a few seconds before adding the honey, soy sauce, and vinegar.
Coating Instead of Drowning
Add the honey mixture and bring it to a gentle simmer, not a hard boil. Slide the chicken back in, turn it in the sauce, and spoon the glaze over the top until every side looks shiny and coated. The sauce should cling in a thin layer; if it still looks loose, give it another minute, but don’t walk away because it can tighten fast.
Finishing with the Right Contrast
Transfer the chicken to plates and drizzle over any sauce left in the skillet. A few thyme leaves and a pinch of flaky sea salt finish the dish with freshness and a little pop of texture. That last pinch of salt matters because it sharpens the glaze right at the end instead of letting the sweetness sit heavy.
Ways to Adjust This Chicken Without Losing the Glaze
Make it dairy-free
Swap the butter for a good vegan butter or even a neutral oil with a small spoonful of plant-based butter for richness. You lose a little of the classic buttery roundness, but the honey still reduces into a glossy glaze if you keep the heat gentle.
Use chicken thighs instead of breasts
Boneless thighs stay juicier and give you a little more forgiveness if you cook them a minute too long. They need a touch more time in the skillet, but they pick up the glaze beautifully and bring a richer, deeper bite.
Cut the sweetness back
If you prefer a sharper sauce, reduce the honey by a tablespoon and add a tiny splash more vinegar. That keeps the glaze balanced and gives you a more savory finish without losing the shiny coating.
Meal prep the components ahead
You can season the chicken a few hours ahead and mix the sauce ingredients before you start cooking. Keep the honey sauce separate until the pan is hot, though, because pre-mixed garlic in the honey can dull and the sauce works best when it goes in fresh.
Storage and Reheating
- Refrigerator: Store leftovers in an airtight container for up to 3 days. The sauce will thicken as it chills.
- Freezer: It freezes, but the glaze won’t be quite as silky after thawing. Freeze in a tight container for up to 2 months if needed.
- Reheating: Warm gently in a covered skillet over low heat with a splash of water to loosen the sauce. High heat can tighten the glaze too fast and dry out the chicken.
Answers to the Questions Worth Asking
Honey Butter Chicken
Ingredients
Equipment
Method
- Season the chicken breasts with salt, pepper, garlic powder, and smoked paprika. Heat a cast iron skillet with the olive oil over medium-high heat until hot, then sear the chicken for 5-6 minutes per side until golden and the internal temperature reaches 165°F; remove to a plate.
- Melt the butter in the same pan over medium heat. Add the minced garlic and cook for 1 minute, stirring, until fragrant and lightly softened.
- Stir in the honey, soy sauce, and apple cider vinegar. Bring the mixture to a simmer, watching for bubbles that release a glossy aroma.
- Return the chicken to the pan and cook for 2-3 minutes, turning and basting with the sauce. Cook until the sauce caramelizes and coats the chicken with a glossy amber finish.
- Plate the chicken and drizzle with any remaining sauce from the skillet. Finish with fresh thyme leaves and flaky sea salt.