Green bean bundles hit that sweet spot between side dish and centerpiece: crisp-tender beans tucked into smoky bacon, finished with a sticky glaze that clings to every ridge. The bacon renders into the beans as it bakes, so you get a little salty crunch on the outside and a fresh snap underneath instead of a soft, waterlogged middle.
The trick is in the blanching and the bundle size. A quick boil followed by an ice bath locks in the bright green color and gives the beans a head start, which keeps the bacon from overcooking before the beans are tender. The glaze also matters more than people think — brown sugar, butter, garlic, and soy sauce make a pan sauce that bubbles up around the bundles instead of running off and disappearing.
Below, I’ve included the small details that keep the bacon crisp and the beans nicely cooked, plus a few swaps that still give you that same sweet-savory finish.
The bacon stayed crisp on top and the glaze turned sticky instead of watery. I blanched the beans exactly 3 minutes and they came out bright and tender, not mushy at all.
These green bean bundles bake up with crisp bacon, a sticky brown sugar garlic glaze, and that fresh snap you only get from blanching first.
The Reason the Beans Stay Bright Instead of Drab
Green beans go dull when they’re cooked too long before the oven even gets a chance to work. That’s why the blanch-and-shock step matters here. Three minutes in boiling water softens the beans just enough to finish in the oven, and the ice bath stops the cooking immediately so they keep their color and a clean, snappy bite.
The other thing that keeps this dish from turning soggy is the bundle size. Eight to ten beans is the sweet spot: small enough for the bacon to wrap tightly, but not so fat that the center stays undercooked while the outside crisps. If your bundles are loose, the glaze slides off and the bacon can unravel before it sets.
What Each Ingredient Is Doing in the Pan
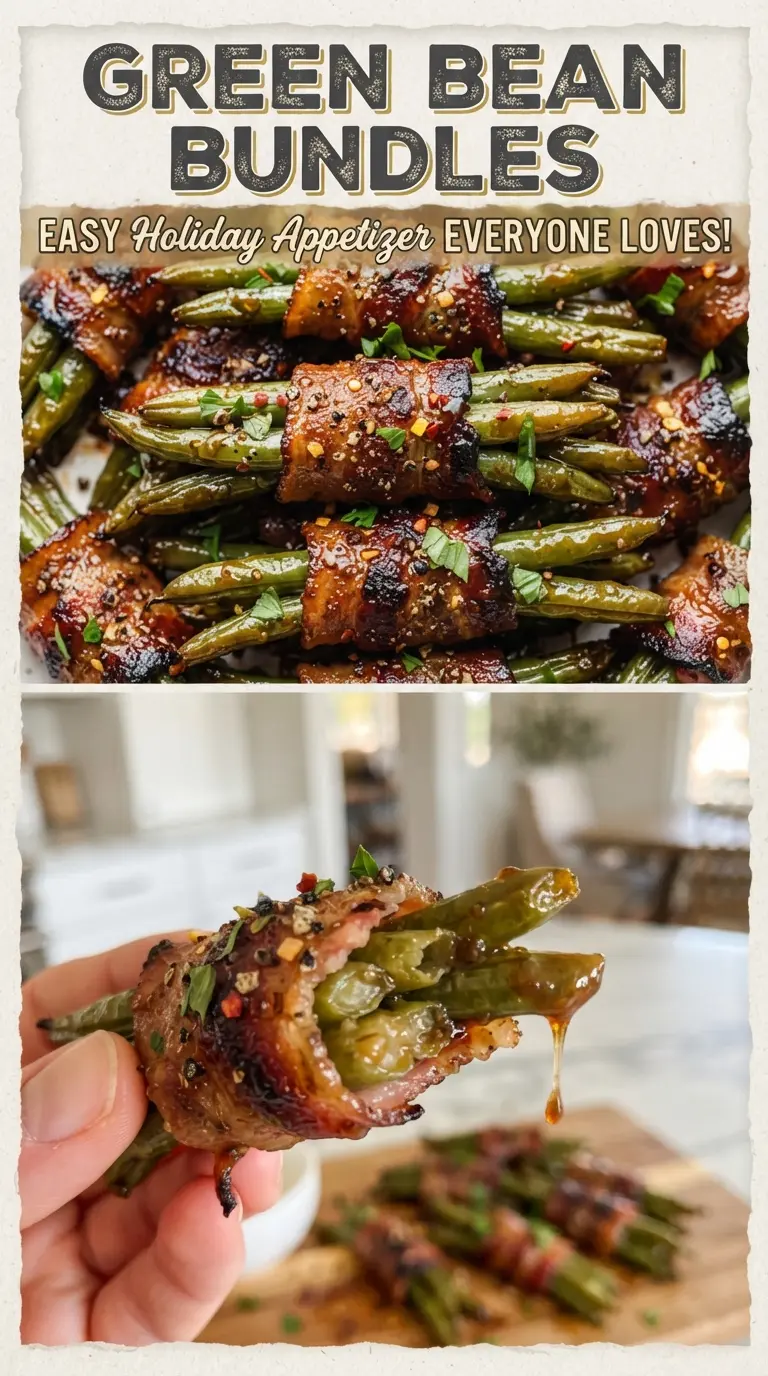
- Fresh green beans — Use firm, slender beans if you can. They hold their shape better than thick, woody ones and cook evenly after blanching. Frozen beans won’t give you the same texture, because they release too much water in the oven.
- Bacon — Regular-cut bacon works best here. Thick-cut bacon needs longer in the oven and can leave the beans overcooked before it gets crisp. Halving the slices crosswise gives just enough coverage without turning each bundle into a full breakfast wrap.
- Brown sugar — This is what gives the glaze its sticky edge and that glossy finish in the pan. Light or dark brown sugar both work; dark brown sugar adds a deeper molasses note.
- Butter and soy sauce — Butter carries the glaze and helps it bubble around the bundles, while soy sauce adds salt and depth so the sweetness doesn’t taste flat. If you need a gluten-free version, use tamari instead of soy sauce.
- Garlic — Fresh minced garlic perfumes the glaze and keeps the sweetness in check. Garlic powder won’t give the same sharp, savory lift.
How to Build the Bundles So the Bacon Cooks Evenly
Blanching the Beans
Drop the trimmed beans into boiling water and start the timer at three minutes. You want them bright green and just barely tender, not soft. Drain them immediately and plunge them into ice water so they stop cooking on the spot; if you skip the shock, they keep softening and lose that fresh snap.
Wrapping Tight and Nesting Seam-Side Down
Gather 8 to 10 beans for each bundle and wrap with half a slice of bacon. Tuck the seam underneath and set each bundle seam-side down in the baking dish so the bacon stays put as it renders. If the bundles sit on their side, they’re much more likely to unravel before the bacon has enough time to crisp.
Glazing Before the Bake
Whisk the melted butter, brown sugar, garlic, soy sauce, and pepper until the sugar loosens and the mixture looks glossy. Pour it evenly over the bundles, aiming for the tops and the bottom of the dish, because that pooled sauce turns into the spoonable glaze at the end. If the sugar looks grainy at first, that’s normal; it melts as the dish heats in the oven.
Cooking Until the Bacon Tightens and the Glaze Bubbles
Bake at 400°F for 25 to 30 minutes, until the bacon looks browned and crisp at the edges and the glaze is bubbling hard around the dish. If the bacon is done but the glaze still looks thin, keep baking a few minutes longer; it should thicken slightly and cling to the bundles. Spoon the pan glaze over the top before serving so every bundle gets that glossy finish.
Ways to Adjust These Bundles Without Losing the Point
Gluten-Free Version
Swap the soy sauce for tamari or coconut aminos. Tamari keeps the same salty depth without changing the glaze much, while coconut aminos taste a little sweeter and lighter. Everything else in the recipe already fits naturally into a gluten-free side dish.
Less Sweet, More Savory
Cut the brown sugar back to 1/4 cup and add an extra splash of soy sauce. The glaze will still bubble and cling, but it leans more toward salty, smoky, and garlicky instead of dessert-sweet. This is the version I’d use if the bundles are going alongside ham or another rich main dish.
No-Bacon Vegetable Version
Skip the bacon and roast the blanched beans with the glaze in a lightly greased dish. You’ll lose the smoky, crisp exterior, but you’ll keep the sweet-savory butter sauce and a cleaner green bean texture. For a little more depth, add a pinch of smoked paprika to the glaze.
Storage and Reheating
- Refrigerator: Store leftovers in an airtight container for up to 3 days. The bacon softens as it chills, and the glaze thickens.
- Freezer: Not a great freezer dish. The beans lose their snap and the bacon turns chewy after thawing.
- Reheating: Warm in a 350°F oven until heated through, about 10 to 12 minutes. The oven is better than the microwave here, which can make the bacon rubbery and the beans limp.
Answers to the Questions Worth Asking
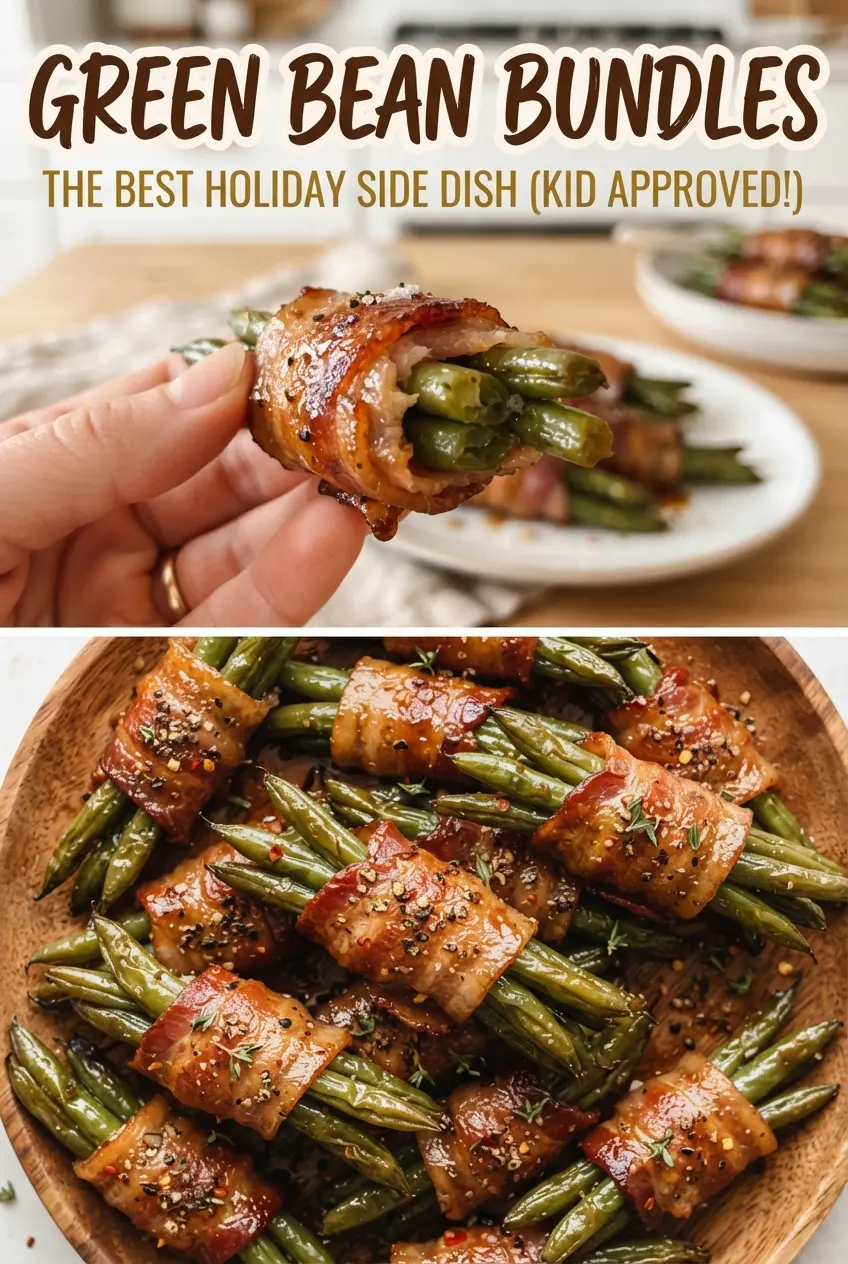
Green Bean Bundles
Ingredients
Equipment
Method
- Preheat oven to 400F. Blanch trimmed fresh green beans in boiling water for 3 minutes, then immediately plunge into ice water and drain.
- Gather 8-10 beans into a bundle. Wrap each bundle with a half slice of bacon and place seam-side down in a baking dish (or on a sheet pan).
- Whisk melted butter, brown sugar, minced garlic, soy sauce, and black pepper until smooth and combined. Pour the glaze evenly over the bacon-wrapped bundles.
- Bake at 400F for 25-30 minutes, until the bacon is crisp and the glaze is bubbly. Spoon the pan glaze over the bundles and serve warm.