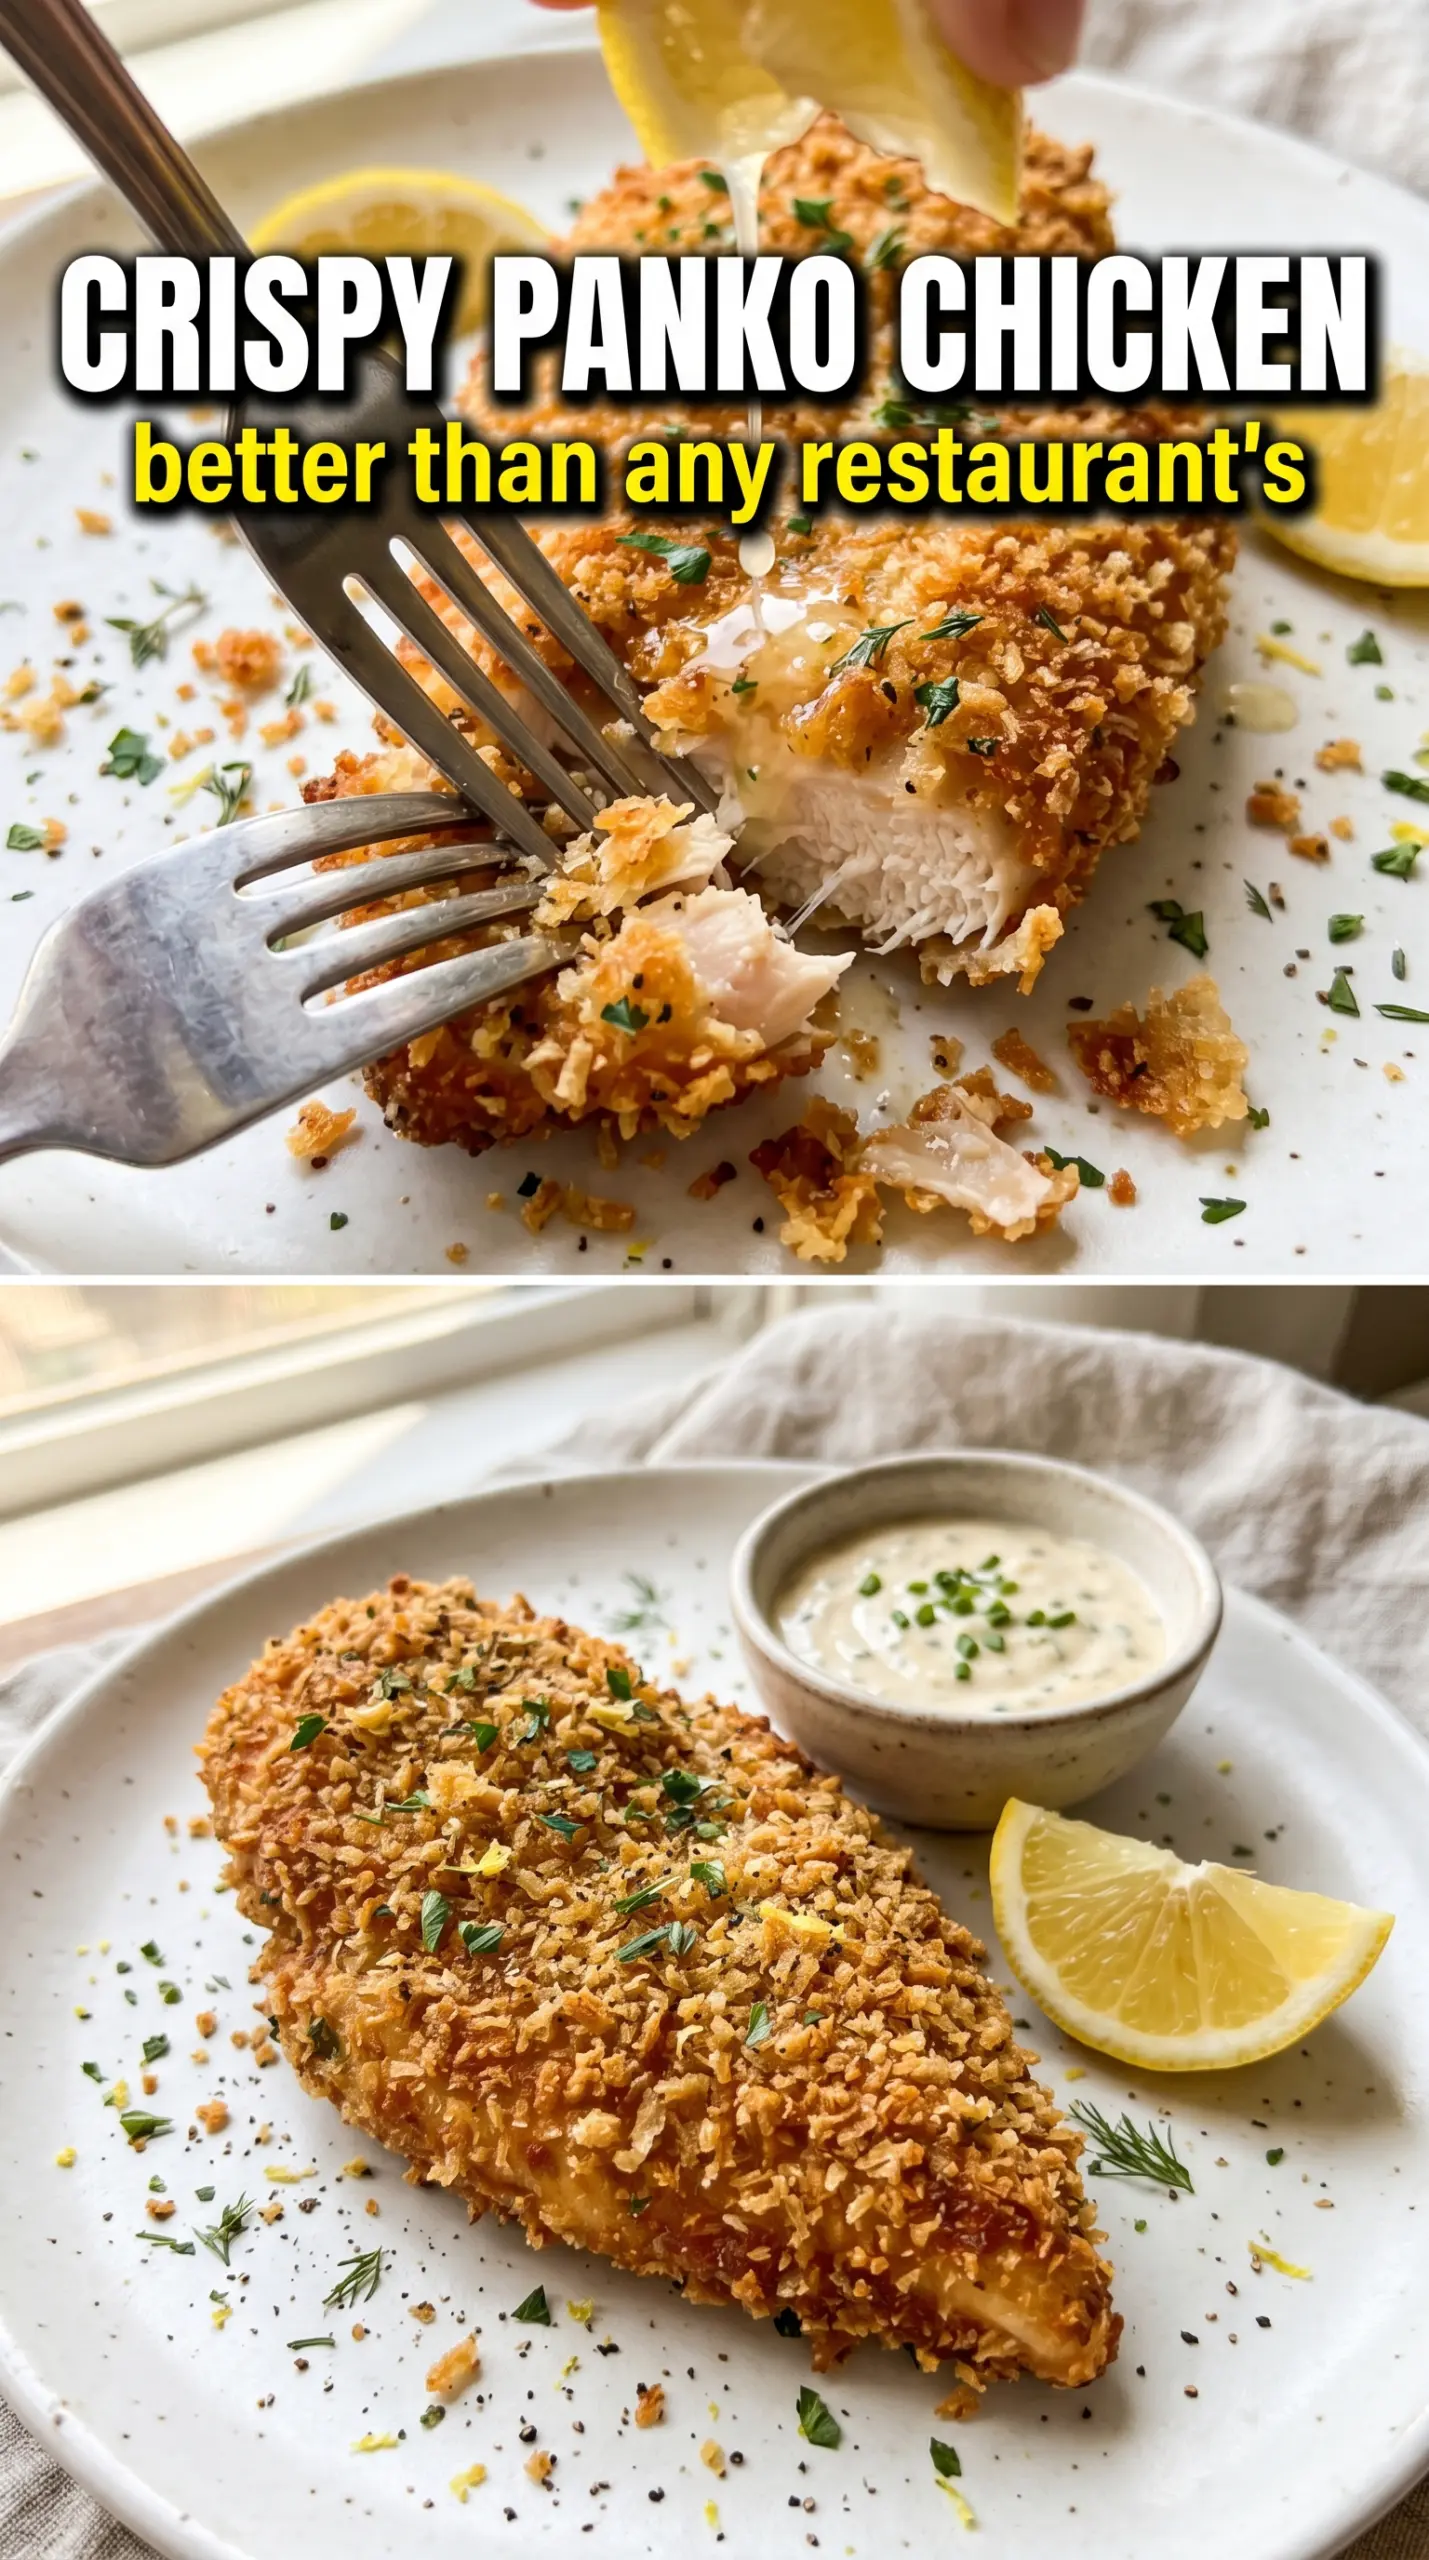
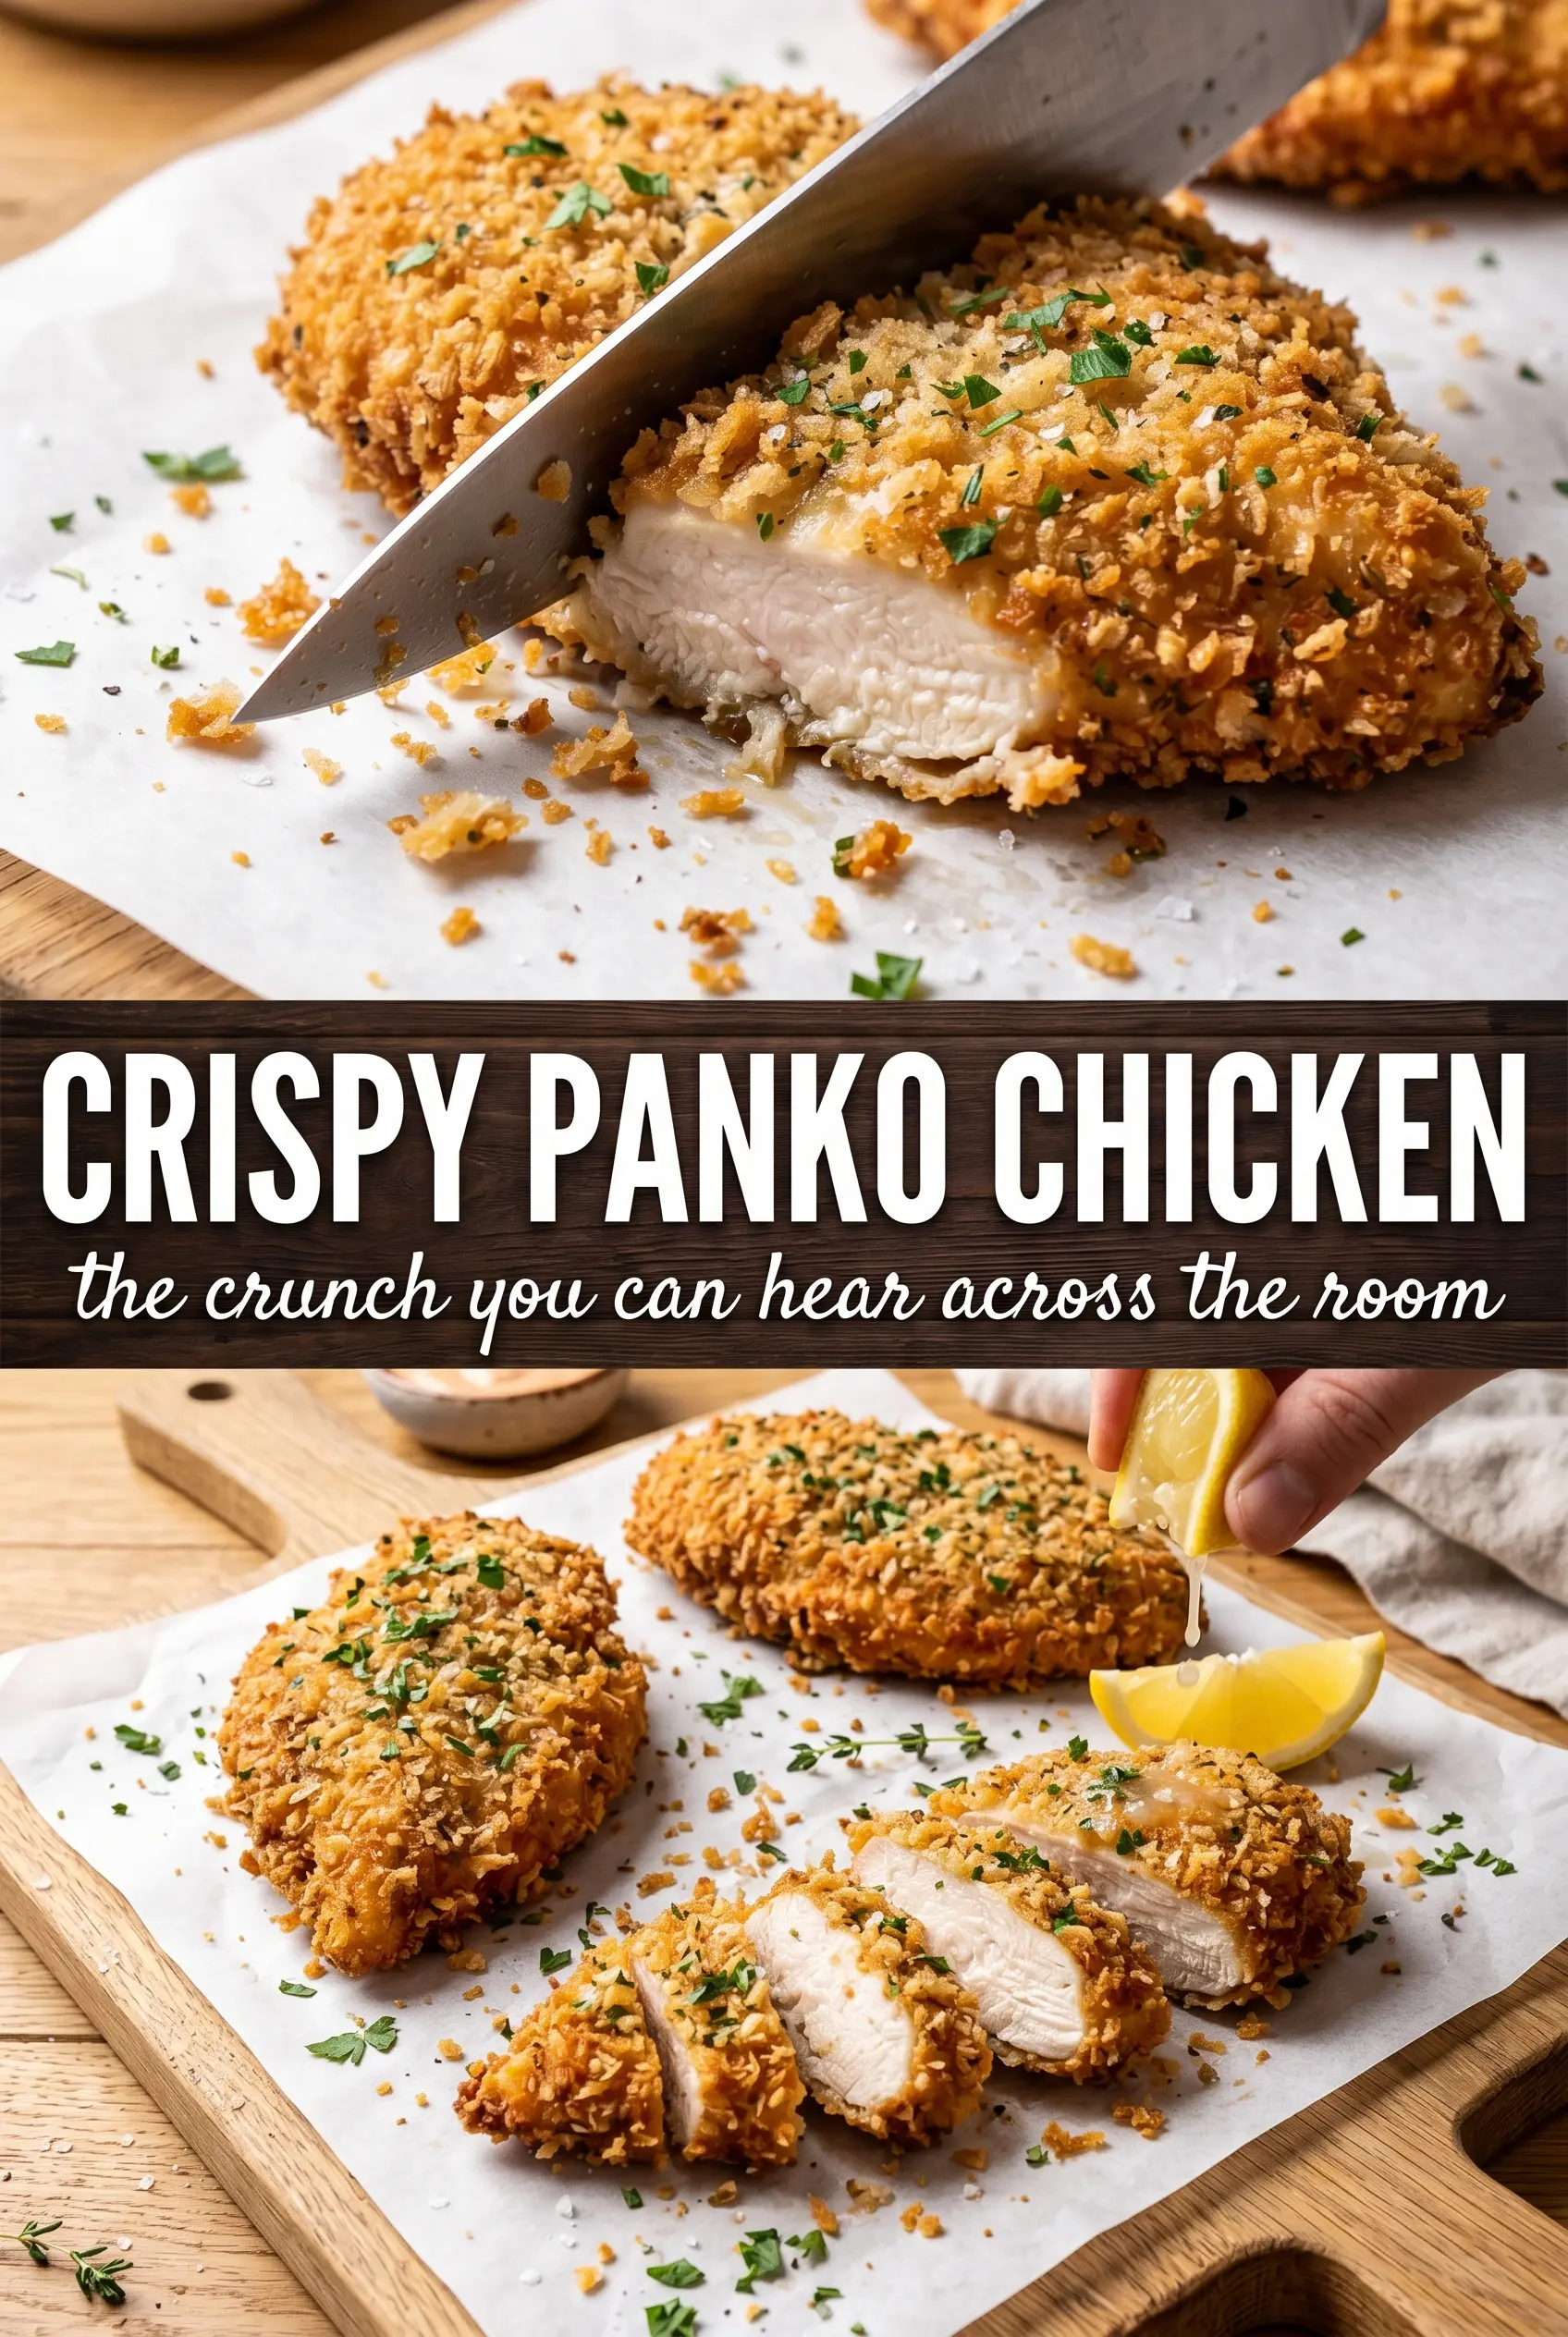
Panko crusted chicken breasts deliver the kind of crunch that makes people pause at the table before the first bite. The coating bakes into a deep golden bronze with a light, airy texture that stays crisp instead of turning heavy or greasy, and the chicken underneath stays juicy if you stop cooking at the right moment. It’s the sort of dinner that looks like it took more effort than it did.
The trick is in the layering. Flour gives the egg something to cling to, the egg gives the panko a base, and pressing the crumbs on firmly keeps the crust from slipping off in the oven. Parmesan adds extra salt and helps the coating brown, while a little oil on the outside is what turns the crumbs from pale and dry into crunchy and bronzed. I like to pound the chicken to an even thickness too, because uneven pieces are how you end up with burnt edges and a dry center.
Below, I’m walking through the parts that matter most: how to keep the crust attached, how to bake it without sogginess, and what to change if you need to work with what’s already in your kitchen.
The crust stayed shatteringly crisp even after resting, and the Parmesan in the panko gave it that salty, toasty edge that made the chicken taste like something from a restaurant.
Like this crispy panko crusted chicken? Save it to Pinterest for the nights when you want a crunchy baked chicken breast that still comes out juicy.
Why the Crust Stays Crunchy Instead of Going Soft
Panko needs heat and airflow to stay crisp. That’s why this version bakes on a wire rack instead of sitting flat on a pan, where the bottom would steam and soften before the top even finishes browning. The rack lets hot air move around the chicken, and the olive oil or spray gives the crumbs enough fat to toast instead of drying out pale and sandy.
The other common failure is a coating that sheds in big patches. That usually happens when the chicken is wet, the breading order gets rushed, or the crumbs aren’t pressed on firmly. A thin, even layer of flour helps the egg grip, and pressing the panko mixture onto the chicken with actual pressure gives you that thick, craggy crust that holds through baking and slicing.
- Chicken breasts — Pounding them to an even thickness matters more than most people think. It keeps the thinner ends from drying out before the center reaches 165°F.
- Panko breadcrumbs — Regular breadcrumbs won’t give you the same height or crunch. Panko stays lighter and bakes into those sharp little ridges that crack when you cut into them.
- Parmesan — Use the grated kind, not a wet shredding-style cheese. It melts into the crust and adds salt, browning, and a little nutty depth.
- Olive oil or cooking spray — This is what helps the crust bronzed evenly in the oven. Skip it and the coating tends to look dusty instead of crisp.
What Each Layer Is Doing Before the Chicken Hits the Oven
- Flour — It dries the surface just enough for the egg to cling. If you skip it, the coating can slip off in sheets.
- Eggs — Beaten eggs act as the glue. You want a full, even coating, but don’t let the chicken drip too long or the crumbs can slide right off.
- Italian seasoning, garlic powder, and smoked paprika — These season the crust itself, not just the chicken. That matters because the outside is where most of the flavor lands.
- Salt, pepper, and garlic powder on the chicken — Season the meat before breading so the inside tastes as good as the crust. If you only season the coating, the chicken can taste flat once you cut through it.
The 20 Minutes That Give You a Deep Golden Crust
Setting Up the Breading Station
Set up the flour, egg, and panko mixture in that order before you touch the chicken. When the stations are lined up, the breading process stays clean and the egg doesn’t start clumping up while you’re still seasoning. Keep one hand for dry ingredients and one hand for wet if you want to avoid a sticky mess that turns the coating gummy. The panko should look evenly speckled with Parmesan and herbs before it touches the chicken.
Coating the Chicken Evenly
Press each breast into the flour, shake off the excess, then dip it into the egg until every surface is coated. Move it into the panko and press down firmly on both sides and along the edges. That pressure is what creates a thick crust instead of a thin dusting. If you see bare spots, toss a little extra crumb mixture over them and press again before the chicken goes on the rack.
Baking to Bronze, Not Dryness
Bake at 425°F until the coating is deep golden brown and the internal temperature hits 165°F in the thickest part. The high heat gives you fast browning, but the real cue is color plus temperature, not color alone. If the crust looks done early, check the center anyway; panko can look finished before the chicken actually is. Let it rest for 3 minutes so the juices settle back into the meat instead of running onto the plate.
How to Adapt the Coating When You Need a Different Version
Gluten-Free Crunch Without Losing the Texture
Swap the all-purpose flour for a gluten-free flour blend and use certified gluten-free panko. The method stays the same, but the crumbs may brown a little faster, so watch the chicken closely near the end of baking. You’ll still get a crisp crust, just with a slightly lighter, more delicate finish.
Dairy-Free Version With a Less Savory Crust
Leave out the Parmesan and add an extra pinch of salt plus another tablespoon or two of panko to keep the coating balanced. You’ll lose some of the salty, toasty depth that Parmesan brings, but the chicken still bakes up crisp if you keep the oil step. A tiny sprinkle of nutritional yeast can help replace some of that savory edge.
Extra-Herby Panko Chicken
Add finely chopped parsley or a little dried oregano to the panko mixture for a greener, more aromatic crust. Keep any fresh herbs very fine so they don’t burn before the chicken is done. This version tastes a little brighter and pairs nicely with lemon wedges.
Storage and Reheating
- Refrigerator: Store in an airtight container for up to 4 days. The crust softens a bit in the fridge, but the flavor holds up well.
- Freezer: Freeze cooked chicken on a sheet pan first, then wrap tightly and store for up to 2 months. The texture won’t be quite as shattery after thawing, but it still works well for quick lunches.
- Reheating: Reheat in a 375°F oven or air fryer until hot and crisp again. Skip the microwave if you care about the crust, because it turns the panko limp before the center warms through.
Questions I Get Asked About This Recipe
Crispy Panko Crusted Chicken Breasts
Ingredients
Equipment
Method
- Preheat oven to 425°F. Line a baking sheet with a wire rack and spray with cooking spray so the crust stays crisp underneath.
- Season chicken with salt, pepper, and garlic powder; set up three breading stations: flour, beaten egg, and panko mixed with Parmesan, Italian seasoning, garlic powder, and smoked paprika. Keep the coating layers separate for even coverage.
- Dredge chicken in flour, then dip into egg, and press firmly into the panko coating on all sides. Pressing firmly helps the crumbs cling and bake into a shatter-crisp crust.
- Drizzle or spray breaded chicken with olive oil and place on the prepared rack. Bake at 425°F for 20-22 minutes until the crust is deep golden brown and the internal temperature reaches 165°F.
- Rest chicken for 3 minutes before serving. Garnish with fresh parsley and serve with lemon wedges so the coating stays crunchy.