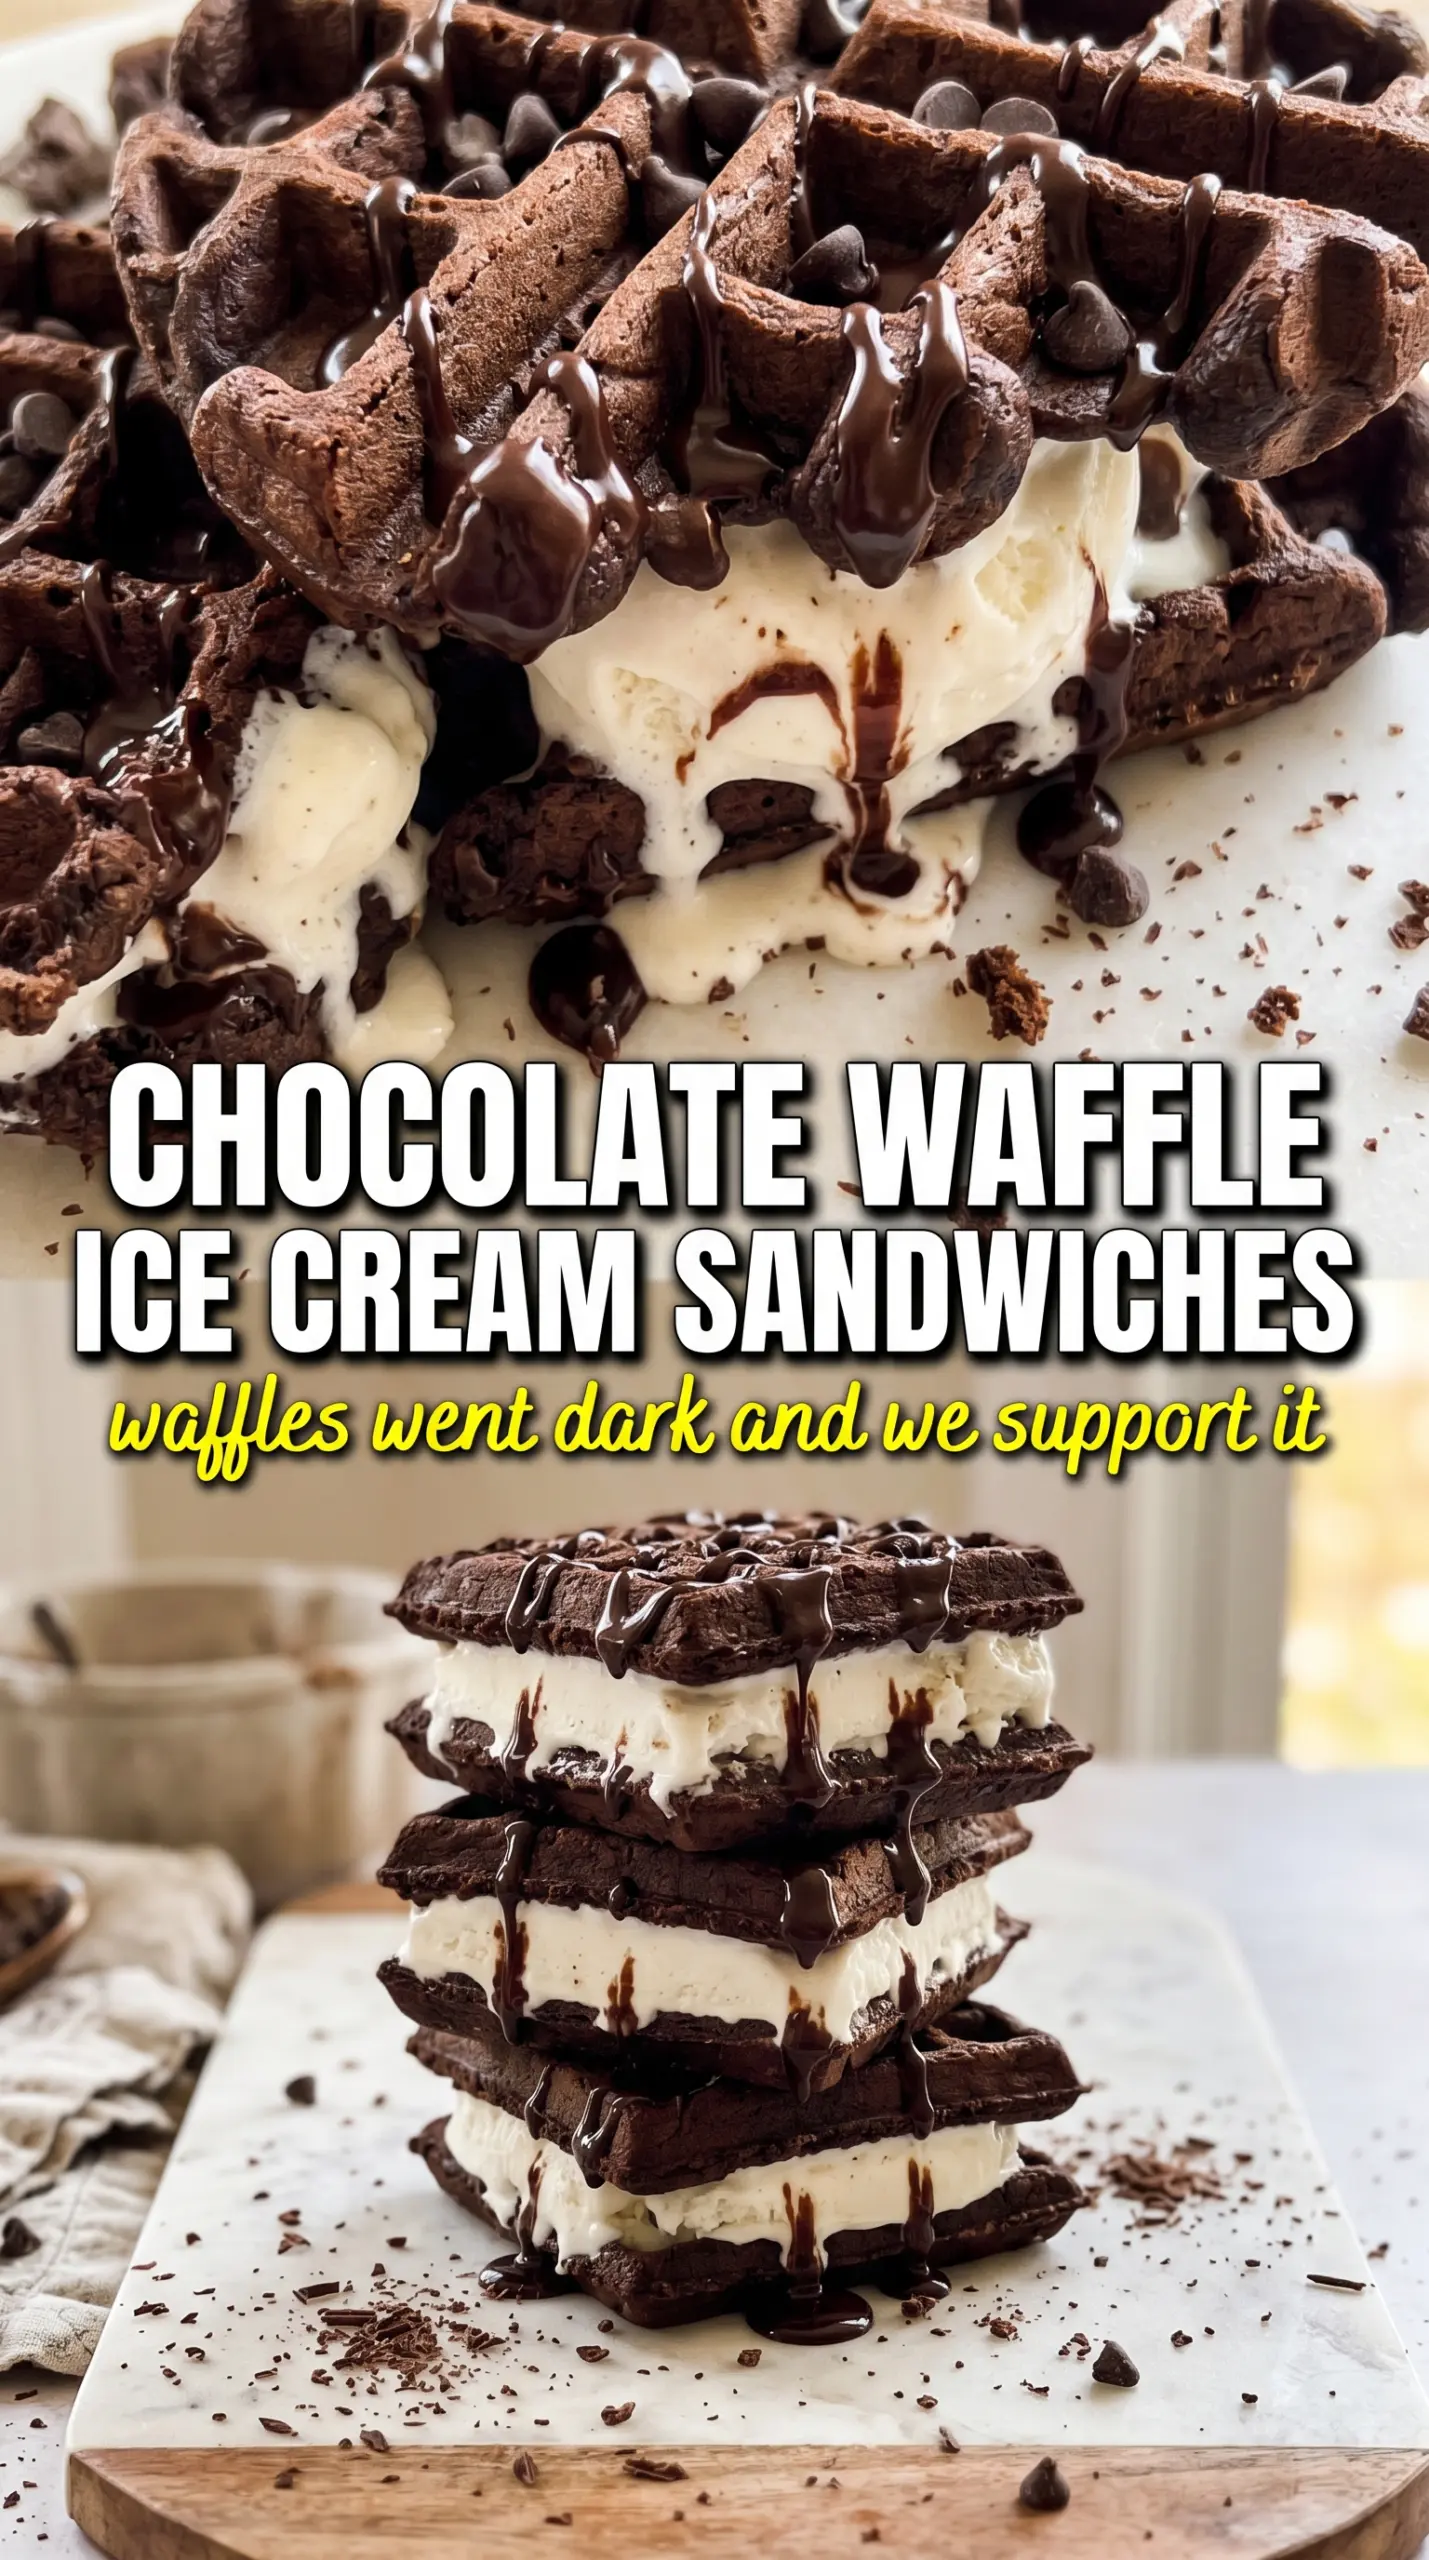
Rich chocolate waffles turn into something special the moment cold ice cream hits their crisp edges. The outside stays a little crackly, the center softens just enough, and each bite gives you that mix of deep cocoa, creamy filling, and a little drip of chocolate syrup. It’s the kind of dessert that feels playful and a little nostalgic, but still tastes like you put thought into it.
What makes these work is the waffle itself. Cocoa powder gives the batter a deep chocolate base without making it heavy, and buttermilk keeps the crumb tender while helping the baking soda do its job. Let the waffles cool all the way before you build the sandwiches, or the ice cream will melt into the grid and you’ll lose that clean layered bite.
Below, I’ll walk you through the best way to keep the waffles crisp, the easiest way to assemble them without a sticky mess, and a few swaps that still give you a strong chocolate-and-ice-cream payoff.
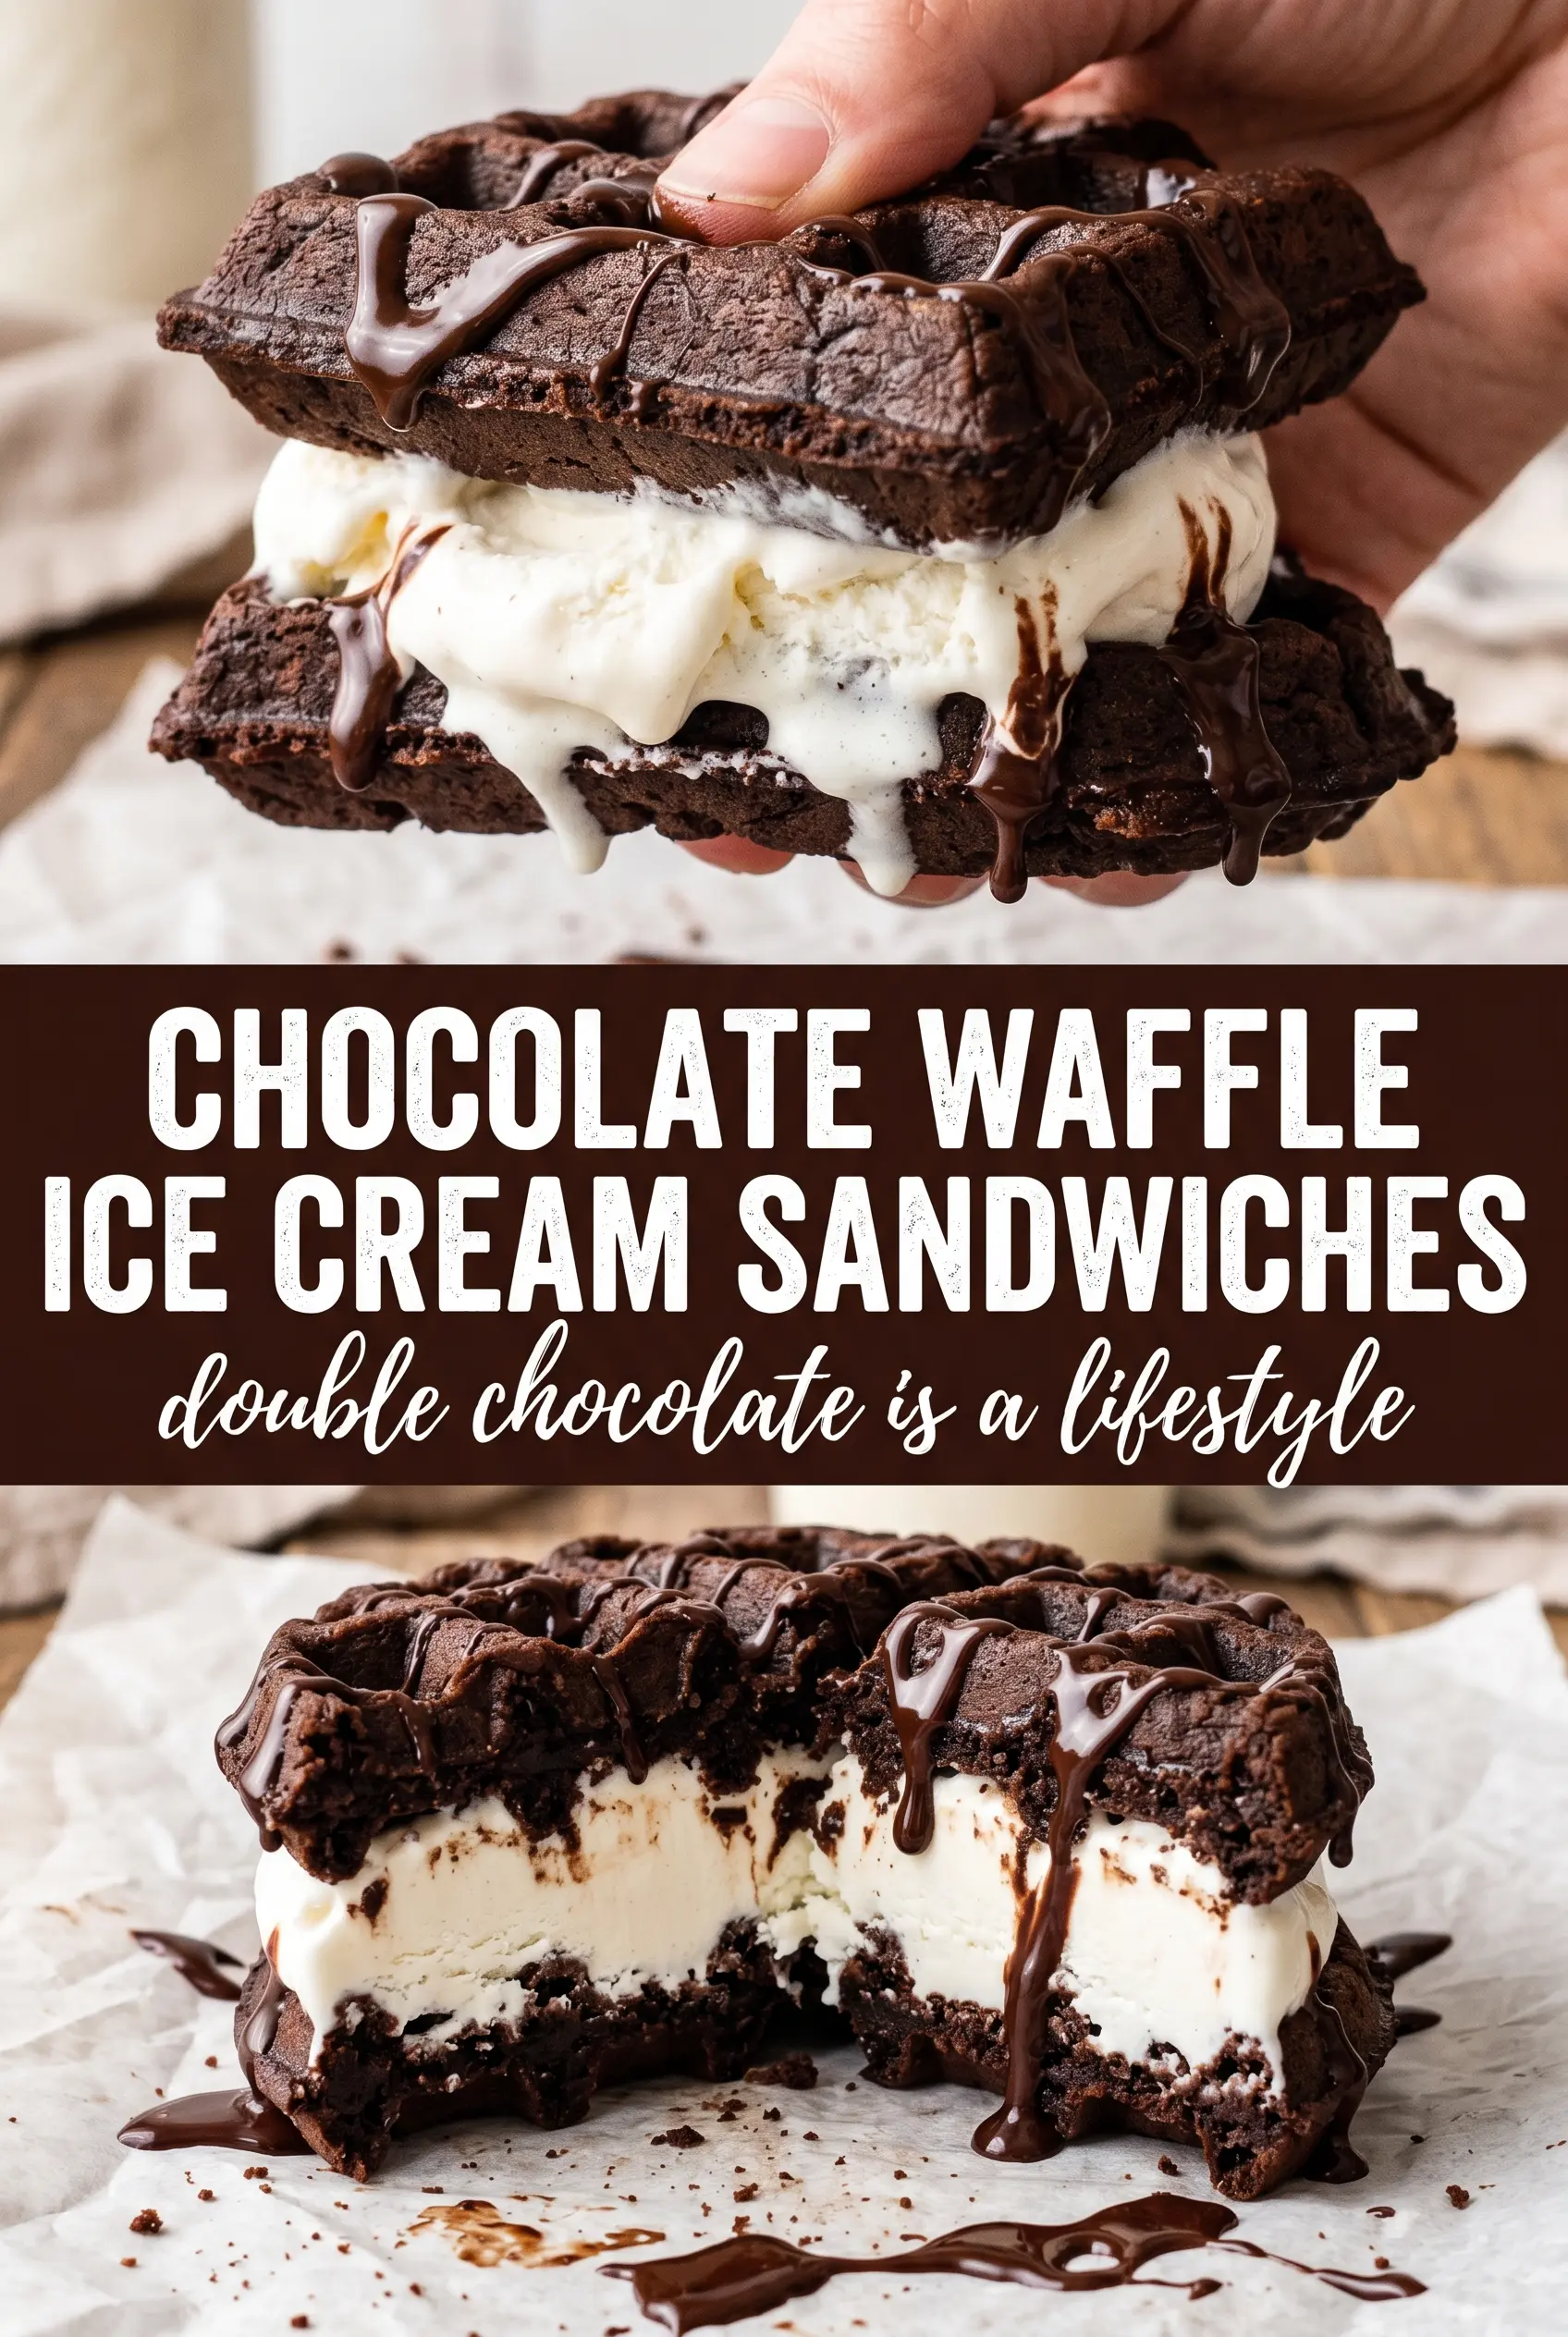
The waffles stayed crisp even after I added the ice cream, and cutting them into squares made the sandwiches so much easier to handle. I used cookies and cream and the chocolate syrup on top tied everything together.
Love the crisp-edged chocolate waffle and cold creamy center? Save these chocolate waffle ice cream sandwiches for your next dessert night.
The Reason These Waffles Stay Crisp Under Ice Cream
Most waffle sandwiches turn soggy because the waffles are too soft to begin with or they’re still warm when the ice cream goes on. This batter avoids both problems. The cocoa powder gives the waffles structure and flavor, while the buttermilk and leaveners create enough lift that the edges get crisp without drying out the center. That balance matters here, because a dense waffle can taste heavy once it’s frozen.
The other thing that helps is the cool-down. Put the finished waffles on a wire rack, not a plate. Air needs to move around them so the steam can escape. If the waffles trap steam underneath, the sugar and cocoa on the surface soften and you lose the snap that makes the sandwich work.
What Each Ingredient Is Actually Doing in This Dessert
- Unsweetened cocoa powder — This is the main chocolate flavor, so use a good one if you can. Dutch-process cocoa will give you a darker, smoother result; natural cocoa works too and leans a little sharper. Either way, it needs the baking soda in the batter to keep the waffles from tasting flat.
- Buttermilk — It adds tang, tenderness, and enough acidity to activate the baking soda. Whole milk can work in a pinch if you stir in a little lemon juice or vinegar, but the texture won’t be quite as plush.
- Vegetable oil — Oil keeps the waffles soft enough to bite through straight from the freezer. Butter tastes great, but it firms up more when chilled, which can make the sandwich feel stiff.
- Ice cream — Mint chocolate chip gives you that cool contrast against the dark waffle, while cookies and cream keeps the whole dessert a little milder and more classic. Let it soften for a few minutes before scooping so it spreads cleanly without cracking the waffles.
- Chocolate syrup — This is the finish that ties everything together. Use a thick syrup, not a thin drizzle, so it stays on the sandwich instead of sliding off the sides.
Building the Sandwich Before the Ice Cream Wins
Mix the Batter Until the Flour Disappears
Whisk the dry ingredients first so the cocoa and leaveners are evenly distributed, then add the buttermilk mixture and stir only until you no longer see dry flour. A few small streaks are better than an overmixed batter, which makes the waffles tough and tight instead of crisp and tender. The batter should look thick but pourable, like a rich cake batter.
Cook the Waffles Deep Enough to Hold Up Later
Ladle the batter into the hot waffle iron and cook until the steam drops and the waffles release with deep crisp edges. If they’re pale, they’ll soften too quickly once you add ice cream. Let them go a minute or two longer than you think they need; that extra drying time is what keeps the sandwich from collapsing.
Cool, Cut, and Fill
Set the waffles on a wire rack until completely cool, then cut each one into four squares. If you skip the cooling step, the ice cream will melt before you get the second half in place. Scoop a generous portion onto one square, top with another, and press gently just until the ice cream reaches the edges.
Serve Fast or Freeze for a Firmer Bite
These are best right after assembly if you want the sharpest waffle texture and the softest center. For a firmer sandwich, freeze them for about an hour after building. That gives the ice cream time to set without turning the waffles hard and icy.
How to Adapt These Without Losing the Chocolate Hit
Make It Dairy-Free
Use a plain unsweetened non-dairy milk with 1 tablespoon lemon juice or vinegar stirred in for the buttermilk, then choose a dairy-free ice cream that freezes fairly firm. The waffles will still taste rich and chocolatey, though the crumb will be a little less tender than the buttermilk version.
Swap the Ice Cream Flavor
Mint chocolate chip and cookies and cream both work because they stand up to the dark waffle without disappearing. Coffee, vanilla bean, or cherry chip also play well here. Choose a flavor with some contrast so the sandwich doesn’t taste one-note.
Make Mini Sandwiches for a Crowd
Cut the waffles into smaller squares or triangles and use a smaller scoop of ice cream. The smaller size freezes faster and is easier to hand to guests without dripping everywhere. It also stretches the recipe farther without changing the method.
Storage and Reheating
- Refrigerator: Not recommended. The waffles soften fast once the ice cream starts to melt.
- Freezer: Freeze assembled sandwiches for up to 2 weeks, wrapped individually in parchment and then tucked into an airtight container. The waffles stay best if you wrap them once the ice cream is fully firm.
- Reheating: There’s no reheating here. Let frozen sandwiches sit at room temperature for 3 to 5 minutes before eating so the waffle isn’t rock-hard and the ice cream isn’t impossible to bite through.
Questions I Get Asked About This Recipe
Chocolate Waffle Ice Cream Sandwiches
Ingredients
Equipment
Method
- Preheat waffle iron until hot. The indicator should show it is ready before you add batter.
- In a mixing bowl, whisk all-purpose flour, unsweetened cocoa powder, granulated sugar, baking powder, baking soda, and salt together. Whisk until the cocoa is evenly distributed with no dry streaks.
- In a separate bowl, whisk buttermilk, eggs, vegetable oil, and vanilla extract until smooth. Mix just enough to break up the eggs and fully combine.
- Pour the wet mixture into the dry ingredients and fold until just combined. Stop when the batter looks thick and no flour pockets remain.
- Cook the batter in the preheated waffle iron until set with crispy edges. Use the iron’s signals and look for a dry, firm surface.
- Transfer waffles to a wire rack and cool completely. The waffles should feel room-temperature and crisp, not warm or soft.
- Cut each waffle into 4 squares. Aim for clean cuts so the squares stack flat.
- Place a generous scoop of ice cream between two waffle squares. Press lightly so the ice cream fills the center without overflowing.
- Drizzle with chocolate syrup and serve immediately, or freeze for 1 hour for a firmer texture. The ice cream should become scoopable and hold its shape after chilling.