Apple crisp with oatmeal earns its keep when the topping bakes up thick, craggy, and deeply golden while the apples underneath turn soft without dissolving into sauce. The best versions give you contrast in every bite: tender spiced fruit, a little syrup bubbling at the edges, and a crumble that stays crisp long enough to matter. That balance is what makes this one worth repeating.
The trick is keeping the topping chunky and the butter cold. If the butter melts in too soon, you get a sandy layer instead of those crisp, craggy bits that turn golden in the oven. The apples also need cornstarch, not just sugar, so the filling thickens as it bakes instead of pooling into watery juice at the bottom of the dish.
Below, I’ll walk through the part that matters most: how to keep the topping from going dusty, how to judge when the apples are done, and a few simple swaps if you want to work with what’s already in your pantry.
The topping stayed chunky instead of turning sandy, and the apple filling thickened right at the corners of the dish. I used the vanilla ice cream like you suggested and it was perfect with the warm cinnamon apples.
Like this oatmeal-crunch apple crisp? Save it to Pinterest for a dessert with bubbling spiced apples and a thick, crisp oat topping.
The Mistake That Turns Apple Crisp Topping Sandy Instead of Craggy
Apple crisp sounds simple, but the line between a crisp topping and a dry streusel is narrower than most recipes admit. The oatmeal needs to stay in distinct clumps, and that only happens when the butter is cut in cold and stopped before it disappears completely. You want pieces the size of peas and small walnuts, not a uniform meal.
The other common miss is overloading the filling with sugar and skipping thickener. Apples give off a lot of juice in the oven, and without cornstarch the bottom can turn soupy before the topping finishes browning. The filling should bubble at the edges by the end; that bubbling is your sign the starch has done its job and the juices have thickened.
- Cold butter — This is what gives the topping those crisp, baked clusters. If the butter softens too much before it goes in the oven, the mixture packs down and bakes up dense instead of craggy.
- Cornstarch — It thickens the apple juices without making the filling cloudy or gummy. Flour can work in a pinch, but it takes more of it and the finish is heavier.
- Old-fashioned rolled oats — These hold their shape and give the topping chew. Quick oats turn softer and a little pasty, which changes the texture in a way you’ll notice.
- Cinnamon and nutmeg — The apples need both. Cinnamon carries the main warmth, while nutmeg adds a deeper background note that keeps the filling from tasting flat.
What Each Ingredient Is Actually Doing in This Apple Crisp
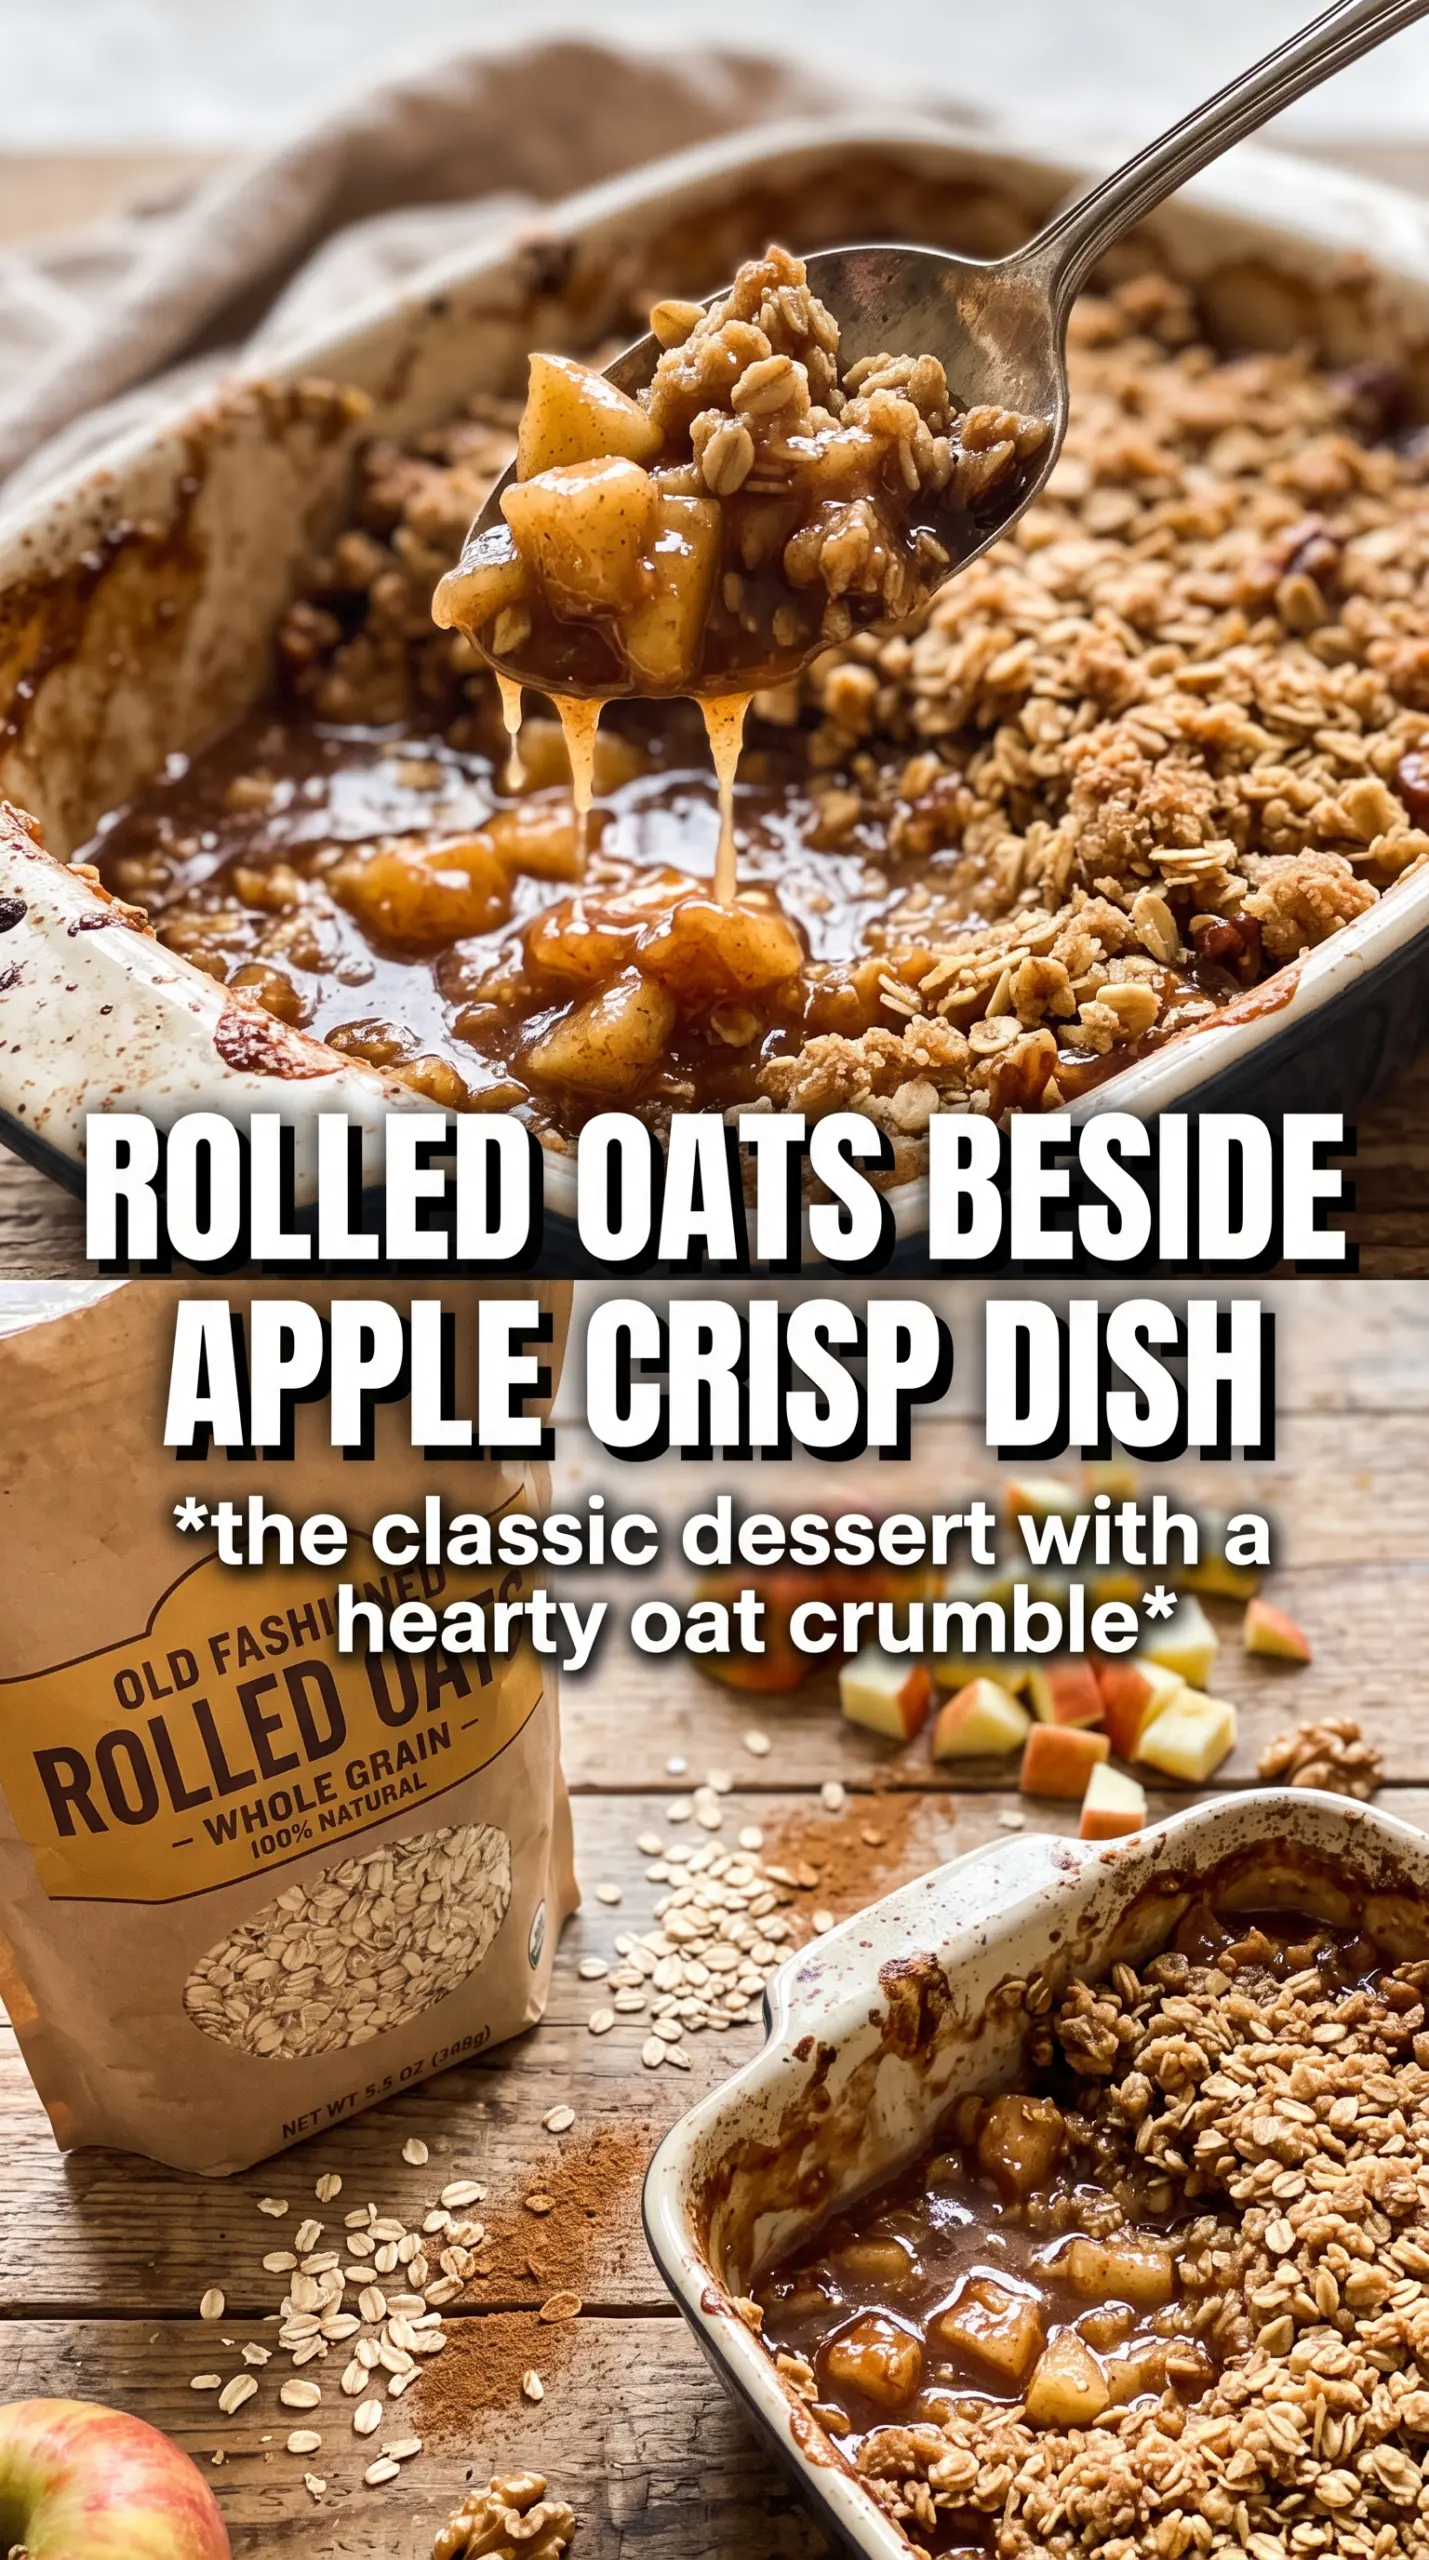
- Apples — Use a firm baking apple if you can. You want slices that soften and hold shape instead of collapsing into applesauce. If your apples are very tart, the listed sugar amount balances them well; if they’re sweeter, don’t increase the sugar unless you want a softer, juicier filling.
- Brown sugar — This is what gives the topping that caramel note and helps the filling taste round instead of sharp. White sugar alone will still work, but the final flavor is flatter and less rich.
- Rolled oats — They bring the crisp texture that makes this different from a standard fruit crumble. Don’t swap in instant oats unless that’s all you have; they break down faster and lose the hearty bite.
- Flour — It helps bind the crumble just enough so the topping bakes into clumps. A 1:1 gluten-free baking blend can replace it if needed, though the topping may spread a little more.
- Butter — Use unsalted so you control the salt level. If you only have salted butter, leave the added salt in the crumble as written and expect a slightly more savory finish.
Building the Layers So the Apples Bubble and the Topping Stays Crisp
Coating the Apples Evenly
Toss the sliced apples with both sugars, cinnamon, nutmeg, cornstarch, and lemon juice until every piece looks lightly coated, then spread them in the dish in an even layer. If the cornstarch clumps in one spot, you’ll get pockets of dry starch instead of a smooth, thickened filling. The apples should look glossy before they go into the oven, not dry and powdery.
Making the Oat Crumble by Hand
Mix the oats, flour, brown sugar, cinnamon, and salt first, then work in the cold butter with your fingertips or a pastry cutter. Stop when the mixture holds together in large, uneven clumps and still has some dry bits scattered through it. If you mash it until it looks like dough, the topping bakes up heavy instead of crisp.
Baking Until the Edges Bubble
Scatter the crumble generously over the apples so the fruit is covered from edge to edge, then bake at 375F until the top is deeply golden and the filling bubbles at the corners, 40 to 45 minutes. That bubbling matters; it tells you the apples have released enough juice for the cornstarch to thicken everything properly. Pull it too early and the filling stays loose under the crust.
Letting It Rest Before Serving
Give the crisp at least 10 minutes before spooning it out. The filling sets up a little as it cools, and that short rest keeps it from running all over the plate. Serve it warm with vanilla ice cream, which melts into the topping and softens the spiced apples in the best way.
Three Ways to Adjust This Apple Crisp Without Losing the Crunch
Gluten-Free Version
Swap the all-purpose flour for a cup-for-cup gluten-free baking blend. The topping still clumps and browns well, but you may need to press a few larger pieces together with your fingertips after mixing so it doesn’t bake up too sandy.
Dairy-Free Crisp
Use a solid plant-based butter substitute that’s made for baking, not a soft tub spread. The flavor changes a little, but the topping still browns and crisps if the substitute stays cold and you don’t overwork it.
Mixed Fruit Variation
Replace up to two of the apples with firm pears or peeled peaches. Pears stay close to the original texture, while peaches add more juice, so the filling will be a little softer and more spoonable. Keep the cornstarch in place so the bottom doesn’t turn watery.
Storage and Reheating
- Refrigerator: Store covered for up to 4 days. The topping softens a little in the fridge, but the flavor stays good.
- Freezer: Freeze baked and cooled portions tightly wrapped for up to 2 months. The topping won’t stay as crisp after thawing, but it still reheats well.
- Reheating: Warm in a 325F oven until heated through, about 15 to 20 minutes for a slice or small portion. The oven is better than the microwave here because it brings the topping back to life instead of steaming it soft.
Questions I Get Asked About This Apple Crisp
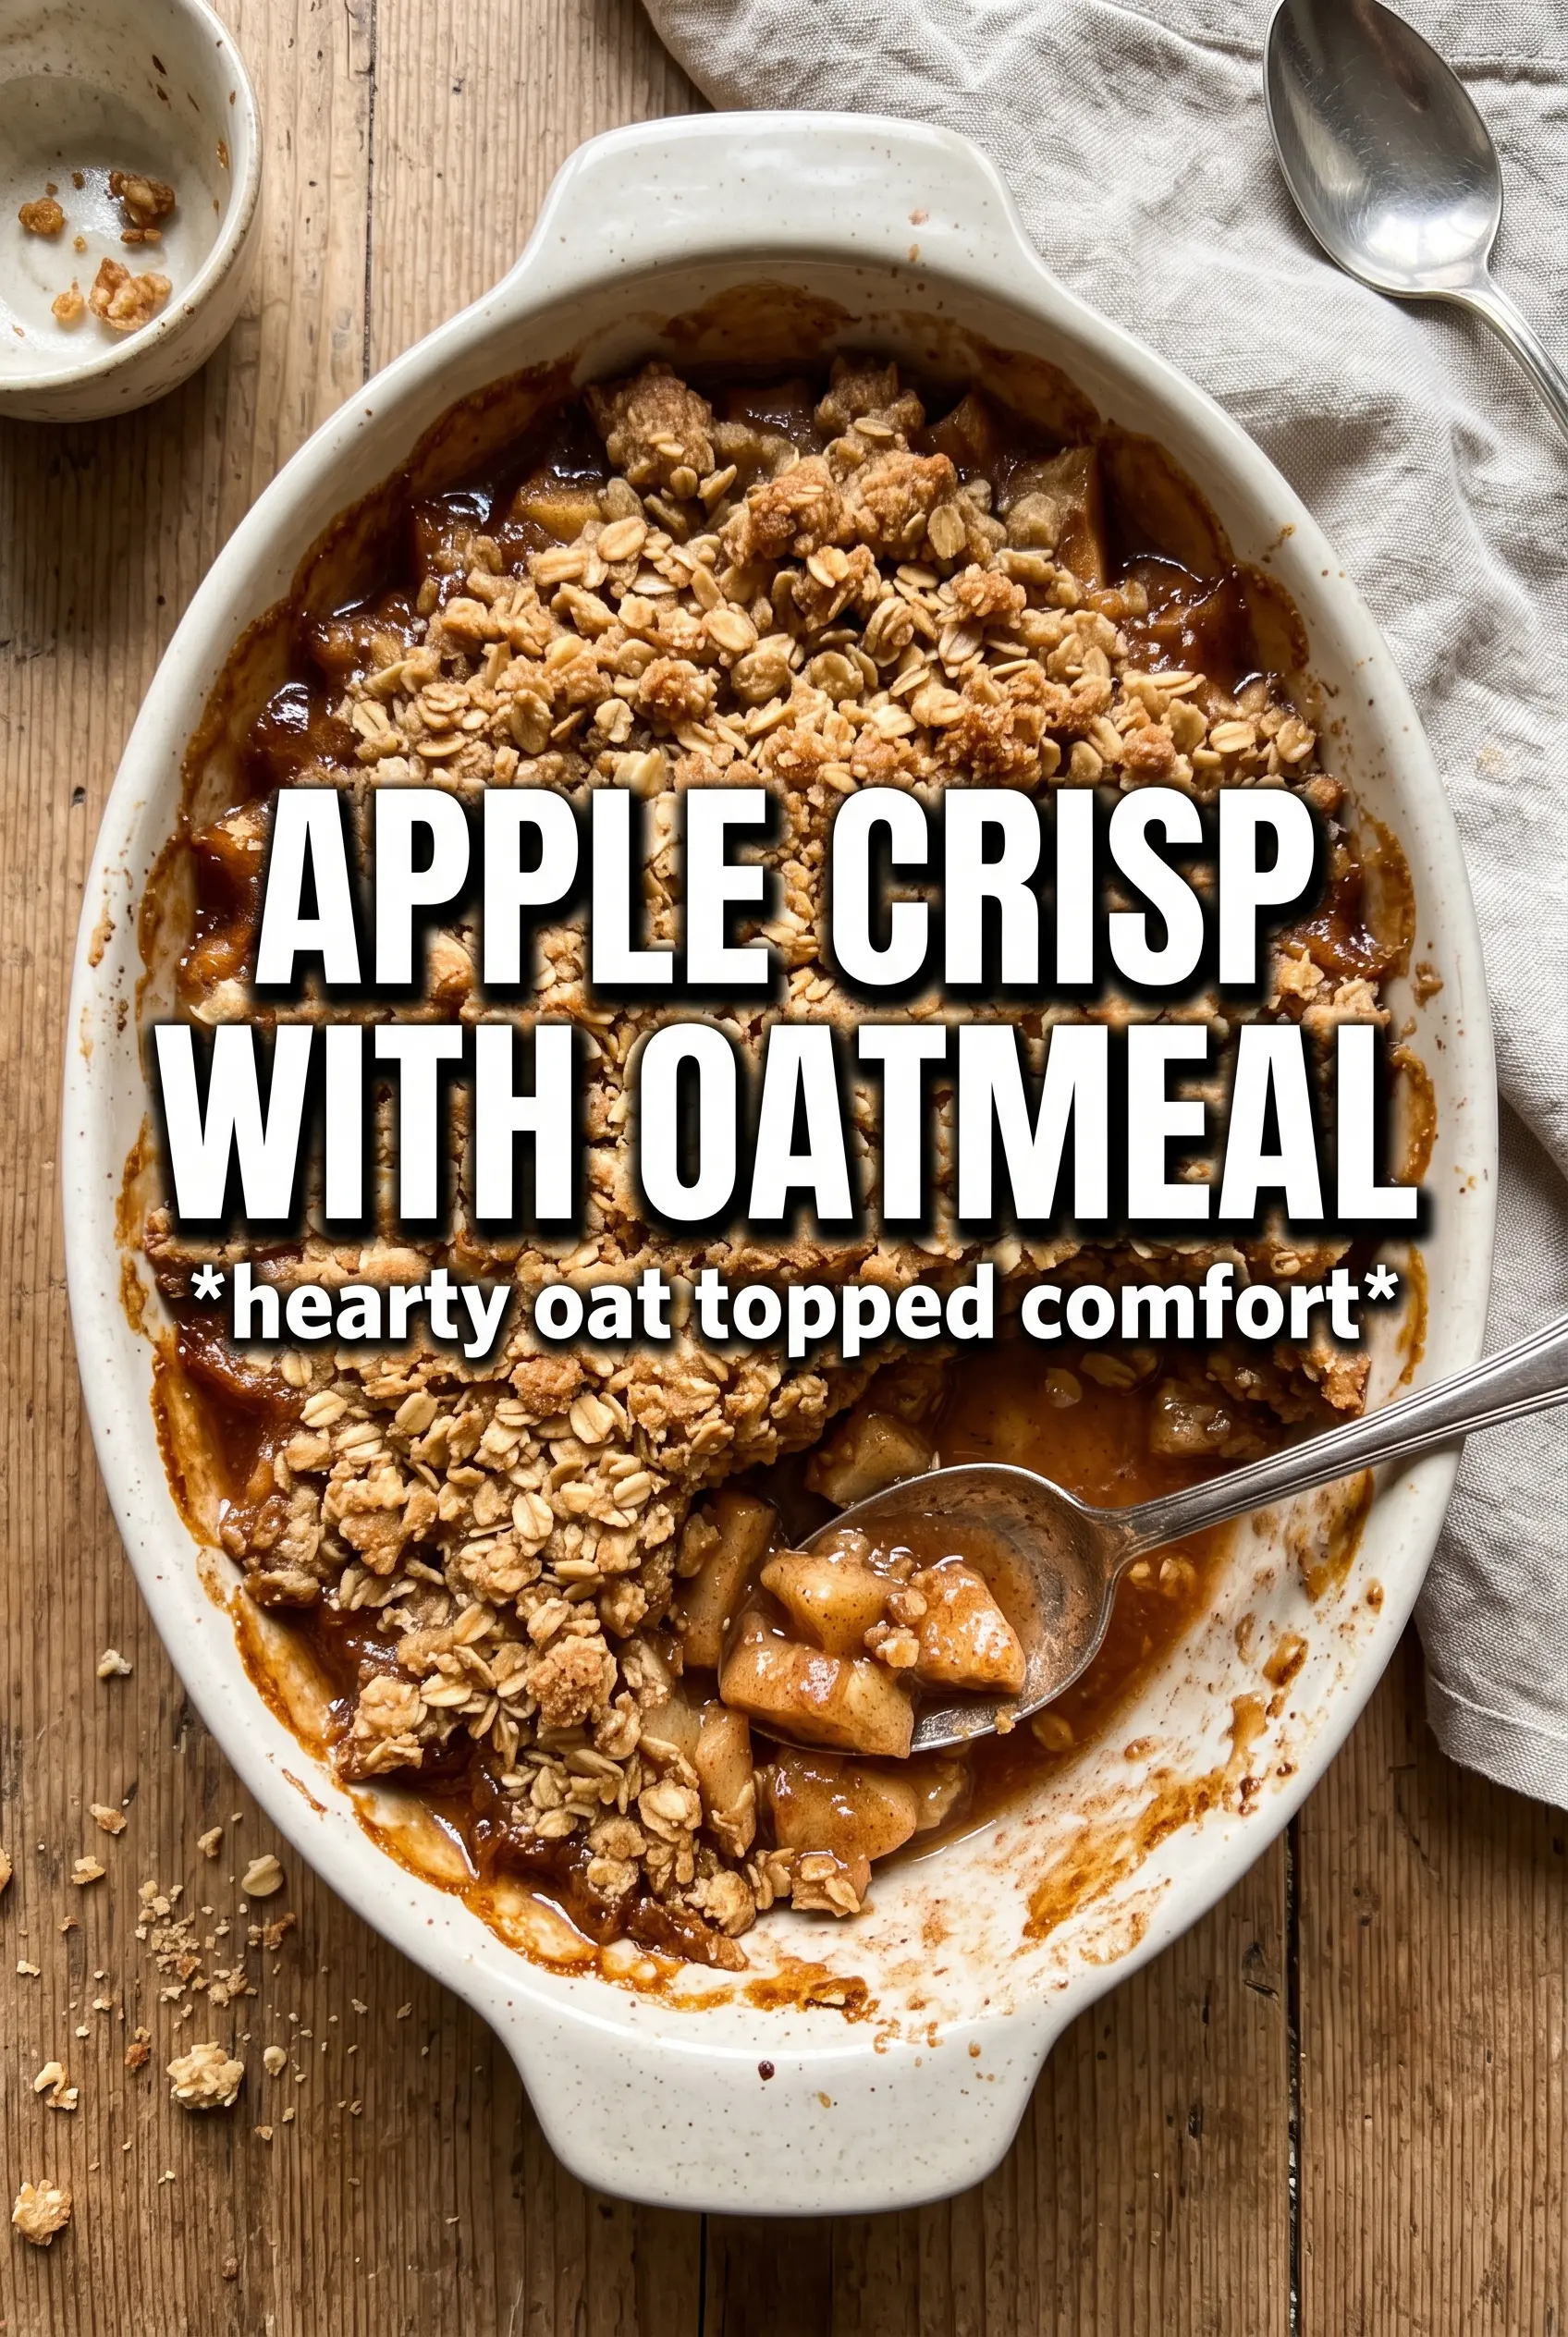
Apple Crisp With Oatmeal
Ingredients
Equipment
Method
- Preheat the oven to 375°F and grease a 9x13 baking dish. Set up so the filling can go straight in once mixed.
- Toss the apple slices with granulated sugar, brown sugar, cinnamon, nutmeg, cornstarch, and lemon juice until evenly coated. Spread the apples in the prepared dish in a single, even layer.
- Combine old-fashioned rolled oats, all-purpose flour, brown sugar, cinnamon, and salt in a bowl. Cut in the cold unsalted butter until large, chunky clumps form.
- Scatter the oatmeal crumble generously over the apples so every inch is covered. Aim for an even layer so the topping turns crisp instead of thin.
- Bake for 40-45 minutes at 375°F until the topping is deeply golden and the apple filling bubbles at the corners. Look for active bubbling around the edges as the visual cue.
- Rest the crisp for 10 minutes at room temperature. This helps the bubbling juices thicken for cleaner serving slices.
- Serve warm with vanilla ice cream. Let the ice cream melt slightly over the golden crumble for the best texture contrast.