Golden oat crumble over bubbling apple filling is one of those desserts that disappears fast because it hits every note at once: buttery, crisp, spiced, and spoonable underneath. Using canned apple pie filling keeps the fruit layer consistent and saves the long stovetop prep, but it still bakes up with that cozy, jammy texture people expect from a good crisp.
The trick is giving the filling a little help before it goes into the oven. A pinch of cinnamon, nutmeg, and allspice wakes up the canned apples, and a small splash of lemon juice keeps the sweetness from tasting flat. The topping matters just as much: cold butter cut into the oats and flour gives you those uneven, crunchy crags that brown at the edges instead of melting into a paste.
Below, I’ll walk through the one step that keeps the topping crisp, the ingredient swaps that actually work, and what to do if you want to make this ahead without losing that crunchy finish.
The topping stayed crisp even after it sat on the counter for a bit, and the canned filling baked up with a nice bubbly edge instead of getting watery.
Save this apple crisp with canned apple filling for the nights when you want a bubbling fruit dessert and a crunchy oat topping without peeling a single apple.
Why the Topping Stays Crisp Instead of Turning Soggy
The biggest problem with apple crisp made from canned filling is too much moisture. Canned filling already carries syrup, so if the topping is packed down or the butter is too warm, the oats absorb the liquid and go soft before the center ever bubbles. Keeping the butter cold and the crumble coarse gives the oven time to brown the top before the fruit layer turns the whole dish heavy.
Another small but important move is baking until you can see the filling actively bubbling around the edges. That bubbling tells you the center is hot enough to thicken and the sugar in the filling has had time to loosen and concentrate. If you pull it early, the topping may look finished but the fruit underneath will still be loose and soupy.
What Each Ingredient Is Actually Doing in This Crisp
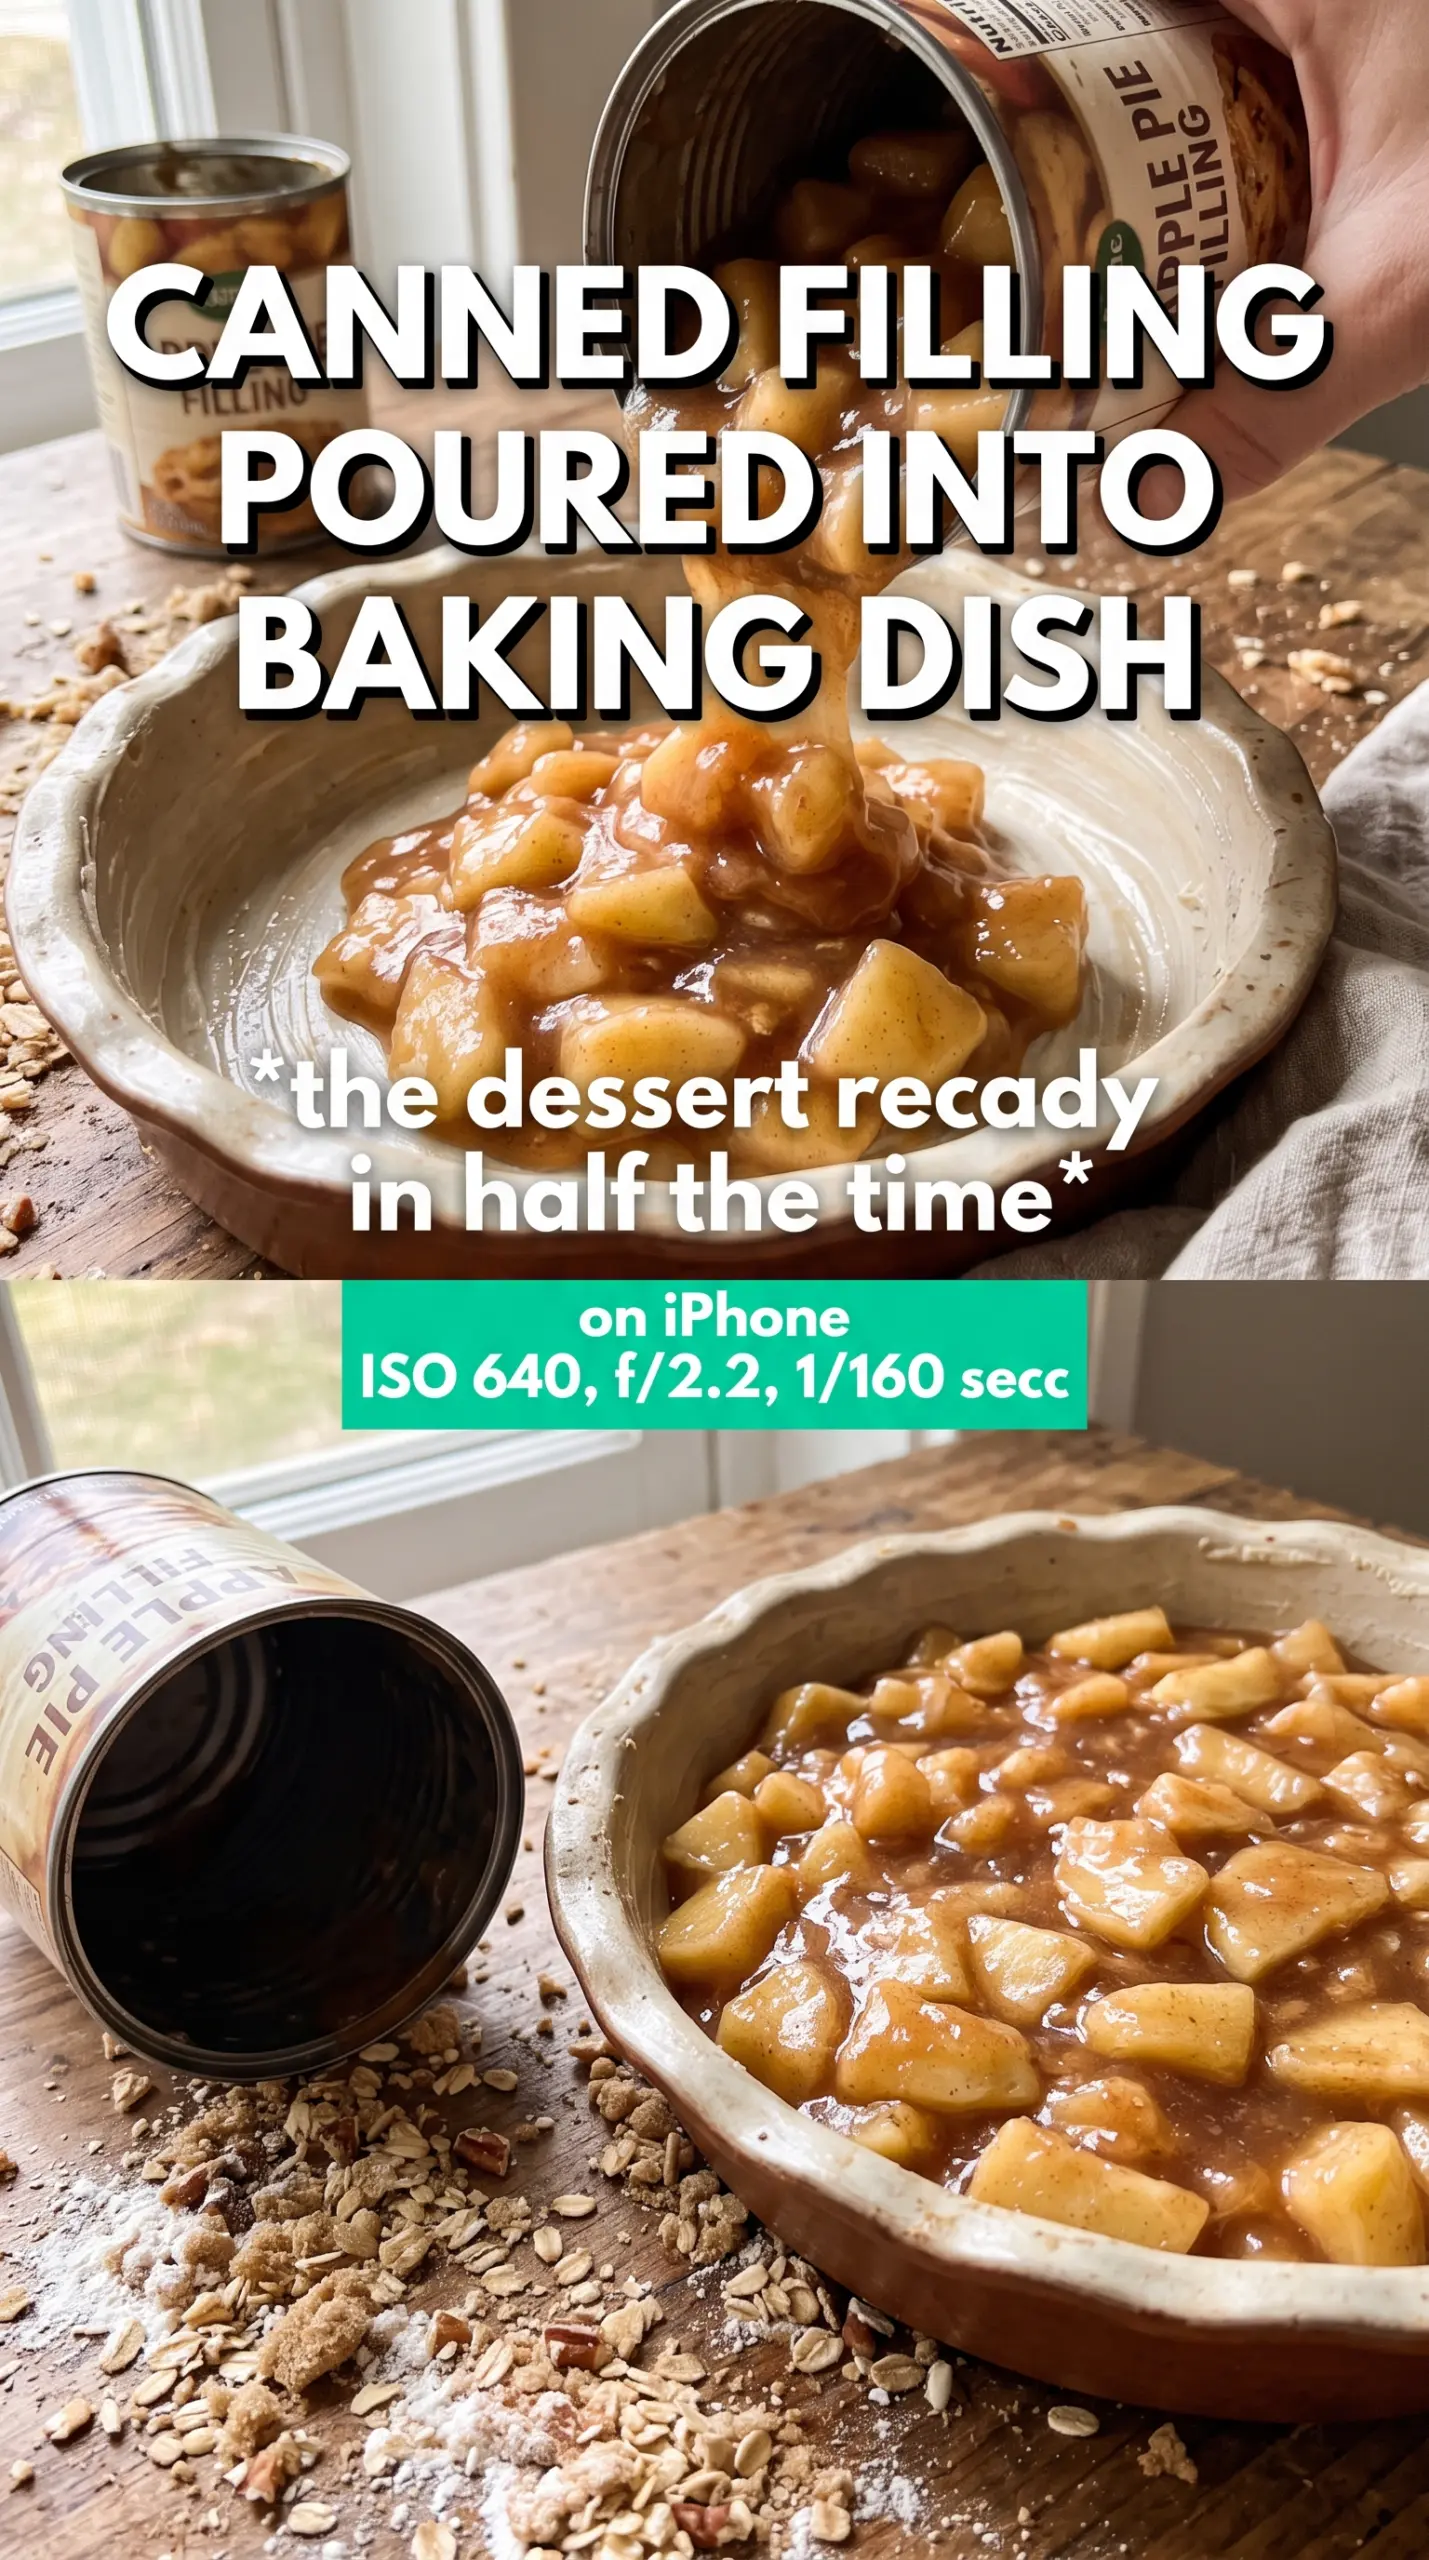
- Apple pie filling — This is the shortcut that makes the recipe fast, but it needs help. The canned version brings sweetness and softness, while the added spices and lemon juice keep it from tasting one-note.
- Rolled oats — Old-fashioned oats give the topping that craggy, rustic crunch. Quick oats can work in a pinch, but they make a denser, finer crust that loses texture faster.
- Brown sugar — This brings molasses depth and helps the topping brown. Light brown sugar is fine; dark brown sugar will make the crumble taste deeper and a little stickier.
- Cold unsalted butter — This is what creates the crumble. If the butter softens before baking, the topping turns pasty instead of crumbly, so cube it straight from the fridge.
- Lemon juice — A small amount sharpens the sweetness and keeps the filling tasting bright. You won’t taste lemon, but you’ll notice when it’s missing.
How to Assemble It So the Bake Comes Out Even
Season the Filling First
Stir the cinnamon, nutmeg, allspice, and lemon juice straight into the canned filling before it goes into the dish. That gives the spices a chance to coat the fruit instead of sitting on top of the crumble where they bake unevenly. Spread the filling in an even layer so the topping browns at the same pace across the pan.
Cut the Butter Into Chunky Crumbs
Mix the oats, flour, brown sugar, cinnamon, and salt, then cut in the cold butter until you have a mix of pea-sized bits and larger clumps. Those bigger clumps are what bake into crunchy pockets. If the mixture starts to look wet or greasy, the butter has warmed too much and the topping will bake up flat.
Bake Until the Edges Bubble
Scatter the crumble generously over the apples and bake at 375°F until the top is deep golden and the filling bubbles around the edges, about 30 to 35 minutes. The color tells you the topping is crisp, but the bubbling tells you the fruit layer is hot enough to finish thickening. Let it rest for 5 minutes so the juices settle before you scoop it.
How to Adapt This for Different Diets and Different Pantry Shelves
Gluten-Free Crisp with One Simple Swap
Replace the all-purpose flour with a good 1:1 gluten-free baking blend. The topping still holds together, but it may bake a little more delicately, so let it cool before serving if you want cleaner scoops.
Dairy-Free Version That Still Browns Well
Use a firm plant-based butter that comes in sticks, not a soft tub spread. You need enough fat to form those chunky crumbs, and a watery substitute won’t brown or crisp the same way.
Extra-Spiced Filling for a Deeper Apple Flavor
If your canned filling tastes too sweet, add another pinch of cinnamon and a little extra nutmeg. Don’t overdo it; the goal is to sharpen the apples, not turn the dessert into pumpkin pie.
Make-Ahead for a Crowd
Assemble the filling and topping separately up to a day ahead, then store them covered in the fridge. Keep the crumble cold and add it just before baking so the butter stays solid and the topping stays crisp instead of absorbing the filling overnight.
Storage and Reheating
- Refrigerator: Store covered for up to 4 days. The topping softens a little as it sits, but the flavor stays good.
- Freezer: Freeze baked crisp in a tightly wrapped dish for up to 2 months. Thaw overnight in the fridge before reheating so the center warms evenly.
- Reheating: Warm in a 350°F oven until the edges are bubbling again and the top crisps back up, usually 15 to 20 minutes. The microwave will heat the filling, but it turns the crumble soft.
Answers to the Questions Worth Asking
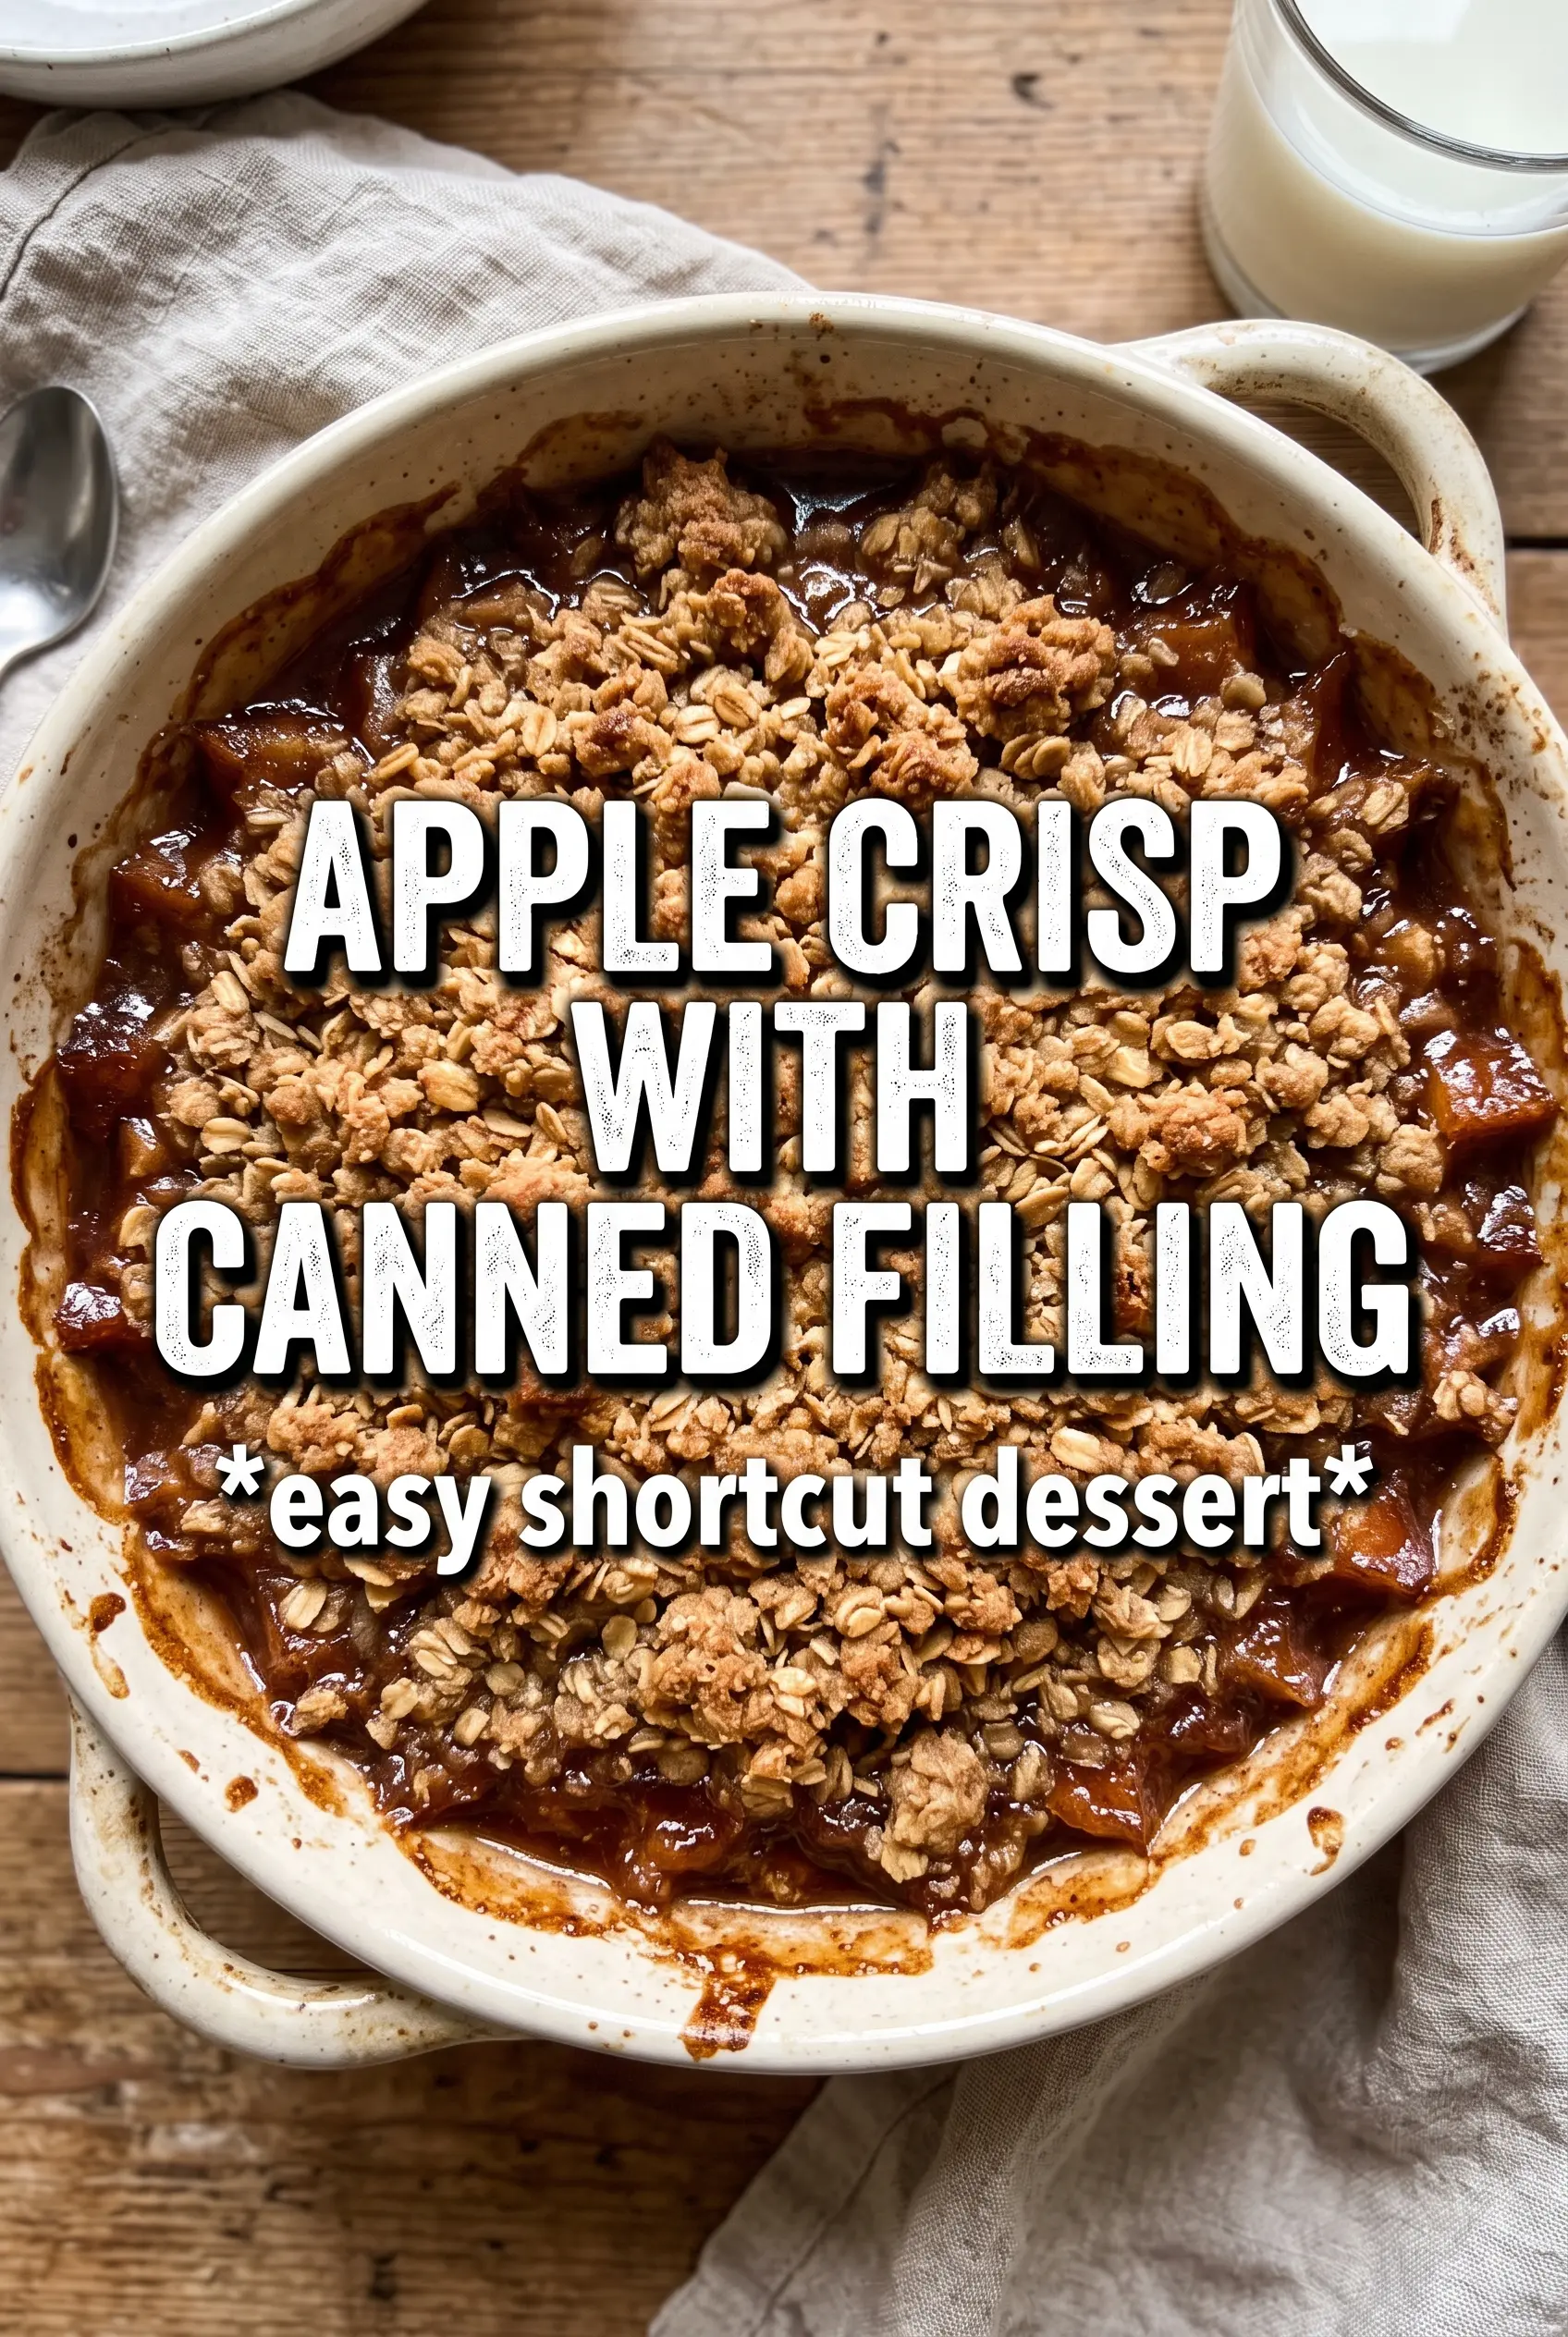
Apple Crisp With Canned Apple Filling
Ingredients
Equipment
Method
- Preheat oven to 375°F, then grease a 9x13 baking dish.
- Stir cinnamon, nutmeg, allspice, and lemon juice into the canned apple pie filling, then spread it evenly in the prepared dish.
- Combine rolled oats, all-purpose flour, brown sugar, cinnamon, and salt, then cut in cold butter until chunky clumps form.
- Scatter the crumble generously over the apple filling, covering it as evenly as possible.
- Bake for 30-35 minutes at 375°F until the topping is golden and the filling is bubbling around the edges, with caramelized spots visible on the crumble.
- Rest the crisp for 5 minutes so the bubbling thickens slightly, then serve warm with vanilla ice cream.