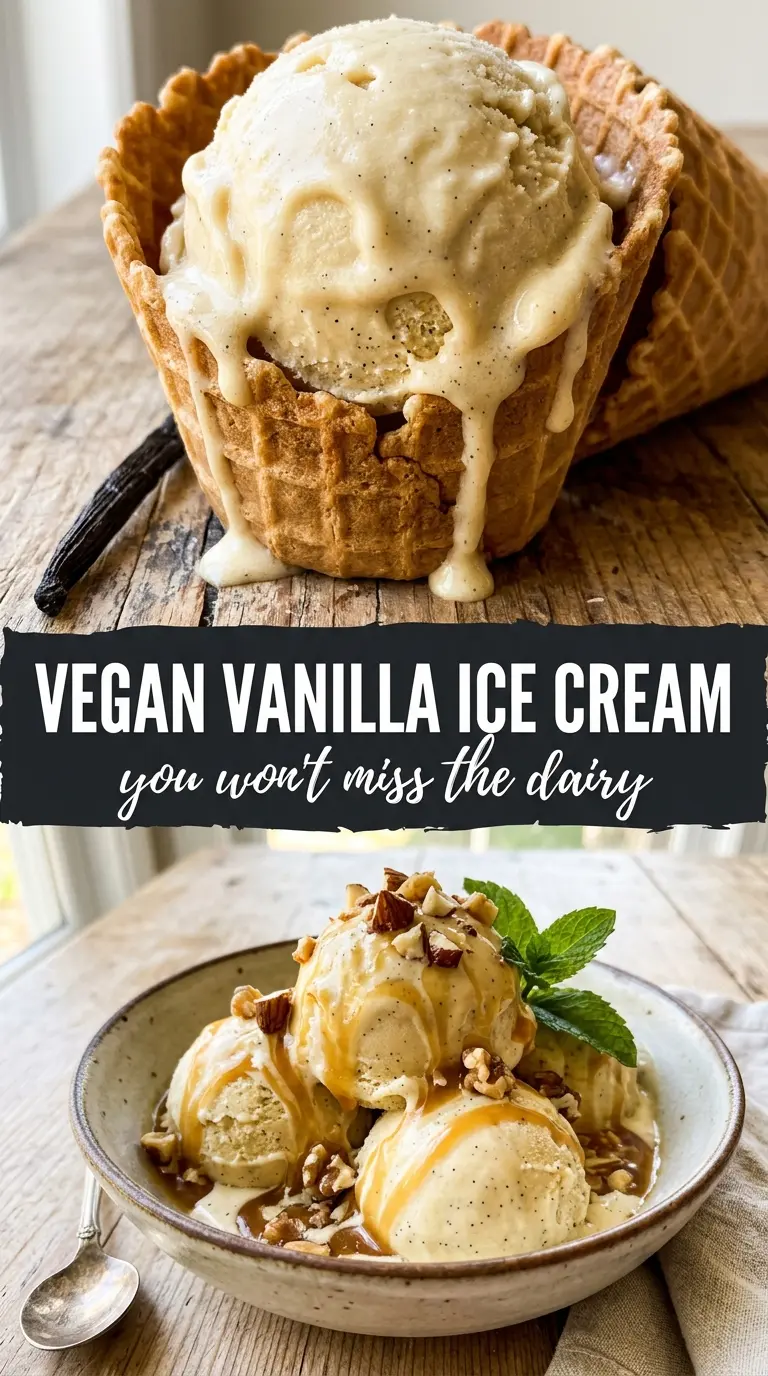
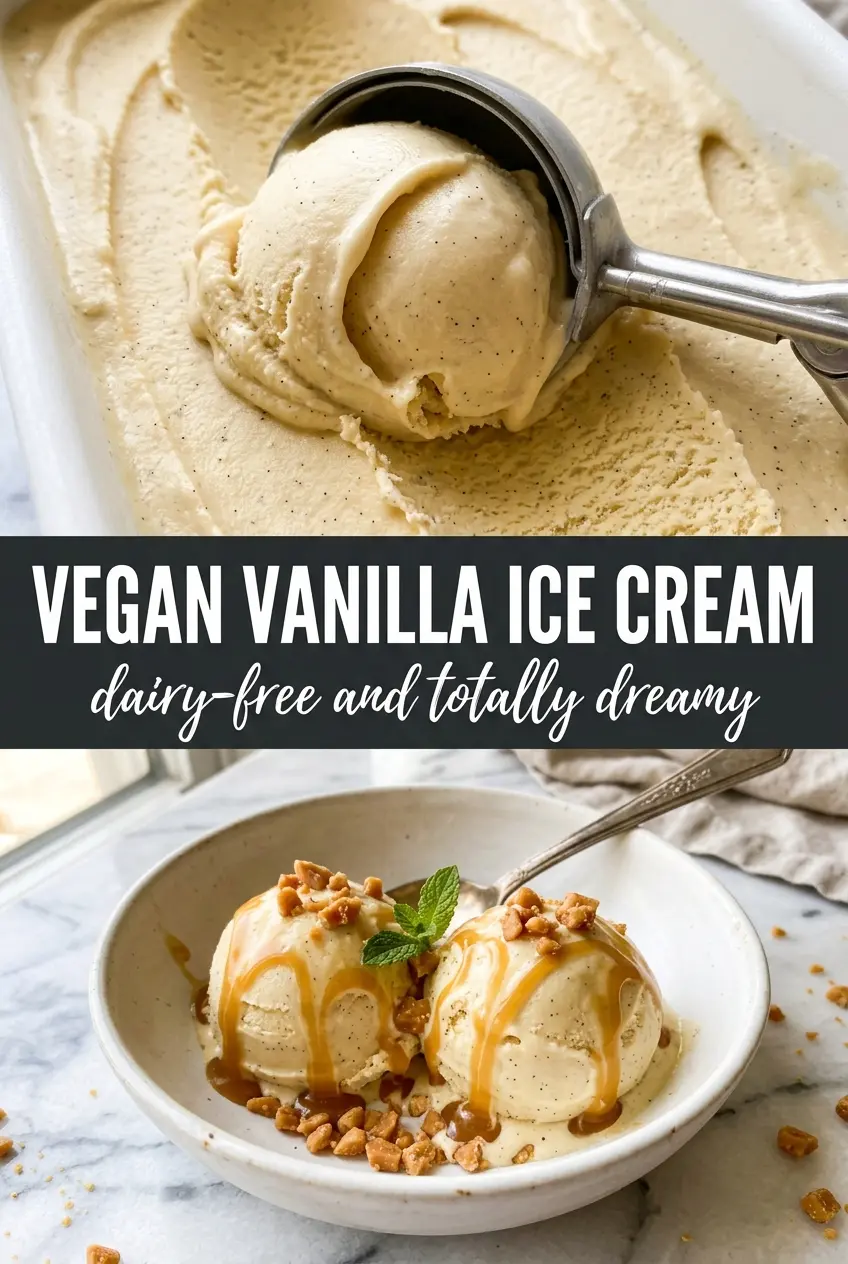
Silky vegan vanilla ice cream earns its place because it doesn’t taste like a compromise. The texture lands creamy and scoopable, with a clean vanilla flavor and just enough richness from coconut milk to mimic the kind of ice cream that melts slowly on a spoon. The best part is that it freezes up ivory and smooth instead of icy or brittle, which is where a lot of dairy-free versions go wrong.
The trick is starting with full-fat coconut milk that’s been chilled overnight so the cream can be lifted off the top and used as the base. A little arrowroot or cornstarch gives the custard a subtle body before churning, and the coconut oil helps the finished ice cream stay softer in the freezer. Once the mixture is heated just enough to thicken slightly, it needs a full chill before it ever touches the ice cream maker.
Below, I’ll walk through the step that keeps the texture from turning grainy, the ingredient swaps that still give you a rich vanilla flavor, and what to do if your freezer makes the ice cream too firm to scoop straight from the container.
The coconut milk gave it this smooth, rich scoop, and the vanilla stayed front and center even after freezing overnight. I used the arrowroot like suggested and it wasn’t icy at all.
Pin this coconut milk vanilla ice cream for the nights when you want a creamy, dairy-free dessert with real vanilla flavor.
The Part That Keeps Dairy-Free Ice Cream Creamy Instead of Icy
Most homemade vegan ice cream turns icy because the base never gets enough body before it goes into the freezer. Coconut milk alone can be rich, but it still needs a little help to behave like custard. That’s where the starch comes in. It thickens the base just enough to trap water more evenly, which gives you a smoother scoop after churning and freezing.
The other place people go wrong is skipping the chill time. A warm base may churn, but it won’t set up with the same fine, creamy texture. Cold base means faster freezing in the machine, smaller ice crystals, and a finished ice cream that actually scoops cleanly instead of turning slushy first and firm later.
- Full-fat coconut milk — This is the backbone of the recipe. Light coconut milk won’t give you the same richness or body, and the ice cream will freeze harder and taste thinner.
- Arrowroot or cornstarch — Either one works, and both help stabilize the base. Arrowroot gives a slightly silkier finish, while cornstarch is the easier pantry swap.
- Maple syrup or agave — Liquid sweeteners help keep the texture softer than granulated sugar would. Maple adds a little depth; agave keeps the vanilla flavor more neutral.
- Coconut oil — This adds softness in the freezer. If you skip it, the ice cream can set up a little too firmly after a night in the freezer.
What Each Ingredient Is Doing in the Base
- Coconut cream from chilled cans — Refrigerating the cans overnight lets the cream separate from the water, and that thicker top layer is what gives this ice cream its rich body. If your cans don’t separate well, the base will still work, but it may taste less dense.
- Vanilla extract — Use a good one here, because vanilla is the whole point of the dessert. If you have vanilla bean paste, it’s a nice upgrade and gives the ice cream those tiny specks people expect from a custard-style dessert.
- Maple syrup or agave — This sweetens and softens at the same time. Granulated sugar doesn’t blend into this base as smoothly and can leave it a little less creamy after freezing.
- Salt — Just enough to keep the coconut from tasting flat. It doesn’t make the ice cream salty; it makes the vanilla clearer.
How to Heat the Base Without Turning It Grainy
Separating the Coconut Cream
Open the chilled cans without shaking them, then scoop the thick cream from the top into your saucepan and leave the watery liquid behind. That separation matters because the cream is what gives the finished ice cream its body. If you accidentally stir everything together, the recipe still works, but the churned ice cream won’t be as rich.
Thickening Just Enough on the Stove
Whisk the coconut cream, sweetener, vanilla, starch, salt, and coconut oil over medium heat until the mixture looks slightly thicker and coats the whisk lightly, about 5 minutes. Don’t let it boil hard. High heat can make starch taste chalky and can push the coconut milk toward a greasy split instead of a smooth custard-like base.
Chilling Before Churning
Cool the mixture fully, then refrigerate it for at least 4 hours. This is not a skippable pause. Cold base freezes faster in the machine and gives you smaller ice crystals, which is the difference between creamy ice cream and a batch that tastes gritty or soft-serve-like at first then freezes into a block.
Churning and Freezing to Set
Churn according to your machine’s instructions until the ice cream looks like soft frozen custard and pulls away from the sides. Transfer it to a freezer-safe container and freeze until scoopable. If it seems too soft after churning, that’s normal; it needs that final freeze to firm up, and packing it into a shallow container helps it set evenly.
How to Adapt This Dairy-Free Ice Cream for Different Freezers and Diets
Use vanilla bean paste for a more classic custard look
Swap the extract for vanilla bean paste if you want the tiny black flecks and a fuller vanilla aroma. The flavor lands a little rounder, and it makes the ice cream feel closer to a traditional custard-style scoop.
Make it refined-sugar-free with maple syrup
Use maple syrup instead of agave if you want a deeper sweetness and don’t mind a faint maple note. It still keeps the texture soft in the freezer, which is the main reason liquid sweeteners work here.
Skip the ice cream maker for a denser frozen dessert
If you don’t have a machine, freeze the cooled base in a shallow pan and whisk it every 30 minutes until it’s thickened, then let it finish freezing. The texture won’t be as airy, but it still lands creamy if you break up the ice crystals while it sets.
Storage and Reheating
- Refrigerator: Not applicable once the mixture is churned; it should go straight to the freezer for the best texture.
- Freezer: Keeps well for about 2 weeks. After that, it starts to pick up more ice crystals, especially if the container isn’t tightly sealed.
- Reheating: No reheating needed. For scooping, let it sit at room temperature for 5 to 10 minutes so the edges soften before digging in. The most common mistake is trying to scoop it straight from a deep freeze, which can crack the container and makes the texture seem worse than it is.
Answers to the Questions Worth Asking
Vegan Vanilla Ice Cream
Ingredients
Equipment
Method
- Scoop the solid coconut cream from the top of the refrigerated cans and reserve the coconut water for another use.
- Add coconut cream, maple syrup (or agave), vanilla extract, arrowroot (or cornstarch), salt, and coconut oil to a saucepan and whisk until smooth.
- Heat the mixture over medium heat, whisking constantly until it thickens slightly, about 5 minutes.
- Turn off the heat and let the mixture cool completely before chilling.
- Refrigerate the cooled mixture for at least 4 hours until well chilled.
- Churn in an ice cream maker according to the manufacturer’s instructions, until thick and creamy.
- Freeze the churned ice cream until scoopable.