Swirled pumpkin cheesecake bars bake up with a creamy middle, a buttery crust, and those dramatic ribbons of spiced pumpkin that make every slice look like it came from a bakery case. The texture is what keeps people reaching back for another square: firm enough to cut cleanly after chilling, but still soft and plush once it hits the plate.
The trick is keeping both cheesecake layers smooth and at the same temperature before they go into the pan. Softened cream cheese beats out lumps fast, and the sour cream in the vanilla layer keeps it from tasting heavy. The pumpkin layer gets its color and warmth from brown sugar, pumpkin pie spice, and cinnamon, which keeps the swirl from tasting flat.
Below, I’ll walk through the part that matters most: how to get a clean swirl without muddying the top, plus the crust choice that gives these bars a sturdier bite. If you’ve ever had cheesecake bars crack, sink, or turn watery after chilling, this version is built to avoid that.
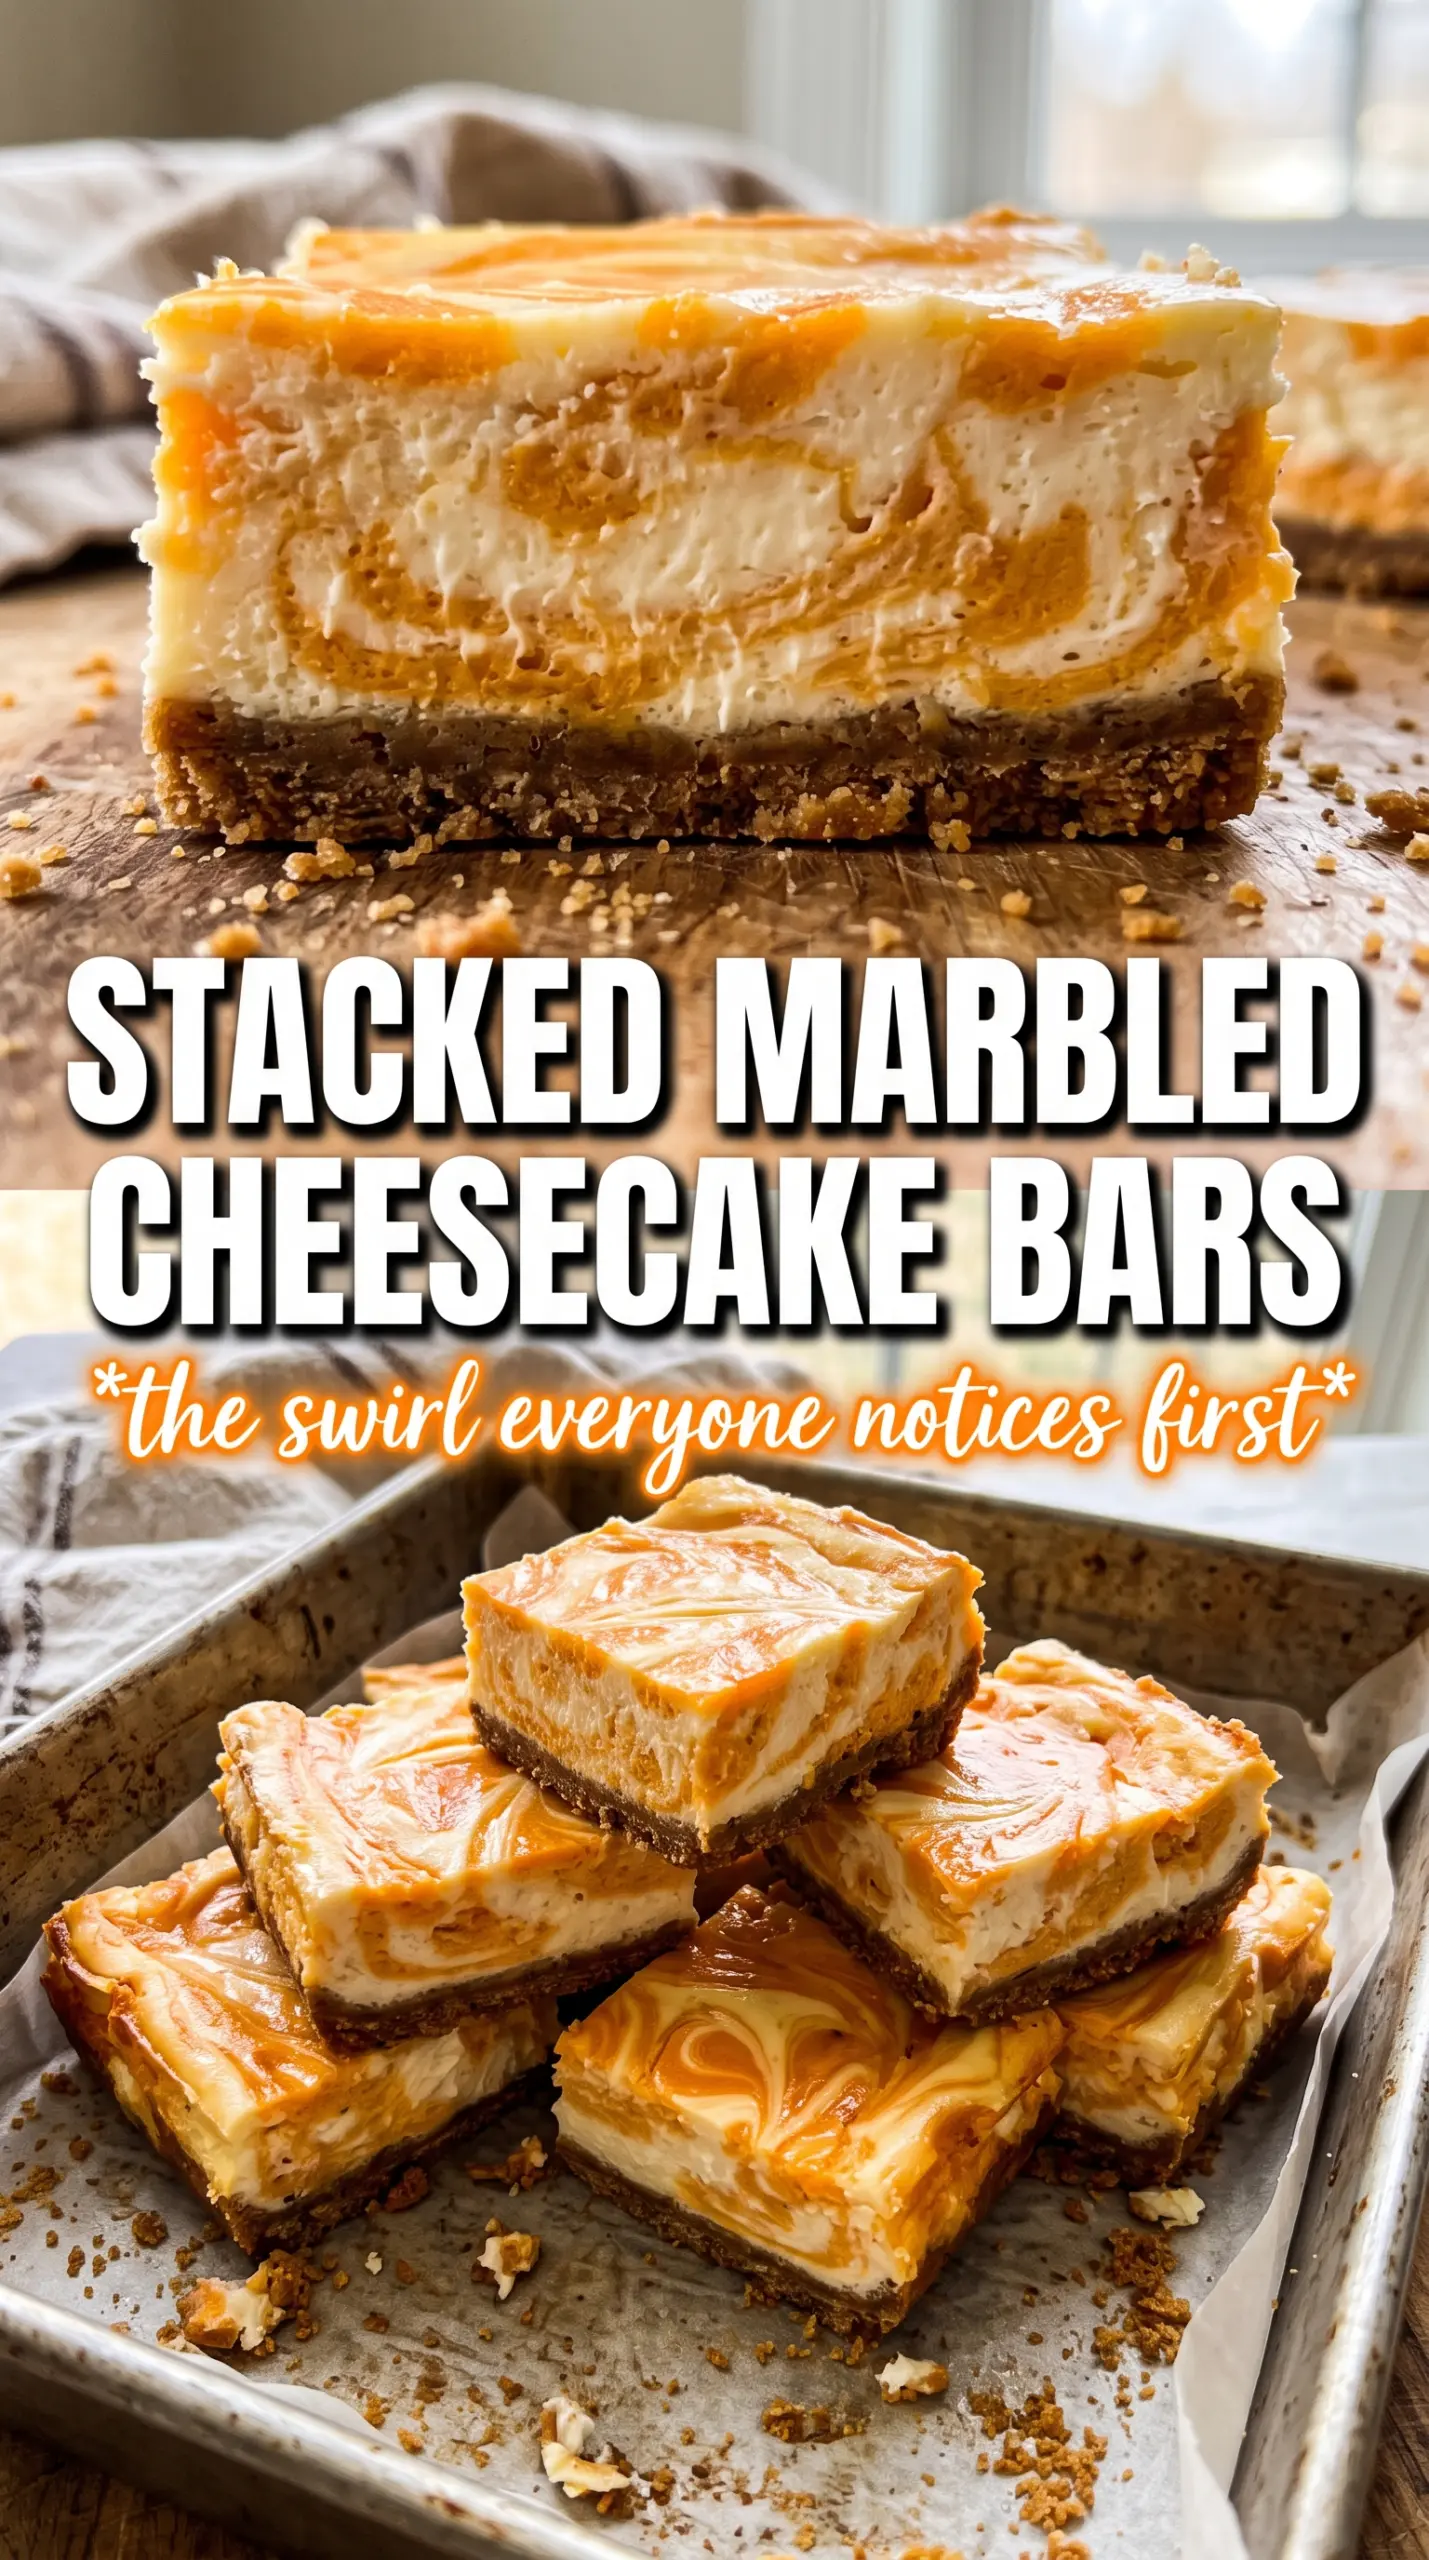
The swirl set beautifully and the bars chilled into clean squares with that tangy pumpkin cheesecake layer on top. I used gingersnap crumbs, and the crust held up perfectly without getting soggy.
Love these swirled pumpkin cheesecake bars? Save them to Pinterest for the dessert table days when you want a clean slice and a dramatic marbled top.
The Swirl Needs Thick Filling, Not Runny Batter
The most common mistake with cheesecake bars is trying to swirl fillings that are too loose. If both mixtures pour like batter, they’ll blend into a pale, muddy top instead of holding those sharp ribbons of pumpkin and vanilla. You want a filling that mounds slightly off the spoon so the knife can drag through distinct layers.
Baking at 325°F gives the custard time to set without puffing and collapsing. Pull the pan when the center still has a small wobble; carryover heat finishes the job as it cools. If you wait until the middle looks completely firm, the bars usually overbake and turn grainy at the edges.
What Each Ingredient Is Actually Doing in This Recipe
- Primary ingredient (the star) — Quality matters most. Choose the best you can find.
- Cooking medium (oil, butter, or broth) — This carries flavors and prevents dryness.
- Seasonings (salt, pepper, spices, herbs) — Layer flavors so nothing overpowers. Build depth gradually.
- Aromatics (garlic, onion, herbs) — Cook with fat to bloom flavors. Become the foundation.
- Supporting ingredients — Complement the main ingredient without overpowering it.
- Sauce or liquid (if applicable) — Brings flavors together. Balance richness with acid.
- Acid (lemon, vinegar, wine, or other) — Brightens and prevents flat-tasting results.
- Final finish (garnish, glaze, or sauce) — Prevents one-dimensional taste and adds visual appeal.
What Each Layer Is Doing in These Cheesecake Bars
- Graham or gingersnap crumbs — Graham crackers give you the classic buttery base, but gingersnaps bring a sharper spice that plays nicely with the pumpkin. Either works, but the gingersnap version tastes sturdier and more seasonal without needing any extra spice.
- Cream cheese — This is the backbone of both layers. Use full-fat blocks, not whipped tubs, so the filling bakes up dense and sliceable instead of airy and loose.
- Sour cream — It softens the vanilla layer and keeps the bars from tasting one-note. You can swap in full-fat Greek yogurt in a pinch, but the finish will be slightly tangier and a little less plush.
- Pumpkin puree — Use plain pumpkin puree, not pumpkin pie filling. Pie filling already has sugar and spice mixed in, which throws off the texture and can make the swirl too sweet and too soft.
- Brown sugar and spices — Brown sugar deepens the pumpkin layer and gives it a warmer finish than plain white sugar would. The cinnamon and pumpkin pie spice need to be well mixed before they go in, or you’ll get little pockets of spice instead of an even swirl.
Building the Pan So the Bars Slice Cleanly
Press and Prebake the Crust
Mix the crumbs, sugar, and melted butter until every crumb looks damp, then press the mixture firmly into a lined 9×13 pan. A flat-bottomed measuring cup helps pack it down evenly, which keeps the crust from crumbling when you lift out the bars. Bake it for 8 minutes just until it smells toasted and looks set at the edges. If you skip the prebake, the crust stays sandy instead of turning into a solid base.
Mix Two Smooth Fillings
Beat the vanilla cheesecake until it’s completely smooth before you move on. Scrape the bowl well, then do the same with the pumpkin mixture so there are no cream cheese streaks hiding in the swirl. If your cream cheese is still cool in the center, the filling will stay lumpy no matter how long you beat it, so let it soften all the way first. The goal is a thick, glossy mixture that drops from the spoon in ribbons.
Swirl with Intent, Not Chaos
Spread the vanilla layer over the crust, then dollop the pumpkin mixture in large spoonfuls across the top. A knife or skewer should move through the surface in broad S-shapes, just enough to marble the top without blending the two fillings together. Stop before it looks perfect; over-swirling is how you lose the contrast. The surface should still show clear patches of both colors.
Cool, Chill, and Cut
Bake until the center is just set, then cool the pan completely before it goes into the refrigerator. Chilling for a full 3 hours gives the cheesecake time to firm up for clean edges. If you try to cut them warm, the bars slump and the swirl tears. Use a sharp knife wiped clean between cuts for the neatest squares.
How to Adapt These Bars for Different Kitchens and Crowds
Use gingersnaps for a bolder crust
Swapping graham crumbs for gingersnap crumbs gives the bars a deeper spice and a firmer, more fragrant crust. It’s the better choice if you want the pumpkin layer to taste more layered and less sweet, but it does push the dessert a little farther from classic cheesecake territory.
Make them gluten-free with one crust swap
Use gluten-free graham-style crumbs or crushed gluten-free gingersnaps in the same amount. The filling is naturally gluten-free, so this swap only changes the base, and the texture stays almost identical as long as the crumbs are packed firmly before baking.
Add a maple note without changing the texture
Replace 2 tablespoons of the sugar in the vanilla layer with maple syrup and reduce the sour cream by 1 tablespoon to keep the filling from loosening. The bars pick up a softer, rounder sweetness, but too much syrup will thin the batter and blur the swirl.
Storage and Reheating
- Refrigerator: Store covered for up to 5 days. The crust stays best on day 1 and 2, but the bars still slice cleanly after chilling.
- Freezer: These freeze well. Cut into bars, wrap individually, then freeze in an airtight container for up to 2 months. Thaw overnight in the refrigerator so condensation doesn’t soften the top.
- Reheating: These are meant to be served cold or cool, not warmed. If you want a softer texture, leave a bar at room temperature for 10 to 15 minutes before serving instead of microwaving it, which can make the cheesecake filling greasy.
Questions I Get Asked About This Recipe
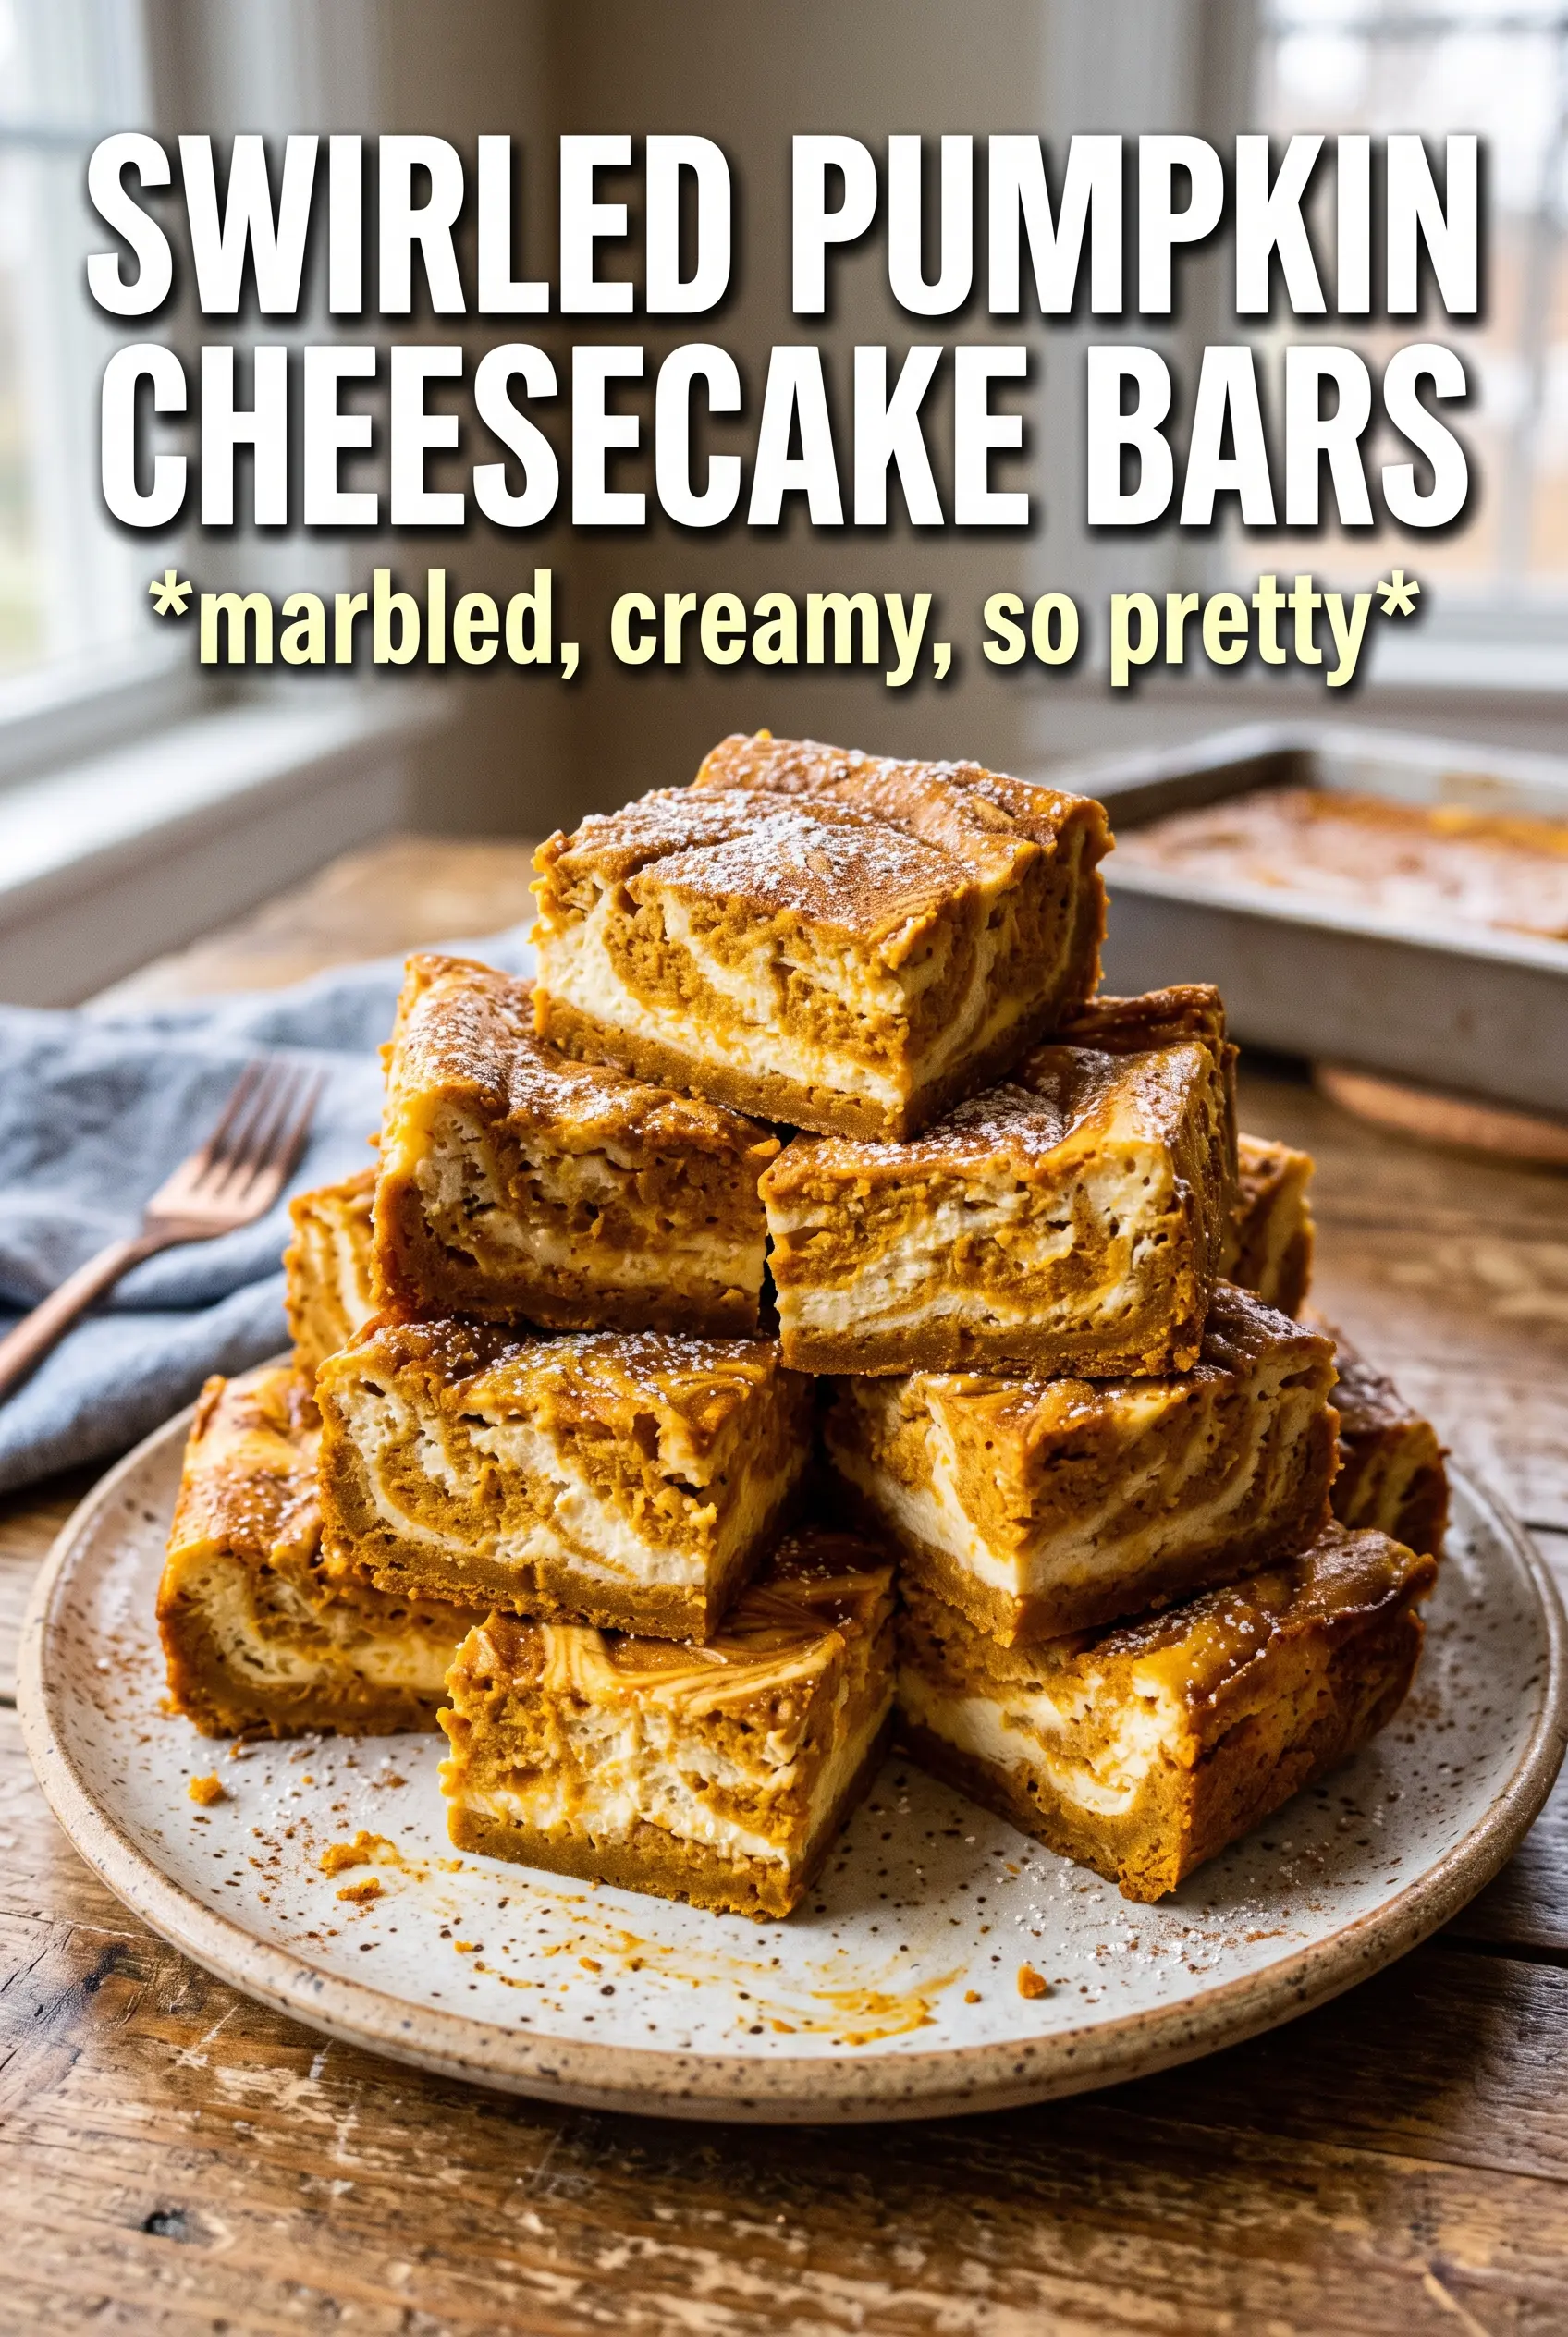
Swirled Pumpkin Cheesecake Bars
Ingredients
Equipment
Method
- Preheat oven to 325F, then line a 9x13 pan and press crust crumbs mixture into an even layer. Bake for 8 minutes until fragrant and lightly set, then let it cool briefly.
- Beat the vanilla cheesecake layer ingredients until smooth, scraping the bowl as needed for a lump-free batter. Set aside.
- Beat the pumpkin swirl layer ingredients until smooth and fully combined, with no streaks. Set aside.
- Pour the vanilla cheesecake batter over the baked crust, spreading it to the edges for an even base.
- Dollop the pumpkin mixture in large spoonfuls over the vanilla layer, leaving some visible peaks and swirls.
- Use a knife to swirl dramatically through the layers, dragging through the surface to create bold marbling. Stop when the pattern looks evenly distributed.
- Bake at 325F for 32-35 minutes until the center is just set with a slight wobble. The edges should look firm while the middle finishes cooking.
- Cool the bars to room temperature on the counter, then refrigerate for 3 hours until fully chilled and sliceable. Cut into bars after chilling.