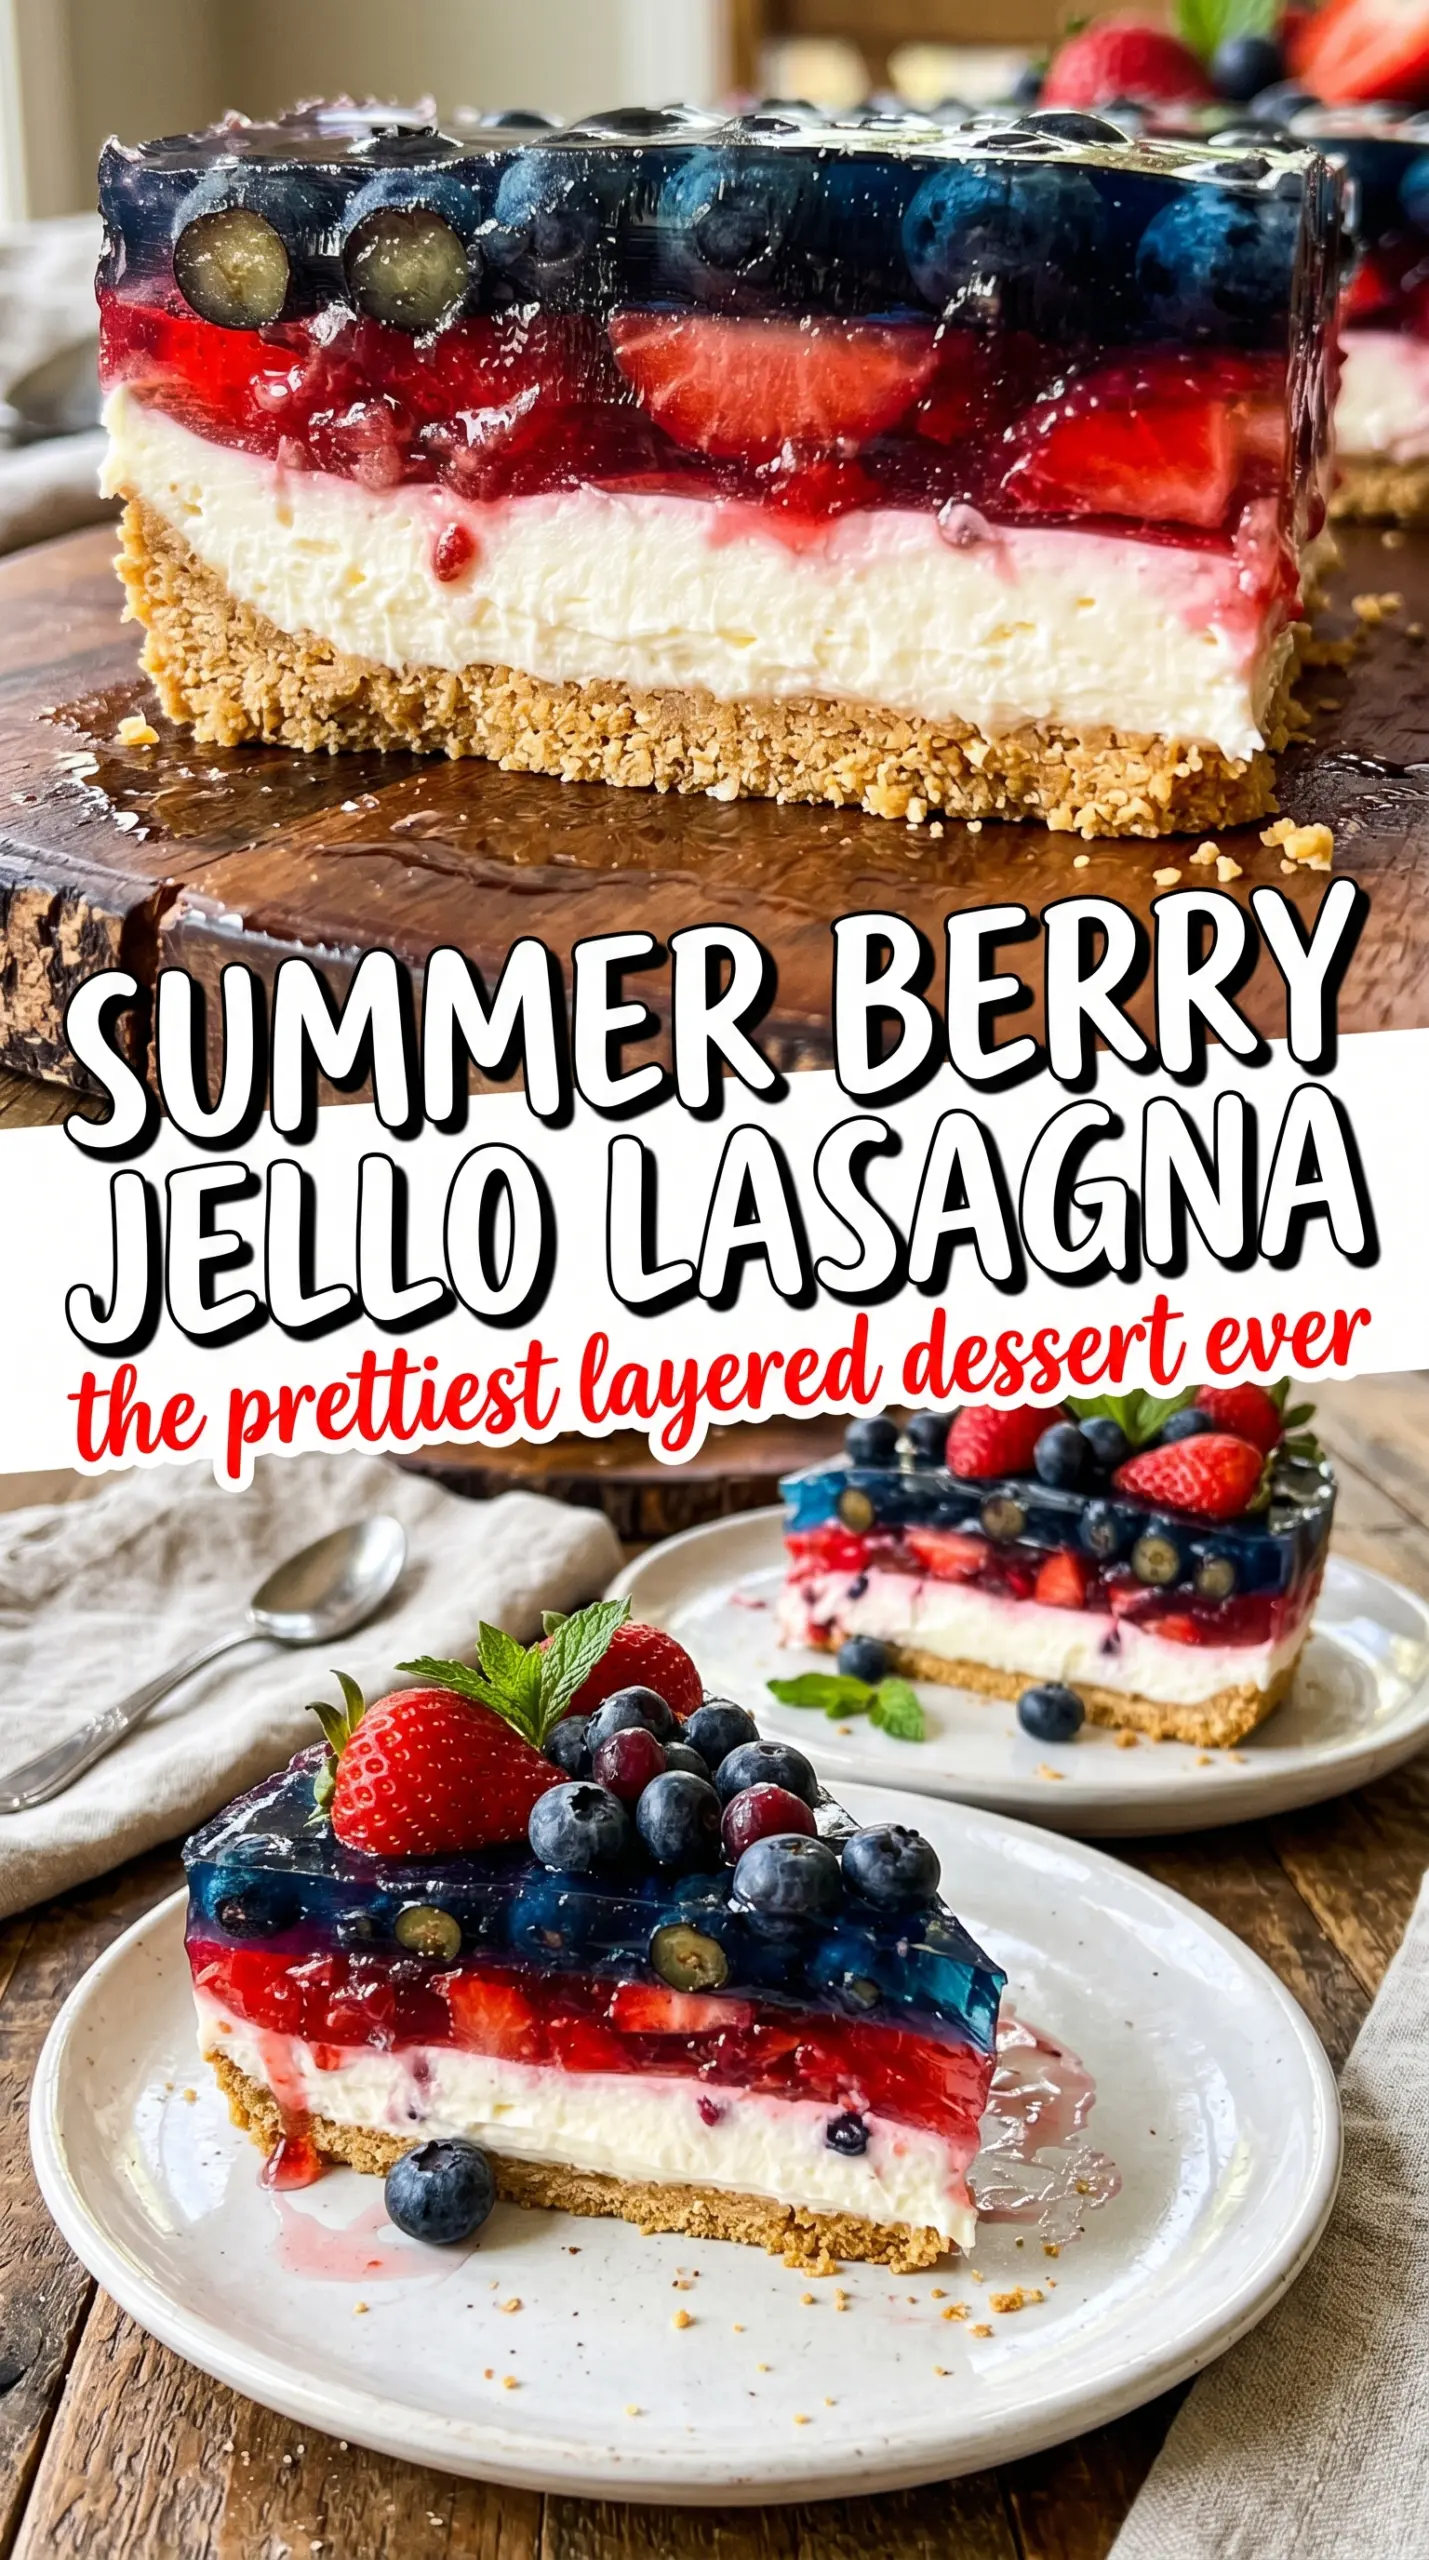
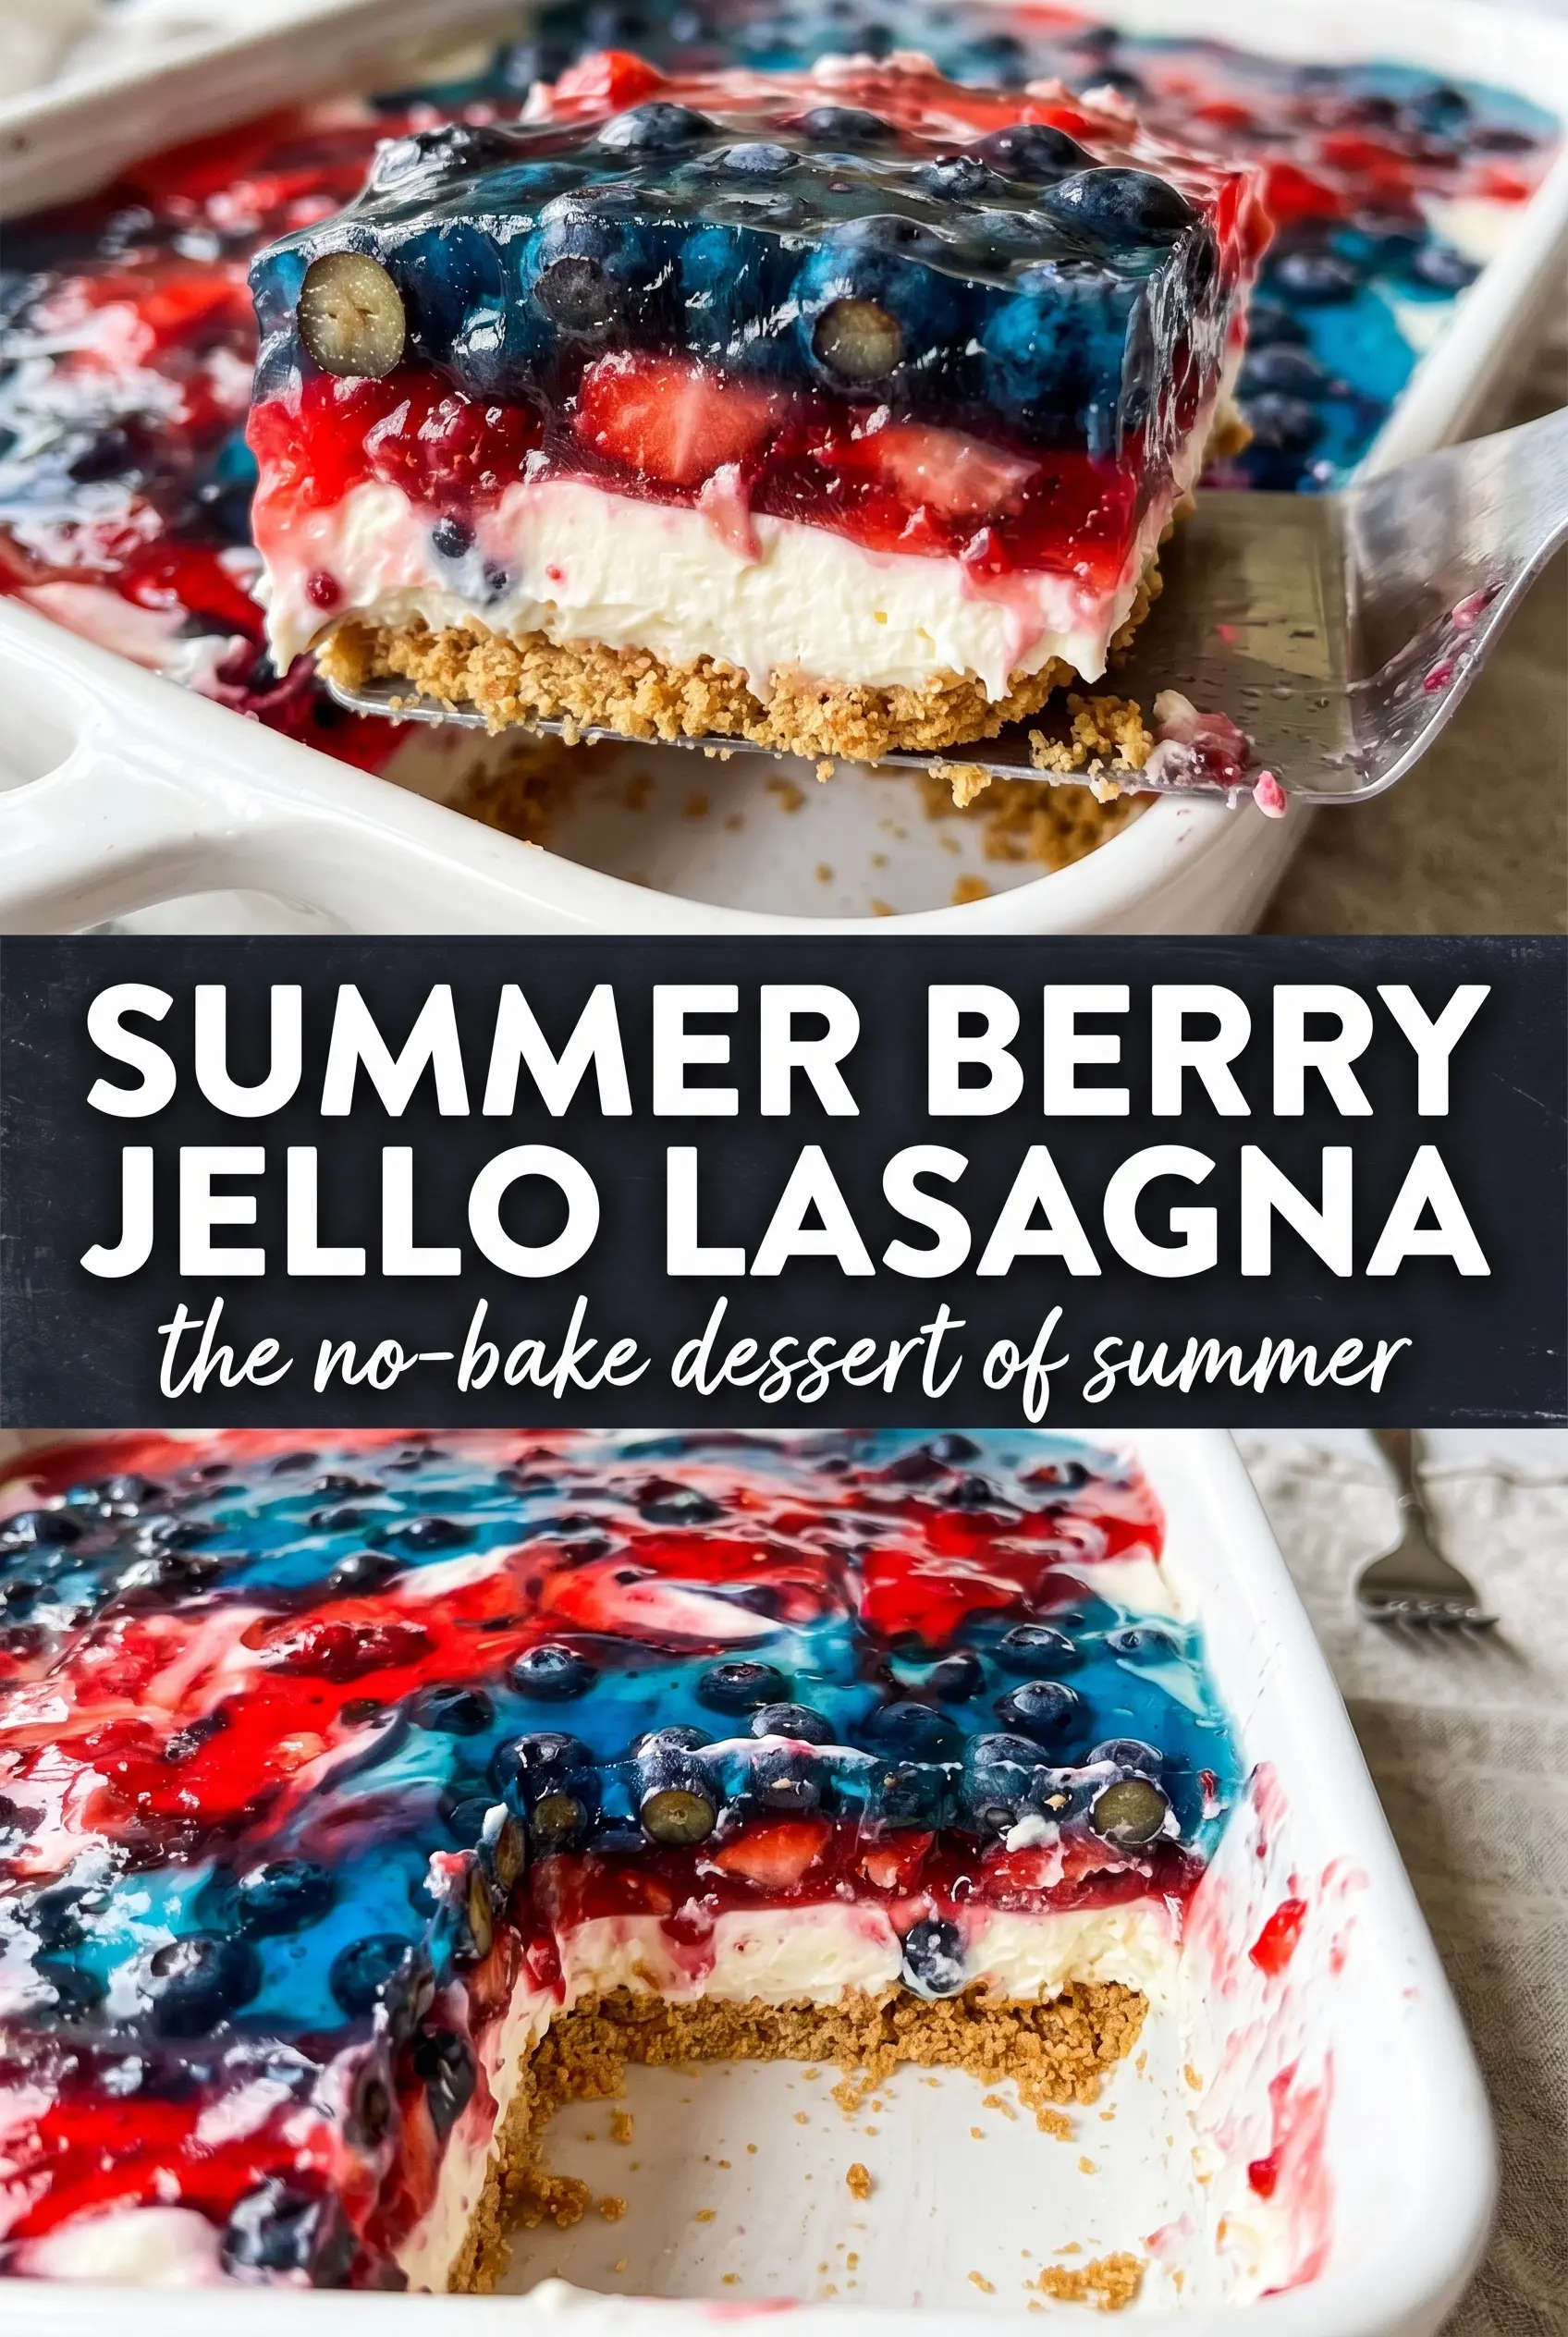
Summer Berry Jello Lasagna lands exactly where a good party dessert should: cold, creamy, colorful, and easy to slice into clean squares that hold their layers. The crust stays buttery and crisp under a fluffy cream cheese filling, while the strawberry and berry blue Jell-O set into bright, glossy sheets that look even better than they taste, if that’s possible.
The part that makes this recipe work is patience with temperature. The Jell-O has to cool to room temperature before it goes on the cream layer, or it can melt right through and blur the stripes. The cream cheese layer also needs to be smooth before the whipped topping goes in, because any lumps will show once everything chills. Keep the pours gentle and the layers calm, and the finished dessert cuts into neat, bakery-style bars instead of a wobbly mess.
Below, I’ll walk through the small details that keep the layers distinct, the best way to spread each layer without tearing the one underneath, and a few swaps if you want to adjust the colors or make it ahead for a crowd.
The Jell-O layers set up beautifully and stayed separate, and the cream cheese layer was light instead of heavy. I chilled it exactly as written and got perfect slices the next day.
Like this layered Jell-O dessert? Save it to Pinterest for the next time you need a chilled make-ahead pan dessert with bright berry layers.
The Reason the Layers Stay Clean Instead of Bleeding Together
This dessert looks simple, but the layer order matters more than people expect. The crust needs a short chill first so it firms up enough to support the cream cheese layer, and that middle layer needs to be fully spread before any Jell-O hits the pan. Once the first Jell-O layer sets, it acts like a barrier, which is why the second color can sit on top without sinking through or streaking the filling.
The biggest failure point is warm Jell-O. If it’s even slightly hot when you pour it over the cream layer, it can melt the topping and leave a cloudy seam instead of a sharp line. Cool it until it feels just barely lukewarm at most, then pour it slowly over the back of a spoon or drizzle it around the edges first so it lands gently.
What Each Layer Is Doing in the Pan
- Golden Oreos — These give you a vanilla cookie crust with a buttery, slightly caramel note that plays better with berry Jell-O than a chocolate crust would. A food processor makes the crumb finer, but a zip-top bag and rolling pin work if you want a little more texture. Crush them evenly so the crust presses together without sandy gaps.
- Butter — This is what turns the cookie crumbs into a sliceable base. Melted butter is the one place where a substitute doesn’t give the same result; margarine can work in a pinch, but the crust won’t taste as rich or set as firmly.
- Cream cheese — Full-fat cream cheese gives the filling its tang and enough structure to sit under the Jell-O layers without collapsing. Let it soften all the way first, or you’ll end up with little lumps that never disappear once the whipped topping goes in.
- Whipped topping — This lightens the cream cheese layer and gives the dessert that fluffy, mousse-like middle. If you use homemade whipped cream, it’ll taste great but won’t hold as long in the fridge, so this is one of the few places where the shelf-stable version actually helps.
- Strawberry and berry blue Jell-O — The different colors make the dessert dramatic, but they also give you two distinct fruit notes instead of one flat berry flavor. Any bright red and blue gelatin flavors will work, though strawberry and berry blue give the cleanest color contrast and the most reliable set.
How to Pour It Without Damaging the Layers
Pressing the Crust Firmly Enough
Mix the crushed cookies with melted butter until every crumb looks evenly moistened, then press it into the pan with the bottom of a measuring cup or glass. You want a compact crust, not a loose pile of crumbs, because the filling will slide if the base is uneven. Chill it long enough to firm up before adding the cream layer so the bottom doesn’t smear into the filling.
Whipping the Middle Until It’s Smooth
Beat the cream cheese and powdered sugar until the mixture looks completely smooth before folding in half the whipped topping. If the cream cheese still has soft lumps at this stage, they won’t disappear later. Spread it all the way to the corners in an even layer, because thin spots are where the Jell-O can sneak through and puddle.
Cooling the Jell-O to the Right Point
Dissolve each box fully in boiling water, then stir in the cold water and let it sit until it cools down to room temperature. Don’t rush this by putting it in the fridge; you want it cool, not partially set. If it starts to thicken at the edges, whisk it gently until smooth again, then pour it right away.
Setting Each Layer Before the Next One
Give the strawberry layer enough time to set before adding the blue layer, or the colors will bleed together. The top should look glossy and feel firm when you tap it lightly. Once the final layer is in place, the last chill is what gives you those sharp, visible stripes when you cut the pan.
Make It With Different Berry Colors
Swap the strawberry and berry blue packets for any two colors you like, as long as the shades are strong enough to stay distinct against the cream layer. Raspberry, cherry, lime, or grape all work, but the dessert loses the red-white-blue look and takes on a different party vibe.
Gluten-Free Version
Use certified gluten-free vanilla sandwich cookies in place of the Golden Oreos and press the crust the same way. The rest of the dessert is naturally gluten-free, so this swap keeps the texture close to the original without changing the chilling time.
A Lighter-Tasting Filling
Replace half the whipped topping with extra whipped cream if you want a less sweet middle layer, but keep the cream cheese amount the same. The dessert will taste fresher and a little less marshmallow-like, though it won’t hold quite as long once sliced.
Storage and Reheating
- Refrigerator: Keep covered for up to 4 days. The crust softens a little over time, but the layers stay neatly set.
- Freezer: Freezing isn’t ideal. The Jell-O can turn icy and the cream layer can weep when thawed, so this is best made fresh and chilled in the fridge.
- Reheating: Not applicable. Serve it straight from the refrigerator for the cleanest slices; if it sits out too long, the Jell-O starts to soften and the layers lose their definition.
Questions I Get Asked About This Recipe
Summer Berry Jello Lasagna
Ingredients
Equipment
Method
- Mix the finely crushed Golden Oreos with the melted butter until evenly moistened, then press firmly into the bottom of a 9x13 dish with even pressure.
- Refrigerate the crust for 20 minutes to firm up before layering.
- Beat the softened cream cheese and powdered sugar until smooth, then fold in half of the whipped topping.
- Spread the cream cheese mixture over the chilled crust in an even layer, then refrigerate while you prepare the Jell-O.
- Dissolve the strawberry Jell-O in 1 cup boiling water, stirring until fully dissolved.
- Stir in 1/2 cup cold water, then cool to room temperature, making sure it does not set.
- Pour the cooled strawberry Jell-O gently over the cream cheese layer, then refrigerate for 1 hour until set.
- Dissolve the berry blue Jell-O in 1 cup boiling water, stirring until fully dissolved.
- Stir in 1/2 cup cold water, then cool to room temperature before pouring, without letting it set.
- Pour the cooled blueberry Jell-O gently over the set strawberry layer, then refrigerate for 1 more hour.
- Spread the remaining whipped topping over the top, chill for another 30 minutes, then slice into rectangles to serve.