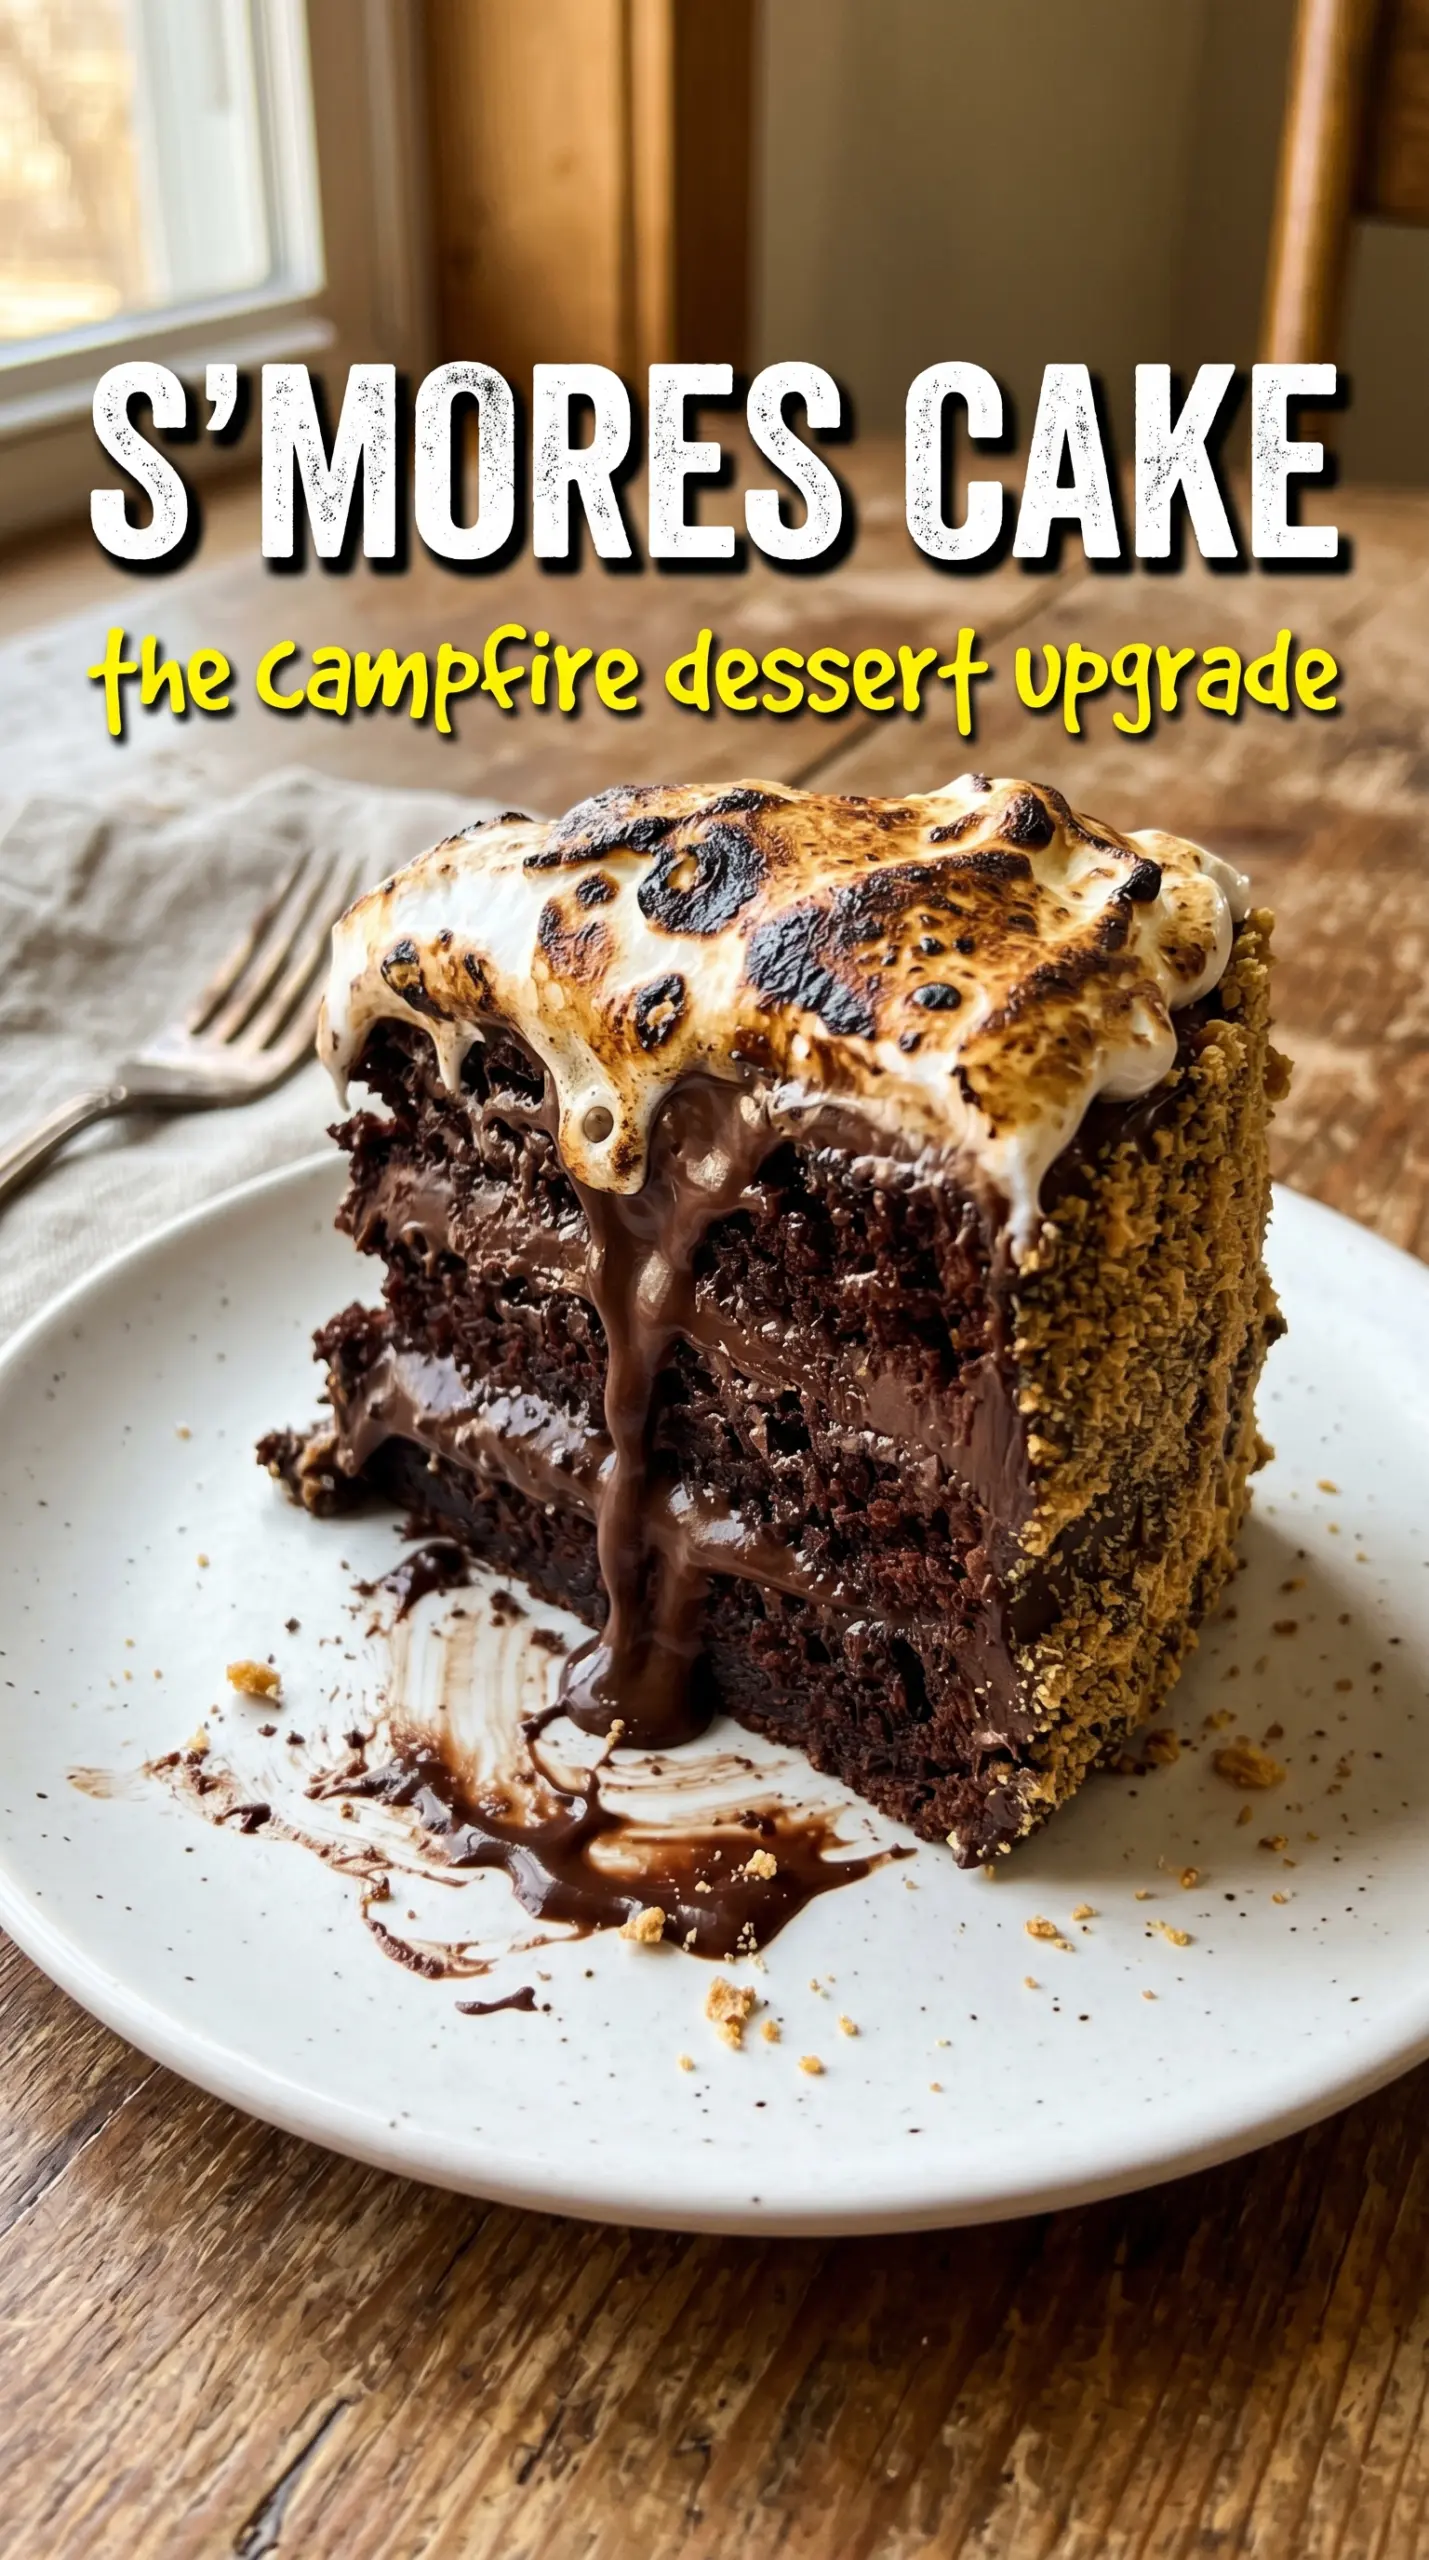
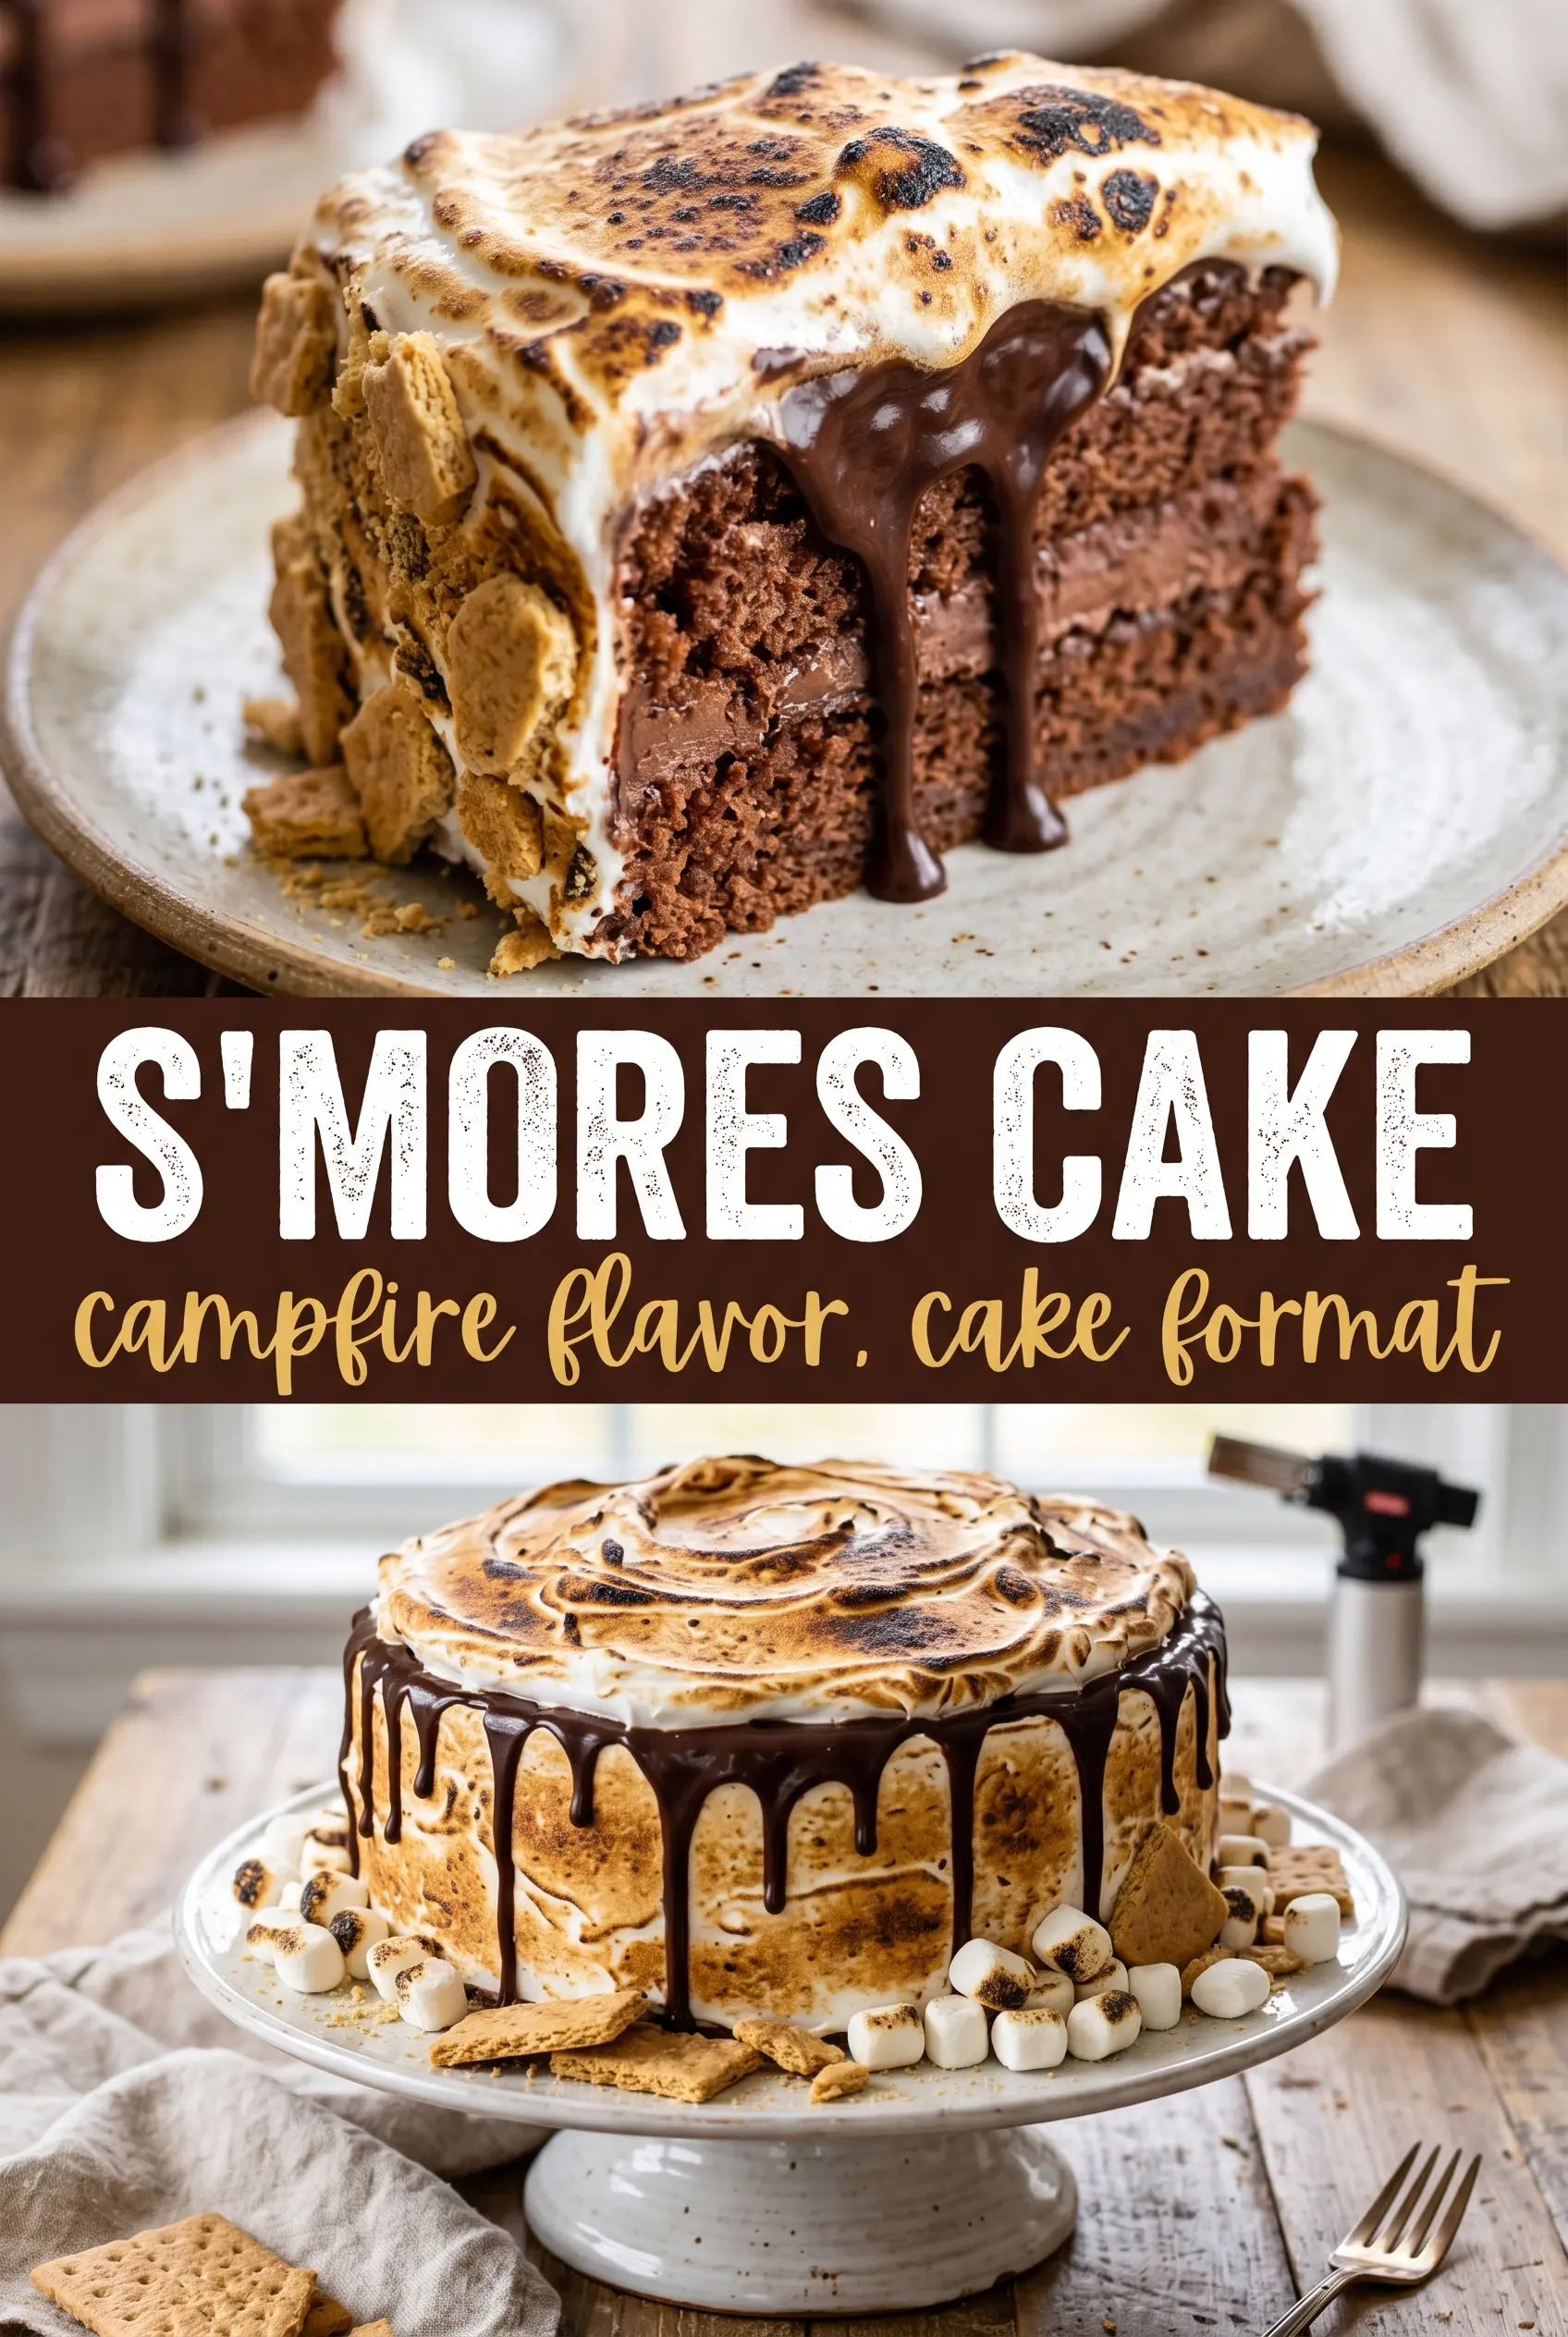
Chocolate cake, marshmallow meringue, and a ribbon of ganache come together in a cake that tastes like the best part of a campfire dessert, only cleaner to slice and a lot more dramatic on the table. The graham cracker crumbs at the base give each bite that familiar toasted crunch, while the torched meringue brings the marshmallow flavor without turning the whole cake overly sweet.
What makes this version work is balance. The chocolate layers are built with buttermilk, oil, and coffee, which keeps them tender and deepens the cocoa flavor without making the cake taste like coffee. The meringue is cooked over gentle heat first, so the sugar dissolves before whipping, which gives you a stable frosting that holds those golden peaks when you torch it. The ganache stays fluid enough to drip, but thick enough to cling to the sides instead of running off the cake.
Below, I’ve included the little details that matter most here: how to keep the meringue glossy, when the ganache is the right texture, and the best way to get that classic s’mores look without a messy collapse.
The chocolate layers stayed incredibly moist, and the meringue held its shape even after torching. I let the ganache cool a little longer than usual, and it dripped perfectly instead of sliding off the cake.
Love the torch-kissed marshmallow peaks and chocolate drip on this s’mores cake? Save it to Pinterest for the next time you want a showstopper dessert with real campfire flavor.
The Part That Keeps the Cake from Tasting One-Dimensional
Most s’mores cakes lean too sweet because they stack sugary frosting on sugary cake and stop there. The fix is in the chocolate layer itself. Cocoa gives the cake its backbone, but brewed coffee pushes the chocolate flavor deeper without announcing itself in the finished bite. You don’t taste coffee; you taste a darker, more developed cake.
The other trap is texture. A dry chocolate cake gets lost under meringue and ganache, especially once it chills. Oil, buttermilk, and eggs work together here to keep the crumb soft and supple, even after the cake has cooled completely. That matters because this cake is assembled after baking, not while the layers are still warm.
- Unsweetened cocoa powder — Use a good, unsweetened cocoa here. Dutch-process can work, but the recipe is built around the lift from baking soda and the acidity of buttermilk, so natural cocoa keeps the balance straightforward.
- Buttermilk — This gives the cake tenderness and a little tang that keeps the sweetness in check. If you don’t have it, mix 1 tablespoon lemon juice or vinegar into 1 cup milk and let it sit for 5 minutes.
- Strong brewed coffee — It should be cooled before it goes in. Hot coffee can start cooking the eggs and thin the batter too much. If you want to skip it, use hot water, but the chocolate flavor won’t be as deep.
- Egg whites for the meringue — Fresh whites whip up with more structure than carton whites in this particular frosting. The sugar has to dissolve fully before beating, or the meringue can feel grainy and collapse faster after torching.
What Each Ingredient Is Actually Doing in This Recipe
- Primary ingredient (the star) — Quality matters most. Choose the best you can find.
- Cooking medium (oil, butter, or broth) — This carries flavors and prevents dryness.
- Seasonings (salt, pepper, spices, herbs) — Layer flavors so nothing overpowers. Build depth gradually.
- Aromatics (garlic, onion, herbs) — Cook with fat to bloom flavors. Become the foundation.
- Supporting ingredients — Complement the main ingredient without overpowering it.
- Sauce or liquid (if applicable) — Brings flavors together. Balance richness with acid.
- Acid (lemon, vinegar, wine, or other) — Brightens and prevents flat-tasting results.
- Final finish (garnish, glaze, or sauce) — Prevents one-dimensional taste and adds visual appeal.
Building the Layers Without Losing the Structure
Mixing the Batter Just Until It Smooths Out
Whisk the dry ingredients in one bowl and the wet ingredients in another, then combine them and stop as soon as the batter looks uniform. The batter will be thin, and that’s exactly what you want for a moist chocolate cake. If you keep mixing after the flour disappears, the crumb tightens and the cake turns a little rubbery instead of tender.
Baking for Flat, Even Layers
Divide the batter evenly between the two pans and bake until the centers spring back and a tester comes out with a few moist crumbs. The edges should pull slightly from the pan, but the tops shouldn’t look dry and cracked. If one layer bakes faster than the other, rotate the pans once near the end rather than opening the oven repeatedly, which can make the cakes sink.
Cooling Before Any Filling Goes In
Let the layers cool all the way down before you touch the ganache or meringue. Warm cake melts the filling and turns the whole assembly messy fast. If you’re in a hurry, the layers can sit on a rack until no warmth remains in the center, but don’t stack or frost them early.
Whipping the Meringue to Stiff, Glossy Peaks
Set the egg whites, sugar, and cream of tartar over simmering water and whisk until the sugar dissolves and the mixture feels hot to the touch. Then beat it until the meringue is thick, glossy, and holds sharp peaks that stand up straight. If the meringue looks dull or soft, it needs more whipping; if the sugar wasn’t dissolved, it’ll feel sandy and won’t pipe or spread cleanly.
Finishing with Ganache and Torch
Let the ganache cool until it drips in slow ribbons, not hot puddles. Spread it between the layers, then frost the outside with meringue and press graham cracker crumbs around the base. Torch the top in short passes until you get deep golden patches. If you hold the flame in one spot, the meringue can weep or scorch instead of toasting evenly.
How to Tweak This Cake Without Losing the S’mores Effect
Gluten-Free Version
Swap the all-purpose flour for a 1:1 gluten-free baking blend that includes xanthan gum. The cake will still be soft and sliceable, but it may be a touch more delicate when you stack it, so chill the layers for 20 minutes before assembling.
Dairy-Free Adjustment
Use a plant-based buttermilk made from unsweetened non-dairy milk plus acid, and replace the ganache with dairy-free dark chocolate and full-fat coconut cream. The meringue can stay the same if eggs are fine for you, but the ganache will set a little firmer once chilled.
Cupcake Version
Bake the batter in lined muffin tins for about 18 to 22 minutes. Pipe or spoon the meringue on top, then torch each one individually. You lose the tall layered look, but you gain easy serving and a faster chill time.
Storage and Reheating
- Refrigerator: Store covered for up to 3 days. The meringue will soften a bit, but the cake stays moist.
- Freezer: Freeze the unfrosted cake layers well wrapped for up to 2 months. I don’t recommend freezing the assembled cake, since the meringue texture changes and the ganache can weep.
- Reheating: This cake is best served chilled or at cool room temperature. If it has been refrigerated, let slices sit out for 20 to 30 minutes before serving so the chocolate layer softens again.
Answers to the Questions Worth Asking
S'mores Cake
Ingredients
Equipment
Method
- Preheat the oven to 350°F, then grease two 9-inch round pans. Keep them ready for a smooth batter bake.
- Whisk together the all-purpose flour, granulated sugar, unsweetened cocoa powder, baking soda, baking powder, and salt in a bowl. Mix until the dry ingredients look evenly combined.
- Whisk together the eggs, buttermilk, strong brewed coffee, cooled, vegetable oil, and vanilla extract in a separate bowl. Blend until the liquid mixture is uniform.
- Combine the wet ingredients with the dry ingredients and mix until smooth. Stop when no dry streaks remain to avoid overmixing.
- Divide the batter between the pans and bake for 30-35 minutes at 350°F. Look for the centers to spring back and a toothpick to come out mostly clean.
- Cool the cakes completely before assembling. This cooling step prevents the ganache and meringue from melting.
- Heat the heavy cream until it reaches a simmering point, then pour it over the chopped dark chocolate. Let it sit undisturbed for 2 minutes so the chocolate softens.
- Stir the mixture until smooth after the 2-minute rest. Continue until you see a glossy ganache with no visible chocolate bits.
- Cool the ganache until pourable but still fluid. It should coat a spoon and fall slowly, not thicken into fudge.
- Combine the egg whites, granulated sugar, and cream of tartar in a double boiler. Whisk over simmering water until the sugar dissolves and the mixture is hot.
- Transfer to a mixer and beat until stiff glossy peaks form. Stop when the meringue holds sharp ridges that look shiny.
- Fill the cake with ganache and meringue between the layers. Spread evenly so each slice shows both chocolate and marshmallow.
- Frost the outside with the marshmallow meringue. Use smooth strokes to create a thick, mounded surface for toasting.
- Press the graham cracker crumbs around the base of the cake. Cover the bottom edge so the crumble is visible at the base.
- Use a kitchen torch to toast the meringue to golden in dramatic patches. Watch for quick color changes to amber-gold without burning.
- Drizzle the remaining ganache over the top. Let it run down the sides to create a drip effect.