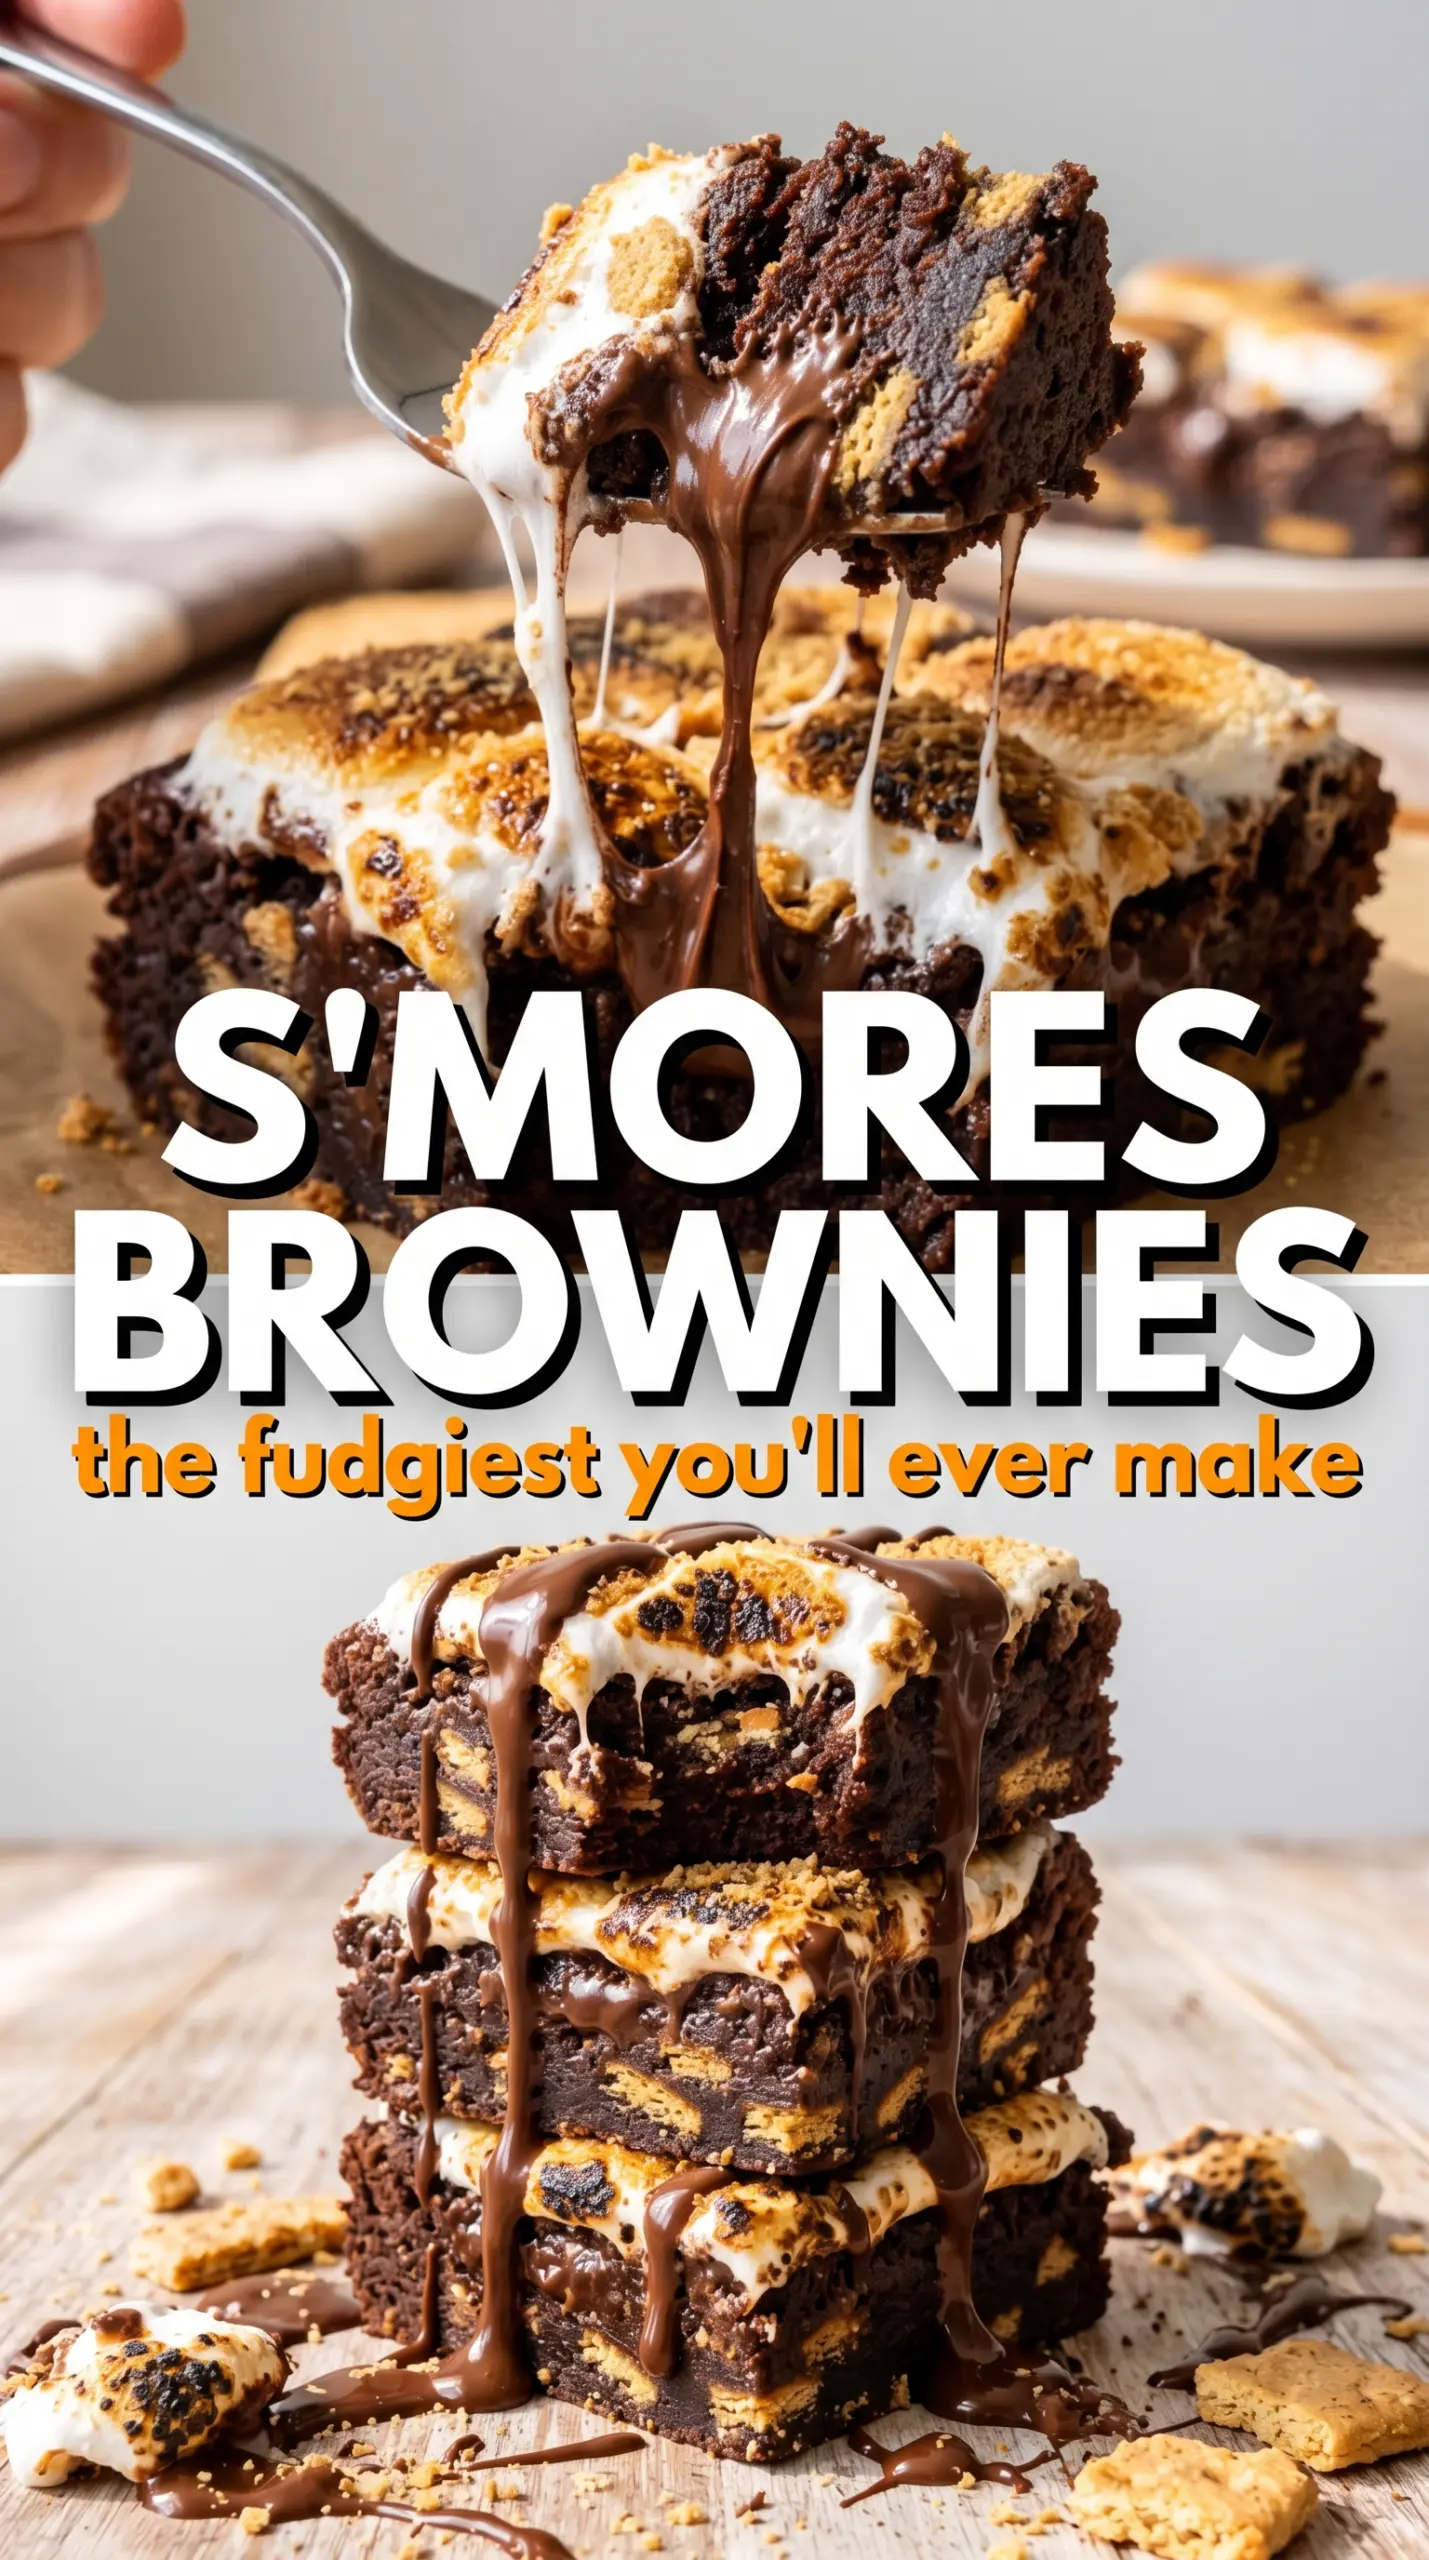
Fudgy brownies get a whole new life when they’re built on a crisp graham cracker base and finished with a layer of toasted marshmallows. The bottom stays sturdy enough to hold the square, the middle bakes up dense and chocolatey, and the top turns sticky, golden, and just a little crackly where the marshmallows catch the heat. Drizzled chocolate on top pulls the whole thing together without making it fussy.
What makes this version work is the order. The graham cracker crust gets a quick bake first, so it doesn’t turn sandy under the brownie batter. Then the brownie layer goes on top and bakes just until the center is set with a few moist crumbs left on the tester. That keeps the bars fudgy instead of cakey. The broiler finish is short and hot, which gives you toasted marshmallows without drying out the brownie underneath.
Below you’ll find the little details that matter most here: how firmly to pack the crust, when to pull the brownies from the oven, and how to toast the marshmallows without scorching them.
The graham cracker layer baked up crisp instead of soggy, and the marshmallows toasted in under two minutes. I cut them with a buttered knife after cooling and they came out clean and neat.
Love the gooey marshmallow top and fudgy chocolate center? Save these s’mores brownies for the next time you want a graham cracker crust with a toasted finish.
The Trick to Keeping the Graham Crust Crisp Under a Fudgy Layer
The part that trips most brownie bars up is the base. A graham cracker crust can go sandy or soft if it never gets a head start in the oven, especially when a thick brownie batter is poured on top. That quick 6-minute bake sets the butter and sugar just enough to lock the crumbs together, so the crust holds its shape instead of dissolving into the brownie layer.
Press it down firmly and evenly. Loose crumbs won’t compact into a sliceable base, and thin spots will bake harder than the rest of the pan. You want a tight, level layer that looks slightly darker at the edges before the brownie batter goes on.
What Each Layer Is Actually Doing Here
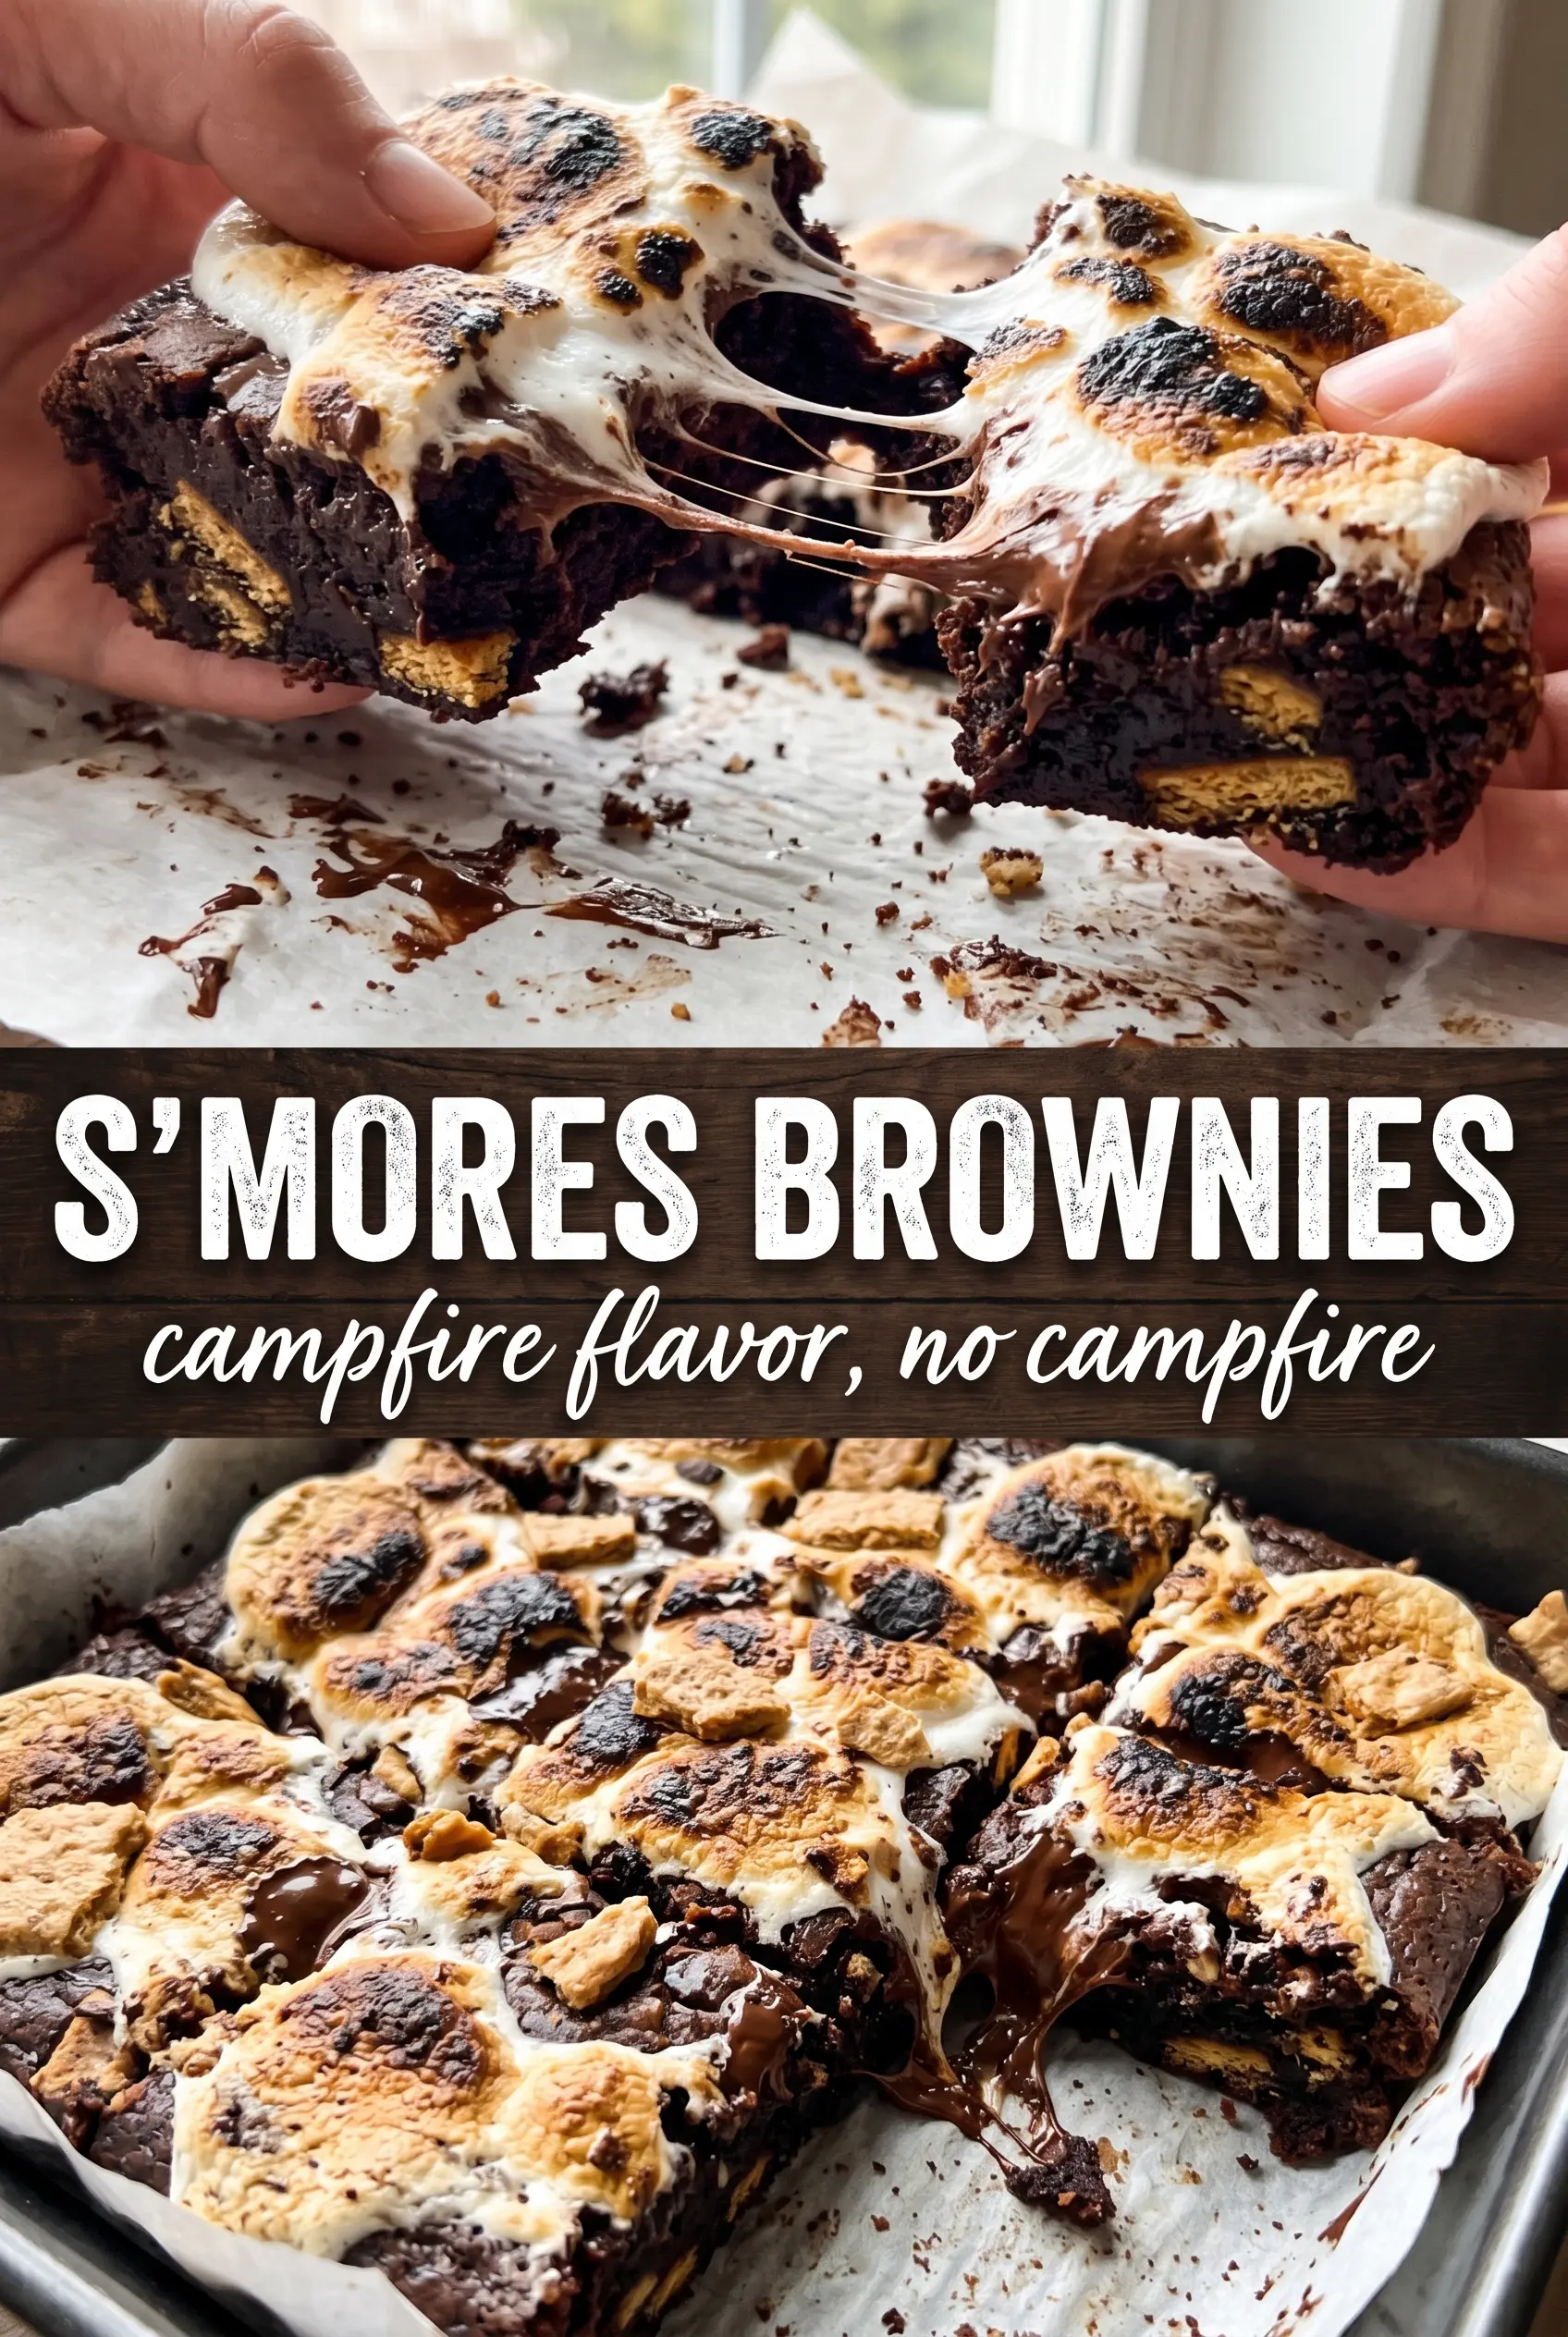
- Graham cracker crumbs — These give the brownies that campfire flavor and a firmer base than a standard brownie pan. Fresh crumbs from whole crackers work best, but boxed crumbs are fine if they’re not stale.
- Butter — Melted butter binds both the crust and the brownie layer. In the crust, it helps the crumbs pack cleanly; in the brownie batter, it keeps the texture dense and fudgy instead of fluffy.
- Cocoa powder — This is the main chocolate flavor in the brownie layer, so use a good unsweetened cocoa if you have it. Dutch-process will give a darker, smoother flavor, while natural cocoa tastes sharper and works well too.
- Mini marshmallows — Minis melt and toast fast, which is exactly what you want under the broiler. Large marshmallows leave gaps and take longer to brown, which makes the brownie underneath overbake.
- Chocolate chips — Melted chips finish the bars with a glossy drizzle. Semisweet is the easiest match here, but milk chocolate works if you want a sweeter top.
Building the Brownie So It Stays Dense Instead of Dry
Make the crust first and bake it briefly
Mix the graham crumbs, sugar, and melted butter until every crumb looks damp, then press the mixture into the pan with steady pressure. Bake it just long enough to set the surface. If you skip this, the crust softens once the brownie batter goes on and the whole bottom turns crumbly instead of neat.
Whisk the batter until smooth, then stop
Whisk the melted butter and sugar first, then add the eggs and vanilla until the mixture looks glossy. Stir in the dry ingredients only until you no longer see streaks of flour. Overmixing makes the brownie layer cakier and tougher, which is the opposite of what you want in a s’mores brownie.
Pull the brownies when the center still has a little give
Bake until a toothpick comes out with a few moist crumbs attached. If it comes out completely clean, the bars are already on the dry side. The brownies keep setting as they cool, so a slightly underdone center is what gives you that dense, fudgy bite after slicing.
Toast the marshmallows fast and finish with chocolate
Scatter the mini marshmallows over the top and broil on high, watching the pan the whole time. They can go from pale to scorched in seconds. As soon as the tops are golden and bubbling, pull the pan out, let it cool, then drizzle with melted chocolate so the marshmallows stay fluffy instead of collapsing.
How to Adapt These Brownies Without Losing the Texture
Gluten-Free Version
Use a gluten-free graham-style crumb for the crust and a 1:1 gluten-free baking flour in the brownie batter. The brownies will still be fudgy, but the crumb layer may be a touch more delicate, so press it especially firmly before baking.
Dairy-Free Swap
Replace the butter with a plant-based stick butter that measures 1:1. The texture stays close, but choose one with a solid fat content, not a soft tub spread, or the crust won’t hold as well.
Extra-Chocolate Version
Fold a handful of chocolate chips into the brownie batter before spreading it over the crust. That gives you little pockets of melted chocolate inside the bars, but don’t overdo it or the structure gets heavier and the squares won’t slice as neatly.
Storage and Reheating
- Refrigerator: Store in an airtight container for up to 5 days. The marshmallow top softens a bit, but the brownies stay rich and sliceable.
- Freezer: Freeze individual squares without the chocolate drizzle if you want the neatest result. Wrap tightly and freeze for up to 2 months, then thaw in the refrigerator.
- Reheating: Eat them at room temperature or warm a square for 10 to 12 seconds in the microwave. Longer heating melts the marshmallow into a sticky layer and makes the crust lose its bite.
Answers to the Questions Worth Asking
S'mores Brownies
Ingredients
Equipment
Method
- Preheat oven to 350°F and line a 9x13 pan with parchment paper, leaving overhang for easy lifting later. Press parchment flat so the crust bakes evenly.
- Mix graham cracker crumbs, sugar, and melted butter, then press firmly into the bottom of the pan for an even, compact layer. Bake at 350°F for 6 minutes, until set and lightly fragrant.
- Whisk melted butter and granulated sugar until glossy and smooth. Make sure there are no dry sugar pockets.
- Whisk in eggs and vanilla extract, then stir until the mixture looks cohesive. Use steady whisking to fully combine.
- Stir in cocoa powder, all-purpose flour, baking powder, and salt until smooth. The batter should be thick but spreadable.
- Spread the fudgy brownie batter over the baked graham cracker crust to the edges. Smooth the top with a spatula so it bakes uniformly.
- Bake at 350°F for 22-25 minutes until a toothpick comes out with a few moist crumbs. The center should look set but still dense.
- Scatter mini marshmallows over the entire top layer in an even cover. Leave small gaps so the marshmallows toast rather than steam.
- Broil on HIGH for 1-3 minutes, watching carefully until golden and bubbly. Stop as soon as the peaks are toasted.
- Cool for 30 minutes so the brownies finish setting and slice cleanly. If warm, the marshmallow and chocolate drizzle will smear.
- Drizzle melted chocolate over the cooled surface in thin lines across the entire pan. Wait until the drizzle is just firm before cutting.
- Cut into 16 squares using a buttered knife. Wipe the knife between cuts for neat edges.