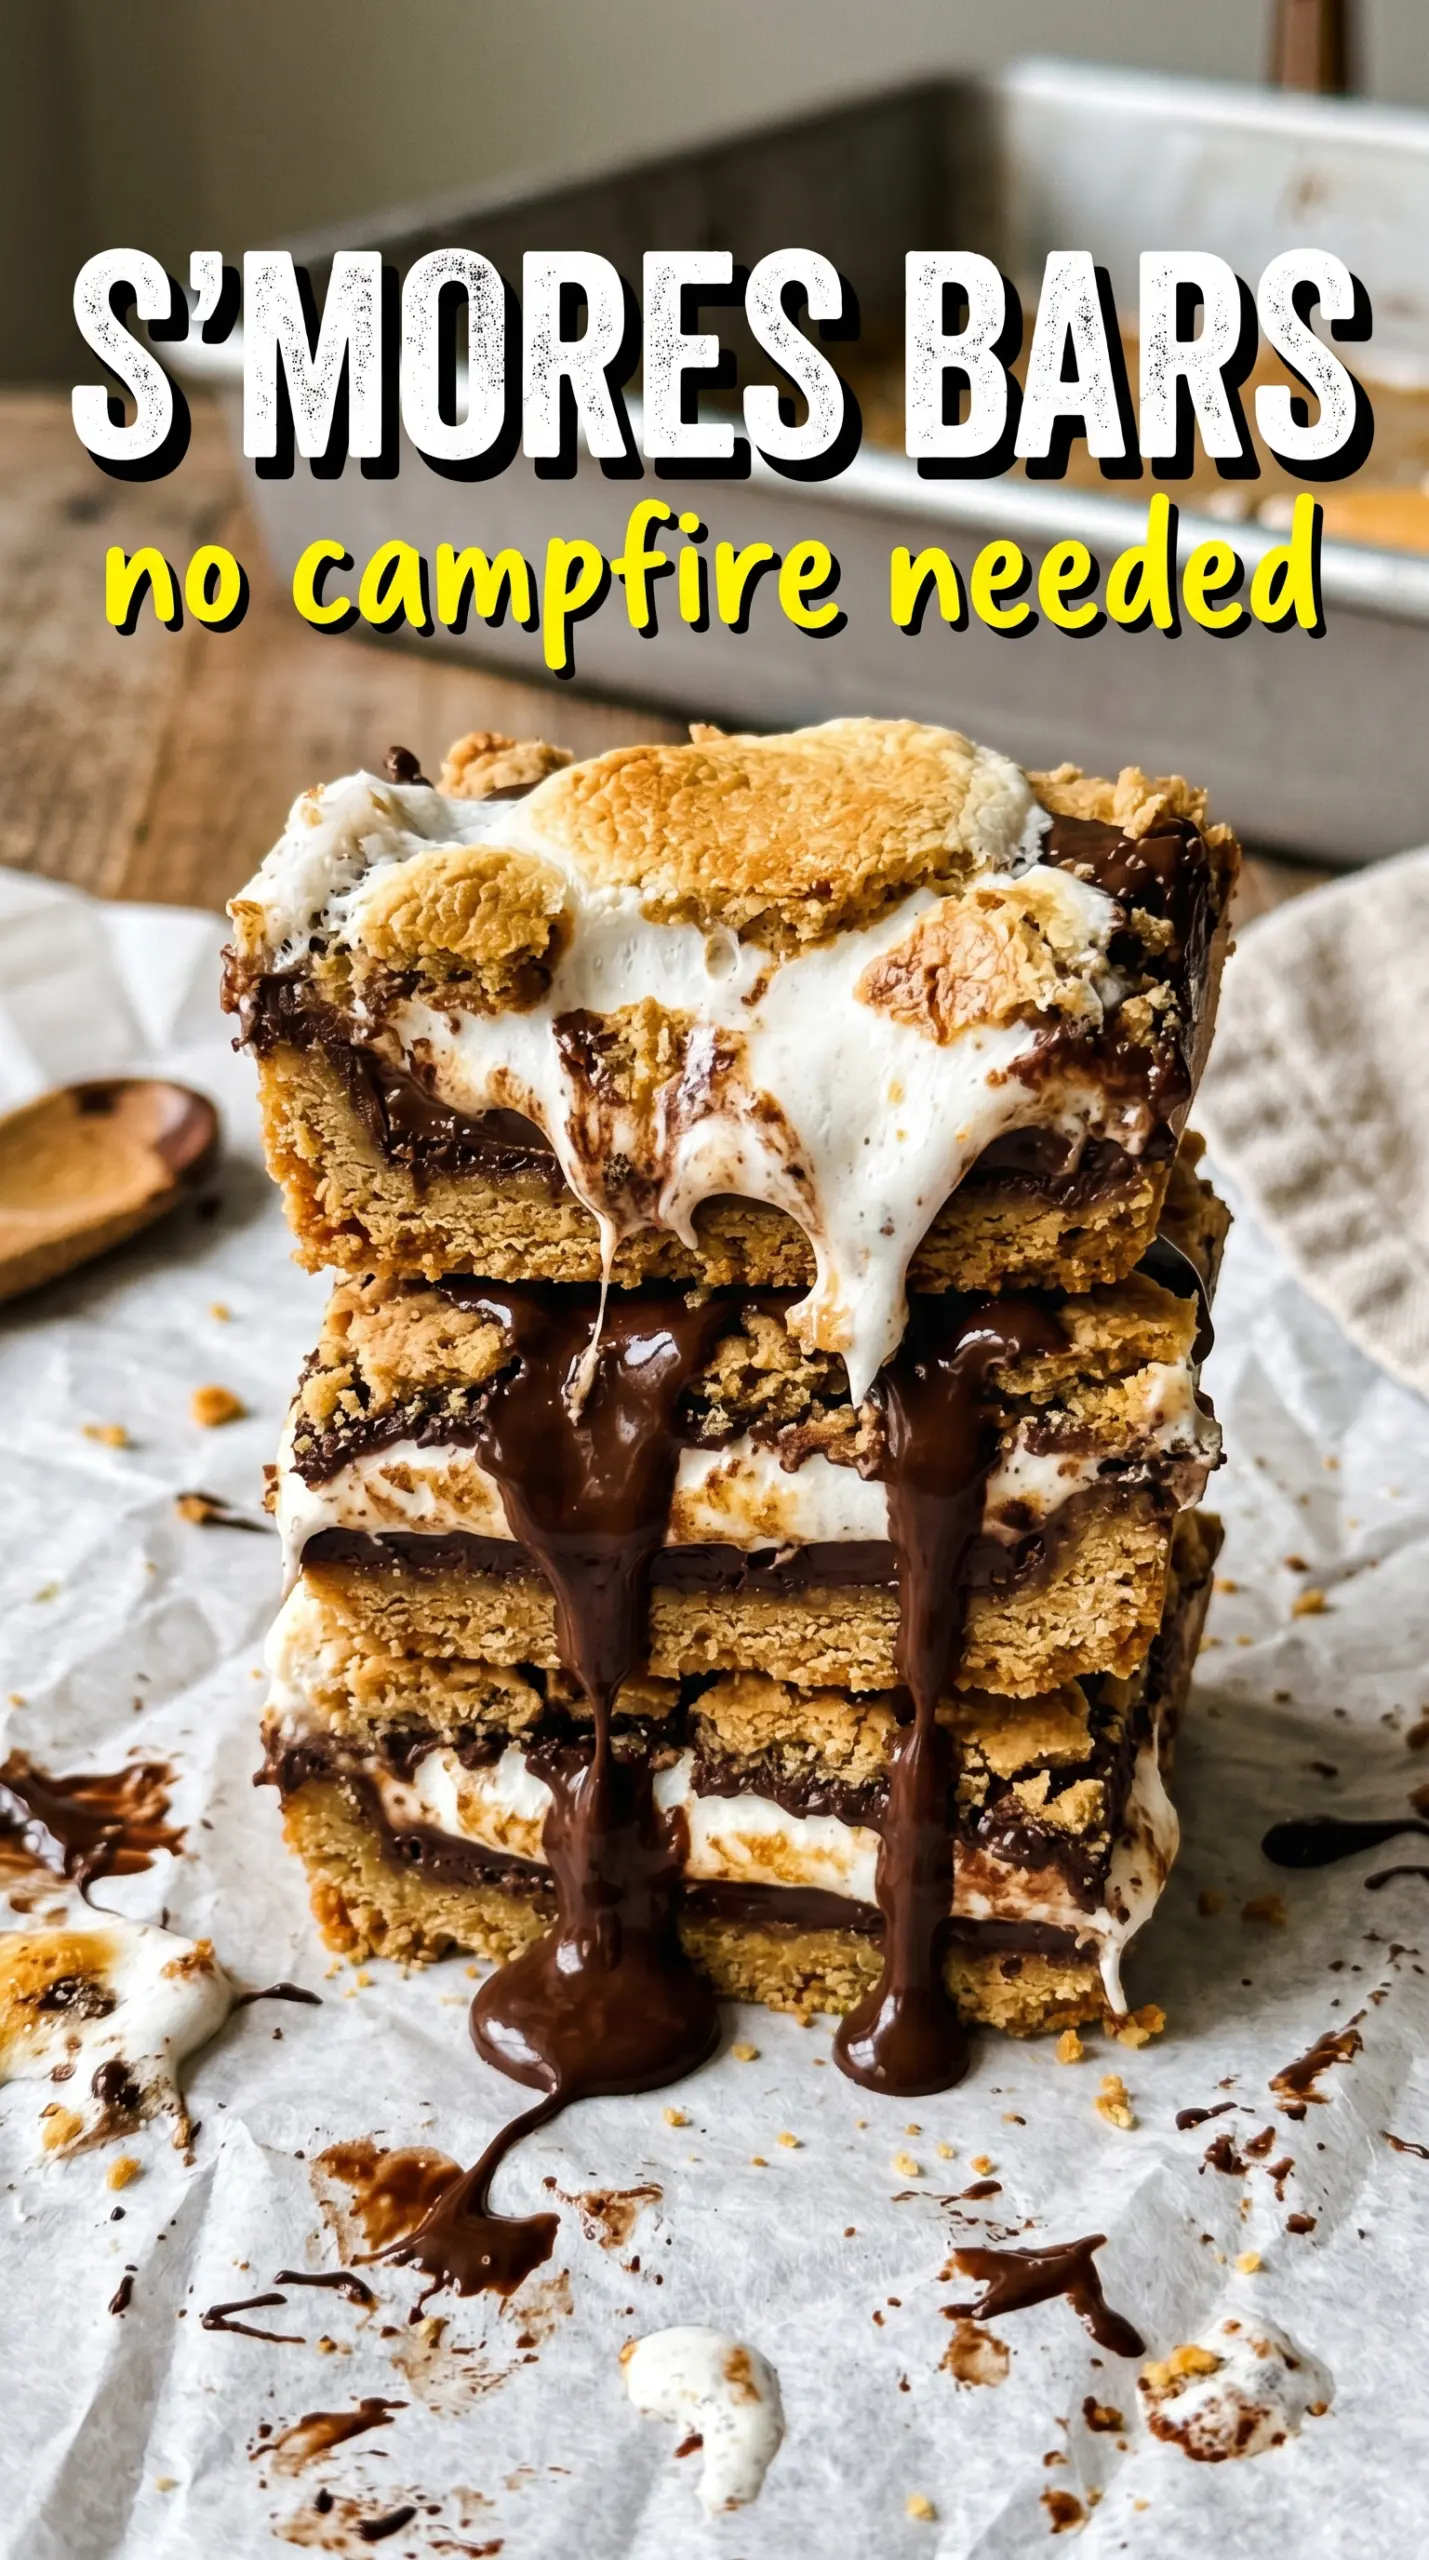
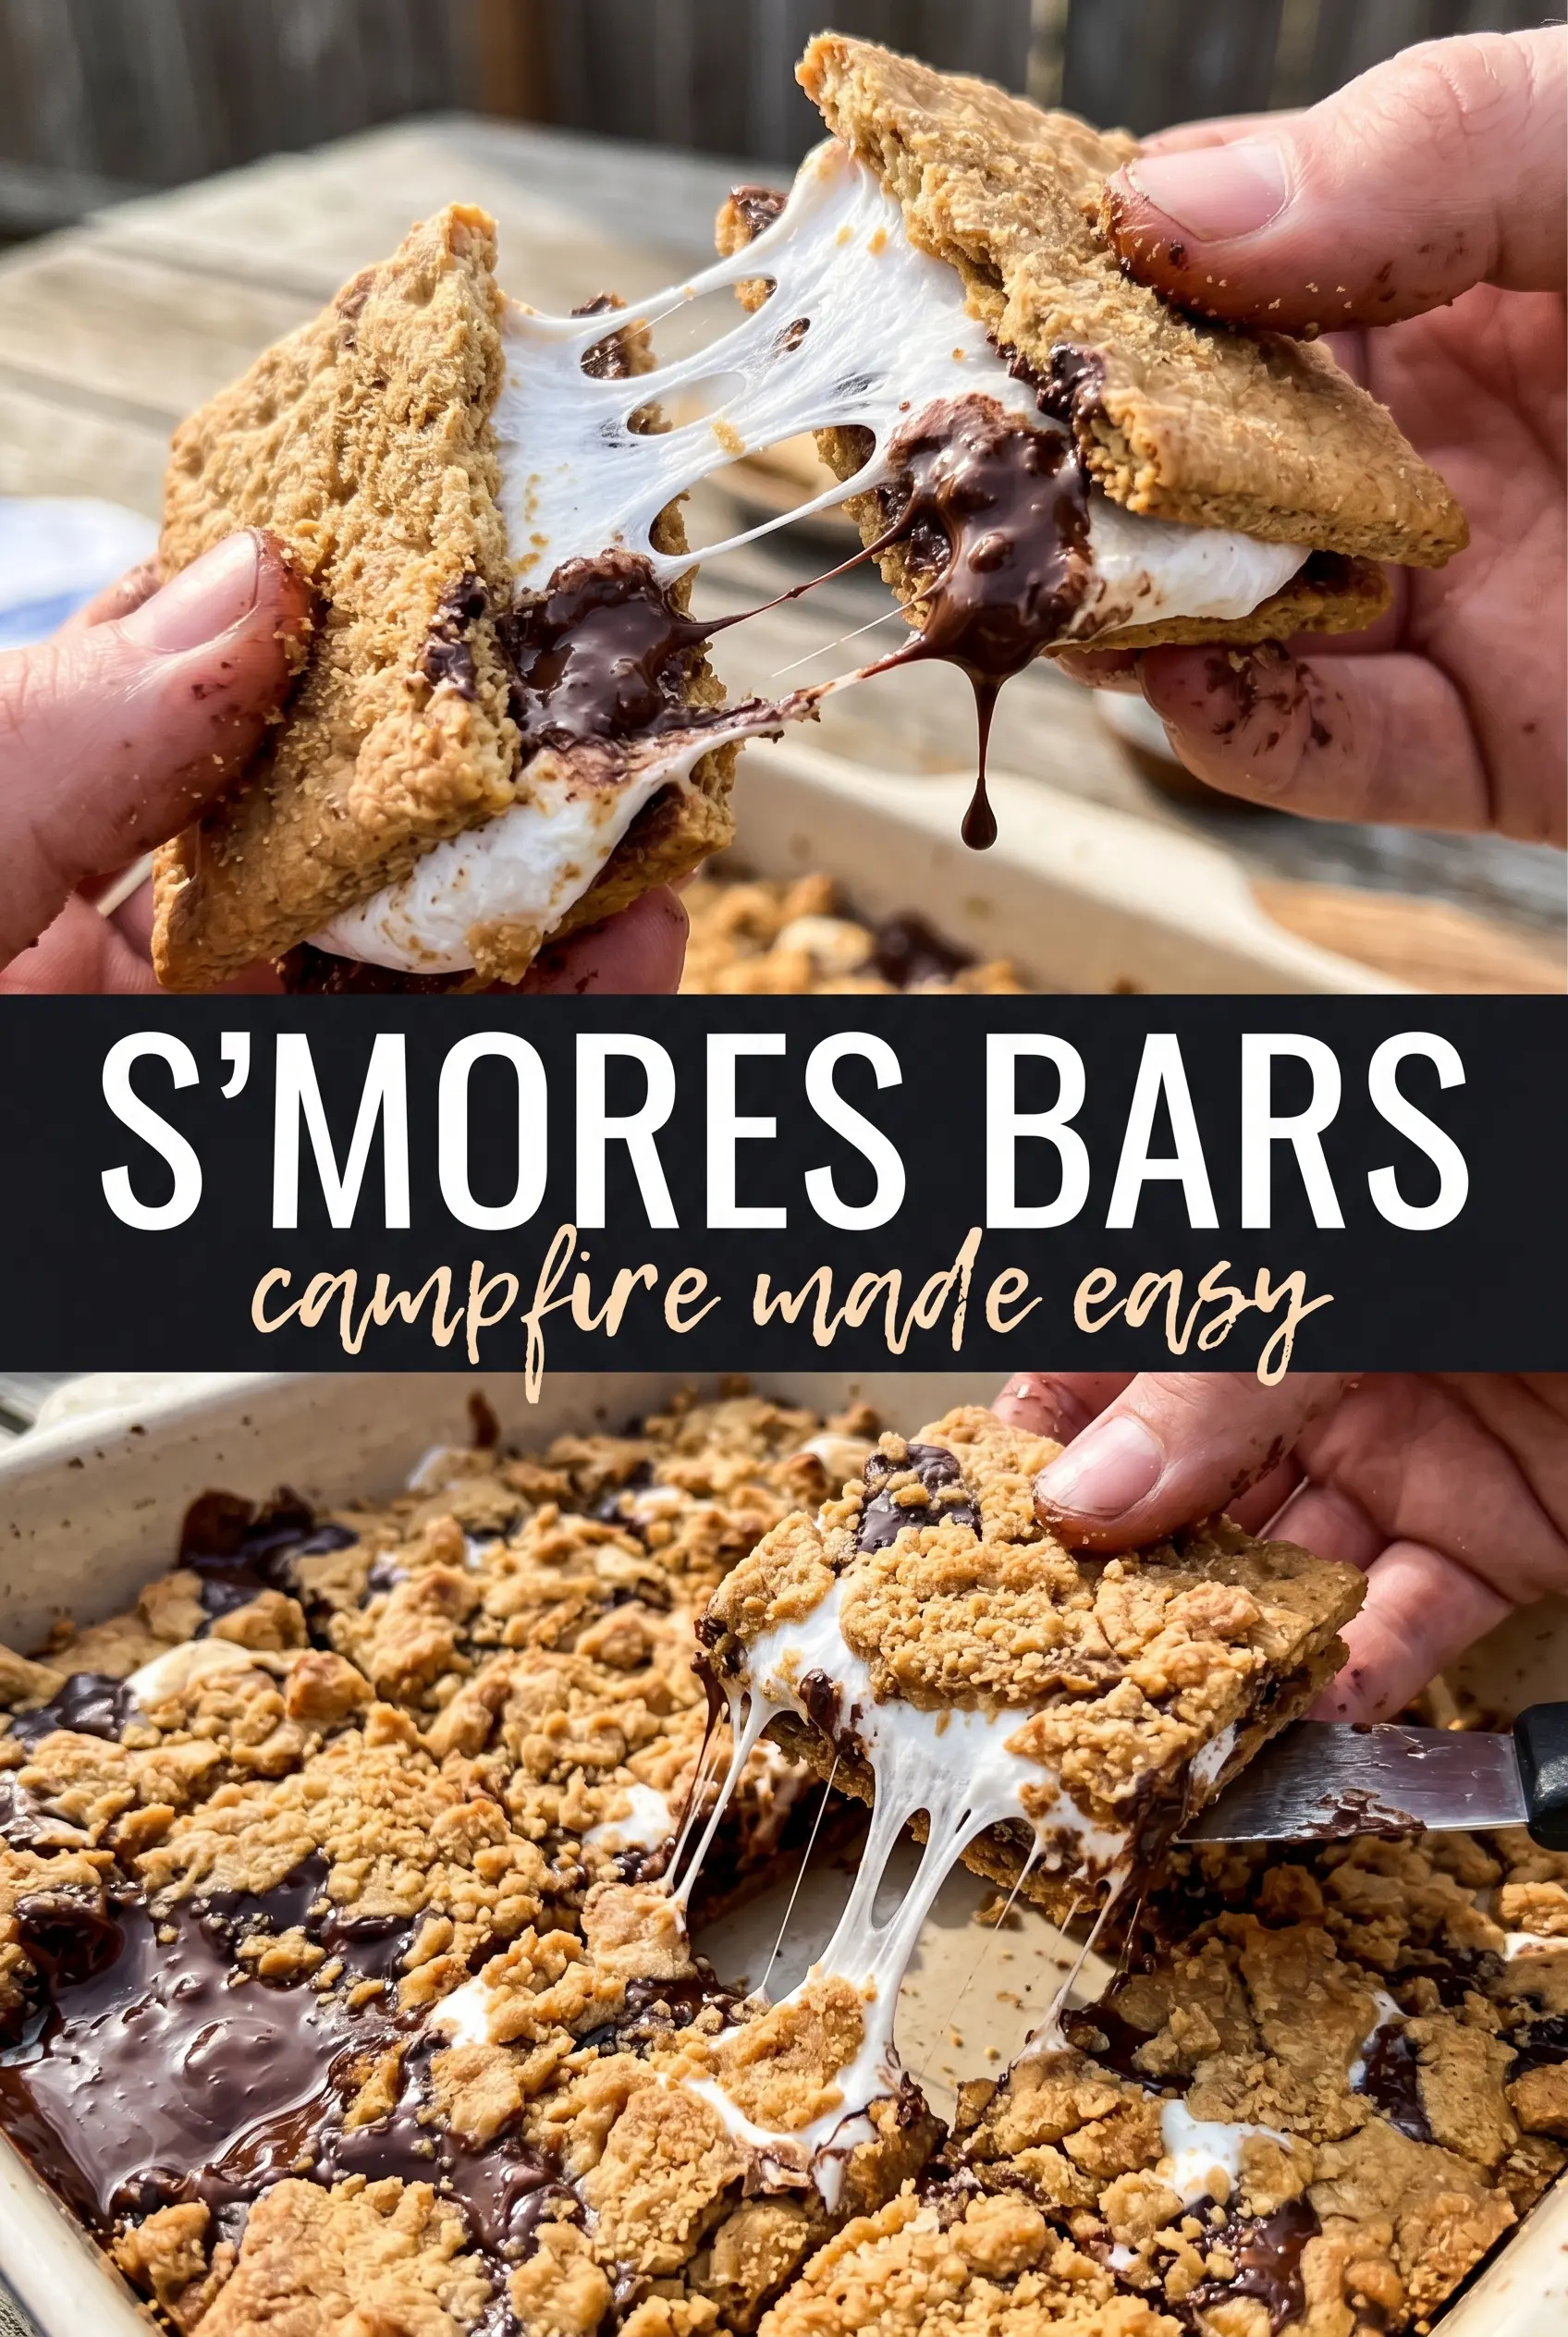
Thick s’mores bars land somewhere between a fudgy brownie and a campfire treat, with a graham cracker crust that stays crisp under a dense chocolate layer and a marshmallow top that turns glossy, toasted, and just a little sticky at the edges. The contrast is the whole point here. You get clean slices, a strong chocolate center, and enough marshmallow pull to make every square feel like a small event.
What keeps these bars from collapsing into a mess is the order of operations. The crust gets a short bake first so it sets before the chocolate batter goes on. The filling itself is built like a simple brownie batter, but it stays slightly thinner than a standard brownie so it can spread smoothly over the crumbs and bake into a firm, sliceable middle. The marshmallows go on at the very end, after the bars are mostly set, so they brown on top without disappearing into the batter.
Below, you’ll find the best way to cut them cleanly, what to do if you only have large marshmallows, and how to keep the top from scorching before the center is done.
The graham layer stayed crisp, the chocolate baked up fudgy instead of cakey, and the marshmallows toasted beautifully without turning into a sticky puddle. I chilled the pan a bit before cutting and got neat squares.
Like this recipe? Save these toasted marshmallow s’mores bars for the nights when you want a fudgy chocolate center and a graham crust with campfire-style crunch.
The Trick to Getting Fudgy Bars Instead of a Dry Chocolate Layer
The biggest mistake with bars like this is overbaking the chocolate layer before the marshmallows even go on. The center should look just set when it comes out of the oven, with a slight wobble in the middle, not a fully firm top that feels dry to the touch. It keeps cooking from residual heat, and that carryover is what finishes the texture without turning it cakey.
The graham crust also matters more than people think. Press it firmly and bake it briefly before adding the filling, or it can loosen under the chocolate and turn sandy instead of holding together in a clean base. That short pre-bake is what gives you those tidy layers when you cut the bars later.
- Don’t rush the middle. If the chocolate layer looks completely set in the oven, it’s already gone too far. Pull it when the center still has a soft jiggle.
- Use parchment with overhang. These bars are thick, and lifting them out of the pan makes clean cutting much easier.
- Keep the broiler brief. The marshmallows can go from toasted to scorched in under a minute, especially if your broiler runs hot.
What Each Layer Is Actually Doing Here
- Graham cracker crumbs — These give the bars their signature s’mores base and a dry, sandy crunch that plays against the soft filling. Use store-bought crumbs if that’s easiest, or crush whole crackers finely for a slightly more rustic texture.
- Butter — You need enough butter in both the crust and the filling to keep the bars rich and dense. For the crust, melted butter is nonnegotiable because it helps the crumbs pack and stay put; for the filling, melted butter gives you that glossy brownie-style batter.
- Cocoa powder — This is what makes the center taste like a deep chocolate layer instead of just sweet batter. Use unsweetened cocoa, and sift it if yours tends to clump.
- Eggs — The eggs set the filling so it slices cleanly. Add them one at a time and mix just until combined, or the batter can turn tight and overly airy.
- Mini marshmallows — Mini marshmallows melt and puff fast, which is ideal here. If you use halved large marshmallows, cut them first so the top covers evenly and browns at the same pace.
Building the Layers Without Losing the Texture
Pressing and Pre-Baking the Crust
Mix the graham crumbs, sugar, and melted butter until every crumb looks damp, then press the mixture firmly into a parchment-lined 9×13 pan. A flat-bottomed measuring cup works well here because an even crust bakes more evenly and won’t crumble when you lift a square. Bake it just until the surface looks set and fragrant, about 8 minutes, then give it a minute to cool before the filling goes on. If the crust is still loose or sandy at this stage, the bars will fall apart at the base.
Making the Chocolate Layer
Melt the butter in a saucepan, then stir in the sugar, eggs, and vanilla until the mixture looks smooth and slightly glossy. Add the cocoa, flour, baking powder, and salt and stir just until the dry streaks disappear. The batter should be thick enough to spread but not stiff; if you overmix after the flour goes in, the bars can bake up tougher than they should. Spread it gently over the crust so you don’t drag crumbs up into the chocolate layer.
Letting the Center Set
Bake the bars until the center no longer looks wet, but still has a soft give when you move the pan. That is the sweet spot. If you wait for the top to look fully done, the edges will edge into dry and the marshmallow topping won’t save the texture underneath. The bars finish setting as they cool, so trust the pan when the middle is just barely underbaked.
Toasting the Marshmallow Top
Scatter the marshmallows over the surface the second the pan comes out of the oven so they start softening from the residual heat. Put the pan back in for a few minutes until they puff and turn lightly golden, then switch to broil for a very short finish if you want a deeper toast. Stay close the whole time because the difference between bronzed and burnt is small here. Cool the bars for at least 30 minutes before cutting, and use a buttered knife for the cleanest edges.
How to Change These Bars Without Losing What Makes Them Work
Large Marshmallow Version
Halve the large marshmallows and arrange them cut-side down so they melt into the top instead of rolling around. This gives you the same toasted finish as mini marshmallows, but you’ll want to watch the broiler a little more closely because the larger pieces brown unevenly.
Gluten-Free Swap
Use gluten-free graham-style crumbs and a measure-for-measure gluten-free flour blend in the chocolate layer. The bars will still set up nicely, though the crumb base may be a little more delicate, so let them cool fully before lifting them from the pan.
Dairy-Free Version
Use a plant-based butter that bakes well in both the crust and the filling, then top with dairy-free marshmallows if you can find them. The texture stays close to the original, but the flavor is a touch less rich, so don’t skip the pinch of salt in the chocolate layer.
Make Them a Little More Intense
Add a handful of chopped semisweet chocolate or a swirl of peanut butter over the chocolate batter before baking. Both additions deepen the flavor, but keep the layer thin so the bars still slice cleanly and don’t turn greasy at the center.
Storage and Reheating
- Refrigerator: Store in an airtight container for up to 4 days. The marshmallow top will soften a bit, but the bars stay neat and sliceable.
- Freezer: Freeze the bars without the best-looking top pieces if you can. Wrap tightly and freeze for up to 2 months, then thaw in the fridge; the marshmallows won’t be as glossy after freezing, but the flavor holds up.
- Reheating: Warm a square for 10 to 15 seconds in the microwave if you want the center soft again. Don’t overdo it or the marshmallow layer will melt off the top and the crust can turn chewy.
Answers to the Questions Worth Asking
S'mores Bars
Ingredients
Equipment
Method
- Preheat the oven to 350°F and line a 9x13 pan with parchment paper.
- Mix graham cracker crumbs, granulated sugar, and melted butter, then press firmly into the bottom of the pan.
- Bake the crust for 8 minutes, then cool slightly.
- Melt butter in a saucepan.
- Stir in granulated sugar, eggs, and vanilla extract, mixing until smooth.
- Mix in cocoa powder, all-purpose flour, baking powder, and salt until the batter is smooth.
- Spread the chocolate batter over the baked graham cracker crust.
- Bake for 18–20 minutes, until just set in the center.
- Remove from the oven and immediately cover the entire top with mini marshmallows.
- Return to the oven and bake for 3–4 minutes, until marshmallows puff and start to turn golden.
- Switch to broil for 1–2 minutes until the marshmallows are golden brown.
- Cool for 30 minutes before cutting with a buttered knife.