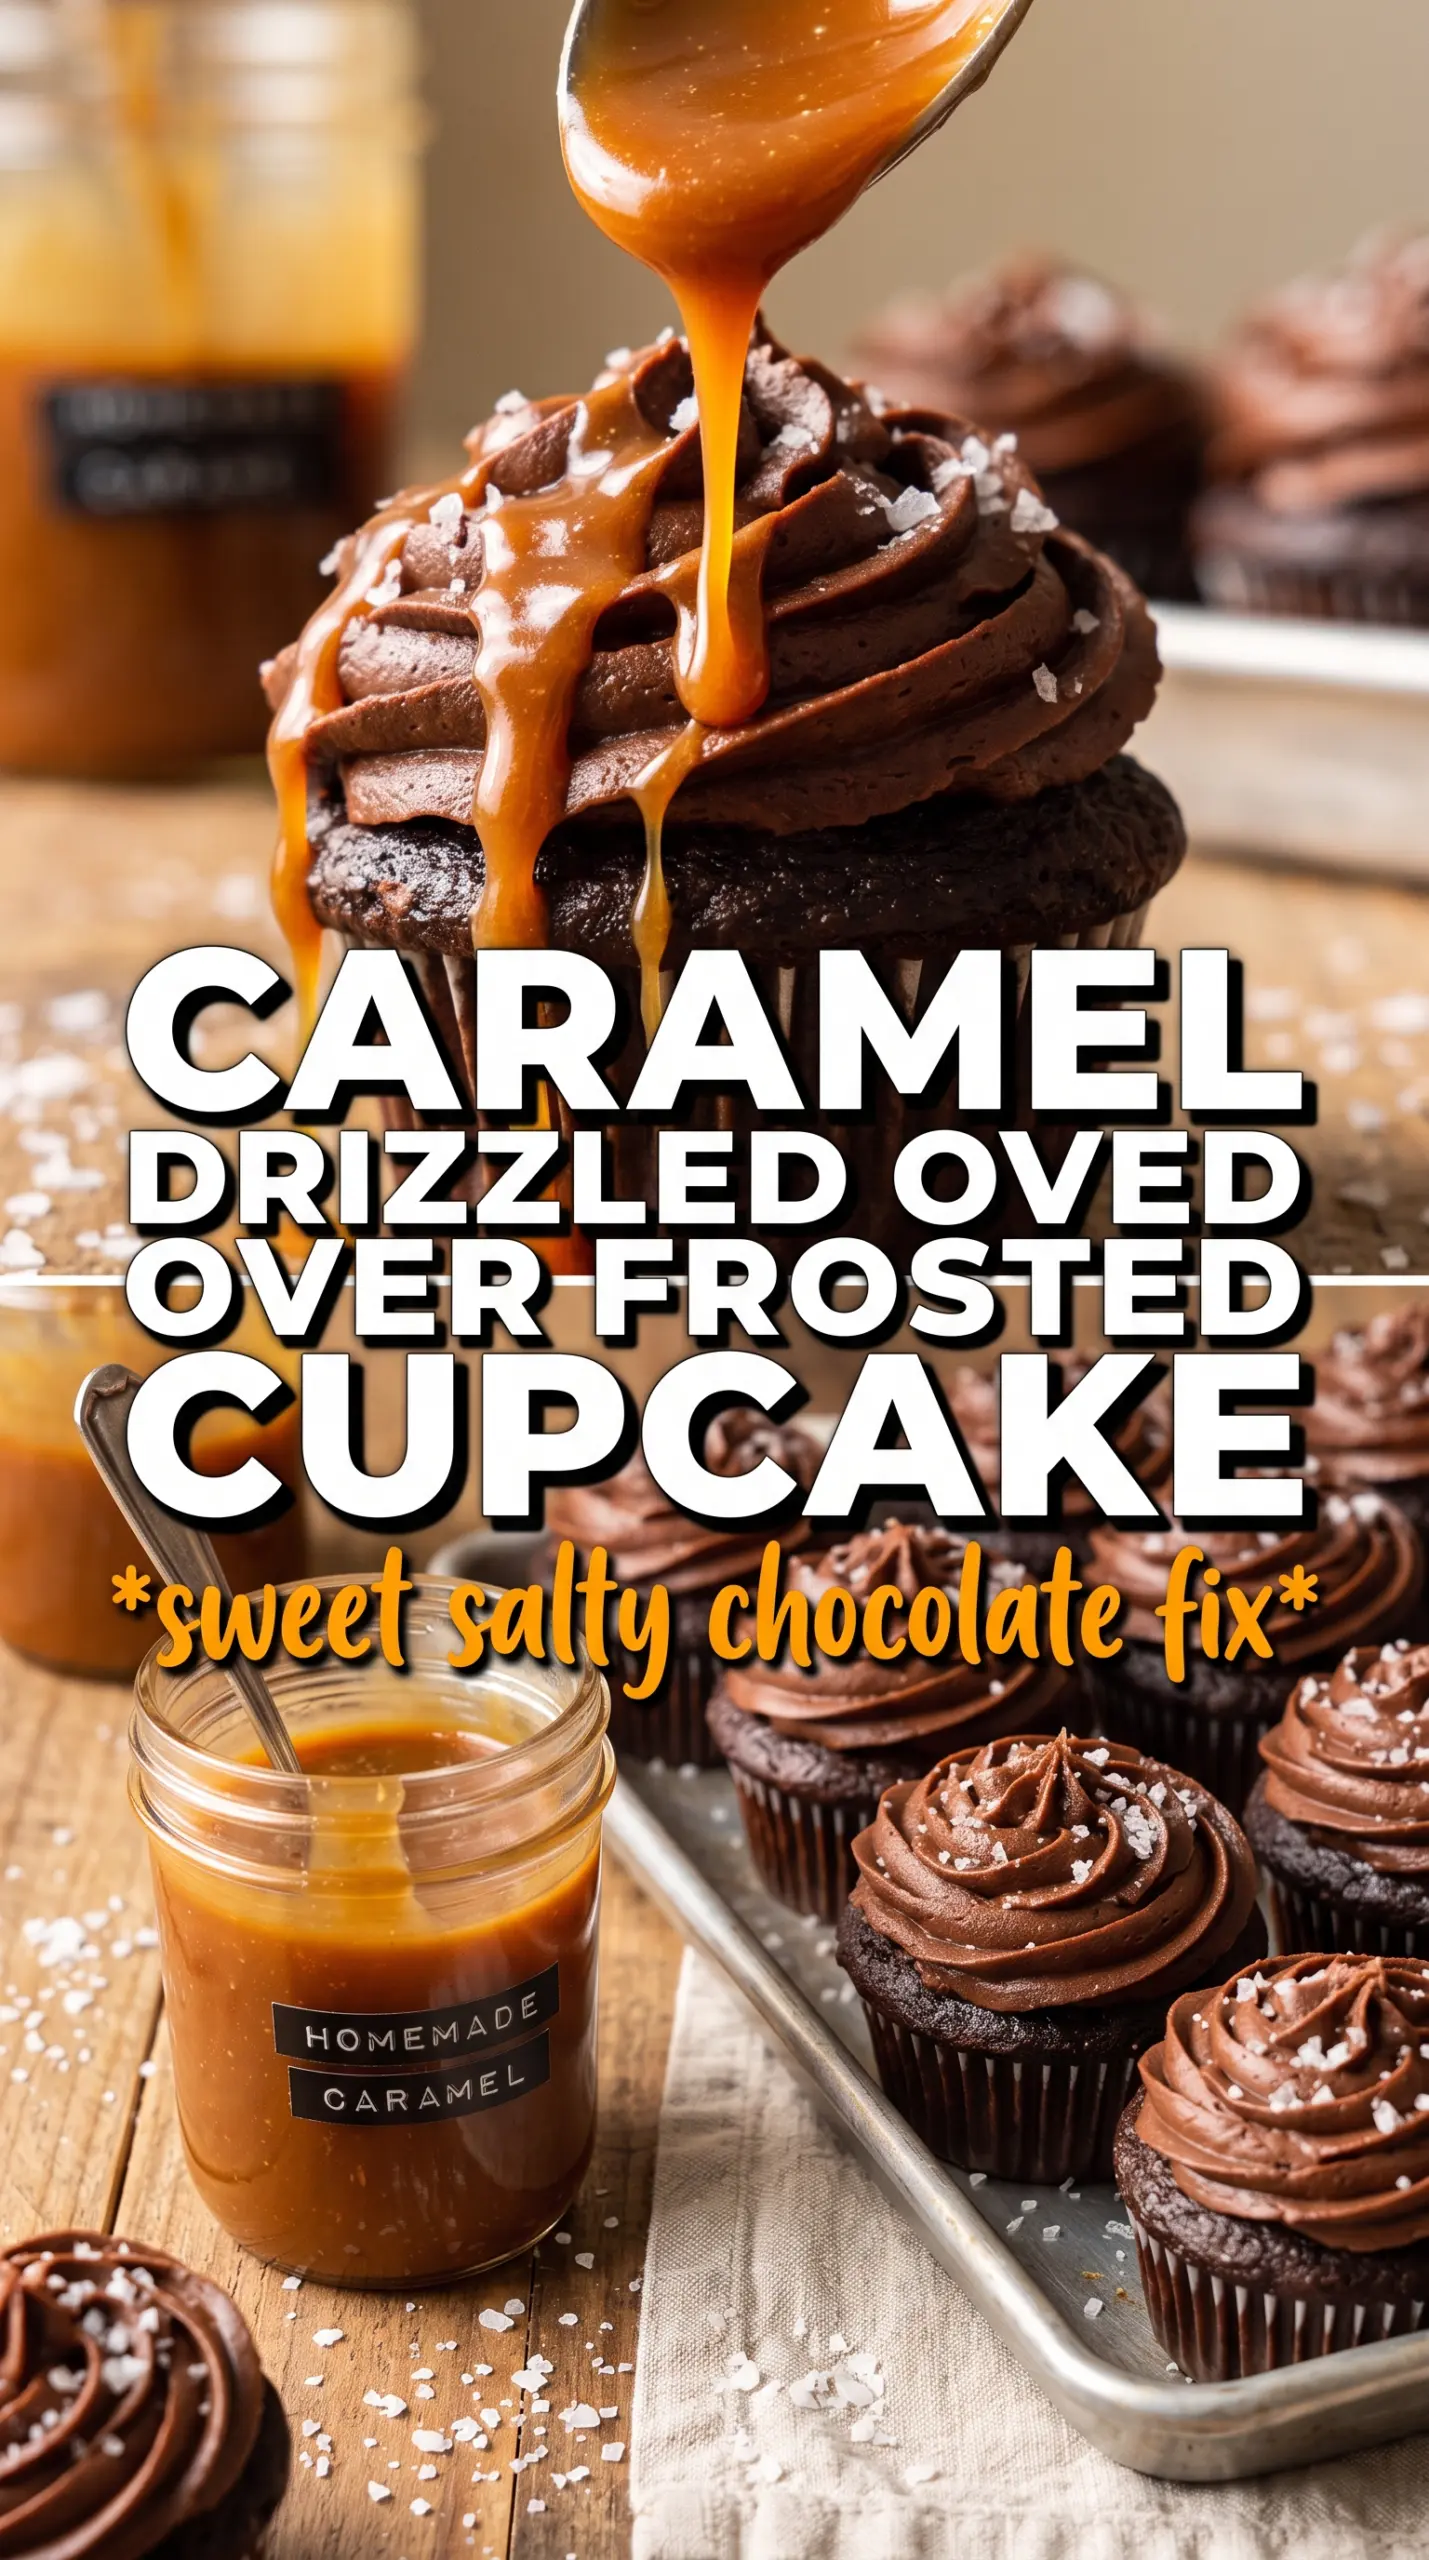
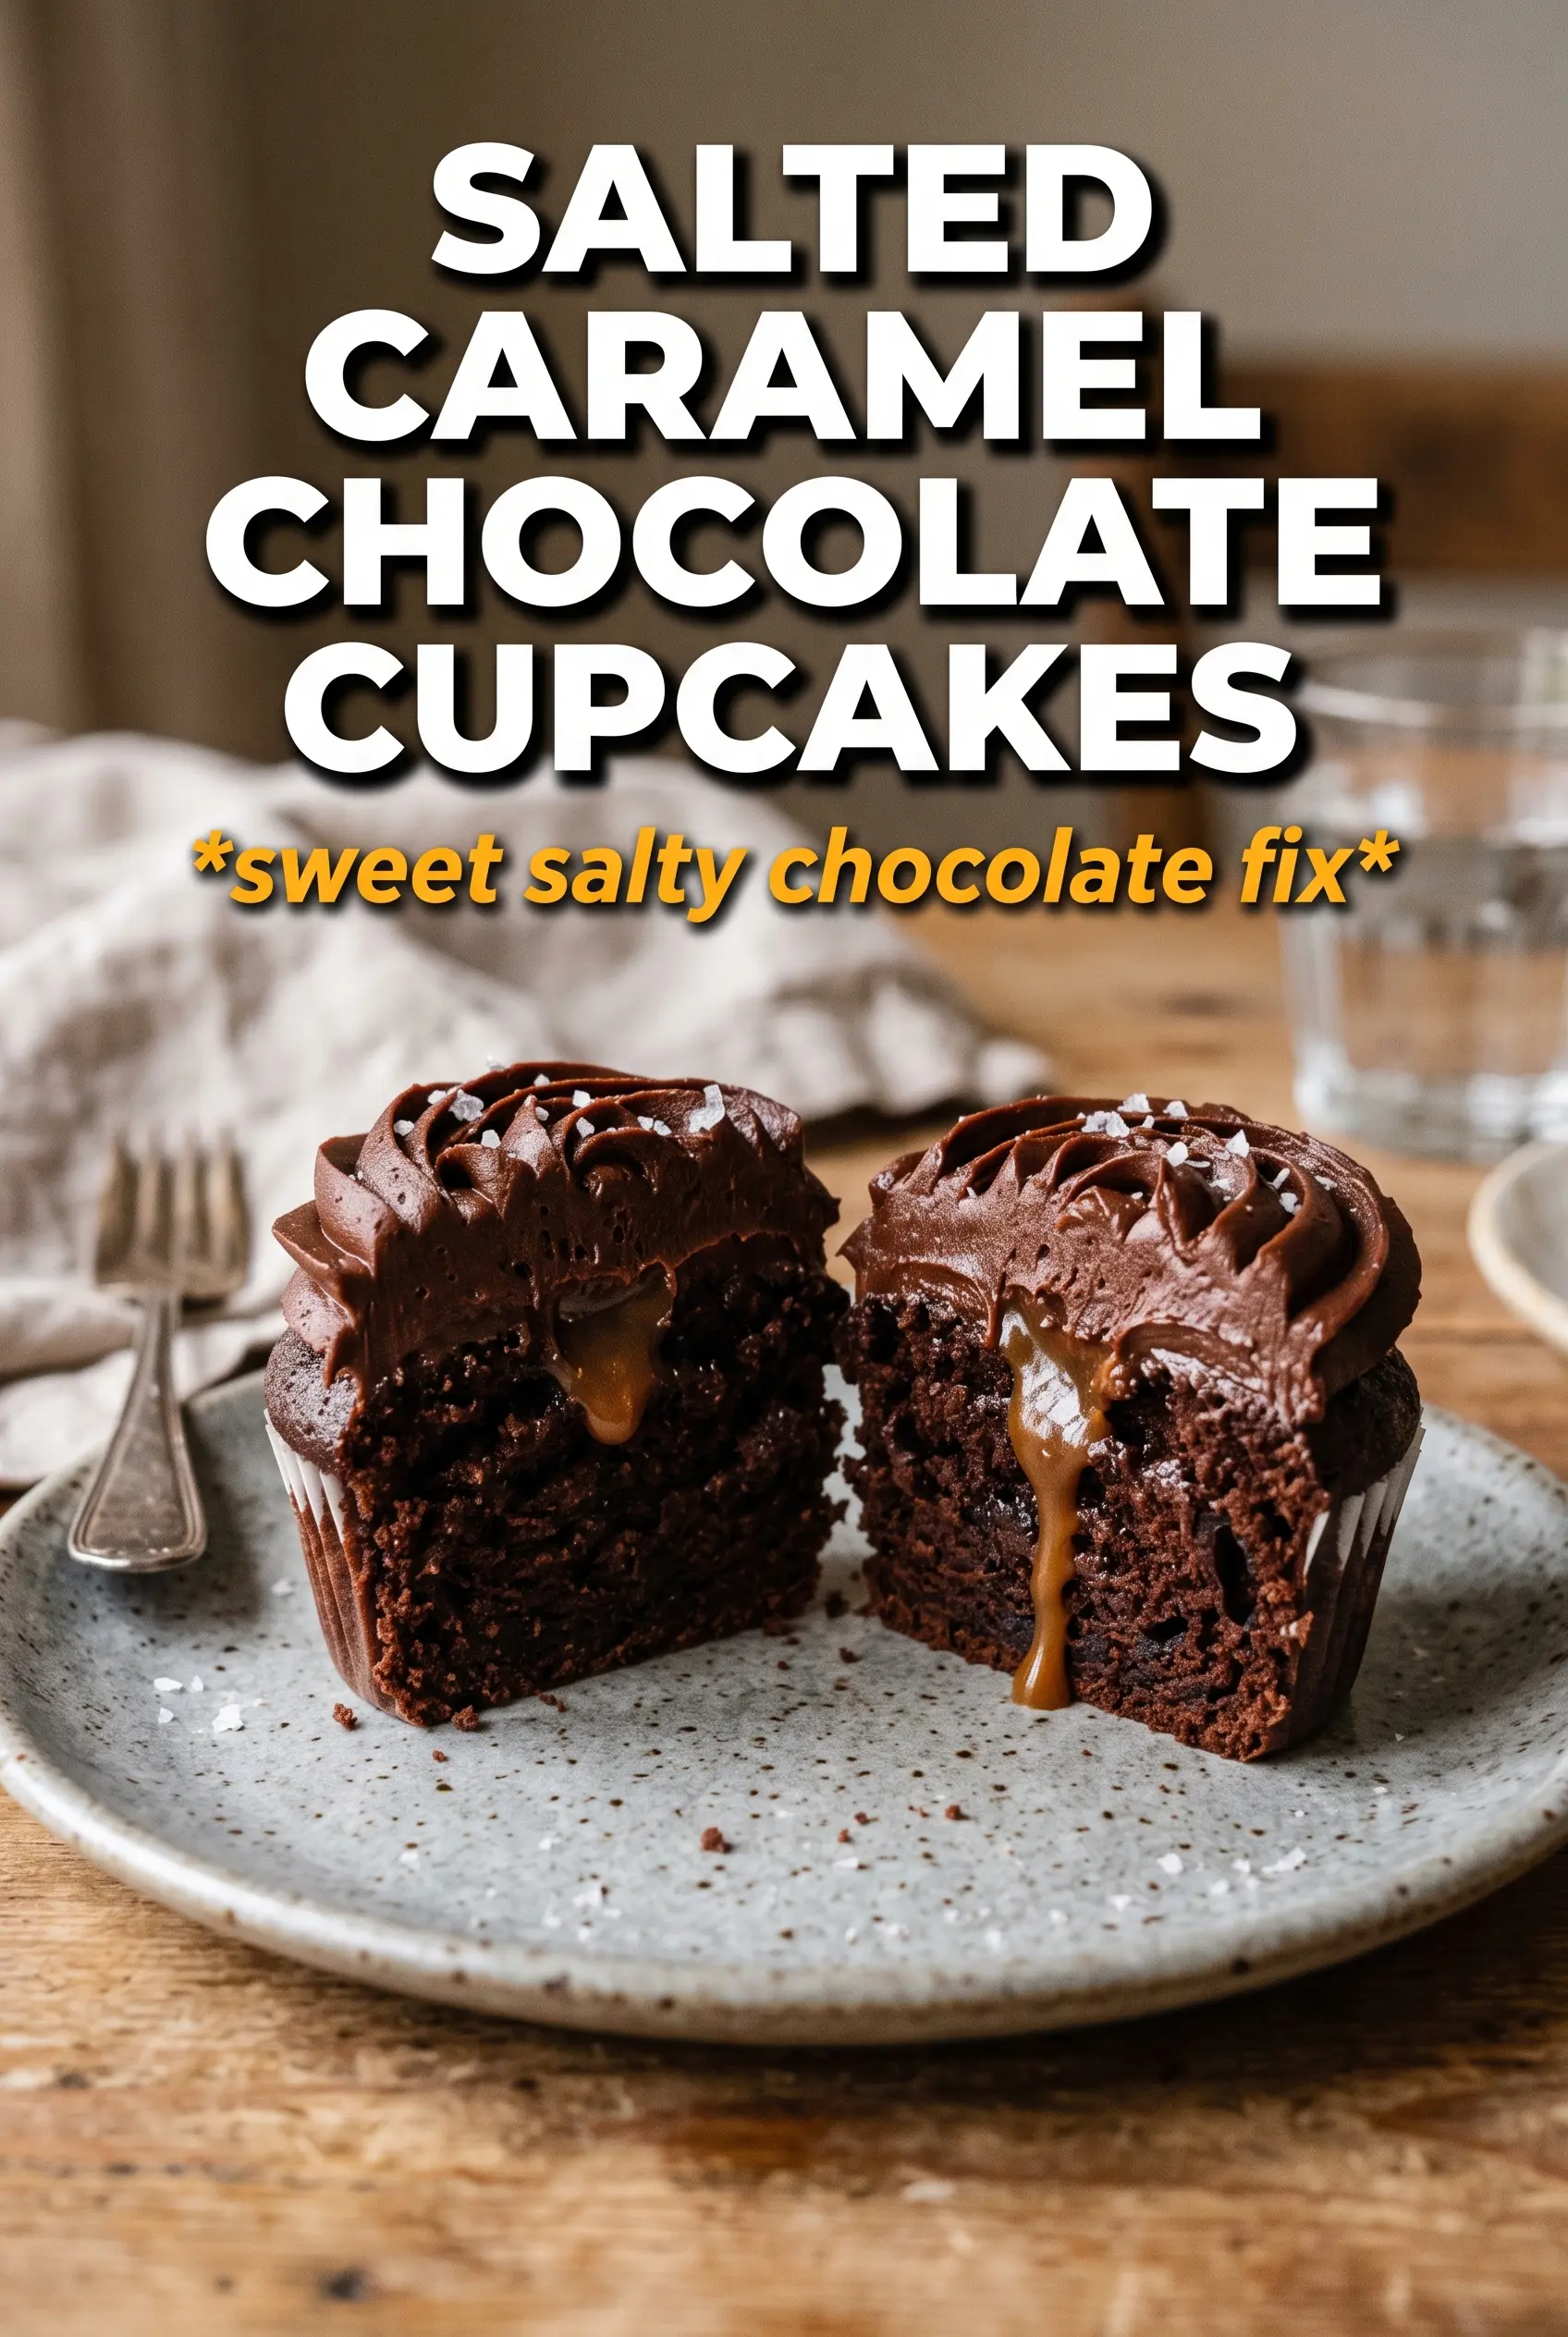
These salted caramel chocolate cupcakes hit the sweet spot between rich and balanced: tender chocolate cake, a hidden caramel center, and a frosting that tastes like the best part of a candy bar. The flaky salt on top keeps the whole thing from leaning cloying, and that little bit of contrast is what makes people go back for a second one even when they swore they were done.
The cake batter starts with butter beaten well with sugar, which gives you a lighter crumb than a dense, brownie-style cupcake. Buttermilk keeps the chocolate base moist and gives the cocoa a deeper edge, while the caramel filling is added after baking so it stays glossy and gooey instead of disappearing into the crumb. The frosting pulls the whole cupcake together with cocoa for structure and caramel for warmth.
Below, I’m walking through the one part that matters most: keeping the cupcakes soft enough to core cleanly, then filling and frosting them without making a mess. I’ve also included a few swaps and storage notes for the times you want to bake ahead.
The cake stayed soft for days, and the caramel center didn’t soak through the crumb. I used a small melon baller to core them, and that made filling them so much easier.
Save these salted caramel chocolate cupcakes for the next time you want a glossy caramel filling, dramatic frosting, and a flaky salt finish that cuts the sweetness.
The Trick Is Keeping the Caramel in the Middle, Not the Batter
The biggest mistake with filled cupcakes is trying to add the caramel before the cake has cooled. Warm cupcakes absorb the filling and turn sticky instead of giving you that clean, molten center. Let them cool all the way down so the crumb sets, then core each one with enough space to hold the caramel without splitting the cupcake open.
The other place people run into trouble is with the frosting. Chocolate frosting thickens fast, and caramel can loosen it if you add too much too soon. Beat it until smooth, then stop as soon as it holds a pipeable swirl; if it looks slack, chill it for a few minutes instead of throwing in more sugar and making it heavy.
What Each Ingredient Is Actually Doing in These Cupcakes
- All-purpose flour — This gives the cupcakes enough structure to support the filling without turning tough. Cake flour makes a softer crumb, but it can be a little fragile once you core the centers and pipe in caramel.
- Cocoa powder — Use a good unsweetened cocoa here because it carries the chocolate flavor in both the cake and the frosting. If yours is very dark Dutch-process cocoa, the cupcakes will taste deeper and a little less sharp, which works fine.
- Buttermilk — This keeps the crumb tender and helps the baking soda do its job. Regular milk works in a pinch if you add 1 teaspoon vinegar or lemon juice per cup and let it sit a few minutes first.
- Butter — Butter brings flavor to both the cake and frosting, and it needs to be softened enough to beat fluffy with the sugar. If it’s too cold, the batter won’t trap air and the cupcakes will bake up heavier.
- Thick caramel sauce — Use a caramel that’s spoon-thick, not runny ice cream topping. Thin caramel tends to soak into the cupcake instead of staying as a clean center.
- Flaky salt — This isn’t decoration only. It gives each bite a little crunch and keeps the caramel from tasting flat.
From Fluffy Batter to Filled Cupcake Without Sinking the Center
Build the Base Before the Dry Ingredients Go In
Beat the butter and sugar until the mixture looks pale and fluffy, not just combined. That step traps air and gives you a lighter cupcake instead of a dense one. Add the eggs one at a time so the batter stays smooth, then mix in the vanilla. If the mixture looks curdled after the eggs, it usually comes back together once you start adding the flour.
Alternate the Dry Ingredients and Buttermilk
Add the flour mixture in thirds, alternating with the buttermilk, and stop mixing as soon as the batter looks smooth. Overmixing at this stage builds too much gluten, which gives you a tight crumb that doesn’t feel right under the caramel. The batter should be thick and scoopable, not pourable like cake batter from a box.
Core, Fill, and Frost After Full Cooling
Fill the cupcake liners only about two-thirds full so the tops bake level instead of doming into a mushroom shape. Once they’re completely cool, cut or core a small center from each cupcake and spoon in the caramel. Pipe the frosting from the outside edge toward the center so the caramel stays contained, then finish with another drizzle and a pinch of flaky salt.
How to Adapt These for Different Kitchens and Occasions
Dairy-Free Version
Use a plant-based butter for both the cupcakes and frosting, and swap the buttermilk for a non-dairy milk plus 1 teaspoon vinegar. The texture stays soft, though the frosting will taste a little less rich and a little sweeter, so the flaky salt matters even more.
Make Them Ahead for a Party
Bake the cupcakes a day ahead and store them unfrosted, then fill and frost them the day you plan to serve. That keeps the crumb fresher and prevents the caramel from softening the cake overnight.
Make the Chocolate Note Deeper
If you want a darker, more intense cupcake, swap half the cocoa for Dutch-process cocoa. The flavor turns smoother and less sharp, which pairs well with the caramel, but the cupcake still bakes up tender.
Storage and Reheating
- Refrigerator: Store in an airtight container for up to 4 days. The frosting firms up a bit, but the cake stays moist.
- Freezer: Freeze the unfrosted cupcakes for up to 2 months. Thaw at room temperature, then fill and frost after they’re fully defrosted.
- Reheating: These are best served at room temperature. If chilled, let them sit out for 20 to 30 minutes so the caramel softens again; microwaving can melt the frosting and make the center leak.
Questions I Get Asked About This Recipe
Salted Caramel Chocolate Cupcakes
Ingredients
Equipment
Method
- Preheat the oven to 350F and line a cupcake tin with liners. Make sure the oven is fully at temperature before mixing batter.
- Whisk together all-purpose flour, cocoa powder, baking powder, baking soda, and salt in a bowl until evenly combined. You should see no dry cocoa or leavening streaks.
- Beat butter and granulated sugar until fluffy, then add eggs and vanilla and beat until smooth. The mixture should look lighter in color and thicker in texture.
- Alternate adding the flour mixture and buttermilk to the batter, mixing just until incorporated. Stop when the batter is smooth and uniform with no visible pockets of dry mix.
- Divide the batter into cupcake liners, filling each about 2/3 full. Keep the portions even so the cupcakes bake at the same rate.
- Bake at 350F for 18-20 minutes, until a toothpick comes out mostly clean. The tops should spring back lightly when touched.
- Cool the cupcakes completely before filling and frosting. Let them reach room temperature so the filling and frosting don’t melt.
- Core each cupcake to remove a small plug from the center. Stop before cutting through the bottom so the caramel stays inside.
- Fill each cored cupcake with thick caramel sauce. Use just enough to mound slightly so the center is clearly visible when sliced.
- Beat the frosting ingredients until smooth: butter, cocoa powder, powdered sugar, caramel sauce, and cream. The frosting should be glossy and spreadable with no dry powder remaining.
- Pipe the frosting onto each cupcake, swirling for a dramatic finish. Cover the filling completely for a neat, tall top.
- Drizzle each cupcake with caramel sauce and sprinkle with flaky salt. Finish with a visible sea-salt crown on top.