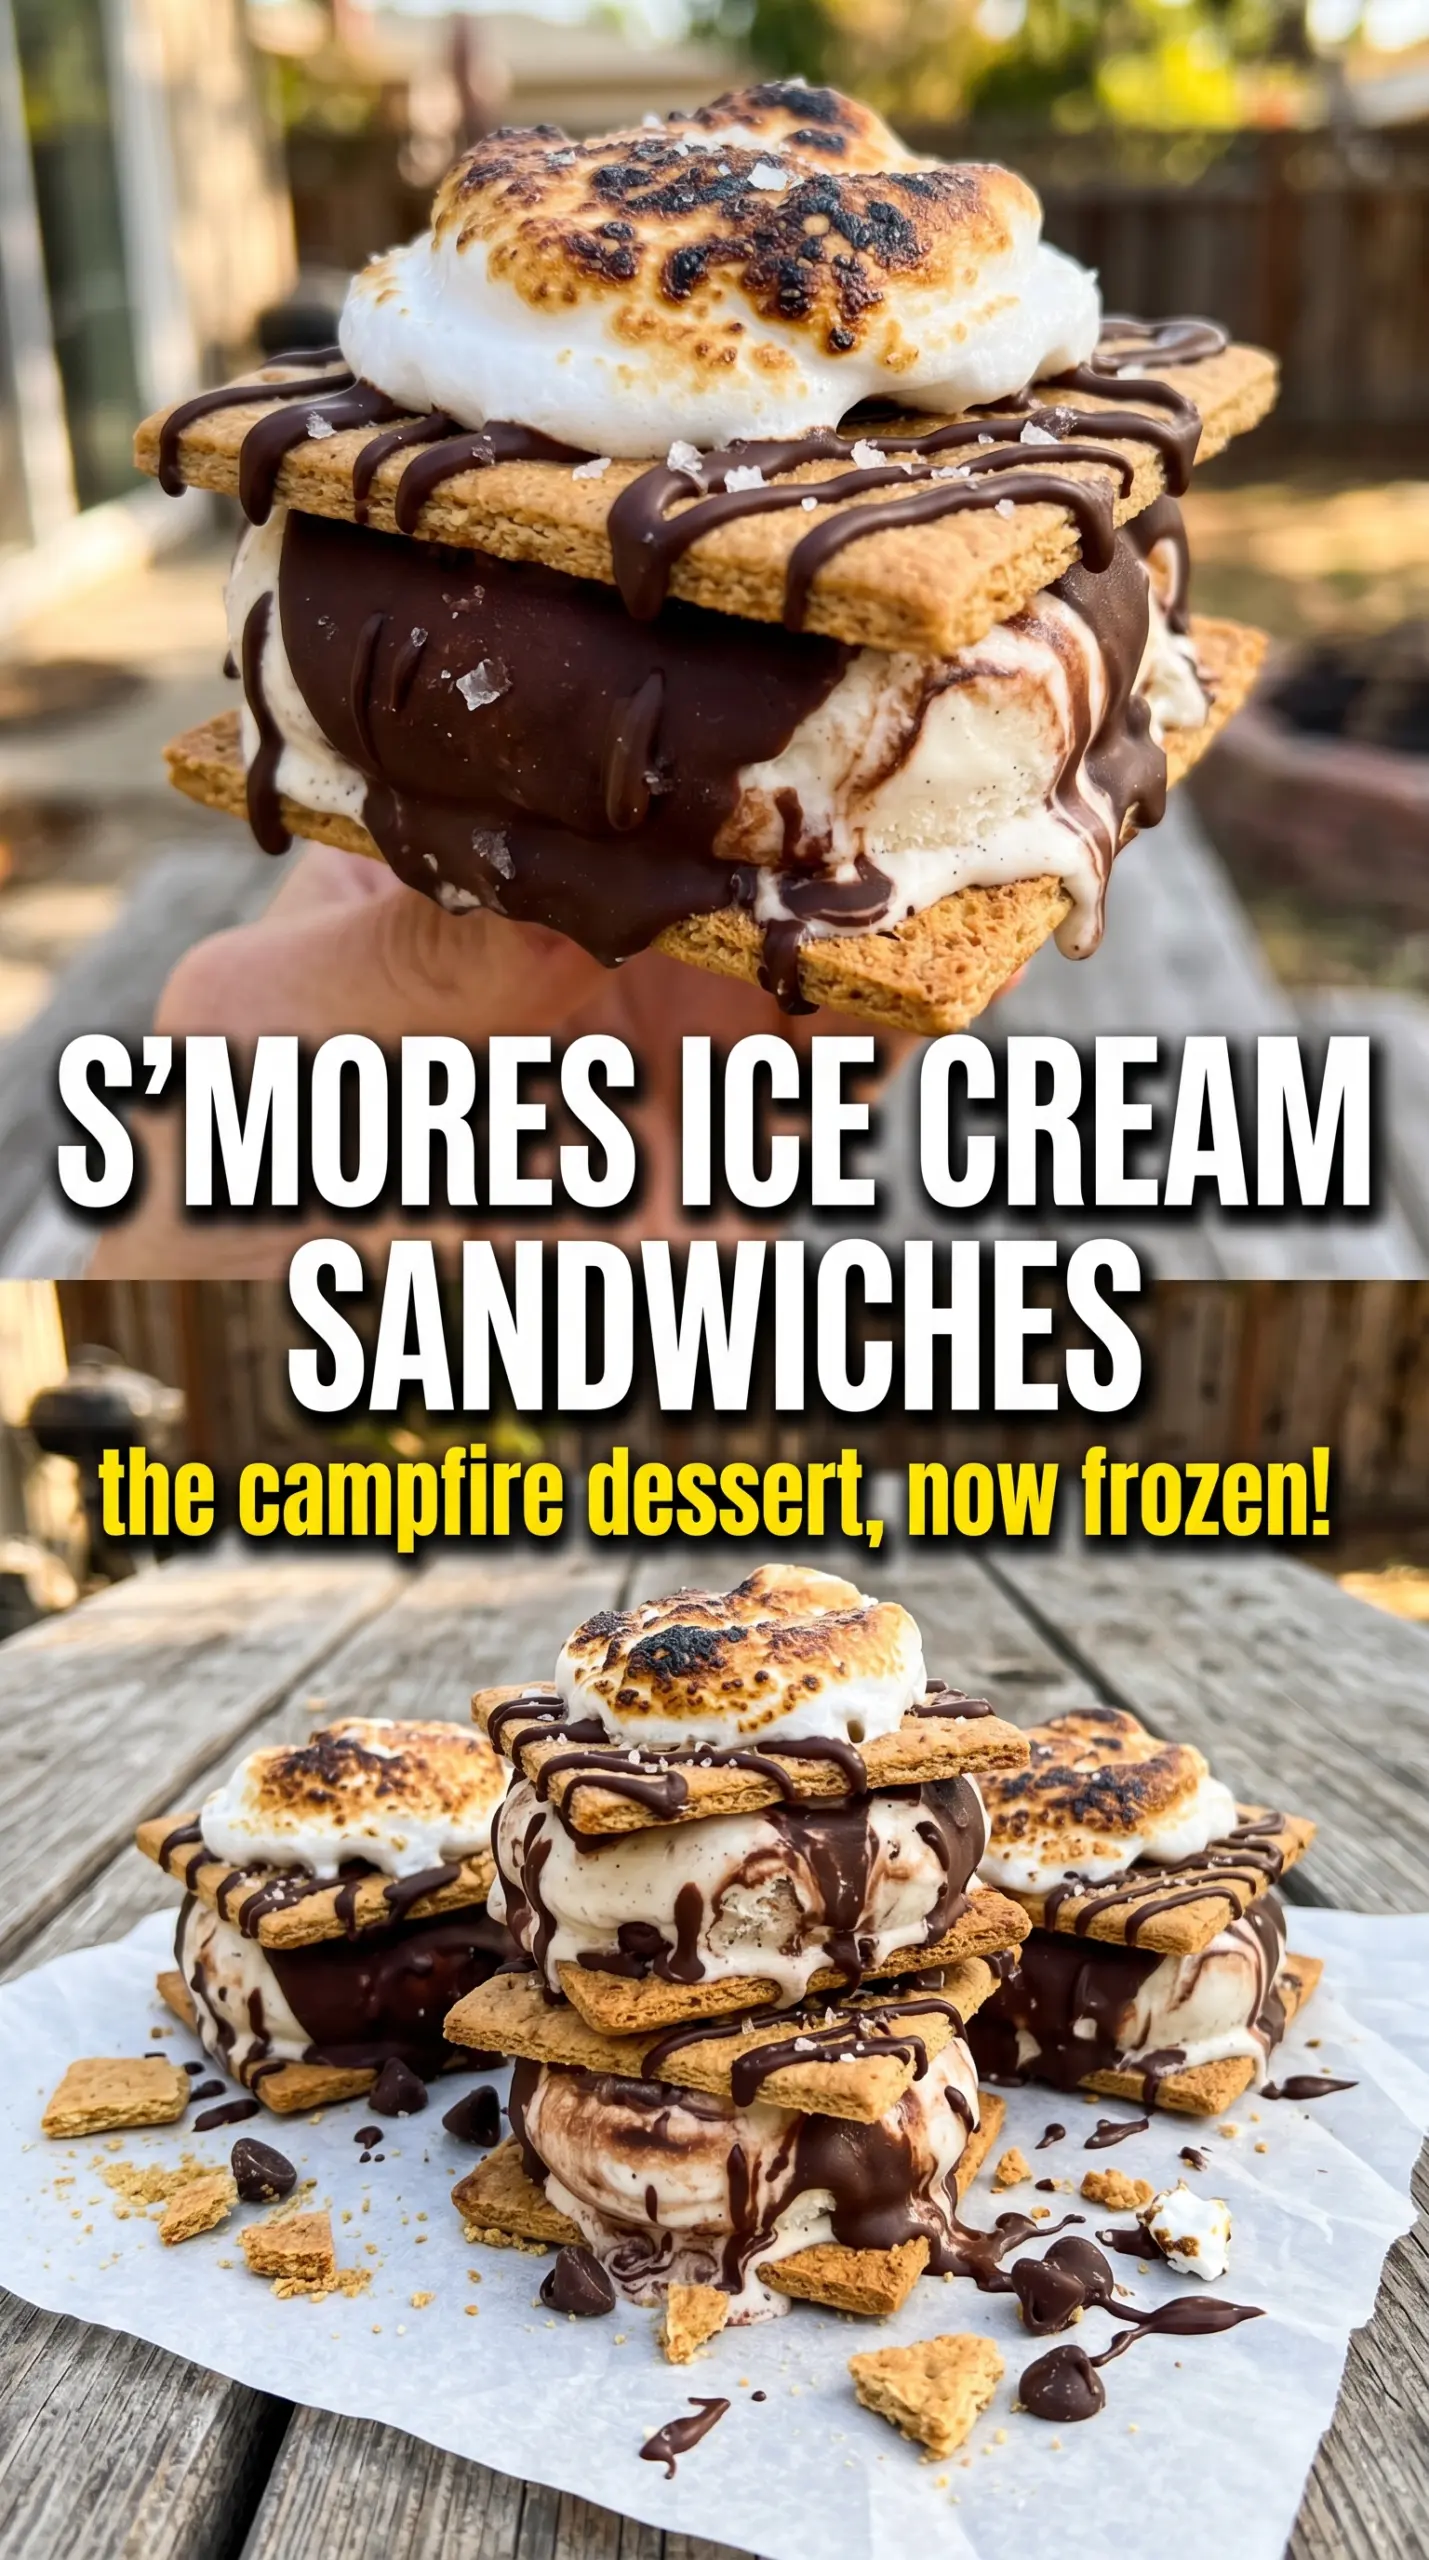
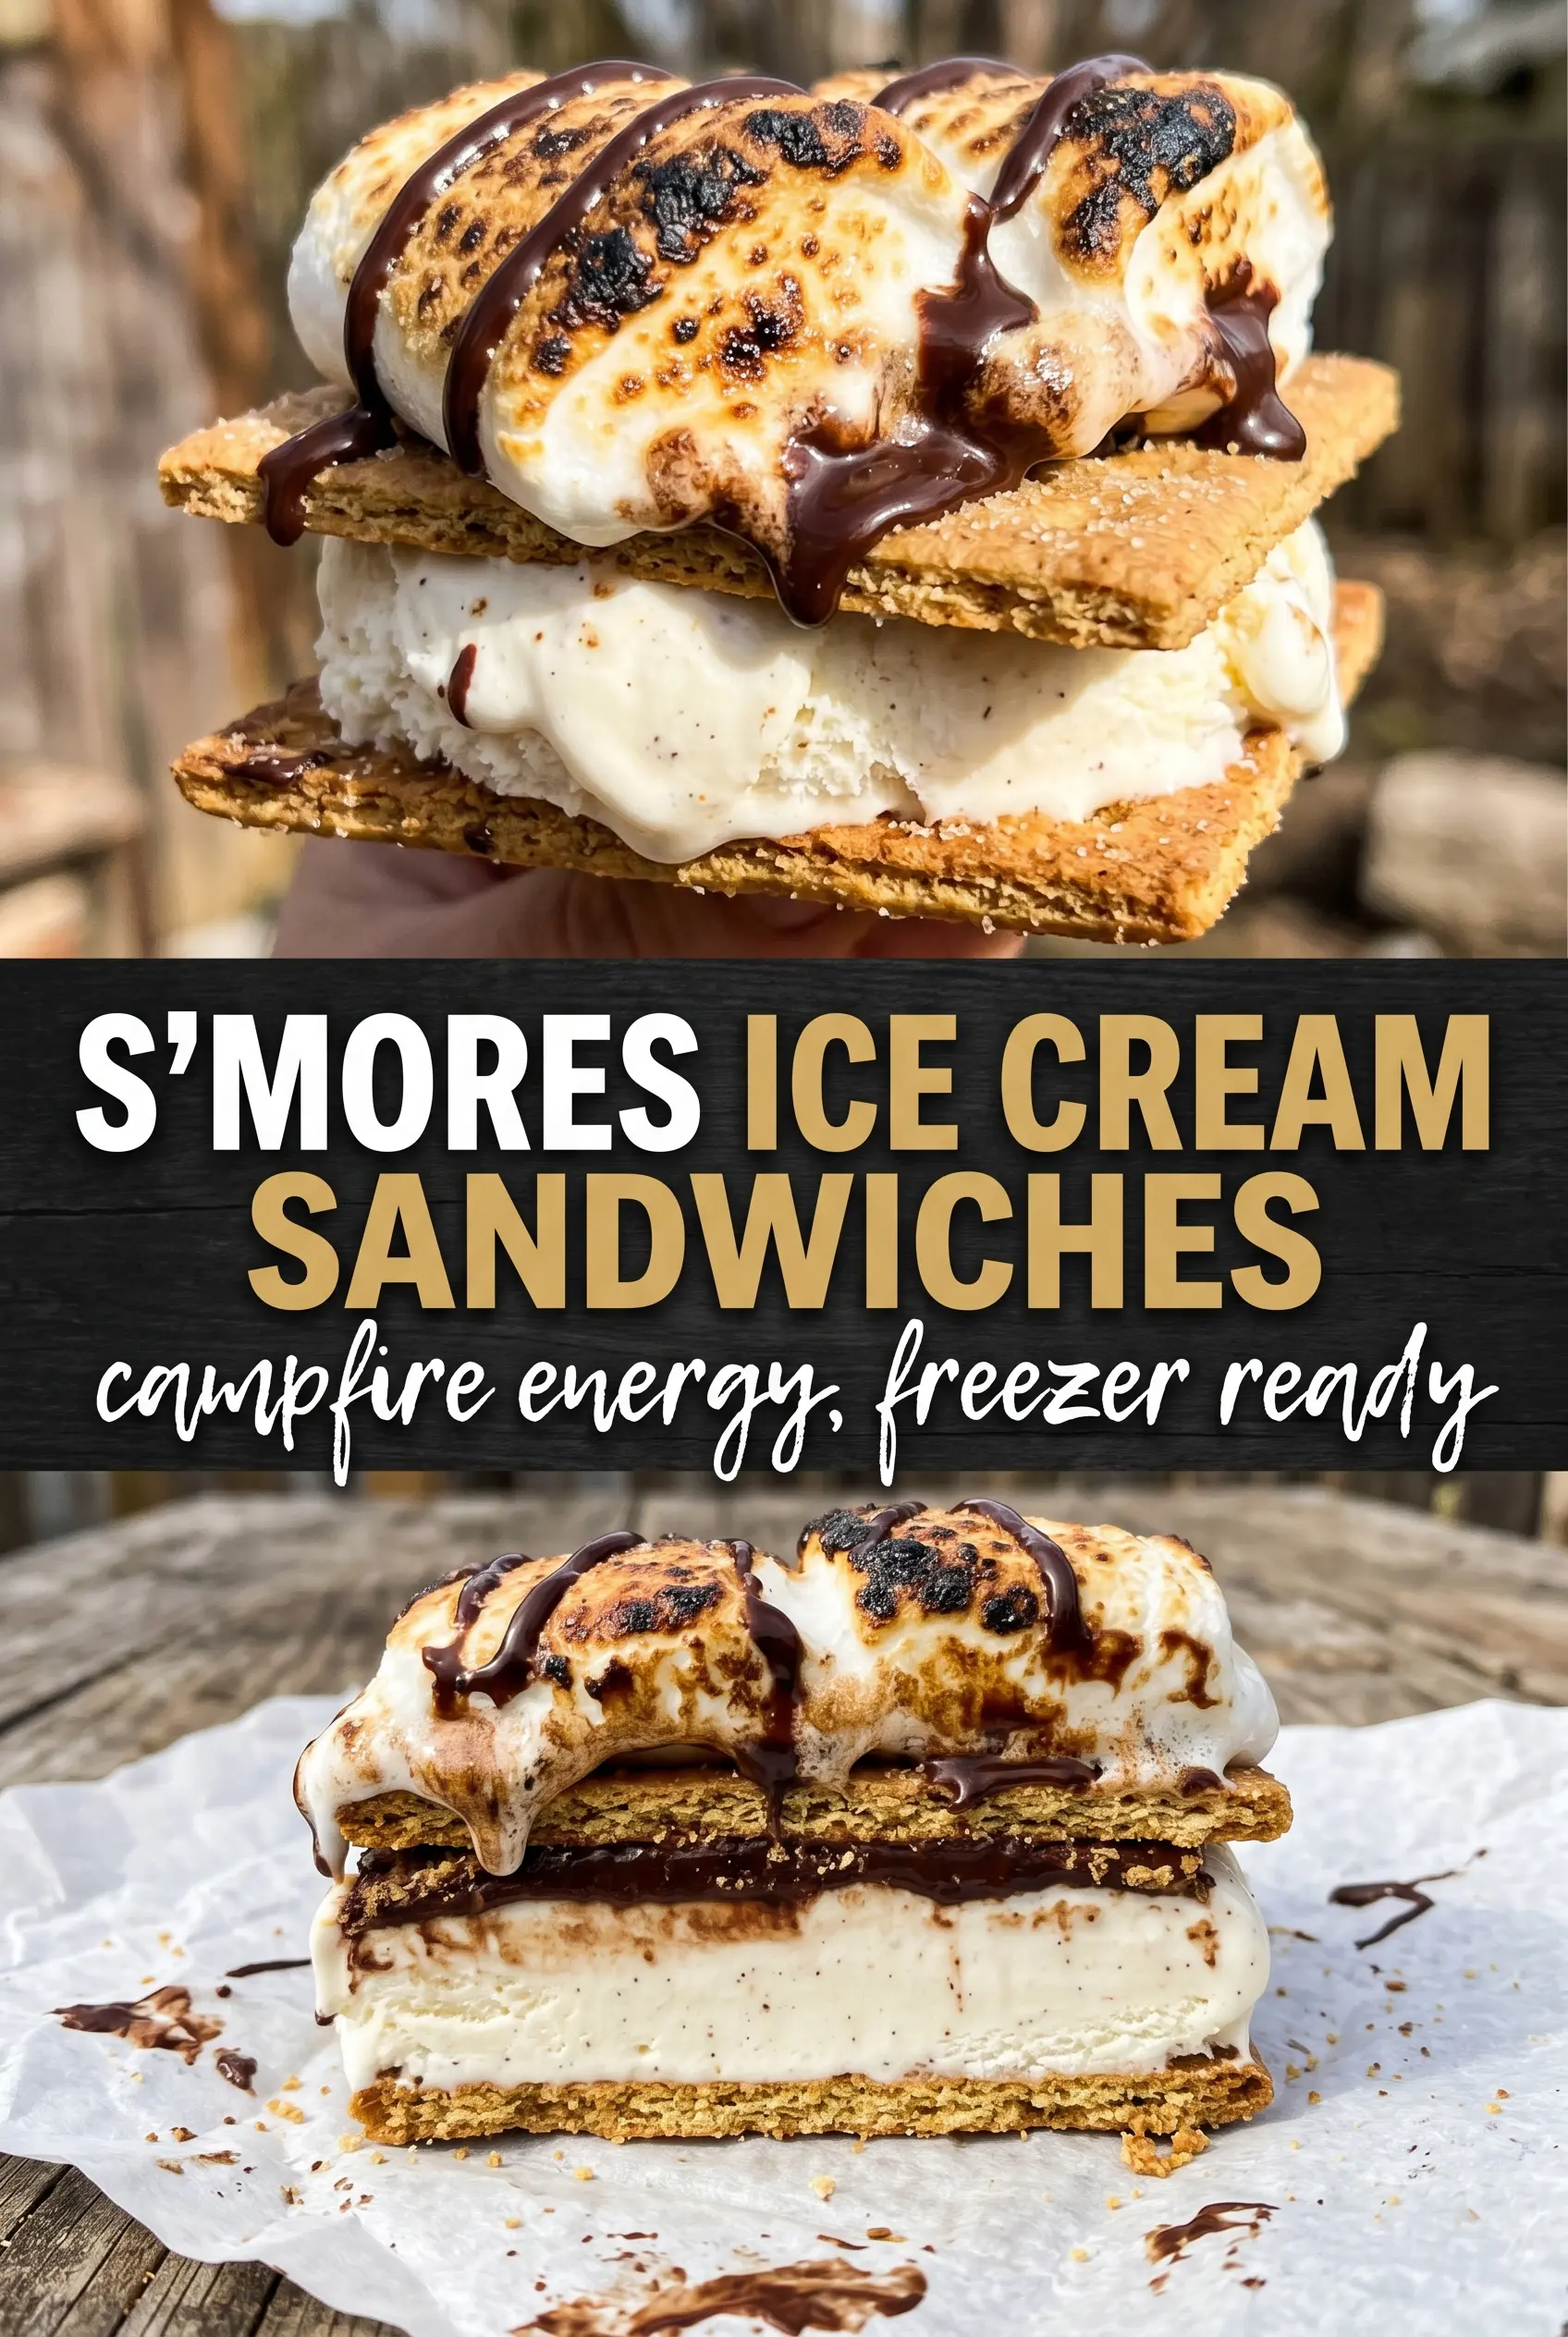
Graham cracker cookies, toasted marshmallow tops, and cold chocolate ice cream make these s’mores ice cream sandwiches taste like the campfire version of a frozen treat you can actually hold together. The cookies bake up sturdy enough to stand in for a graham cracker crust, while the marshmallow layer adds that toasted, sticky-sweet bite that turns this from a basic ice cream sandwich into something with real s’mores character.
The trick is in the cookie base and the timing. A blend of all-purpose and whole wheat flour gives the cookies a sturdy, slightly gritty graham-like texture without making them dry, and a little honey keeps them chewy after freezing. Toasting the marshmallows right after baking matters because they need heat to caramelize before the cookies cool and set. Once assembled, the sandwiches need a short freeze to firm up, which keeps the ice cream from squishing out the sides when you bite in.
Below, I’ll walk through the small details that keep the cookies soft but not fragile, plus a couple of smart ways to make the sandwiches ahead without losing that just-made texture.
The marshmallows browned beautifully under the torch and the cookies stayed chewy even after freezing. I made these for a cookout and everyone kept asking how I got the ice cream sandwiches to hold together so well.
Save these s’mores ice cream sandwiches for the nights when you want toasted marshmallow, chocolate ice cream, and chewy graham cookies all in one frozen bite.
The Cookie Texture That Keeps These from Turning Into a Mess
Most ice cream sandwiches fail in one of two ways: the cookies crumble the second you bite in, or they freeze so hard that the whole thing feels like a brick. These graham cracker cookies solve both problems by leaning chewy instead of crisp. The whole wheat flour brings a little grain and structure, while the honey and brown sugar hold onto moisture after baking and after freezing.
The marshmallow topping also changes how the sandwich eats. Toasting it right after baking gives you that campfire flavor and helps set the top just enough so it doesn’t smear into the ice cream as soon as you assemble the sandwiches. If the cookies seem soft when they leave the oven, that’s correct. They firm up as they cool, and overbaking is what turns them dry and makes the finished sandwiches brittle.
- Whole wheat flour — This is what gives the cookies that graham-like backbone. All-purpose flour alone makes them taste more like a standard sugar cookie, which misses the point here.
- Honey — It keeps the cookies chewy and adds the flavor note that reads a little like graham cracker. Maple syrup can work in a pinch, but it pushes the flavor in a different direction and makes the dough a touch wetter.
- Mini marshmallows — Press them into the dough after scooping so they sit on top and toast instead of disappearing into the cookie. Large marshmallows aren’t a good swap here because they melt too quickly and spread out before the cookie finishes baking.
- Chocolate ice cream — Use something firm and rich, not a super airy tub. The firmer the ice cream, the cleaner the sandwiches slice and bite once they freeze.
What Each Ingredient Is Actually Doing in This Ice Cream
- Base ingredient (cream, milk, or custard) — This provides the foundation and richness. Quality matters.
- Sweetener (sugar, honey, or condensed milk) — This sweetens and prevents ice crystals. The ratio is critical.
- Flavor element (vanilla, fruit, chocolate, or other) — This defines the ice cream personality. Use quality ingredients.
- Egg yolks (if making custard base) — These create richness and silky texture. Optional but elevates ice cream.
- Churning (if using ice cream maker) — This incorporates air and prevents ice crystals. Critical for smooth texture.
- Freezing temperature and time — Proper freezing prevents rock-hard texture. Store at 0°F or below.
- Mix-ins (chocolate, cookies, fruit, or swirls) — These add texture and prevent one-dimensional flavor. Add near end of churning.
- Serving temperature (slightly soft, not rock hard) — This provides creamy mouthfeel. Remove from freezer 5 minutes before serving.
Building the Cookies So They Bake Flat, Toast Cleanly, and Freeze Well
Whisking the Dry Ingredients First
Start by whisking both flours with the cinnamon, baking soda, and salt so the cinnamon doesn’t streak through the dough and the baking soda is evenly distributed. That little bit of cinnamon should be present but not loud; it rounds out the graham flavor without turning these into spice cookies. If you skip the whisking and dump everything in at once, you’ll chase pockets of uneven texture later.
Beating the Butter Until It Holds Air
Cream the butter and brown sugar until the mixture looks fluffy and a little paler, then add the honey, milk, and vanilla. This step gives the cookies lift without making them cakey, which matters because you want them thick enough to sandwich ice cream but not so airy that they crack. If the butter is too cold, the dough will look lumpy and won’t spread evenly in the oven.
Pressing the Marshmallows into the Tops
Scoop the dough into large rounds, then flatten them slightly before pressing mini marshmallows into the tops. The dough should look a little under-pressed at this stage because it will spread while baking. Bake until the edges are golden and the centers are just set, then torch the marshmallows immediately so they brown while they still sit neatly on the cookie. If you wait too long, the cookies cool and the marshmallows won’t toast evenly.
Cooling, Filling, and Freezing
Let the cookies cool completely before adding the ice cream or the marshmallow tops will melt into the filling. Soften the ice cream just enough to scoop cleanly, then sandwich it between two cookies with the marshmallow sides facing out. Press gently, just until the ice cream reaches the edges, then freeze the sandwiches for at least an hour so they firm up enough to hold their shape when served.
How to Adapt These Without Losing the S’mores Effect
Make Them Dairy-Free
Swap the butter for a plant-based stick butter and use a dairy-free chocolate ice cream with a dense texture. The cookies will still bake up chewy, though the flavor will be a little less rich, so keep the honey and vanilla in place to preserve depth.
Use Gluten-Free Flour
A 1:1 gluten-free baking blend can replace the flours, but the cookies will usually spread a little less and feel more delicate after freezing. If the dough seems dry, add a teaspoon or two of milk until it holds together without cracking at the edges.
Swap the Ice Cream Flavor
Chocolate is the classic move, but vanilla bean or coffee ice cream also works if you want the toasted marshmallow and graham cookie flavors to stand out more. Lighter flavors make the sandwich taste less like a full s’more and more like a toasted cookie-and-cream treat.
Storage and Reheating
- Refrigerator: Not the best option. The cookies soften too much and the ice cream will thaw unevenly, so keep them out of the fridge unless you need to soften one for a minute or two before eating.
- Freezer: Wrap each sandwich individually and freeze up to 2 weeks. After that, the cookies start to pick up freezer flavor and the marshmallow top loses some of its texture.
- Reheating: These aren’t meant to be reheated. Let them sit at room temperature for 3 to 5 minutes before serving so the cookies soften slightly and the ice cream becomes biteable instead of rock hard.
Questions I Get Asked About This Recipe
S'mores Ice Cream Sandwiches
Ingredients
Equipment
Method
- Preheat the oven to 350F and line a sheet pan. Whisk both flours, cinnamon, baking soda, and salt together until evenly combined.
- Beat the softened butter and brown sugar until fluffy. Mix in the honey, whole milk, and vanilla extract until smooth.
- Stir the flour mixture into the wet ingredients until a dough forms. The dough should hold together when pressed.
- Scoop the dough into large rounds, press flat, and press mini marshmallows into the tops. Space them on the sheet pan for even baking.
- Bake for 10-12 minutes at 350F until the edges are golden and the marshmallows are puffed. Immediately after baking, use a kitchen torch to toast the marshmallows golden-brown.
- Cool the cookies completely on the pan or a rack. Cooling prevents ice cream from melting when you assemble.
- Sandwich the softened chocolate ice cream between two cookies, with the marshmallow side out. Press gently so the filling meets the edges.
- Freeze the assembled sandwiches for at least 1 hour until firm. Serve straight from the freezer for the cleanest hand-held texture.