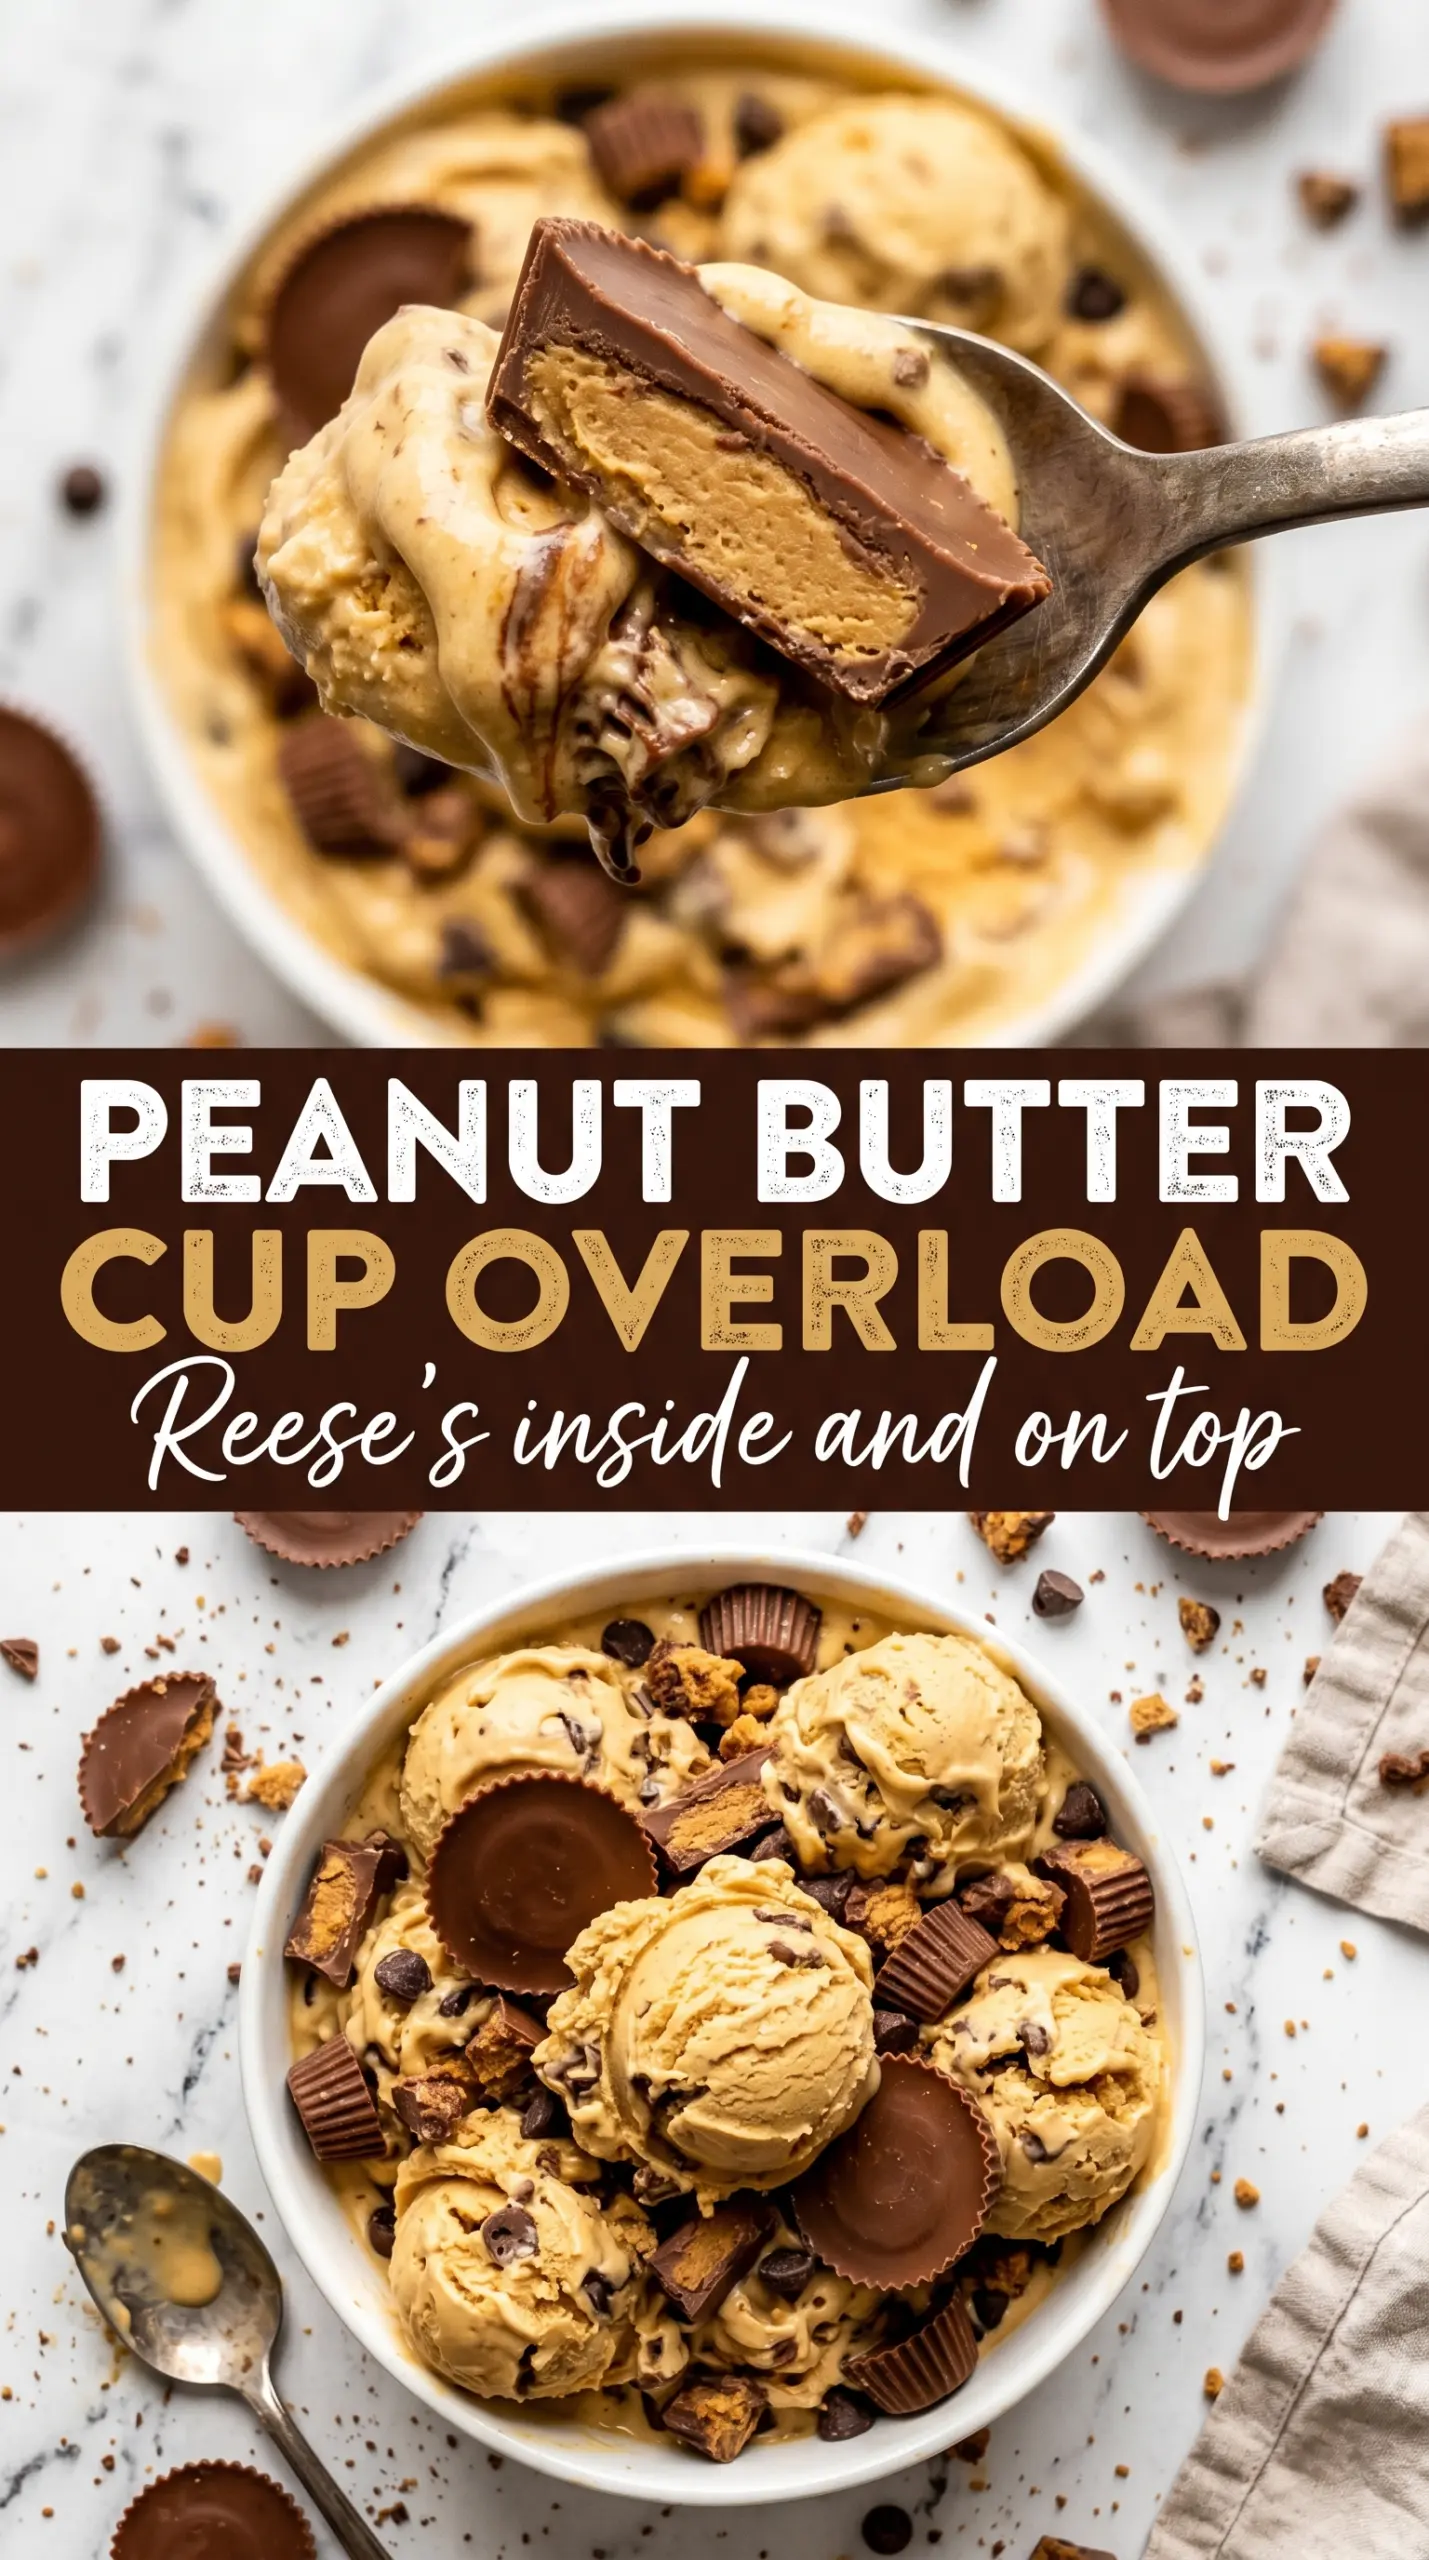
Peanut butter ice cream gets its best texture from contrast, and this no-churn version gives you exactly that: a creamy, soft-scoop base with cold little pockets of chocolate and peanut butter in every bite. The sweetened condensed milk keeps it smooth without an ice cream machine, and the chopped Reese’s cups stay distinct enough to give you a true candy-bar finish instead of disappearing into the base.
The trick is in the fold. Whipped cream brings the volume, but if you stir too hard after that, you’ll knock out the air and end up with a dense block instead of spoonable ice cream. I also use creamy peanut butter here because it blends cleanly into the condensed milk; natural peanut butter can separate and leave the base grainy or oily.
Below, I’ve included the small details that matter most: how to keep the base smooth, when to add the candy, and what to do if you want a stronger chocolate swirl or a freezer-friendly make-ahead dessert.
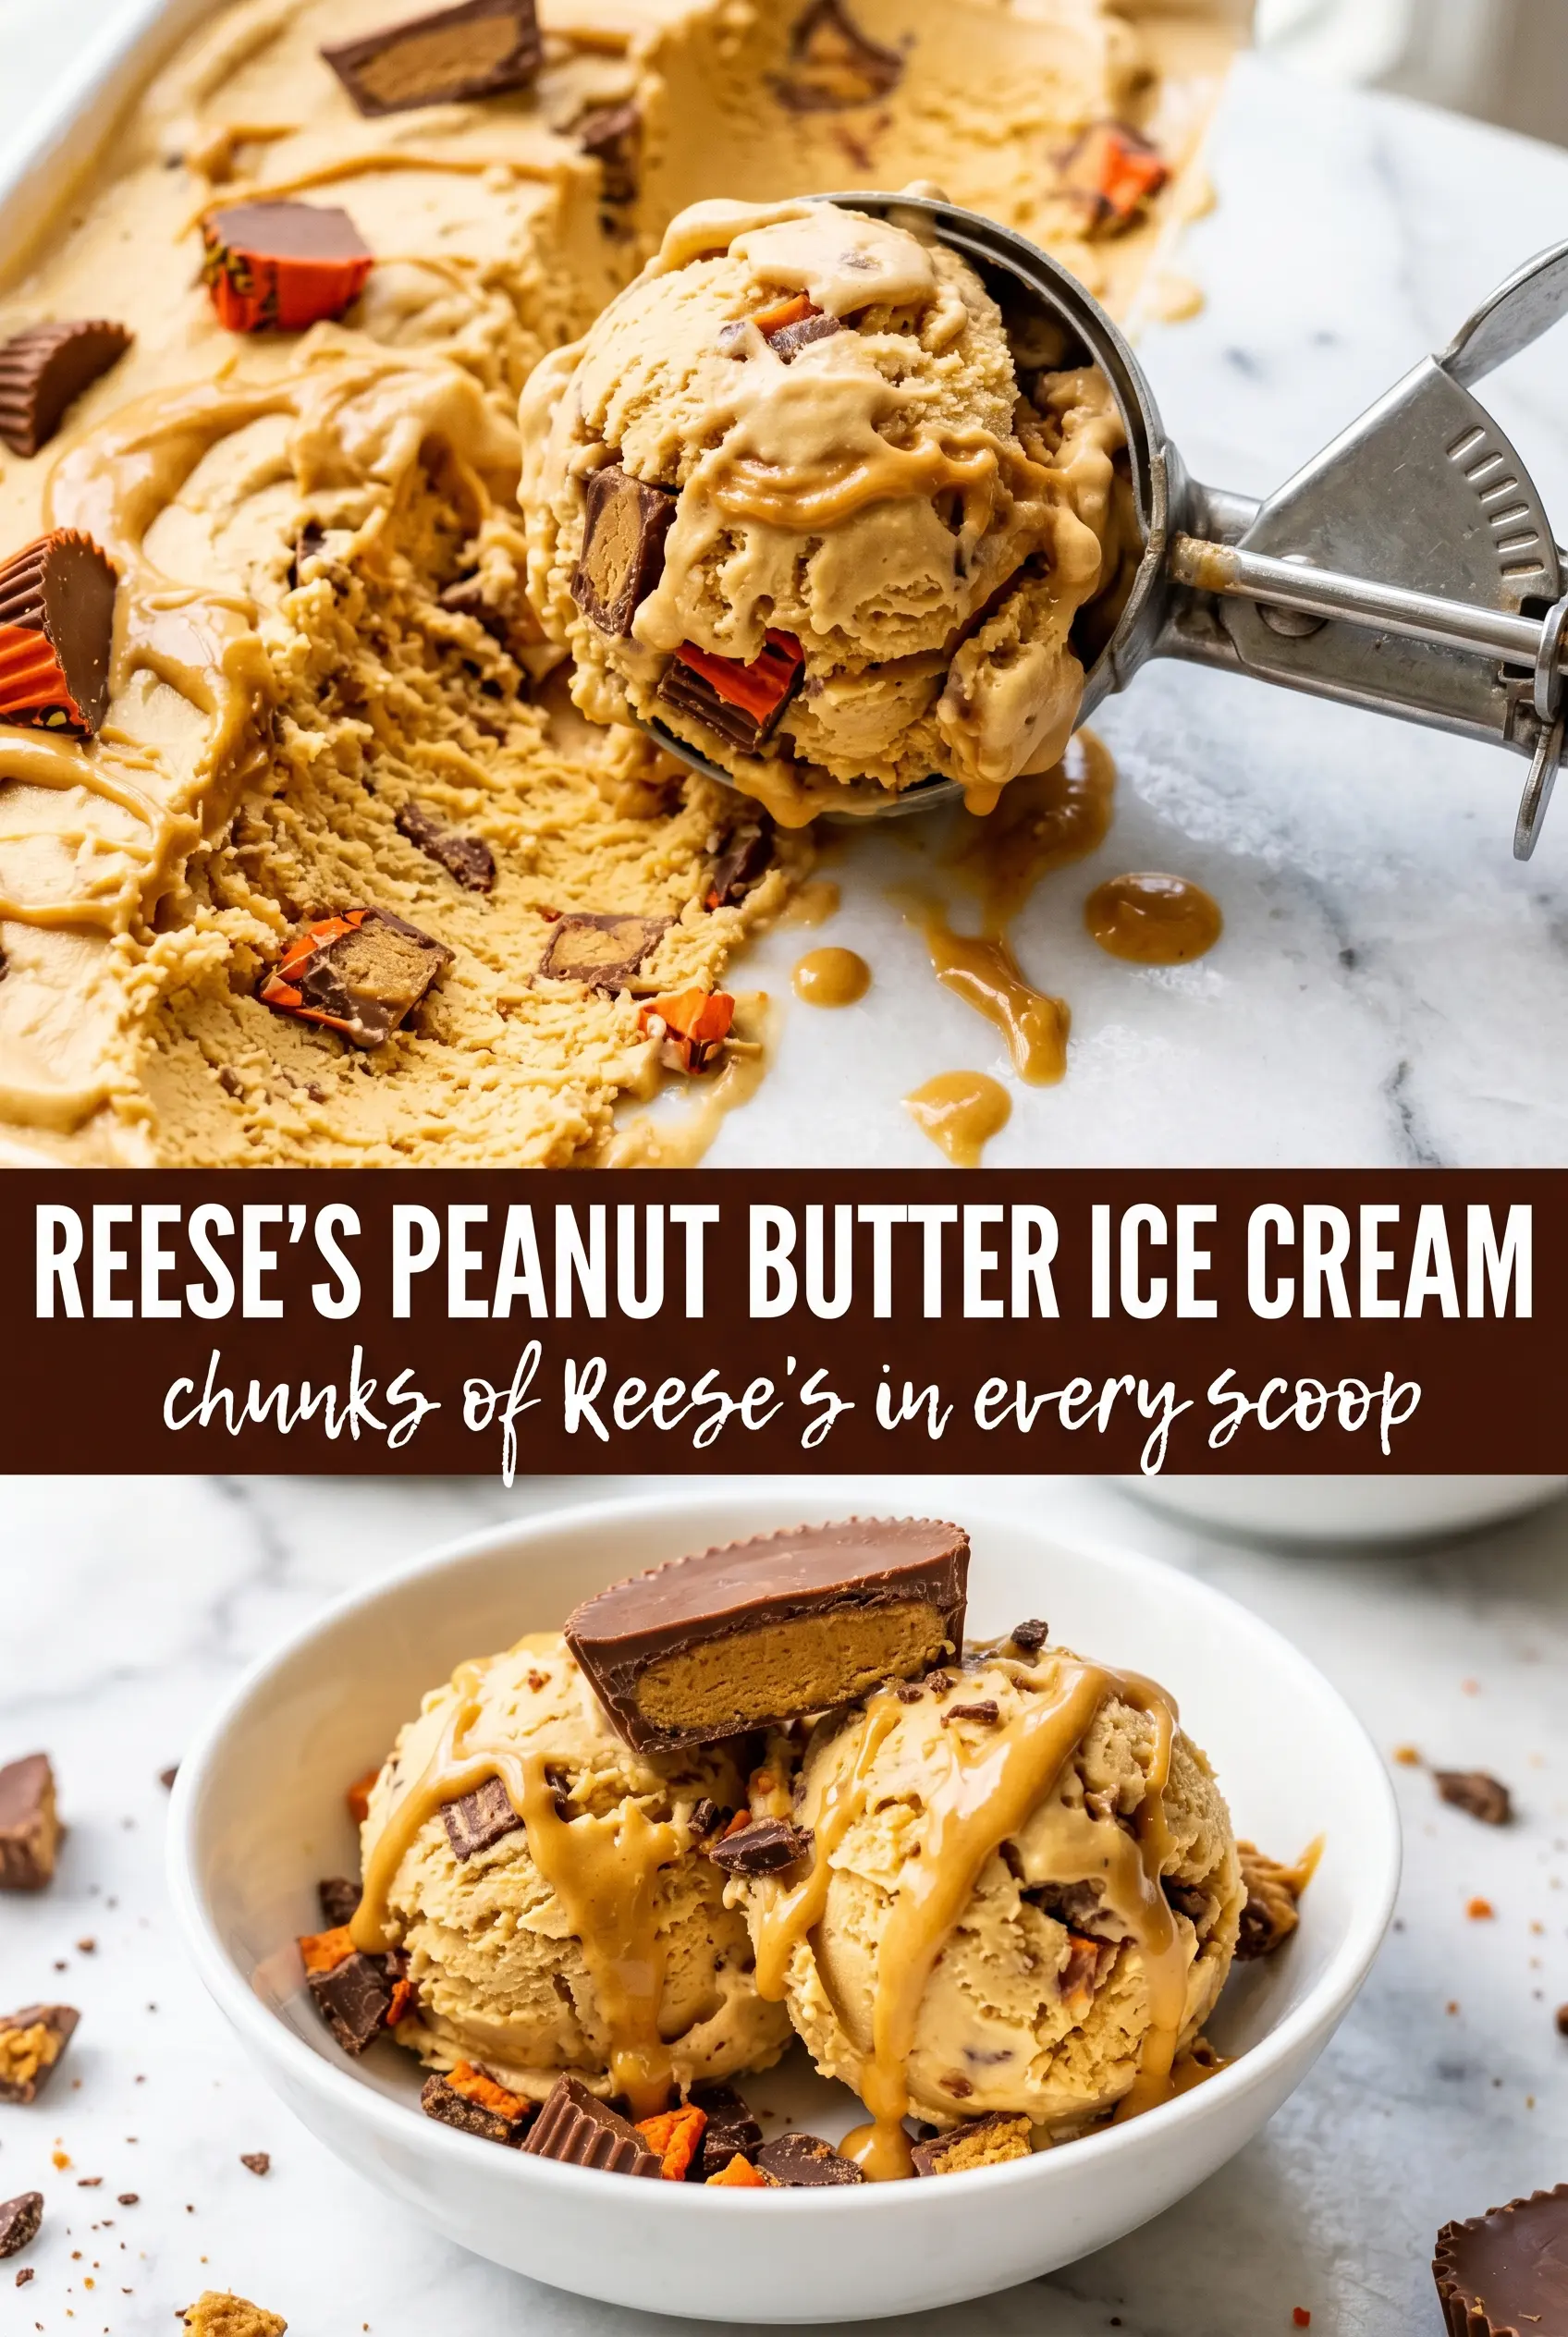
The peanut butter base stayed creamy after freezing, and the chopped Reese’s cups kept their little crunchy edges instead of turning into mush. We ate half the loaf pan the first night.
Chopped Reese’s peanut butter cups make this no-churn ice cream taste like the center of your favorite candy bar.
The Part Where Most No-Churn Ice Cream Turns Dense
No-churn ice cream can go flat fast if the whipped cream gets overmixed or the fillings are too heavy for the base. The goal here is to keep enough air in the cream that the frozen dessert scoops like ice cream, not like a sweet frozen slab. That means stiff peaks from the cream, then a gentle fold once the peanut butter mixture is smooth and ready.
The other place people lose the texture is in the peanut butter. Stirring peanut butter directly into cold cream leaves streaks and little oily pockets; mixing it first with the condensed milk, vanilla, and salt gives you a smoother base that folds in evenly. The Reese’s pieces should go in last so they stay distributed instead of sinking to the bottom of the pan.
- Heavy cream — This is what gives the ice cream its body and scoopability without a machine. Whip it to stiff peaks, not soft peaks, or the final texture will freeze too loose.
- Sweetened condensed milk — It sweetens the base and keeps the ice cream soft after freezing. There isn’t a perfect substitute here if you want the same no-churn texture.
- Creamy peanut butter — Smooth peanut butter blends best and gives the base that deep peanut flavor. Natural peanut butter tends to separate, so I don’t use it here unless it’s stirred extremely well and still fairly thick.
- Reese’s peanut butter cups — Chop them roughly so you get varied chunks instead of a uniform crumble. Bigger pieces stay noticeable after freezing and give each scoop a better bite.
What Each Ingredient Is Actually Doing in This Ice Cream
- Base ingredient (cream, milk, or custard) — This provides the foundation and richness. Quality matters.
- Sweetener (sugar, honey, or condensed milk) — This sweetens and prevents ice crystals. The ratio is critical.
- Flavor element (vanilla, fruit, chocolate, or other) — This defines the ice cream personality. Use quality ingredients.
- Egg yolks (if making custard base) — These create richness and silky texture. Optional but elevates ice cream.
- Churning (if using ice cream maker) — This incorporates air and prevents ice crystals. Critical for smooth texture.
- Freezing temperature and time — Proper freezing prevents rock-hard texture. Store at 0°F or below.
- Mix-ins (chocolate, cookies, fruit, or swirls) — These add texture and prevent one-dimensional flavor. Add near end of churning.
- Serving temperature (slightly soft, not rock hard) — This provides creamy mouthfeel. Remove from freezer 5 minutes before serving.
Building the Base Without Breaking the Air
Whipping the Cream
Start with cold heavy cream and whip it until stiff peaks stand up cleanly when you lift the beaters. The cream should look billowy and hold its shape, but it shouldn’t turn grainy or start to separate. If you go past that point, the texture gets butter-like and the finished ice cream won’t freeze smooth. Use a large bowl so the cream has room to expand without splashing over the sides.
Making the Peanut Butter Mixture Smooth
Whisk the condensed milk, peanut butter, vanilla, and salt until the mixture looks glossy and completely even. If the peanut butter is fighting you, warm it for just a few seconds so it loosens, but don’t make it hot. Hot peanut butter can melt the whipped cream later, and lumps here will show up in every scoop.
Folding and Freezing
Add the peanut butter mixture to the whipped cream in two additions and fold with a spatula, sweeping from the bottom of the bowl and turning the mixture over on itself. Stop as soon as you don’t see streaks anymore; a few faint swirls are better than deflating the whole batch. Fold in the chopped Reese’s cups at the end, transfer everything to a loaf pan, and press a piece of parchment or plastic wrap directly onto the surface before freezing for at least 6 hours. If the surface isn’t covered, ice crystals form first and the top gets icy before the center firms up.
Swap the Candy for a Different Chocolate Peanut Butter Bite
If you want a less sweet finish, use chopped peanut butter cups with dark chocolate or mix in chopped chocolate-covered peanuts instead of all Reese’s cups. You’ll get the same crunch and peanut butter hit, but the dessert reads a little less candy-like.
Dairy-Free Version
Use full-fat coconut cream in place of the heavy cream and a dairy-free sweetened condensed milk. The texture will be a touch softer and you’ll pick up a faint coconut note, but it still freezes into a spoonable no-churn dessert.
Extra Peanut Butter Flavor
Add 2 to 3 tablespoons of peanut butter powder along with the condensed milk if you want the base to taste more intensely peanutty without making it heavier. Don’t add a big spoonful of regular peanut butter beyond what the recipe already uses unless you want a denser, richer freeze.
Storage and Reheating
- Refrigerator: Ice cream doesn’t hold in the fridge. If it softens there, it will melt rather than store.
- Freezer: Store covered for up to 2 weeks for the best texture. After that, it still tastes good, but the edges can get icy.
- Reheating: Let it sit at room temperature for 8 to 12 minutes before scooping. If you try to dig in straight from the freezer, the candy chunks can crack the spoon and the base will seem harder than it really is.
Answers to the Questions Worth Asking
Reese's Peanut Butter Ice Cream
Ingredients
Equipment
Method
- Whip the heavy cream to stiff peaks using a stand mixer, until the cream holds tall ridges when the beaters are lifted.
- Whisk the sweetened condensed milk, peanut butter, vanilla extract, and salt together until smooth and glossy.
- Gently fold the peanut butter mixture into the whipped cream until just combined, keeping the mousse-like texture and minimizing streaks.
- Fold in the chopped Reese's peanut butter cups so the chunks are evenly distributed throughout the pale tan base.
- Transfer the mixture to a 9x5 loaf pan and smooth the top.
- Freeze for at least 6 hours or overnight until firm enough to scoop and the texture is set throughout.
- Drizzle with extra chocolate sauce when serving for a chocolate-peanut butter finish.