Pumpkin pie dessert squares give you everything people love about pumpkin pie, but with a buttery cake mix crust and a crumbly topping that turns each piece into its own tidy little dessert. The filling sets up smooth and custardy, the crust stays sturdy enough to cut cleanly, and you get that warm spice-and-pumpkin flavor without rolling a single crust. For potlucks, holiday trays, or a weeknight dessert that needs to feed a crowd, this pan disappears fast.
The trick is baking the crust first so it doesn’t turn soggy under the custard, then pouring the filling over it while it’s still warm. That little head start keeps the bottom from going pasty. The topping is made from the reserved cake mix, which gives the finished squares a soft crumble instead of a dry streusel. It bakes into golden little pockets across the top and adds the texture the filling needs.
Below you’ll find the timing that keeps the center set without overbaking, plus a few smart swaps if you need to work with what you have in the pantry.
The filling set up beautifully and the crust stayed firm under the pumpkin layer. I chilled it overnight and the squares cut cleanly the next day, which made serving so much easier.
Pumpkin pie dessert squares with that buttery cake crust and smooth spiced filling are worth pinning for Thanksgiving, bake sales, and any time you want an easy pan dessert that slices neatly.
The Part That Keeps the Crust From Getting Soggy
The biggest mistake with dessert bars like this is treating the crust and filling like they bake on the same timeline. They don’t. The cake mix crust needs that first 10 minutes in the oven so the butter and egg can set it into a firm base before the pumpkin filling goes on. If you skip that par-bake, the bottom softens and the squares lose their clean edges.
The other thing that matters is the warm crust. Pouring the custard over a hot base helps the layers bond instead of sliding around in the pan. You’ll still need the full bake time for the filling to set, but starting with a hot crust gives you a sturdier slice and a better bottom layer.
What Each Ingredient Is Actually Doing in This Pan
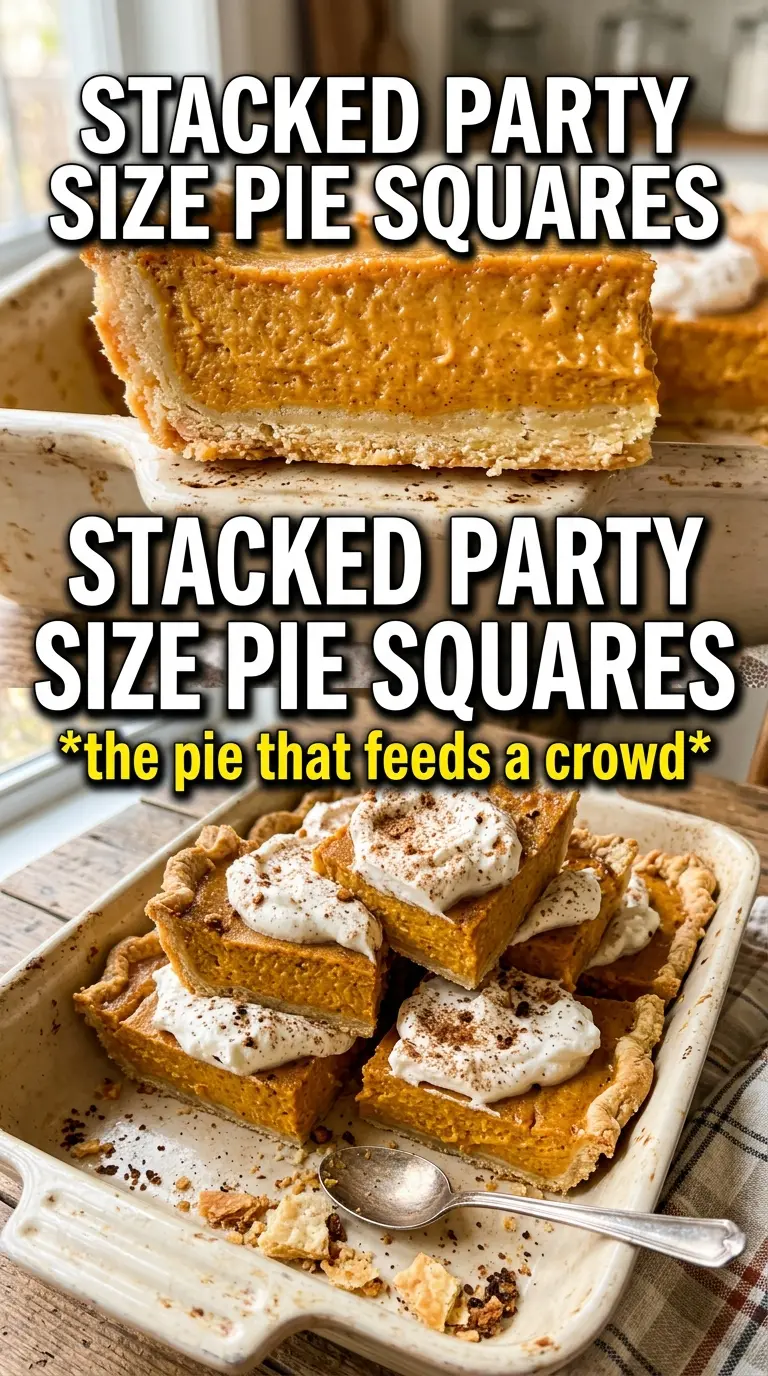
- Yellow cake mix — This does double duty as the crust and part of the crumble topping. It brings sweetness, structure, and a soft bakery-style crumb without the fuss of making pastry dough. A generic white or spice cake mix will work, but yellow cake mix gives the richest buttery base flavor.
- Melted butter for the crust — Melted butter lets the crust press evenly into the pan and bake up dense enough to hold the filling. Don’t swap in oil here; oil makes the base softer and less cohesive. The cold butter in the topping is a different job entirely, so keep that one solid.
- Pumpkin puree — Use plain pumpkin puree, not pumpkin pie filling. The canned filling already has sugar and spices mixed in, which throws off the balance and can make the squares overly sweet and loose. Puree gives you control over the texture and spice.
- Evaporated milk — This is what makes the filling taste like pie instead of thin pumpkin custard. Whole milk works in a pinch, but the result won’t be as rich or as set. Evaporated milk gives body without making the filling heavy.
- Reserved cake mix topping — Mixing it with sugar, butter, and cinnamon creates a crumb that bakes into little golden clusters. If the butter is too soft, you get paste instead of crumbs, so use it cold and work it in until the mix looks sandy with a few pea-sized bits.
Building the Layers So the Center Sets Cleanly
Pressing and Prebaking the Crust
Mix the cake mix, melted butter, and egg until the dough comes together, then press it firmly and evenly into the greased 9×13 pan. An even layer matters more than a thick one, because thin spots overbake and thick spots stay gummy. Bake it just until the surface looks set and a little dry at the edges, about 10 minutes. If the crust puffs in the center, press it back down gently with the back of a spoon while it’s still warm.
Whisking the Filling Until It’s Smooth
Whisk the pumpkin puree, eggs, sugar, evaporated milk, spices, and salt until the mixture looks uniform and silky. Scrape the bowl well; little streaks of pumpkin or egg can bake into uneven pockets. Pour it over the warm crust slowly so you don’t tear the base. If you rush, the crust can lift in spots and the layers won’t stay tidy when sliced.
Making the Crumble That Actually Crumblies
Use cold butter for the topping and work it into the reserved cake mix, sugar, and cinnamon until you have coarse crumbs. You want some fine sandy bits and some larger clumps, because those bigger pieces toast into the best crunchy spots. Scatter it evenly over the filling without pressing it down. If you pack it, it turns into a lid instead of a crumble.
Baking Until the Center Barely Moves
Bake until the top is golden and the filling looks set around the edges with only a slight wobble in the center. The middle should jiggle like firm custard, not ripple like liquid. It finishes setting as it cools, and that’s what keeps the squares from turning dry. If the pan comes out when the center is fully firm, the filling usually ends up overbaked once it cools.
Dairy-Free Version
Use plant-based butter in both the crust and topping, and swap the evaporated milk for full-fat canned coconut milk. The filling will taste a little coconut-forward and feel slightly richer, but it still sets well and slices neatly once fully cooled.
Gluten-Free Shortcut
Use a gluten-free yellow cake mix that lists a similar batch weight to the original. The texture will be a touch more delicate, so let the bars cool completely before cutting or the crust can crumble at the edges.
Extra-Spiced Filling
Add another 1/2 teaspoon cinnamon or a pinch of cloves if you want a stronger pie-spice flavor. Keep the additions modest, though, because too much spice can drown out the pumpkin and make the filling taste sharp instead of warm.
Storage and Reheating
- Refrigerator: Store covered for up to 5 days. The topping softens a little, but the squares stay sliceable and the flavor gets deeper by day two.
- Freezer: These freeze well. Cut into squares, wrap individually, and freeze in a single layer before moving them to a container. Thaw overnight in the fridge for the cleanest texture.
- Reheating: Serve chilled or bring to room temperature. If you warm them, do it briefly in a low oven. Microwaving for too long makes the filling grainy and can soften the crust too much.
Questions I Get Asked About This Recipe
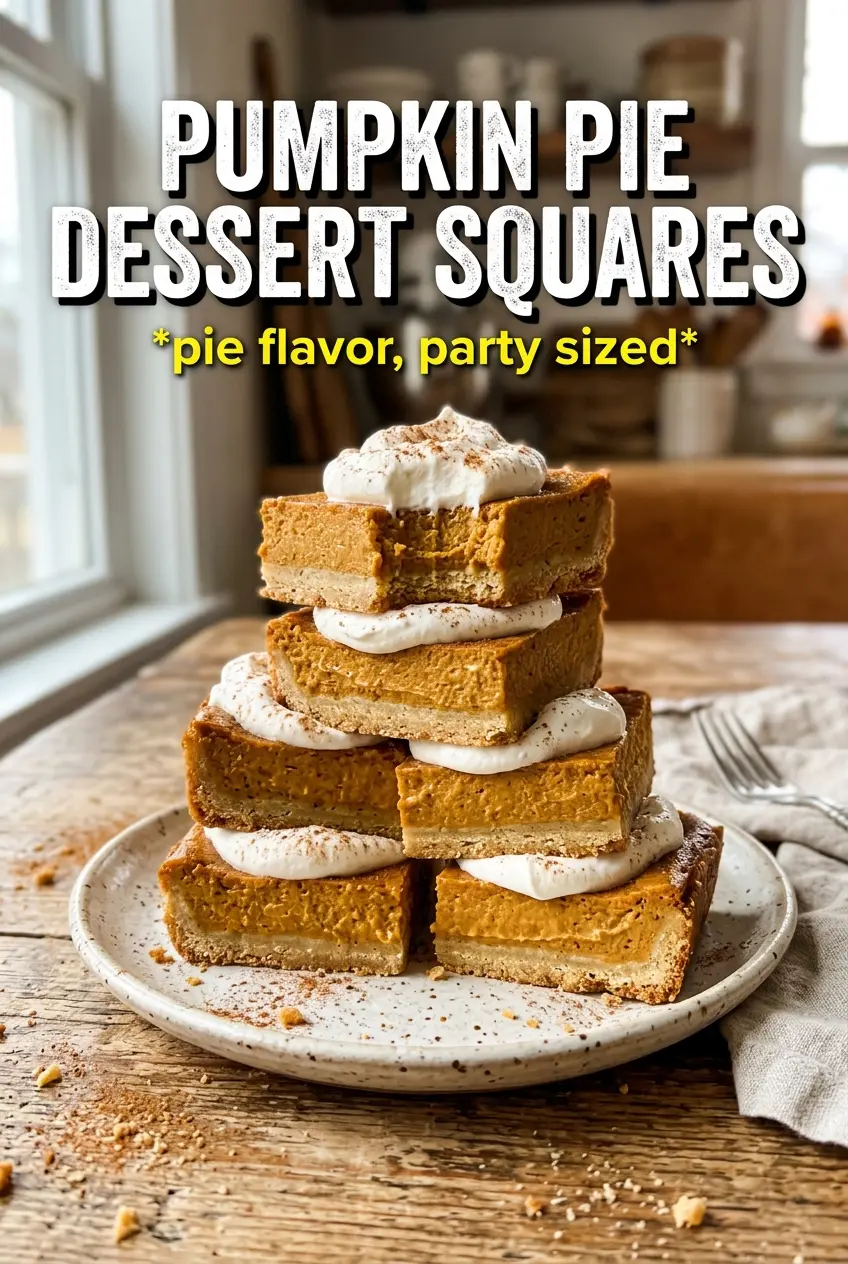
Pumpkin Pie Dessert Squares
Ingredients
Equipment
Method
- Preheat oven to 350F and grease a 9x13 pan.
- Measure and reserve 1 cup of yellow cake mix for the crumble topping.
- Combine yellow cake mix, melted unsalted butter, and egg, then press the mixture into the greased 9x13 pan.
- Bake the crust for 10 minutes until it looks set around the edges.
- Whisk pumpkin puree, eggs, granulated sugar, evaporated milk, pumpkin pie spice, cinnamon, ginger, and salt until smooth.
- Pour the pumpkin filling over the warm crust in the pan.
- Combine the reserved cake mix, sugar, cold butter, and cinnamon until crumbly.
- Scatter the crumble evenly over the filling.
- Bake 40-45 minutes, until the topping is golden and the filling is set in the center.
- Cool completely before cutting into squares so the custard sets cleanly.
- Serve squares with whipped cream.