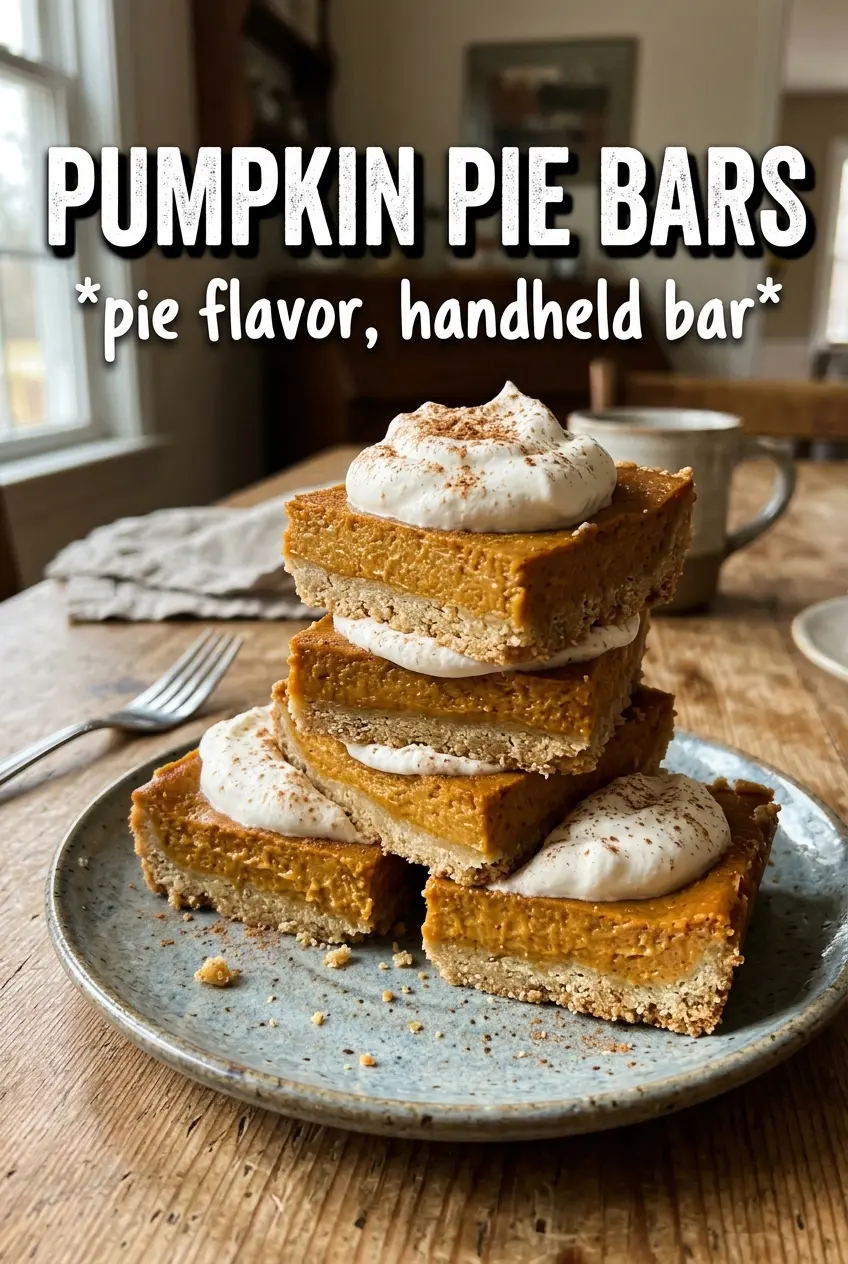
Pumpkin pie bars give you everything people love about pumpkin pie, but in a form that slices cleanly and serves without a fight. The crust stays buttery and shortbread-like under a thick layer of spiced custard, and each square holds its shape long enough to pile on whipped cream without collapsing. You get the same warm pumpkin flavor, just with less hassle at the table and a lot less worry about whether the filling will crack.
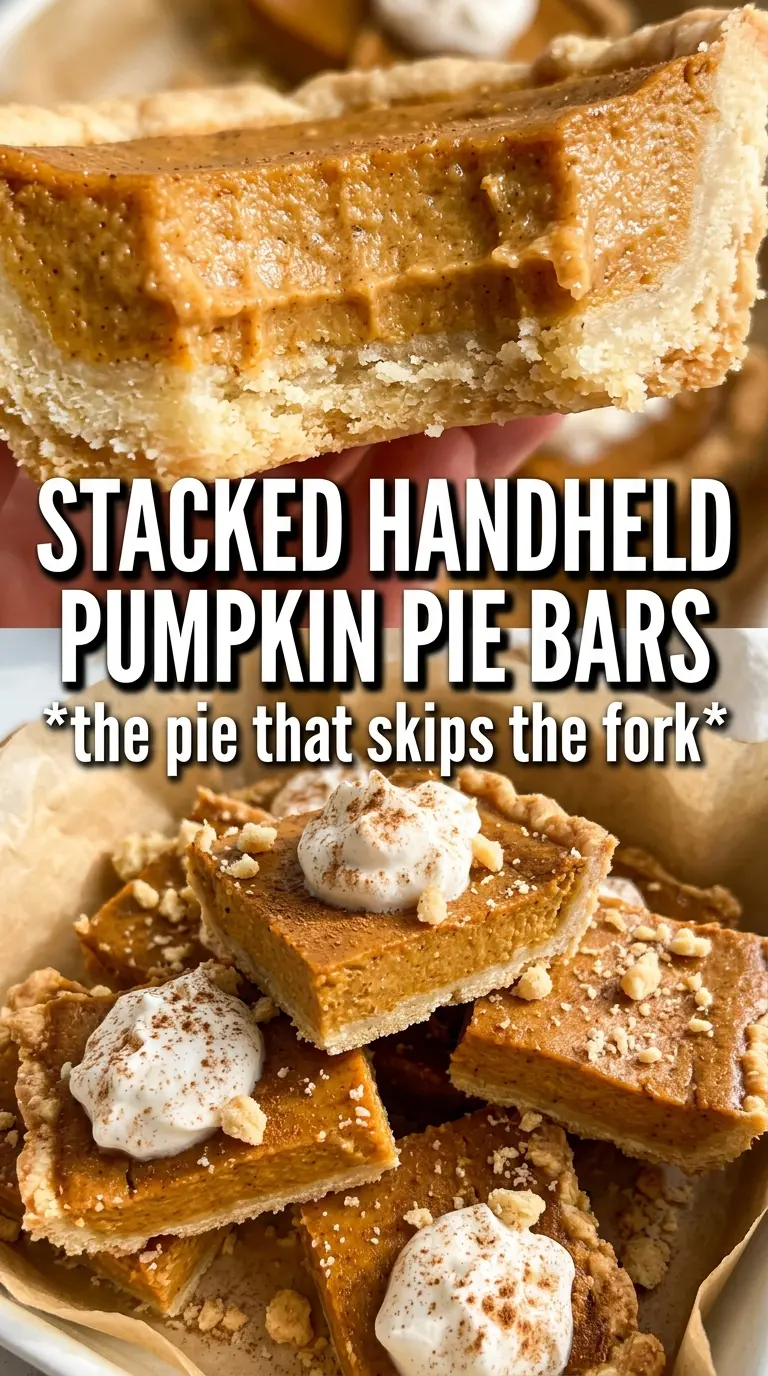
What makes this version work is the contrast: a firmly baked crust that can stand up to a custard filling, plus a two-temperature bake that sets the edges first and finishes the center gently. The filling is built with evaporated milk, which gives it that classic pie texture without needing heavy cream, and the spice blend is balanced so the pumpkin still comes through. The bars need a full chill before cutting, and that rest time is what turns them from soft custard into neat, bakery-style squares.
The crust baked up crisp underneath, and the filling set with that perfect little jiggle in the middle. I chilled them overnight and the bars cut into clean squares without smearing.
Pumpkin pie bars with that buttery crust and clean, sliceable custard filling are worth a spot on your dessert board.
The Reason Pumpkin Pie Bars Slice Clean Instead of Slumping
The biggest mistake with pumpkin bars is treating them like a quick pour-and-bake dessert. The crust needs to be pre-baked until it looks dry and lightly set, not just warm, or the filling will seep in and turn the bottom layer pasty. That short head start gives you a base that stays crisp enough to read as crust when you bite into it.
The second piece is the bake itself. Starting hot helps the edges of the custard set fast, then dropping the temperature gives the center time to thicken without curdling or puffing up like a soufflé. Pull them when the center still has a slight wobble; if the middle looks fully firm in the oven, the bars usually end up dry after cooling.
What the Custard and Crust Are Each Doing Here
- All-purpose flour — This gives the crust enough structure to hold the filling without turning tough. A pastry flour swap makes the crust a little more delicate, but plain all-purpose is the reliable choice here.
- Powdered sugar — It melts smoothly into the crust dough and helps create that tender, shortbread texture. Granulated sugar works in a pinch, but the crust will bake up a little more sandy and less refined.
- Cold unsalted butter — Cold butter is what keeps the crust crisp and flaky instead of dense. Cube it first and cut it in just until the dough clumps when squeezed; if the butter softens too much, the crust loses that clean bite.
- Pumpkin puree — Use plain pumpkin puree, not pumpkin pie filling. The canned version is consistent and thick enough for this recipe, which matters because watery puree can keep the filling from setting properly.
- Evaporated milk — This is the ingredient that gives the filling its classic pumpkin pie body. Regular milk makes the custard looser, while heavy cream turns it richer but heavier; evaporated milk is the balance point.
- Eggs — They set the custard as the bars bake. Whisk them in fully, but don’t beat so aggressively that you load the filling with foam, which can lead to a puffy top that sinks as it cools.
- Spices and vanilla — Pumpkin pie spice carries the main flavor, while the extra cinnamon, ginger, and cloves sharpen it and keep the filling from tasting flat. The vanilla rounds everything out; don’t skip it, because it softens the edge of the cloves.
Building the Bars So the Filling Sets Without Cracking
Cutting the Butter Into the Crust
Mix the flour, powdered sugar, and salt first, then work in the cold butter until the mixture looks like damp crumbs and starts to hold together when you press it. You don’t want a smooth dough here. A few visible bits of butter are fine; they help the crust bake up tender instead of compact. If the butter gets warm and greasy, chill the bowl for 10 minutes before pressing it into the pan.
Pressing and Pre-Baking the Base
Pack the crust firmly and evenly into the parchment-lined pan, especially in the corners. An uneven crust bakes unevenly, and thin spots can turn dark before the filling is done. Bake it until the top looks pale gold and the surface no longer looks raw. If it puffs in the middle, prick it lightly with a fork after it comes out of the oven and before you pour in the filling.
Whisking the Filling Smooth
Combine the pumpkin puree, evaporated milk, eggs, sugar, spices, salt, and vanilla until the mixture is completely smooth and uniform. Any streaks of egg white or clumps of spice will show up in the finished bars, so take the time to whisk them out. Pour the filling over the hot crust right away. That hot crust helps the bottom edge of the custard start setting immediately.
Finishing the Bake and Cooling Fully
Bake at the higher temperature first, then lower the heat and finish until the center has a soft wobble that moves as one mass, not a liquid slosh. If the filling ripples like soup, it needs more time. Once it comes out, cool it completely on the counter, then refrigerate for the full chill time before cutting. Warm bars slice badly; cold bars give you those neat squares with sharp edges.
How to Adapt These Pumpkin Pie Bars for Different Needs
Dairy-Free Version With a Firmer Crust
Swap the butter for a solid plant-based butter that bakes well and use unsweetened evaporated coconut milk in place of the dairy evaporated milk. The filling will taste a little coconut-forward, and the custard may set slightly softer, so give it the full chill before slicing. This is the cleanest dairy-free path because the structure still comes from the eggs and the bars still cut neatly.
Gluten-Free Crust That Still Holds Together
Use a cup-for-cup gluten-free flour blend in the crust and press it a little more firmly into the pan. The texture won’t be quite as classic as the wheat version, but the bars will still slice well if you bake the crust until lightly golden and don’t skip the chill. A blend with xanthan gum works best here because it gives the crust some backbone.
Less Sweet, More Pumpkin Forward
Cut the granulated sugar back by 1/4 cup if you prefer a filling that tastes less dessert-sweet and more like classic pumpkin pie. The bars will still set properly because the eggs and evaporated milk do the structural work. That slight reduction makes the spice feel sharper and the pumpkin flavor more front and center.
Storage and Reheating
- Refrigerator: Store covered for up to 4 days. The crust softens a little under the filling, but the bars stay tidy and flavorful.
- Freezer: These freeze well. Cut into bars, wrap individually, and freeze in a single layer before moving them to a container. Thaw overnight in the fridge for the cleanest texture.
- Reheating: Serve them cold or let them sit at room temperature for 20 to 30 minutes. Don’t microwave them unless you want the custard to loosen and the crust to lose its shortbread texture.