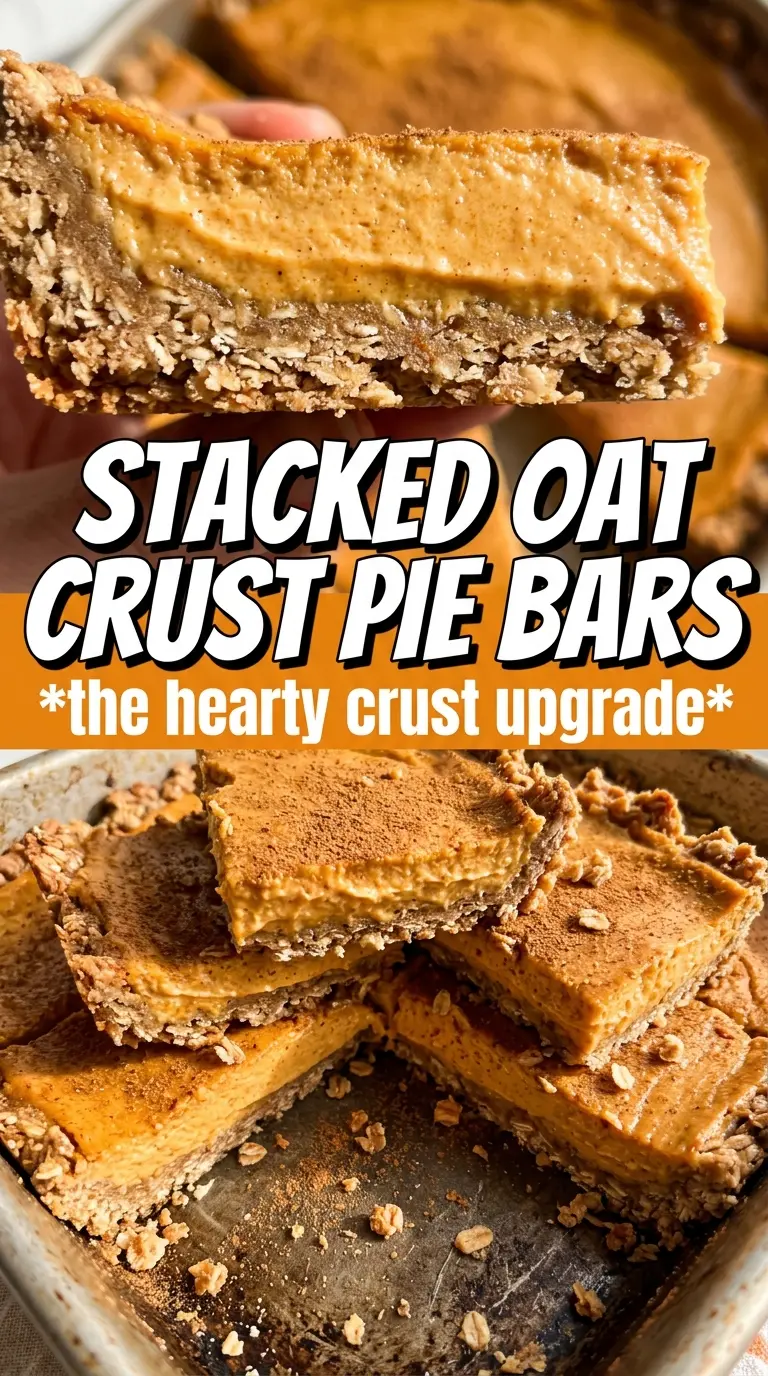
Pumpkin pie bars with oat crust give you everything people love about a classic pie, just in a form that cuts cleanly, travels well, and brings a little more texture to every bite. The filling stays smooth and custardy, while the oat layer turns crisp and buttery at the edges with a crumbly top that feels just rustic enough to keep things interesting.
What makes this version work is the contrast. The crust gets a short pre-bake, which keeps the bottom from turning soggy once the pumpkin filling goes in. Cold butter matters here, too, because it creates little pockets that bake up into a tender crumble instead of a heavy, dense layer. Let the bars cool all the way down before slicing or the filling will smear and the crust will fall apart.
Below, you’ll find the small details that make the bars slice neatly and taste balanced, plus a few useful swaps if you need to work around what you’ve got on hand.
The oat crust stayed crisp underneath, and after chilling for an hour the bars cut into neat squares with no messy filling. I loved the extra cinnamon in the topping.
Save these pumpkin pie bars with oat crust for the days when you want pumpkin pie flavor in neat, buttery squares.
The Reason the Bottom Stays Crisp Instead of Turning Soggy
The biggest mistake with bars like this is pouring wet filling onto an unbaked crumb base and hoping the oven will fix it. It won’t. The short bake on the crust sets the butter and toasts the oats just enough so the base can hold up under the pumpkin filling instead of going pasty underneath.
Pressing part of the oat mixture firmly into the pan matters more than people think. Loose crumbs on the bottom will shift when you pour the filling, and you end up with uneven layers. Save the softer, looser crumb for the top so it bakes into a browned, craggy finish while the base stays compact and sliceable.
What Each Ingredient Is Actually Doing in These Bars
- Rolled oats — These give the crust its nubby texture and make the topping taste more like a true crumble than a plain shortbread base. Quick oats can work in a pinch, but they’ll bake up finer and less distinct.
- All-purpose flour — Flour binds the oat mixture so it holds together after baking. There isn’t a great substitute if you want the same bar-like structure, though a 1:1 gluten-free baking blend usually works well here.
- Brown sugar — This adds moisture, caramel notes, and a little chew to the crust. Light or dark brown sugar both work; dark brown sugar will push the flavor a little deeper and molasses-leaning.
- Cold unsalted butter — Cold butter is what creates the crumbly texture. If it’s soft when you mix it in, the base turns greasy and dense instead of crisp and tender.
- Pumpkin puree — Use plain pumpkin puree, not pumpkin pie filling. The puree gives you control over sweetness and spice, and the filling depends on that balance to stay clean and custardy.
- Evaporated milk — This is what gives the filling its creamy, pie-like body without making it too heavy. Regular milk won’t set quite the same way, and heavy cream makes the bars richer but less classic.
Building the Custard and Crumble in the Right Order
Make the oat mixture first
Start by mixing the oats, flour, brown sugar, cinnamon, and salt until everything looks evenly combined. Then cut in the cold butter until the mixture looks like coarse crumbs with some pea-size pieces still visible. If the butter disappears completely, the crust loses its texture and bakes up flat.
Press, pre-bake, and protect the bottom
Reserve one cup of the crumb mixture for the topping, then press the rest firmly into a parchment-lined 9×13 pan. Bake it just until the surface looks set and slightly dry around the edges. This short head start keeps the bottom from soaking up too much moisture once the filling goes on.
Whisk the filling until smooth
Combine the pumpkin puree, evaporated milk, eggs, sugar, spices, salt, and vanilla until the mixture is fully smooth and no streaks of egg remain. Pour it over the hot crust right away. If you let the crust cool too long, the filling doesn’t bond as well to the base and the layers separate more when sliced.
Finish with the crumble and bake until set
Scatter the reserved oat mixture over the filling, then bake until the topping is golden and the center has a gentle wobble. The middle should look set around the edges but still move slightly when you nudge the pan. If it looks completely firm in the oven, it’s overbaked and will slice up dry after cooling.
How to Adapt These Bars for Different Needs
Gluten-Free Version
Swap the all-purpose flour for a good 1:1 gluten-free baking blend. The bars still hold together, but the crust will be a little more delicate, so let them chill fully before cutting. Use certified gluten-free oats if cross-contact matters.
Dairy-Free Swap
Use a solid plant-based butter substitute in place of the unsalted butter and a full-fat canned coconut milk instead of evaporated milk. The crust will still crumble well, but the filling picks up a faint coconut note and sets a little softer.
More Dessert-Bar Style, Less Pie Style
If you want cleaner slices and a firmer bite, bake the bars a couple of minutes longer until the center is just set and cool them completely before refrigerating. That gives you a sturdier, more portable bar with a slightly less custardy middle.
Storage and Reheating
- Refrigerator: Store covered for up to 5 days. The filling firms up in the fridge, and the oat crust stays pleasantly crisp.
- Freezer: These freeze well. Wrap individual bars tightly and freeze for up to 2 months, then thaw in the refrigerator so the filling doesn’t weep.
- Reheating: Serve chilled or let a bar sit at room temperature for 15 to 20 minutes. If you warm it, use a low oven briefly; the microwave softens the crust and makes the filling loosen too much.
Answers to the Questions Worth Asking
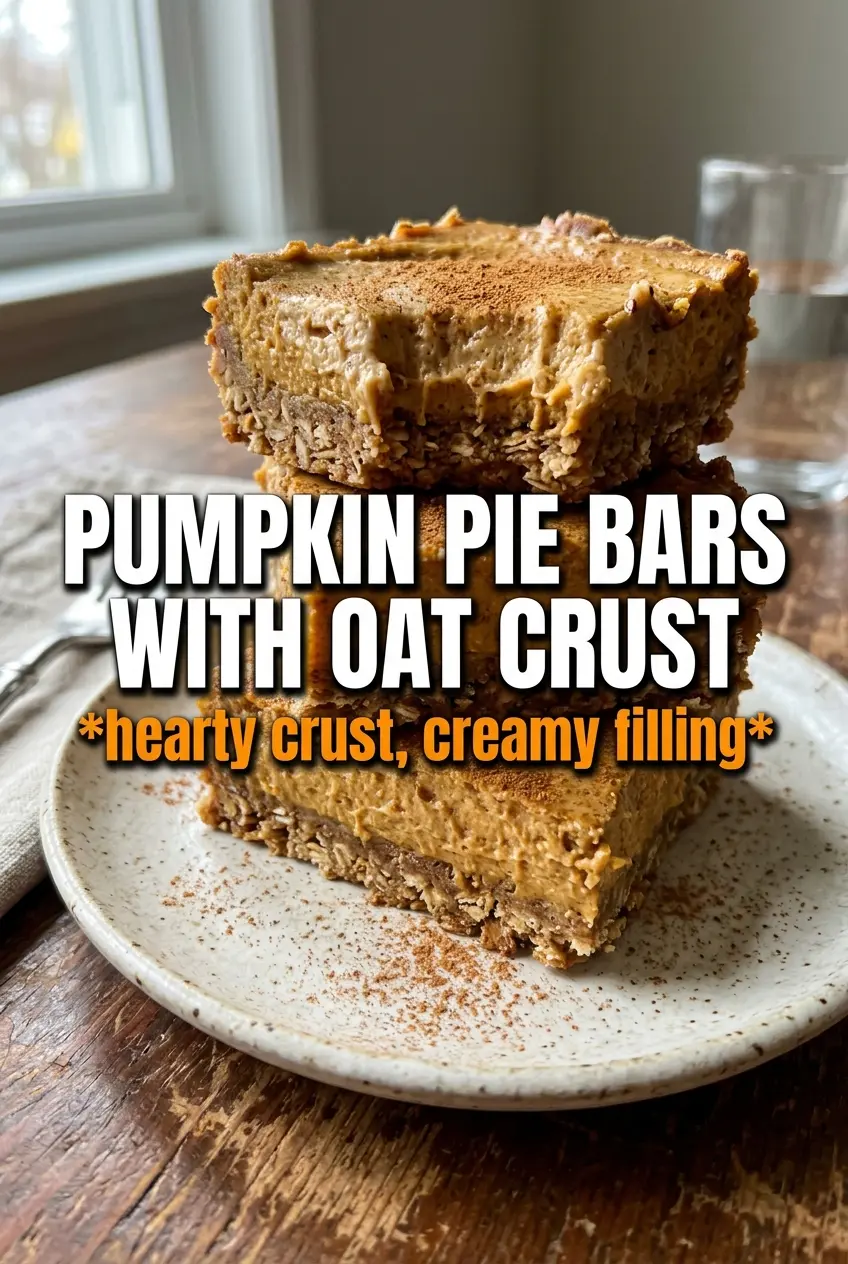
Pumpkin Pie Bars With Oat Crust
Ingredients
Equipment
Method
- Preheat the oven to 375F. Line a 9x13 pan with parchment so the bars lift out cleanly.
- In a bowl, combine rolled oats, all-purpose flour, brown sugar, cinnamon, and salt. Cut in cold unsalted butter until the mixture looks crumbly.
- Reserve 1 cup of the oat mixture for topping. Press the remaining oat mixture firmly into the lined pan to form an even crust.
- Bake the crust for 12 minutes at 375F until lightly set. Keep the oven at 375F for the next bake.
- Whisk pumpkin puree, evaporated milk, eggs, granulated sugar, pumpkin pie spice, cinnamon, ginger, salt, and vanilla until smooth. Pour the filling over the hot crust.
- Scatter the reserved oat crumble over the filling. Use your fingers to break up any large clumps for an even layer.
- Bake for 35-40 minutes at 375F until the topping is golden and the filling is set. The center should no longer look wet or loose.
- Cool the pan completely at room temperature. This helps the filling set firmly for clean slices.
- Refrigerate for 1 hour before cutting. Chill until firm, then lift out and slice into 16 bars.