Pumpkin oatmeal bars bake up dense in the best way: soft in the center, lightly chewy at the edges, and sturdy enough to pick up without falling apart. The oats give them that hearty breakfast-bar texture, while the pumpkin keeps every bite moist and tender instead of dry or crumbly.
What makes this version work is the balance. Pumpkin puree brings moisture, but it doesn’t add much structure, so the eggs and flour have to carry that job. Maple syrup adds a round sweetness that fits the spice mix better than plain sugar, and melted coconut oil or butter keeps the crumb from turning bready. I also like that the bars cool into clean squares, which makes them easy to pack for busy mornings.
Below, I’ll show you the small timing detail that keeps the center from going gummy, plus a few swaps that still give you that same thick, cozy texture.
The bars held together beautifully and the pumpkin spice flavor came through without being too sweet. I baked them right at 28 minutes and the center set up perfectly after cooling.
Love the chewy oat texture and maple glaze on these pumpkin oatmeal bars? Save them to Pinterest for grab-and-go breakfasts and lunchbox snacks.
The Trick That Keeps These Bars Chewy Instead of Dry
Oatmeal bars can turn dusty fast when the dry ingredients outrun the wet ones. Pumpkin puree brings moisture, but it also weighs the batter down, so the goal is a thick, evenly mixed base that still spreads without force. If you overmix after adding the flour, the bars bake up tough around the edges and oddly gummy in the middle.
The other thing people miss is the bake point. These bars should come out when the center is just firm, not fully set like cake. They finish as they cool in the pan, and that resting time is what gives you clean slices instead of a sticky middle.
What Each Ingredient Is Actually Doing in These Pumpkin Oatmeal Bars
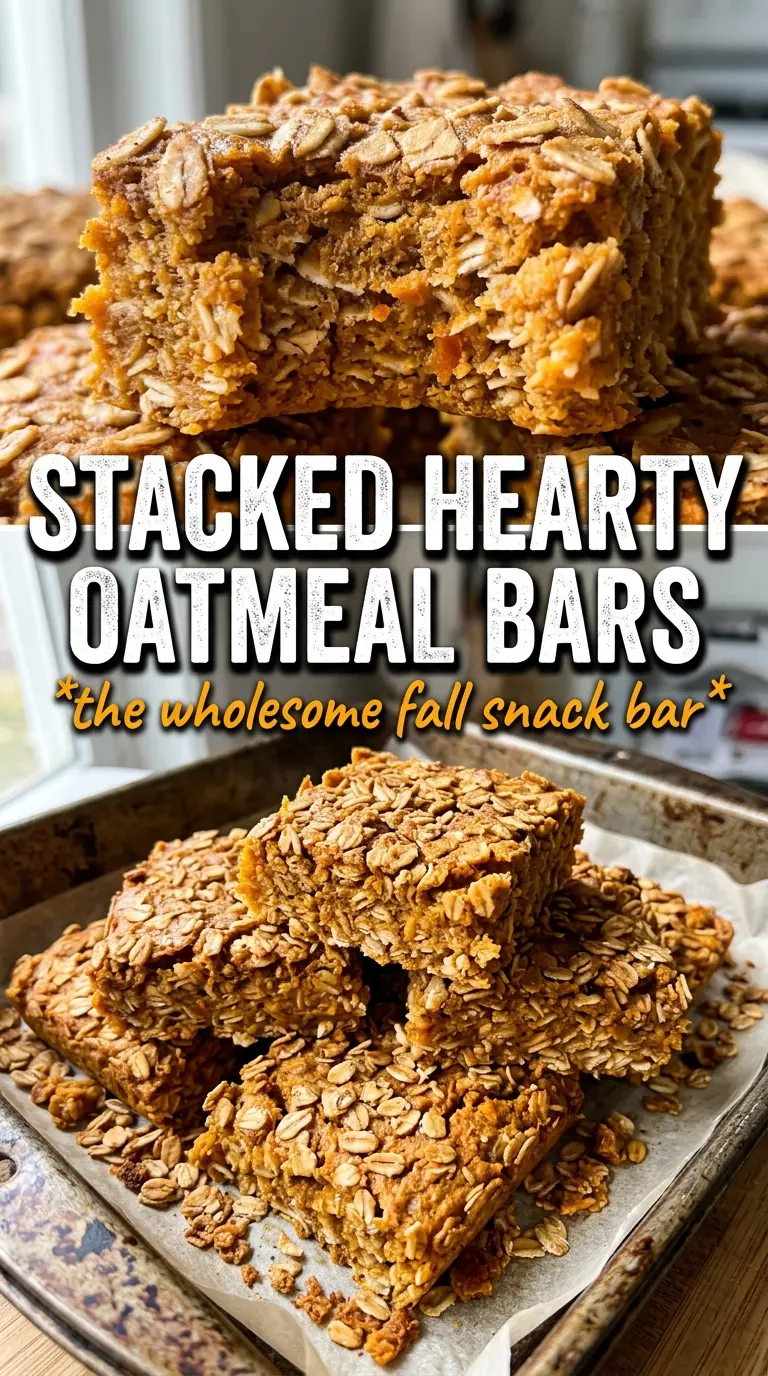
- Rolled oats — These give the bars their chewy, hearty structure. Quick oats will work in a pinch, but the texture gets softer and less defined. Old-fashioned rolled oats are the best choice here because they hold their shape and keep the bars from feeling cakey.
- Pumpkin puree — Use plain pumpkin puree, not pumpkin pie filling. Pie filling already has sugar and spice mixed in, which throws off both the texture and the balance of the bars. If your puree looks watery, stir it well first so the batter doesn’t end up loose.
- Maple syrup or honey — Maple syrup gives the cleanest match with the pumpkin spice, and it keeps the bars from tasting flat. Honey works too, but it brings a stronger flavor and a slightly firmer finish. I reach for maple when I want the glaze and the bars to taste like they belong together.
- Coconut oil or butter — Both work, but butter gives a richer bakery-style flavor while coconut oil keeps the crumb a little lighter. Melt it before adding so it blends smoothly into the pumpkin mixture. If you’re using coconut oil, let the other wet ingredients come to room temperature so it doesn’t seize into little bits.
- Eggs — These are the main structure builders. Pumpkin alone can’t hold the bars together, so the eggs matter more than they would in a standard oat bar. Whisk them well into the wet mixture so the finished bars slice cleanly.
- Pumpkin pie spice and cinnamon — The spice blend does the heavy lifting, and the extra cinnamon sharpens it. If you’re out of pumpkin pie spice, you can replace it with extra cinnamon plus a mix of ginger, nutmeg, and cloves, but the flavor won’t be as rounded.
Building the Batter and Baking It Just Until the Center Sets
Mix the dry ingredients first
Stir the oats, flour, baking soda, baking powder, pumpkin pie spice, cinnamon, and salt together before anything wet goes in. That keeps the leaveners from clumping and makes the spice flavor land evenly in every bite. If you skip this, you can get pockets that taste too salty or too spicy.
Whisk the wet mixture until it looks smooth
Combine the pumpkin puree, maple syrup, melted coconut oil or butter, eggs, and vanilla until the mixture looks glossy and fully blended. You want the eggs broken down completely here, because streaks of egg can bake into unpleasant little ribbons. If the coconut oil starts to solidify, warm the bowl slightly and whisk again.
Fold, spread, and stop fussing with it
Add the wet ingredients to the dry and fold just until the flour disappears, then stop. The batter will be thick, and that’s exactly what you want for bar cookies that slice cleanly. If you’re using chocolate chips or raisins, fold them in at the very end so they don’t sink. Spread the batter evenly into a greased 9×13 pan, pressing it into the corners so the edges bake at the same rate as the middle.
Watch for the edge pull-away
Bake at 350°F for 25 to 28 minutes, and start checking early. The edges should look set and a little darker, while the center should feel firm when you press it lightly but still have a slight give. If you wait until the whole pan looks dry, the bars will cool into something much drier than you intended.
Cool before you drizzle
Let the bars cool completely in the pan before adding the maple glaze. Warm bars melt the drizzle and make the top slippery, which also makes clean cutting harder. Once they’re cool, whisk the powdered sugar, maple syrup, and milk until smooth, then drizzle and cut with a sharp knife.
How to Adapt These Bars Without Losing the Texture
Dairy-Free Bars with the Same Soft Crumb
Use coconut oil instead of butter and swap the milk in the glaze for any unsweetened plant milk. The bars stay just as tender, and the coconut oil keeps them from tasting greasy. If your plant milk is sweetened, the drizzle can turn cloying fast, so keep it plain.
Gluten-Free Version That Still Holds Together
Use a 1:1 gluten-free flour blend in place of the all-purpose flour, and make sure your oats are certified gluten-free. The texture will be a little more tender and less chewy, but the bars still slice well once cooled. Don’t swap in almond flour alone; it won’t absorb the pumpkin mixture the same way.
Less Sweet, More Breakfast-Like
Skip the glaze and use the lower end of the maple syrup amount if you want a bar that leans more wholesome than dessert-like. The pumpkin and spice still carry plenty of flavor, and the top bakes up with a gentler sweetness. This version is my pick when I’m packing them for mornings instead of serving them as a snack.
Chocolate Chip or Raisin Swap
Chocolate chips give a softer, richer bite, while raisins make the bars taste a little more like classic baked oatmeal. Either way, keep the add-ins to the listed amount so the batter still binds properly. Too many mix-ins can make the bars crumble when you cut them.
Storage and Reheating
- Refrigerator: Store in an airtight container for up to 5 days. The bars get a little firmer cold, but the texture stays good.
- Freezer: Freeze cut bars between layers of parchment for up to 2 months. Thaw overnight in the fridge or at room temperature for a few hours.
- Reheating: Warm individual bars in the microwave for 10 to 15 seconds. Heat just long enough to take the chill off; longer reheating dries out the oats and makes the glaze melt away.
Answers to the Questions Worth Asking
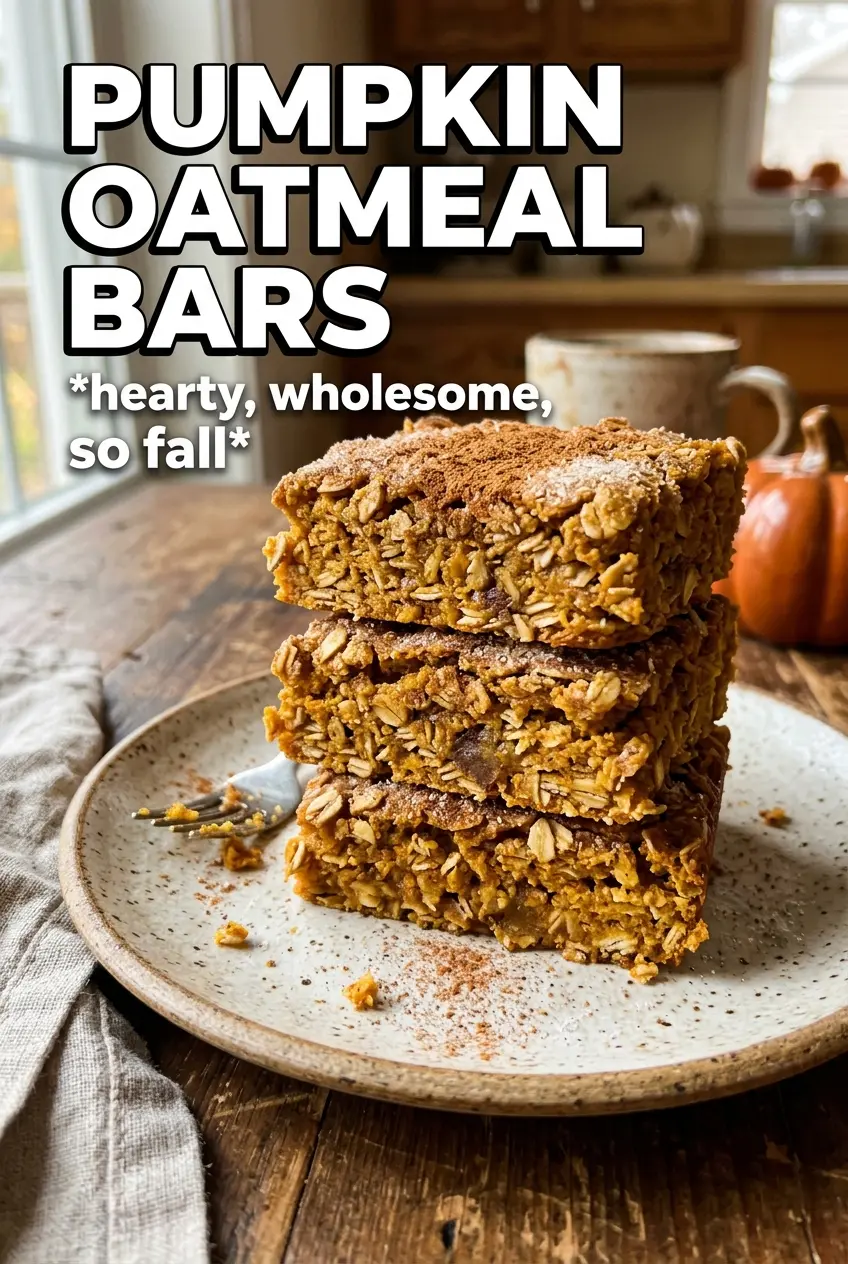
Pumpkin Oatmeal Bars
Ingredients
Equipment
Method
- Preheat the oven to 350F, then grease a 9x13 pan so the bars release cleanly.
- In a mixing area, combine rolled oats, all-purpose flour, baking soda, baking powder, pumpkin pie spice, cinnamon, and salt until evenly distributed.
- Whisk pumpkin puree, maple syrup or honey, melted coconut oil or butter, eggs, and vanilla extract until smooth and glossy.
- Fold the wet mixture into the dry mixture until just combined, then fold in chocolate chips or raisins if using, with no dry streaks left.
- Spread the batter evenly in the prepared pan, then bake for 25-28 minutes at 350F until the edges are set and the center is just firm, with a light golden color.
- Cool the bars completely so they hold together, then drizzle with a maple glaze made from powdered sugar, maple syrup, and milk.
- Cut into bars after glazing, aiming for clean squares with a visible oat texture in the slices.