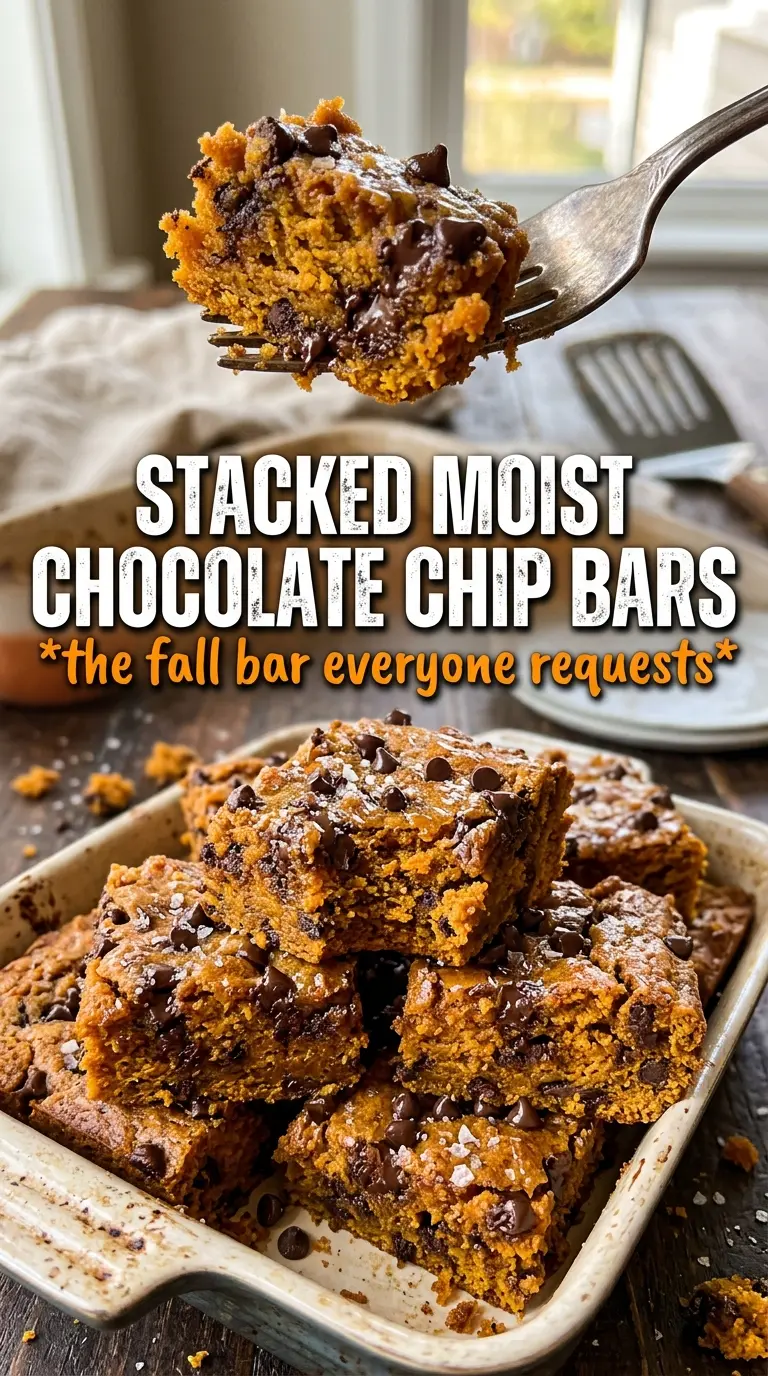
These pumpkin chocolate chip bars bake up soft, thick, and tender, with little pockets of melted chocolate in every bite. The crumb stays moist for days, and the top gets just enough structure that you can cut clean squares without losing that cake-like center. It’s the kind of dessert that disappears fast because it feels simple but still tastes like you put real care into it.
What makes this version work is the balance between pumpkin puree, oil, and eggs. Pumpkin brings moisture, but it also softens the crumb, so the oil keeps the bars plush instead of dry and bready. The brown sugar adds a little depth and helps the bars stay chewy around the edges, while the chocolate chips give you enough sweetness to keep the spice from tasting flat.
Below, I’ve included the detail that matters most here: how to keep the batter from turning heavy, and why cooling all the way down is the difference between neat bars and a soft, messy pan.
The bars came out moist and tender, and the chocolate stayed in those perfect little pockets instead of sinking. I waited until they were fully cool like you said, and they cut into clean squares without crumbling.
Pumpkin Chocolate Chip Bars with that soft crumb and chocolate in every bite belong in your Pinterest dessert board for easy fall baking.
The Trick to Bars That Stay Tender Instead of Dry
Pumpkin bars can go wrong in one of two ways: they bake up gummy in the middle, or they turn dry and cakey before the center is fully set. The fix is in the mixing and the bake time. Once the dry ingredients go in, stop as soon as the flour disappears. Overmixing develops the structure too much, and that’s how you lose the soft, dense crumb that makes these bars worth baking.
The other thing that matters is pulling them when the center is just set, not when every trace of moisture is gone. A toothpick should come out with a few moist crumbs, not wet batter. The bars finish setting as they cool, and that rest is what gives you clean slices instead of a pan that falls apart the second you cut into it.
- Pumpkin puree — Use plain canned pumpkin, not pumpkin pie filling. Pie filling already has sugar and spice mixed in, which throws off both the texture and the flavor balance.
- Vegetable oil — Oil keeps the bars soft even after a day or two. Melted butter will work, but the bars will lose some of that plush, bakery-style tenderness.
- Brown sugar — This adds a little molasses depth and helps the crumb stay moist. If you only have granulated sugar, the bars will still work, but they’ll taste a little flatter.
- Semi-sweet chocolate chips — Semi-sweet keeps the bars from becoming cloying. Milk chocolate makes them sweeter; dark chocolate gives you a more grown-up, less sugary finish.
What Each Ingredient Is Actually Doing in This Recipe
- Primary ingredient (the star) — Quality matters most. Choose the best you can find.
- Cooking medium (oil, butter, or broth) — This carries flavors and prevents dryness.
- Seasonings (salt, pepper, spices, herbs) — Layer flavors so nothing overpowers. Build depth gradually.
- Aromatics (garlic, onion, herbs) — Cook with fat to bloom flavors. Become the foundation.
- Supporting ingredients — Complement the main ingredient without overpowering it.
- Sauce or liquid (if applicable) — Brings flavors together. Balance richness with acid.
- Acid (lemon, vinegar, wine, or other) — Brightens and prevents flat-tasting results.
- Final finish (garnish, glaze, or sauce) — Prevents one-dimensional taste and adds visual appeal.
Building the Batter Without Overworking It
Whisk the dry ingredients first
Mix the flour, pumpkin pie spice, cinnamon, baking soda, baking powder, and salt in one bowl before you touch the wet ingredients. That keeps the leaveners and spice distributed evenly, so you don’t end up with pockets of bitter baking soda or one bite that tastes stronger than the rest. A quick whisk is enough.
Make the pumpkin base smooth
Whisk the pumpkin puree, both sugars, oil, eggs, and vanilla until the mixture looks silky and uniform. It should look glossy and a little loose, not thick and paste-like. If the eggs aren’t fully blended in, you’ll see streaks in the baked bars and the texture can turn uneven.
Stop mixing as soon as the flour disappears
Fold the dry ingredients into the wet just until no dry streaks remain, then fold in 1 1/2 cups of the chocolate chips. The batter will be thick, and that’s normal. If you keep stirring once the flour is incorporated, the bars tighten up and lose that soft bite.
Bake until the center springs back
Spread the batter evenly in the pan, scatter the remaining chips over the top, and bake until a toothpick comes out clean or with a few moist crumbs. The top should look set and lightly golden at the edges. Don’t wait for a deep brown color; pumpkin bars can go from tender to dry fast if they stay in the oven too long.
Make Them a Little Less Sweet
Drop the chocolate chips to 1 1/2 cups if you want the pumpkin and spice to come forward more. The bars will still be rich and soft, but the chocolate won’t dominate every bite.
Gluten-Free Version
Use a 1:1 gluten-free baking flour that includes xanthan gum. The texture will be a touch more delicate, but the bars still slice well once fully cooled.
Dairy-Free by Default
These bars are already dairy-free as written, as long as your chocolate chips don’t contain milk solids. That makes them an easy dessert to bring to a mixed crowd without changing the method.
Add Nuts for More Crunch
Fold in up to 1 cup of chopped pecans or walnuts with the chocolate chips. The bars get a little more texture and a deeper, toastier finish, which works especially well if you like less-sweet desserts.
Storage and Reheating
- Refrigerator: Store in an airtight container for up to 5 days. The bars stay moist, though the chocolate will firm up when chilled.
- Freezer: Freeze cut bars tightly wrapped for up to 2 months. Thaw at room temperature so the crumb stays soft instead of turning dense from microwaving.
- Reheating: Warm a bar in the microwave for 10 to 15 seconds if you want the chips soft again. Heat it too long and the edges dry out before the center feels warm.
Questions I Get Asked About This Recipe
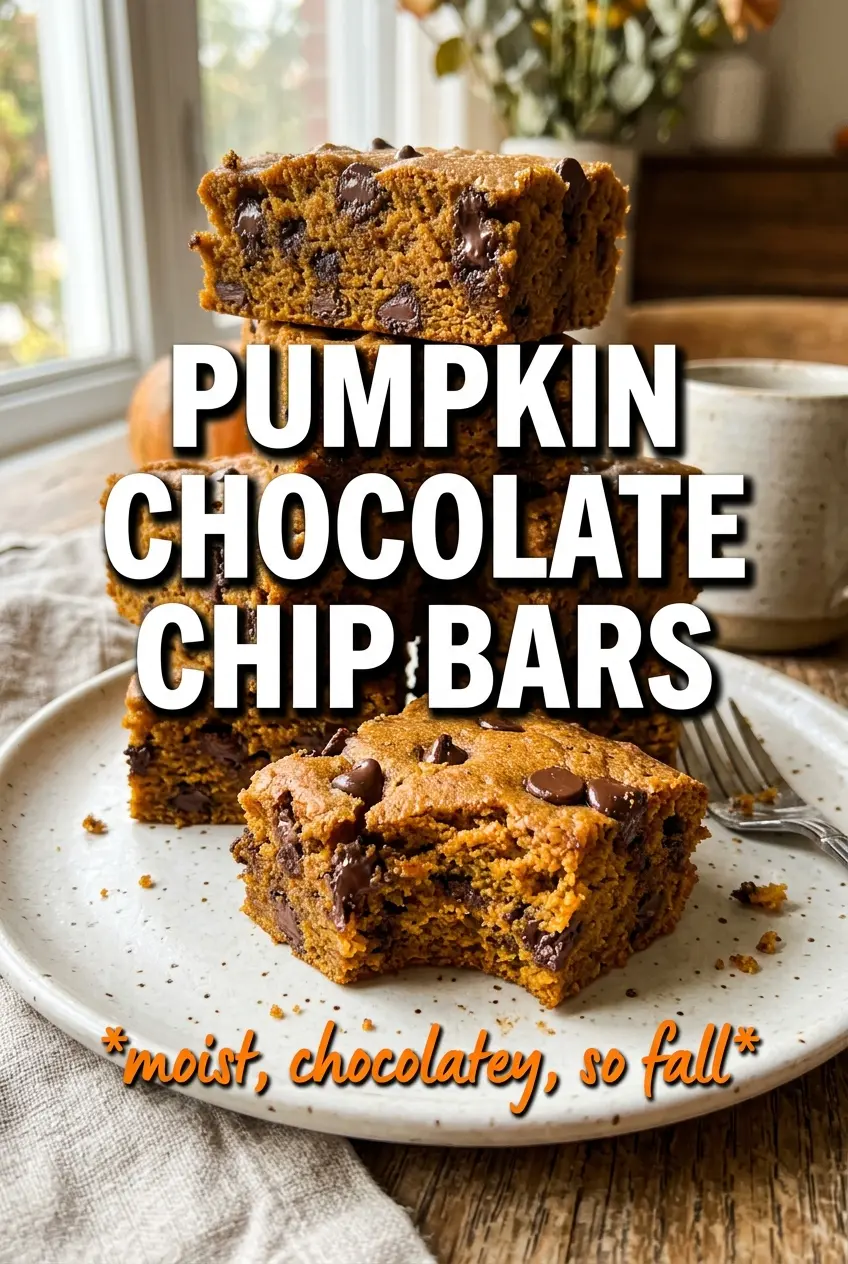
Pumpkin Chocolate Chip Bars
Ingredients
Equipment
Method
- Preheat oven to 350F, then grease a 9x13 pan so the bars release easily after baking.
- In a bowl, whisk all-purpose flour, pumpkin pie spice, cinnamon, baking soda, baking powder, and salt until evenly combined and no lumps of spices remain.
- In a second bowl, whisk pumpkin puree, granulated sugar, brown sugar, vegetable oil, eggs, and vanilla extract until smooth and glossy.
- Pour dry ingredients into wet ingredients and fold just until combined, stopping as soon as you no longer see dry flour.
- Fold in 1-1/2 cups semi-sweet chocolate chips so they’re distributed throughout the batter.
- Spread the batter evenly into the 9x13 pan, then scatter the remaining chocolate chips over the top for visible pockets.
- Bake for 25-30 minutes at 350F until a toothpick inserted in the center comes out clean.
- Cool completely in the pan before cutting into bars so the tender crumb sets and slices cleanly.