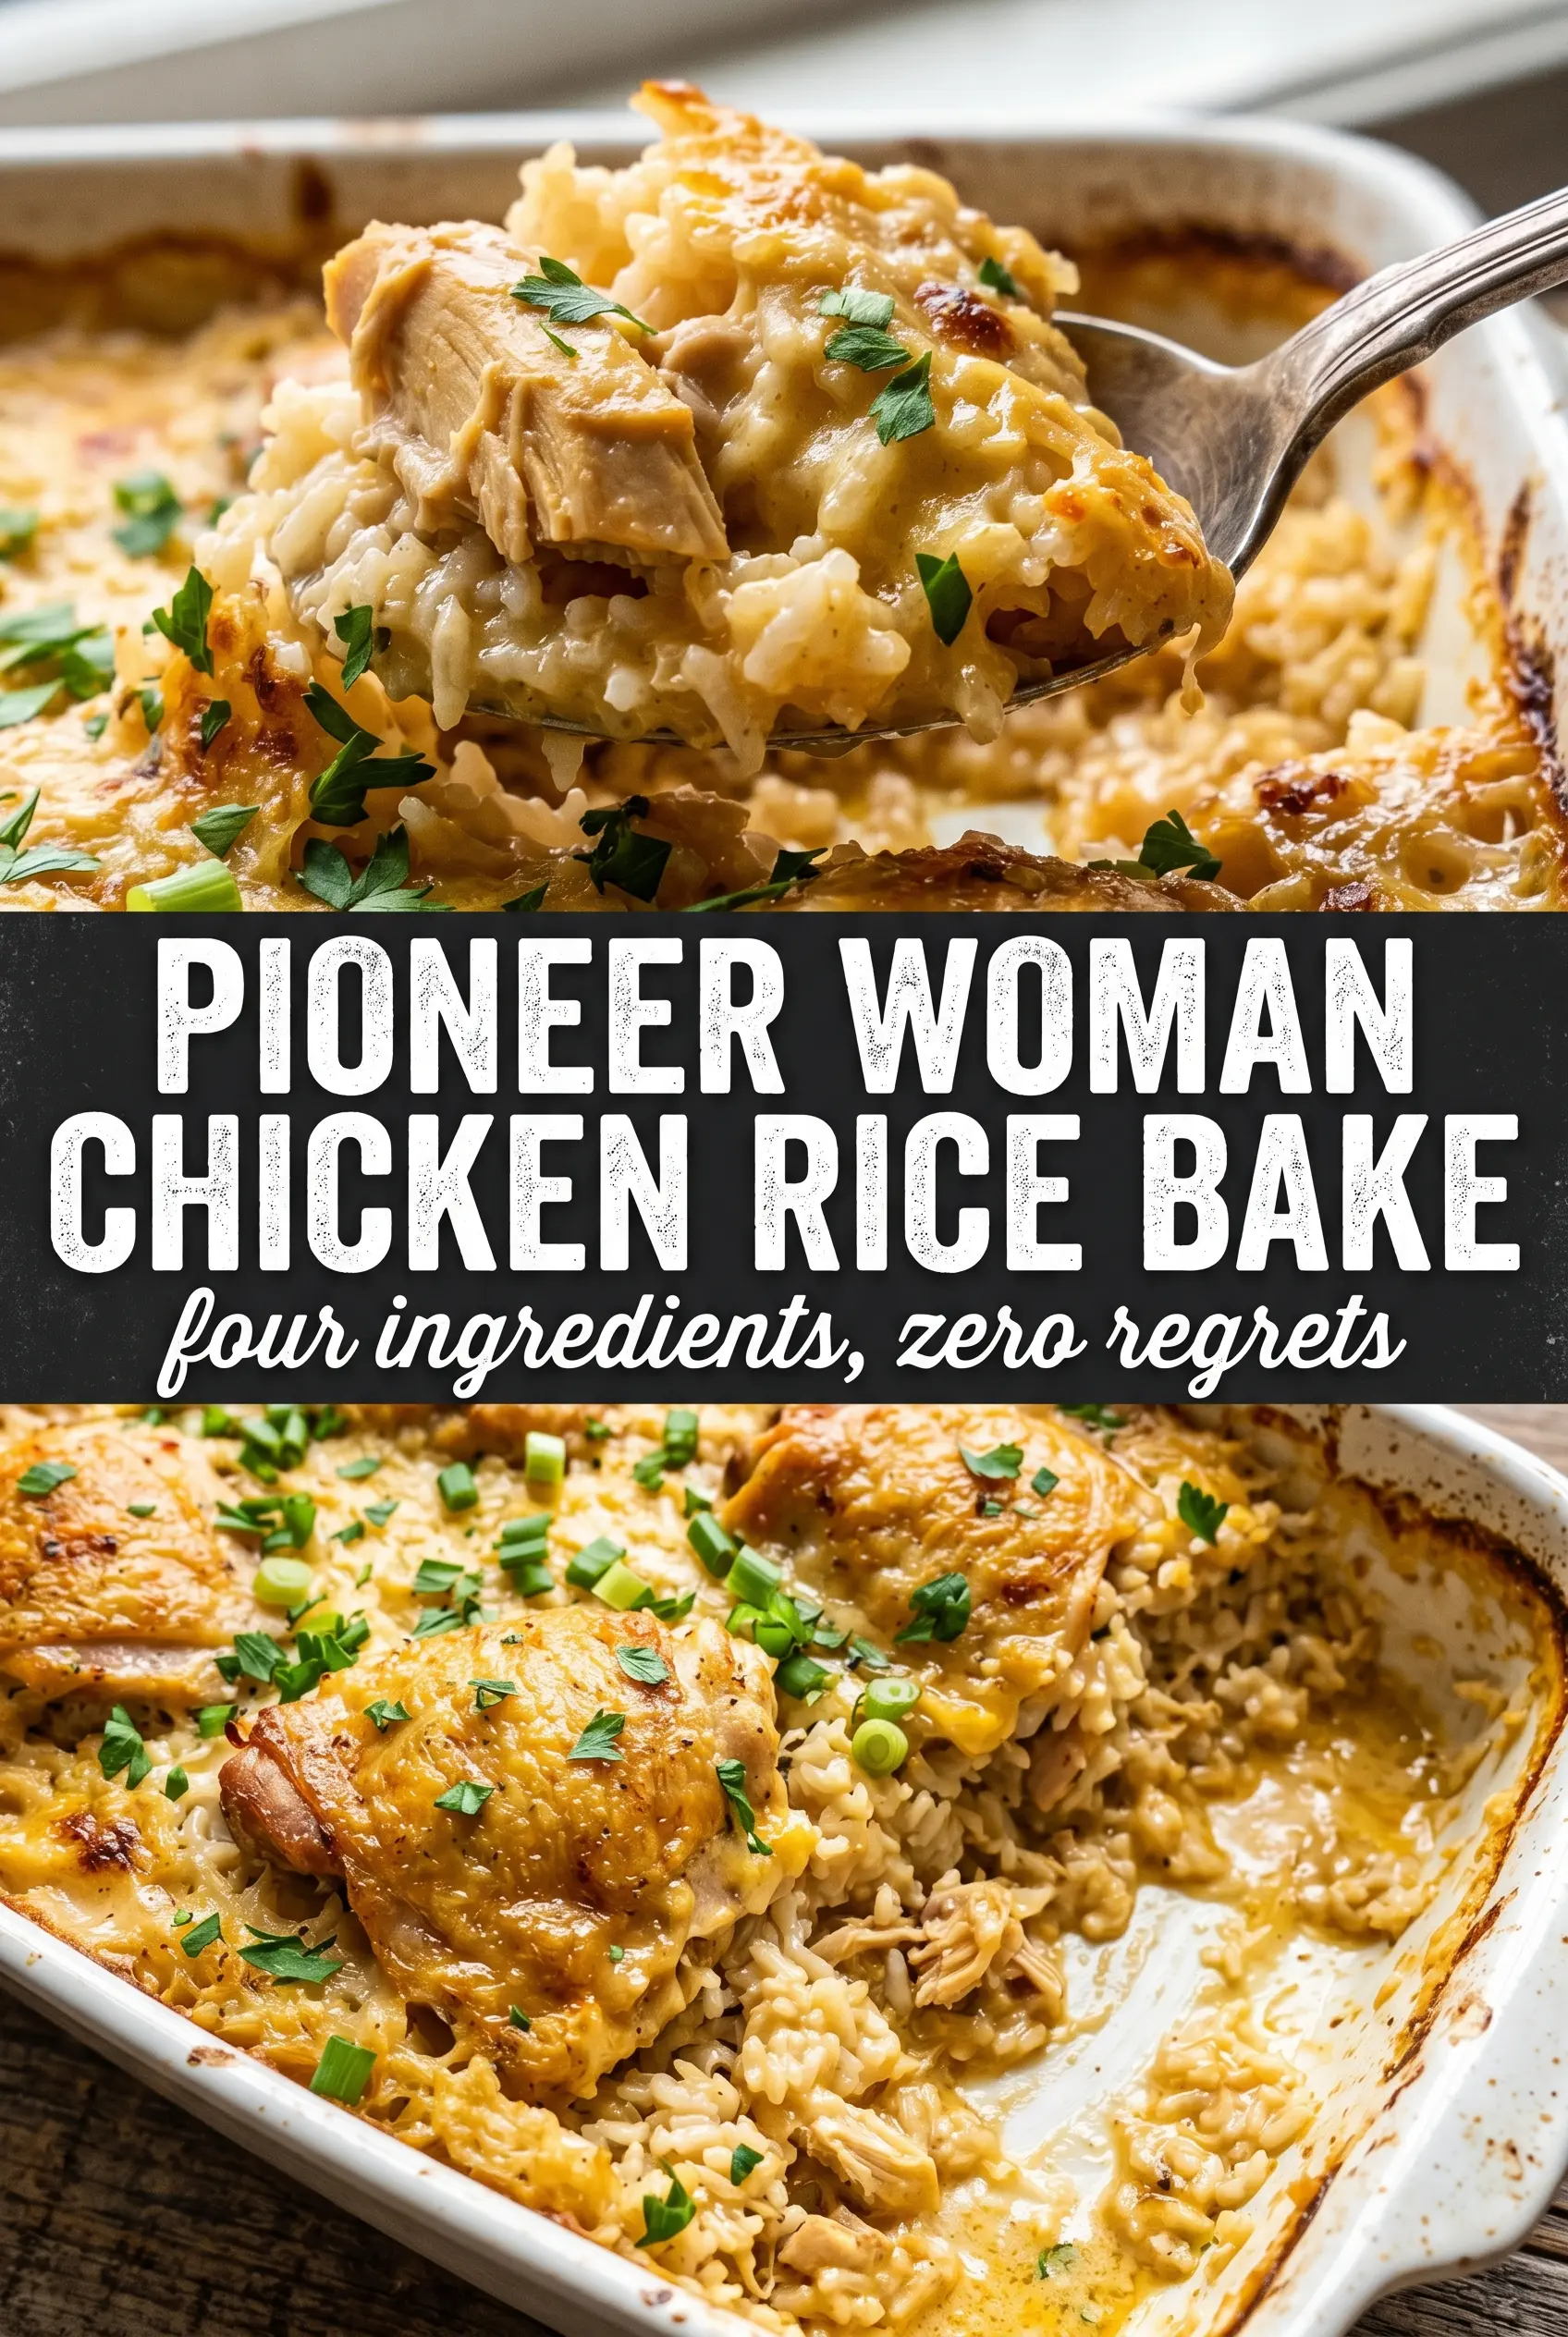
Golden chicken over savory rice has a way of disappearing fast at the table, and this chicken rice bake earns that reaction every time. The rice turns soft and deeply seasoned as it bakes under the chicken, catching every bit of broth, soup, and drippings. The top finishes with crisped skin and a little color from the oven, while the rice underneath stays fluffy instead of turning mushy.
What makes this version work is the balance of liquid, the covered bake, and the final uncovered stretch. The rice cooks right in the baking dish, so the soups and broth do more than add flavor; they create the steam and moisture the rice needs without drowning it. Using bone-in chicken pieces matters here because the bones help keep the meat juicy during the long bake, and the skin adds richness to the rice below.
Below, I’ve included the small details that keep the rice from turning gummy and the chicken from drying out, plus a few practical swaps if you need to work with what’s already in the pantry.
The rice came out tender all the way through, and the chicken skin on top got that nice browned edge after uncovering it. I’ve made casseroles where the rice stayed wet on the bottom, but this one baked up evenly and tasted even better the next day.
Save this Pioneer Woman chicken rice bake for a hands-off dinner with tender rice, browned chicken, and one pan full of comfort.
The Trick to Keeping the Rice Tender Under a Long Bake
The biggest mistake with chicken and rice casseroles is starting with too little liquid or baking uncovered for too long. Rice needs steady moisture to cook through, and this recipe gets that from the soup mixture plus the covered bake. If the dish looks soupy when it goes into the oven, that’s fine; the rice absorbs a surprising amount of liquid as it cooks, especially during the final uncovered minutes.
The other thing that matters here is where the chicken sits. Nestling the pieces skin-side up keeps the skin above the rice, where it can brown instead of softening completely into the sauce. If you bury the chicken too deeply, the top stays pale and the rice can turn heavy from the extra drippings trapped underneath.
What the Soups and Onion Mix Are Actually Doing Here

- Cream of mushroom soup — This brings body and a little earthy depth. A good store-bought can works fine here because it melts into the rice and chicken juices instead of sitting on top as a distinct sauce.
- Cream of chicken soup — This adds familiar poultry flavor and helps the casserole taste cohesive instead of one-note. It also keeps the rice from tasting watered down if you use broth rather than plain water.
- Cream of celery soup — This is the quiet background note that keeps the dish from feeling heavy. If you can’t find it, cream of onion or a second can of cream of chicken works, but celery gives the cleanest savory finish.
- Onion soup mix — This is the seasoning shortcut that makes the bake taste like it simmered longer than it did. Split it between the rice and the chicken so the flavor lands in both layers instead of only on top.
- Bone-in chicken pieces — Thighs and drumsticks stay juicier than boneless pieces during the long bake. If you use a mixed pack, place the larger pieces toward the outside edges of the dish, where they’ll get a little more oven heat.
The 90 Minutes That Build the Whole Casserole
Mixing the Rice Base
Whisk the soups, rice, and liquid directly in the baking dish until the mixture looks evenly combined. You want the rice distributed all the way to the corners so it cooks at the same rate, not clumped in one thick layer. If the rice sits in a mound, the center can stay undercooked while the edges soften too much.
Seasoning and Nestling the Chicken
Season the chicken generously before it goes into the dish. The rice itself gets flavor from the soups and onion mix, but the chicken still needs salt and paprika on the surface so the skin tastes seasoned after baking. Place the pieces skin-side up and press them in just enough so they sit level; don’t submerge them or the skin will steam instead of roast.
Covered Baking First
Tight foil is doing the real work during the first hour. It traps steam, which is what cooks the rice through without drying the chicken out. If the foil isn’t sealed well, the rice can end up with crunchy patches before the liquid has time to absorb.
Finishing Uncovered for Color
Once the foil comes off, the casserole needs time for the top to brown and the last of the liquid to disappear. The rice should be tender and the chicken should read 165°F at the thickest part when it’s done. If the rice still looks a little wet after the time is up, give it another 5 to 10 minutes uncovered and let it rest before serving; that last pause helps the sauce settle and finish absorbing.
How to Make This Chicken Rice Bake Fit Your Table
Use boneless chicken thighs instead of a whole chicken
Boneless thighs cook a little faster and stay tender, which makes this a good move if you want easier serving. Cut the bake time by about 10 to 15 minutes and watch for the rice to finish first; the chicken should still reach 165°F, but the top won’t get quite as deeply browned.
Make it gluten-free
Use certified gluten-free versions of the cream soups and onion soup mix. The texture stays the same, but you need the labeled versions because many packaged soups and seasoning packets use wheat as a thickener.
Swap in broth for a deeper savory finish
Chicken broth gives the rice a fuller, more rounded taste than water. Use it one-for-one with no other changes. If your broth is salty, cut back slightly on the added salt so the finished casserole doesn’t lean too far in that direction.
Add vegetables without throwing off the texture
Small diced carrots, celery, or frozen peas can go into the rice layer without much trouble. Keep the add-ins modest, though, because too many vegetables can steal moisture from the rice and change the bake time. Frozen peas are best stirred in near the end so they stay bright.
Storage and Reheating
- Refrigerator: Store in an airtight container for up to 4 days. The rice will firm up a bit as it chills, but the flavor holds well.
- Freezer: It freezes well in portions for up to 2 months. Thaw overnight in the refrigerator before reheating so the rice doesn’t dry out around the edges.
- Reheating: Cover and warm in a 325°F oven with a splash of broth until hot, or reheat individual portions in the microwave with a damp paper towel on top. Dry reheating is the fastest way to turn the rice chalky.
Answers to the Questions Worth Asking
Pioneer Woman Chicken Rice Bake
Ingredients
Equipment
Method
- Preheat the oven to 350°F and grease a large 9x13 baking dish for easy release and even browning. This step sets your bake temperature before mixing.
- Whisk together the cream of mushroom soup, cream of chicken soup, cream of celery soup, long-grain white rice, and water or chicken broth in the prepared baking dish until combined. The mixture should look evenly blended with no dry rice clumps.
- Sprinkle half of the onion soup mix into the rice and stir. The rice will begin to look speckled with the onion seasoning.
- Season the chicken pieces generously with salt, black pepper, garlic powder, and paprika, then nestle them skin-side up into the rice. Arrange them so the skin is mostly exposed for caramelized golden color.
- Sprinkle the remaining onion soup mix over the chicken and rice surface. This helps create a deeply savory top layer as it bakes.
- Cover the dish tightly with foil and bake at 350°F for 1 hour. The rice should be tender and most of the liquid should be absorbed.
- Remove the foil and bake at 350°F for an additional 25-30 minutes until the chicken is golden and the rice has absorbed all liquid. Look for a crisped, caramelized chicken skin and rice that no longer pools any liquid.