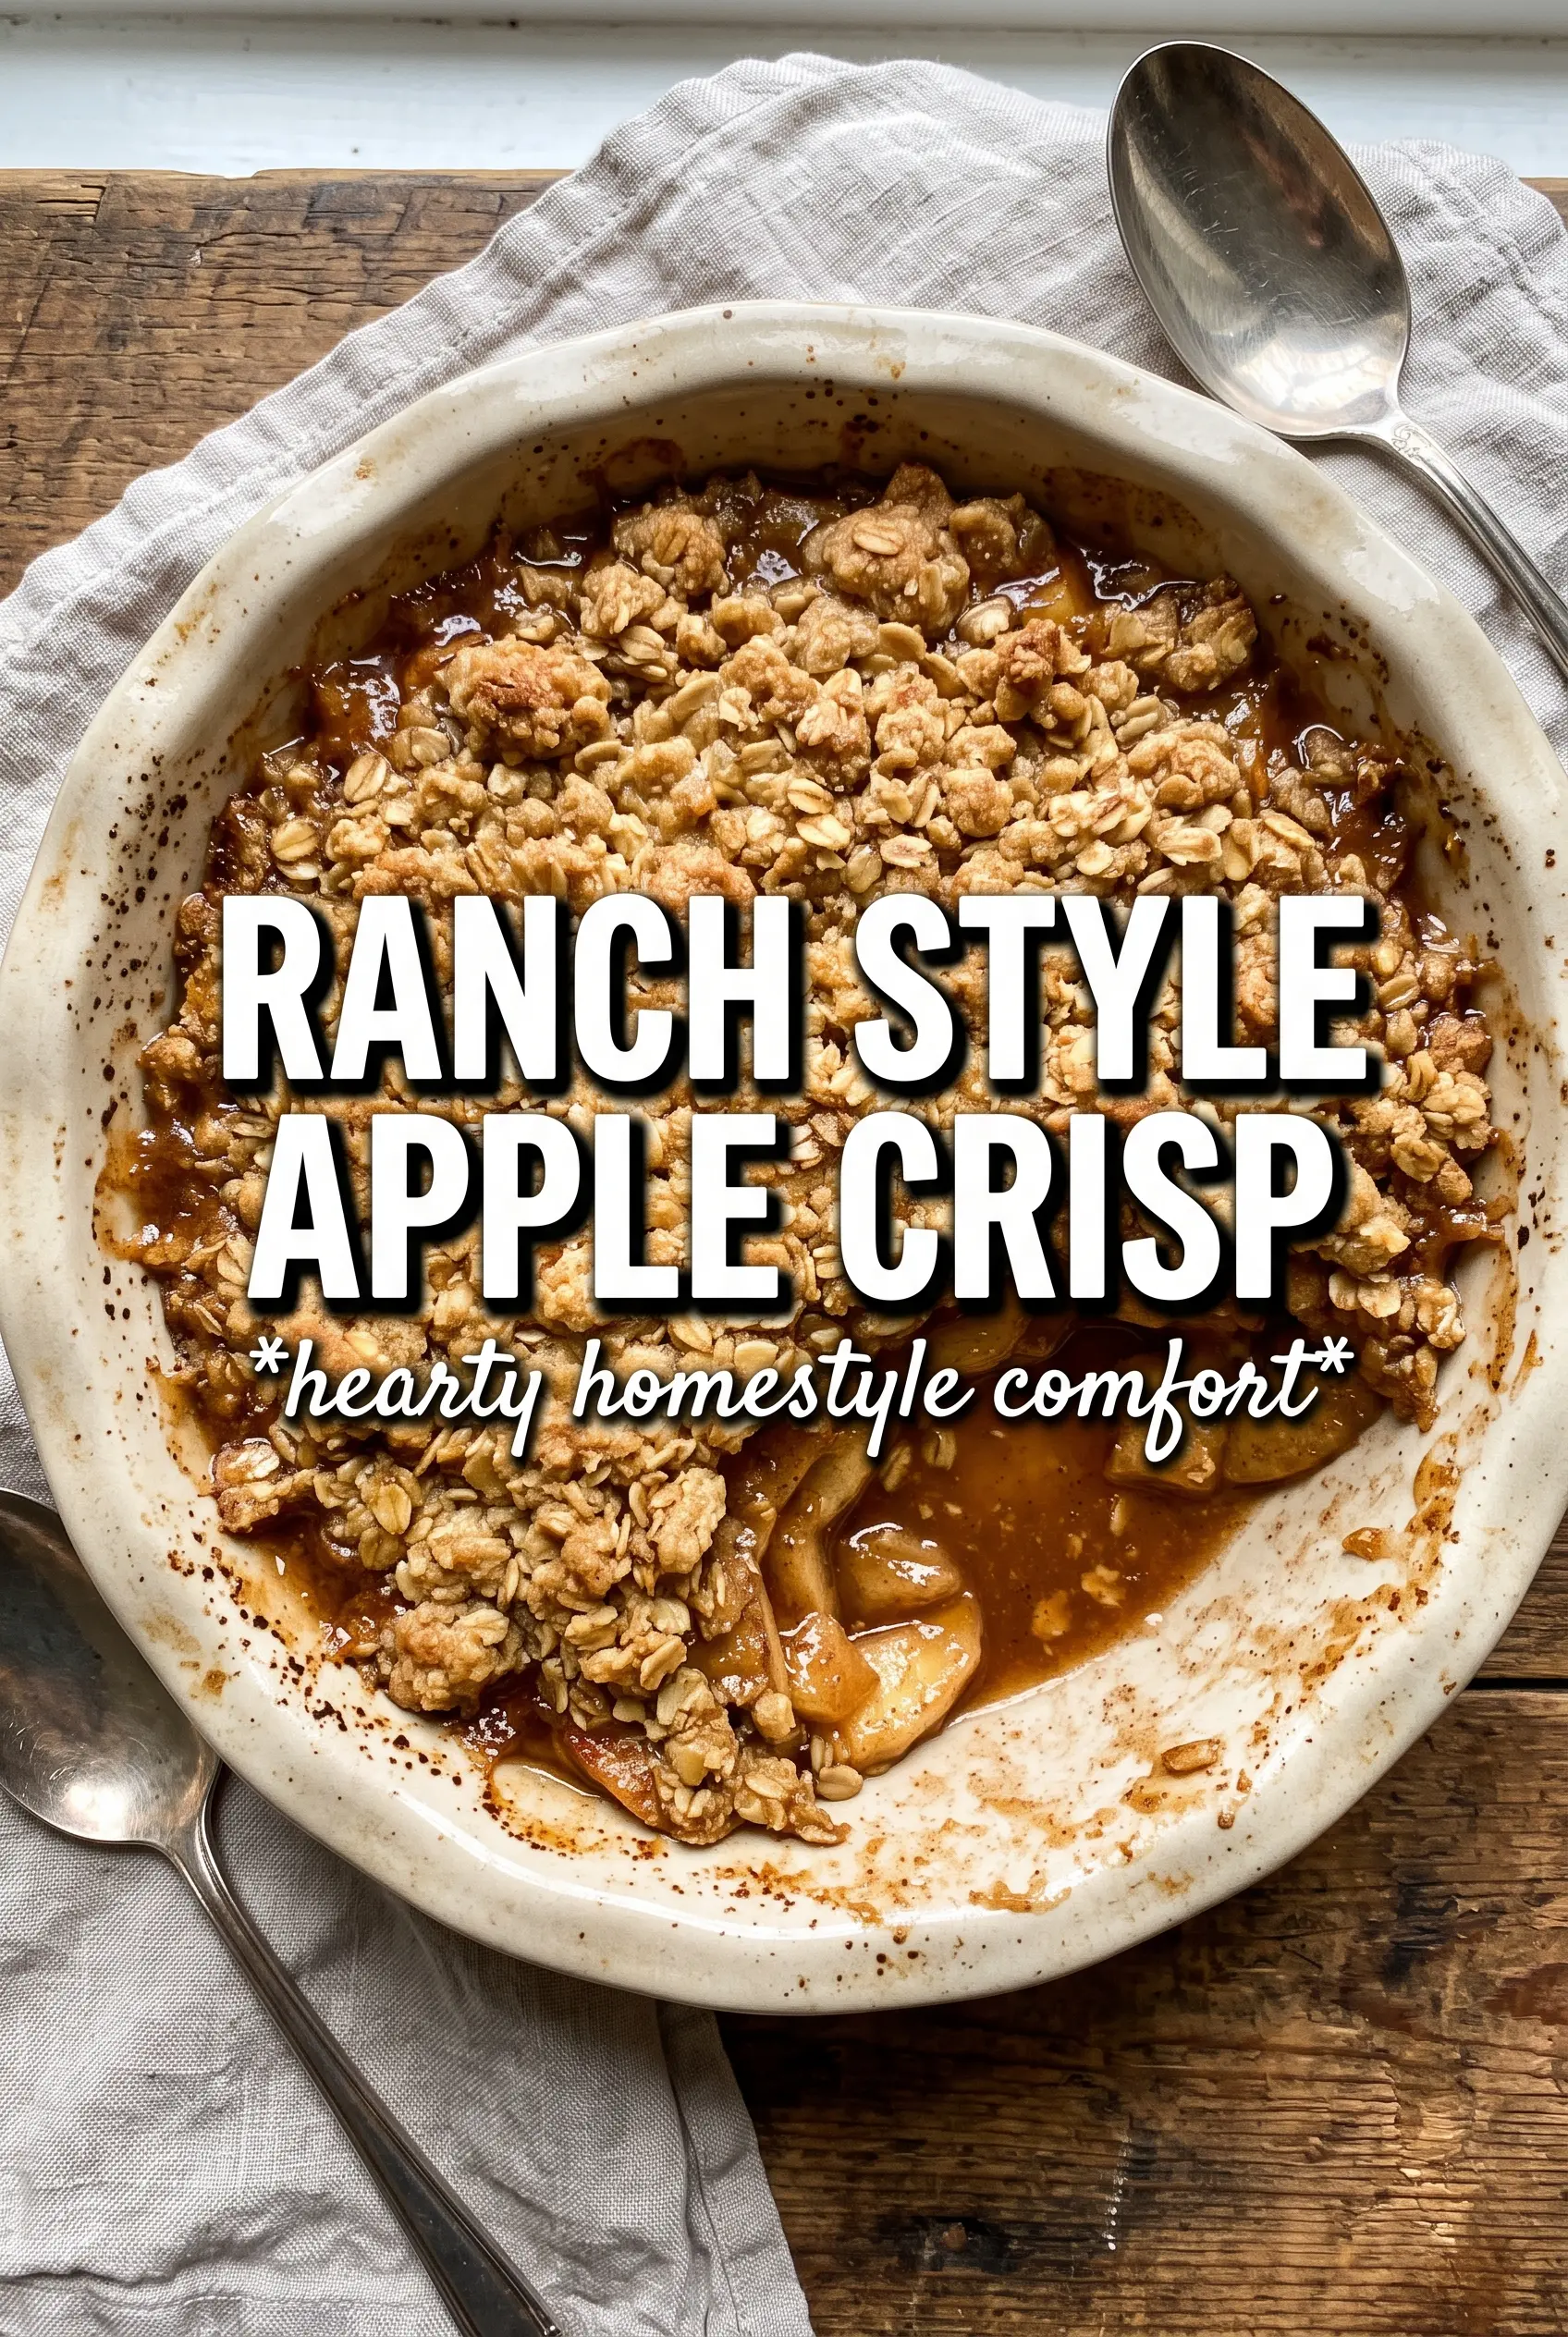
Golden, bubbling apple crisp is one of those desserts that disappears fast because it hits every note at once: soft spiced apples, a thick oat crumble, and those sticky edges where the fruit and topping meet. This version earns its keep because the topping bakes up in big, buttery clumps instead of turning sandy, and the apples soften into a syrupy filling without losing all their shape.
The trick is in the balance. Granny Smith apples stay tart enough to stand up to the brown sugar and granulated sugar in the topping, and a little flour in the filling helps the juices thicken instead of running across the pan. Cold butter matters here too. When you work it into the dry ingredients just until you get rough, uneven clumps, the topping bakes into craggy pieces with crisp edges and a tender middle.
Below, I’m walking through the part that matters most: how to keep the topping from going dusty and how to tell when the apples are cooked through without waiting until they collapse.
The topping baked up in big crunchy clusters and the apples were soft but not mushy. I used vanilla ice cream on top and the whole pan was gone by the next morning.
Save this Pioneer Woman apple crisp for the nights when you want a bubbling fruit dessert with a thick brown sugar-oat crumble.
The Secret to a Crisp That Stays Craggy, Not Sandy
The difference between a memorable apple crisp and a forgettable one usually comes down to the topping. If you mix the butter in until it disappears, you get a dry, even layer that bakes up flat. Leave visible streaks and uneven clumps, and those pockets of butter melt into crisp, jagged pieces that give the dessert its best texture.
The other place people run into trouble is the filling. Apples release a lot of juice, and without a little flour in the mix, that juice can pool at the bottom instead of turning glossy and spoonable. This recipe leans into that natural moisture, then gives it enough structure to thicken as it bakes.
- Cold butter — use it straight from the fridge and cube it before you start. Warm butter blends too smoothly and takes the crunch out of the topping.
- Granny Smith apples — their tartness keeps the crisp from tasting heavy, and their firmness helps them hold shape through the full bake.
- Rolled oats — these give the topping its nubby, hearty texture. Quick oats turn softer and less defined.
What Each Part Is Doing in the Pan
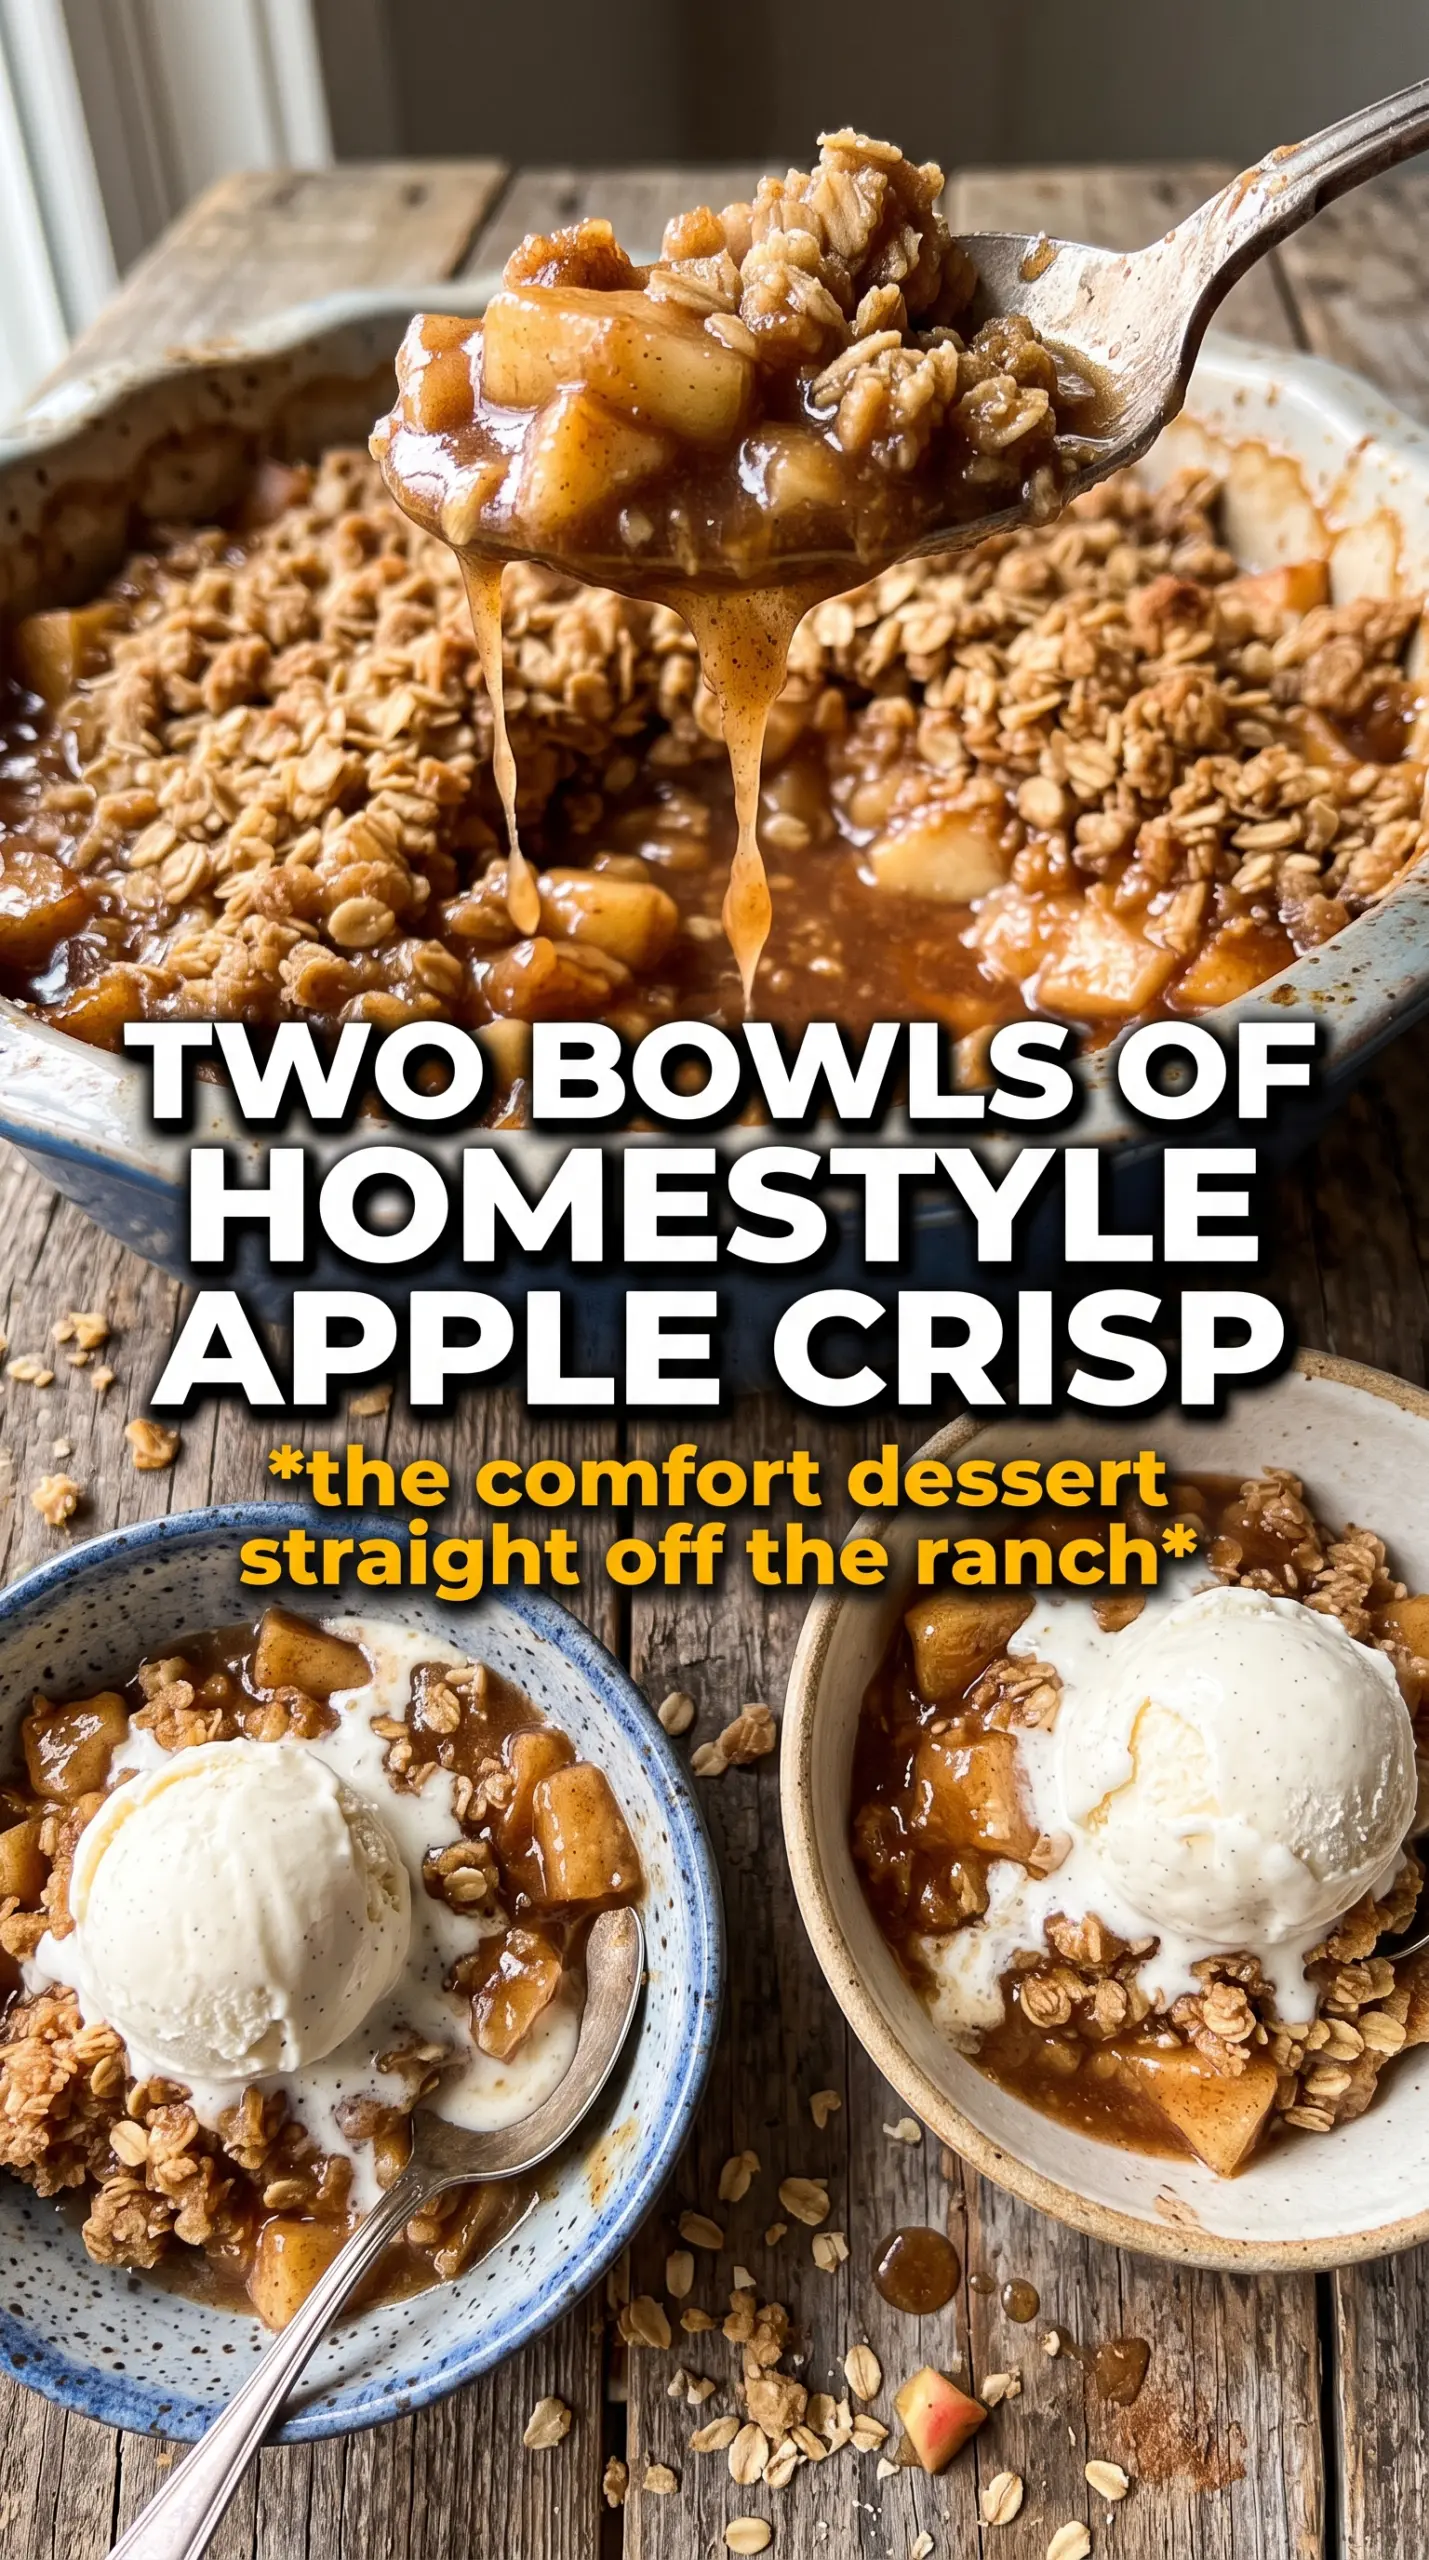
- Apples — Granny Smiths are the backbone here. You can blend in a few sweeter apples if that’s what you have, but keep at least half tart apples or the dessert gets too sweet and soft.
- Granulated sugar in the filling — this pulls some moisture from the fruit and helps create the syrupy layer underneath the crumble. Don’t cut it too far unless you want a sharper, more tart result.
- Brown sugar in the topping — this gives the crumble a deeper flavor and helps it bake into those caramel-like edges. Light or dark brown sugar both work; dark brown just tastes a little richer.
- Baking powder — it’s a small addition, but it helps the topping bake up lighter instead of dense and cement-like.
- Butter — unsalted is best here because you control the seasoning. Salted butter works in a pinch, but reduce the added salt a bit so the topping doesn’t taste sharp.
How to Get the Apples Tender and the Topping Golden at the Same Time
Preparing the Baking Dish
Start by buttering the 9×13 dish generously. That thin coat of butter helps the edges caramelize instead of sticking, especially where the apple juices bubble up along the sides. Spread the apples in an even layer so the filling cooks at the same rate; a deep mound in the center stays undercooked while the edges overbake. If your slices are wildly uneven, the thinner ones will disappear before the thicker ones soften.
Building the Fruit Layer
Toss the apple slices with the sugar, flour, and cinnamon until every piece looks lightly coated. You want the flour distributed before the apples go into the pan, because dumping it over the top leaves dry pockets that never fully dissolve. Pour the mixture in and level it gently with your hands or a spoon. The apples will shrink as they bake, so an even start matters.
Making the Crumble Clumps
Combine the dry topping ingredients first, then work in the cold butter with your fingers until the mixture looks shaggy and forms uneven clumps. Stop before it turns into paste. If the topping feels sandy and dry, it needs a little more butter worked in; if it turns greasy and smooth, it’s gone too far and will bake up dense. Scatter it over the apples and cover the surface from edge to edge.
Baking Until the Filling Bubbles
Bake until the topping is deep golden brown and the juices are bubbling at the edges and in the center. Those bubbles are the sign that the filling has thickened; if you pull it too soon, the apples taste raw and the juices stay thin. Let it rest for at least 15 minutes before serving so the filling settles instead of flooding the plate.
How to Adjust This Crisp for Different Kitchens and Tastes
Make It Gluten-Free Without Losing the Crunch
Swap the all-purpose flour in both the filling and topping for a 1:1 gluten-free baking blend. The result stays close to the original, though the crumble may be a little more delicate. Check the blend for xanthan gum if you want the topping to hold together in big clusters.
Dairy-Free Version
Use a firm dairy-free butter substitute that bakes well, not a soft spread from a tub. The topping will still brown, but it won’t taste quite as rich or buttery, so a little extra cinnamon helps carry the flavor.
Using a Sweeter Apple
If you only have Honeycrisp, Fuji, or Gala, cut the sugar in the filling by a few tablespoons and add a squeeze of lemon to keep the flavor from turning flat. Softer apples will still work, but the finished crisp will be less tart and a little more jammy.
Storage and Reheating
- Refrigerator: Store covered for up to 4 days. The topping softens a bit in the fridge, but the flavor stays good.
- Freezer: It freezes well after baking. Cool completely, wrap tightly, and freeze for up to 3 months. Thaw overnight in the fridge before reheating.
- Reheating: Warm individual servings in the microwave, or reheat the full dish in a 325°F oven until hot. The oven is better if you want the topping to crisp back up; microwave reheating softens it more.