Silky turkey gravy is one of those finishing touches that can make the whole plate feel complete. When it’s done right, it pours in a glossy ribbon, clings to mashed potatoes, and turns plain sliced turkey into the meal everyone goes back for one more spoonful of. This version stays smooth and deeply savory without tasting floury or flat, which is where a lot of gravy recipes fall apart.
The trick is starting with the right fat and giving the roux a few minutes to cook before the stock goes in. That step takes away the raw flour taste and gives the gravy a warmer color and fuller flavor. Using warm stock helps it thicken more evenly, and a little soy sauce deepens the turkey flavor without making the gravy taste like soy sauce.
Below, I’m walking through the part that matters most: how to keep the gravy lump-free, how to fix it if it gets too thick, and what to do if you only have butter instead of pan drippings.
I followed the step about whisking the warm stock in slowly and ended up with the smoothest gravy I’ve ever made. It thickened beautifully and didn’t get lumpy at all.
Save this turkey gravy for holiday dinners and Sunday roasts when you want a smooth, savory sauce that starts with pan drippings.
The Roux Is Where Smooth Gravy Is Won or Lost
Most lumpy gravy starts with rushing the flour into hot fat and then dumping in cold liquid too fast. The flour needs a minute to hydrate in the fat first, and the roux needs enough time on the stove to lose that raw, pasty taste. When it turns golden brown, it has enough cooked flavor to taste like gravy instead of thickened stock.
Warm stock matters here. Cold liquid hits the roux too abruptly and can seize into little stubborn clumps before you have a chance to whisk them out. A steady stream and constant whisking give you a smoother result, and adding the defatted pan juices back in keeps the gravy tasting like the bird, not just like broth.
What the Drippings, Stock, and Soy Sauce Each Bring to the Pan

- Turkey pan drippings — This is the heart of the gravy. The fat gives you flavor and helps build the roux, while the browned bits left in the roasting pan add depth. If you don’t have enough drippings, butter works fine, but the gravy will be a little less turkey-forward.
- Warm turkey or chicken stock — Stock provides the body of the gravy, and warming it first helps the roux stay smooth. Chicken stock is the best backup if turkey stock isn’t available. Use the best boxed stock you can find, since a bland one will stay bland no matter how long you simmer it.
- Fresh thyme — Thyme adds that classic roast-dinner note without taking over. Dried thyme works in a pinch, but use less because it can read dusty if you’re heavy-handed.
- Soy sauce — This is the quiet trick in the recipe. It deepens the color and adds savory weight, especially if your drippings are on the lighter side. A small amount is enough; too much will push the gravy away from turkey and toward soy sauce.
Building the Gravy So It Stays Silky
Separating the Fat From the Juices
Pour the drippings into a measuring cup and let them sit long enough for the fat to rise. The fat is what you use for the roux; the dark liquid underneath gets whisked in later for flavor. If you skip that separation and use the whole mixture at once, the gravy can turn greasy instead of smooth.
Cooking the Roux Until It Turns Nutty
Whisk the flour into the measured fat over medium heat and keep it moving for 3 to 4 minutes. You’re looking for a light golden color and a smell that loses the raw flour edge. If the heat is too high, the roux can scorch before it thickens anything, so stay patient and keep whisking.
Whisking in the Stock Without Lumps
Add the warm stock gradually, whisking constantly as the mixture loosens. The gravy will look too thin at first, then suddenly smooth out as it comes back together. If you dump all the liquid in at once, the roux can break into little floury bits that are harder to dissolve later.
Finishing With Simmer Time
Once the gravy is smooth, add the thyme and soy sauce and let it simmer until it coats a spoon, usually 8 to 10 minutes. It should thicken a little more as it cools, so stop before it gets pasty in the pan. If it ends up thicker than you wanted, whisk in a splash of warm stock until it pours the way you like.
How to Adapt This Gravy for Different Kitchens and Different Main Dishes
No Turkey Drippings, Just Butter
Use unsalted butter in place of the fat from the pan and add the defatted juices if you have them. The gravy will still be smooth and rich, but it won’t have quite the same roast turkey depth. A splash of extra stock reduction can help bring back some of that savory edge.
Gluten-Free Gravy
Swap the flour for a gluten-free all-purpose blend that includes a binder like xanthan gum, or use cornstarch slurry instead of a roux. The texture will be slightly glossier and a little less rustic, but it still thickens beautifully. If you use cornstarch, add it at the end and simmer just until thickened.
Lighter, Less Salty Gravy
Use low-sodium stock and hold back on the soy sauce until the end. That gives you more control over the final salt level, especially if your drippings are already well-seasoned. Taste after simmering, because gravy always needs its final seasoning once it has thickened.
Storage and Reheating
- Refrigerator: Store in an airtight container for up to 4 days. It will thicken as it chills.
- Freezer: It freezes well for up to 2 months, though the texture may loosen slightly after thawing. Whisk it well when it comes back up to temperature.
- Reheating: Warm it slowly over low heat and add a splash of stock or water to bring it back to a pourable consistency. Don’t boil it hard, or it can tighten up and taste flat.
Answers to the Questions Worth Asking
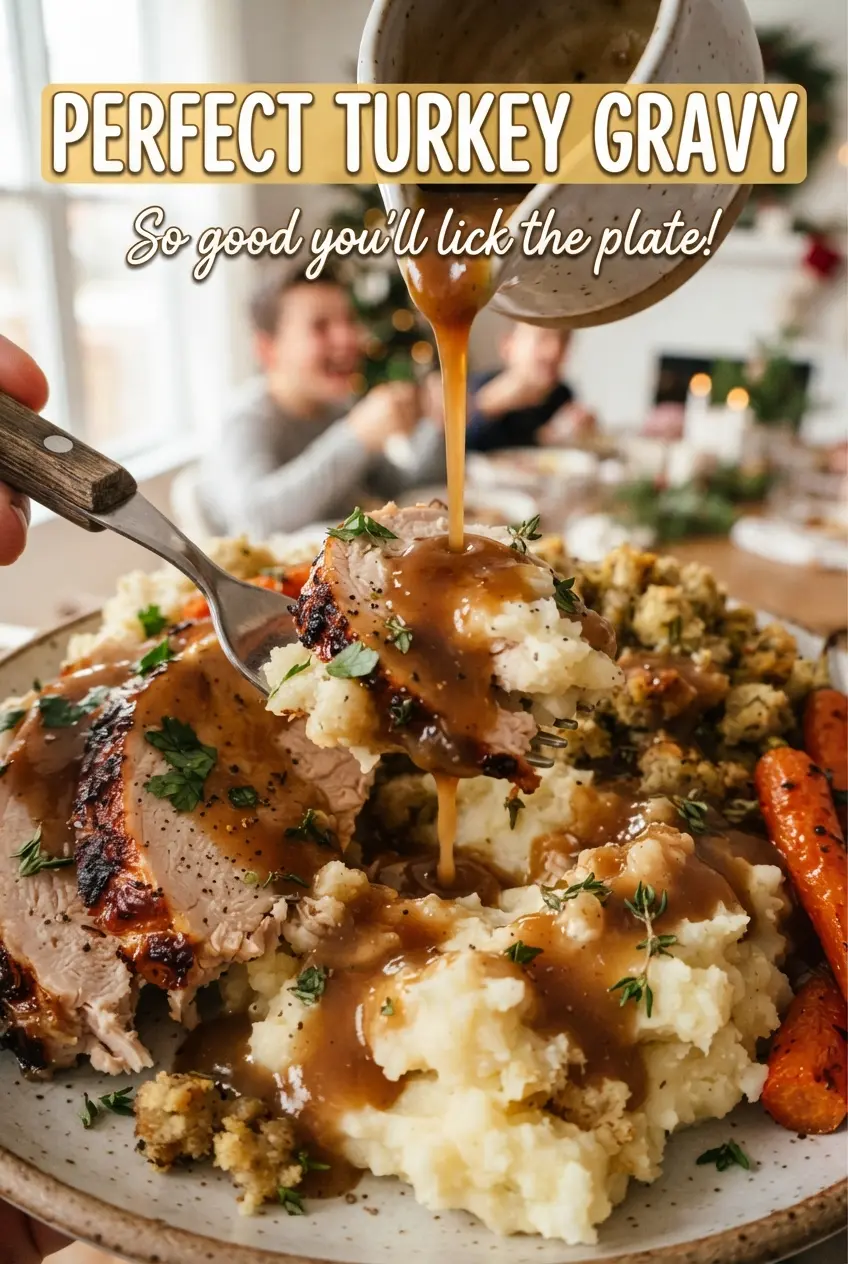
Perfect Turkey Gravy
Ingredients
Equipment
Method
- Pour the roasting pan drippings into a measuring cup and let the fat rise to the top. Visual cue: you should see a clear separation with fat on the surface.
- Spoon 1/4 cup of the fat into a saucepan over medium heat and whisk in the all-purpose flour. Visual cue: the mixture should look like a smooth paste.
- Cook the roux 3-4 minutes, whisking, until golden brown. Visual cue: it darkens slightly and smells nutty without burning.
- Gradually whisk in warm turkey or chicken stock and the defatted pan juices until smooth. Visual cue: no lumps remain and the gravy looks glossy.
- Add the fresh thyme leaves and soy sauce, then simmer 8-10 minutes until thick enough to coat a spoon. Visual cue: draw a line with a spoon; it should hold briefly before slowly filling in.
- Season with salt and pepper to taste, strain if desired, and serve hot. Visual cue: final texture is smooth and pourable with even seasoning.