Creamy vanilla custard ice cream gets its best texture from the contrast: smooth, rich base and brittle little shards of caramelized pecan praline. Every bite gives you cold cream, toasted nuts, and that candy snap that keeps the whole bowl from tasting flat. The praline pieces stay distinct instead of melting into the base, so you get real crunch even after the ice cream has fully frozen.
What makes this version work is the way the pralines are cooked to soft-ball stage before the pecans go in. That gives you a coating that hardens into glossy chunks instead of grainy candy dust. The custard is also cooked just enough to thicken without going eggy, then chilled completely before churning, which is what keeps the final texture dense and smooth instead of icy.
Below, you’ll find the timing that matters most, how to keep the praline from turning sticky, and the one step that keeps the custard from scrambling. If you’ve ever had pralines and cream ice cream that tasted good but turned chewy or icy, this version fixes both problems.
The praline stayed crunchy even after freezing overnight, and the custard was smooth with no icy bits. I followed the chill time exactly and the ice cream scooped beautifully the next day.
Save this Pecan Praline and Cream Ice Cream for the kind of dessert that needs crunchy praline shards and a smooth custard base to stand out.
The Trick to Keeping the Praline Crunchy Inside Ice Cream
The part that trips people up is the praline, not the custard. If the sugar cooks too far, the pecans go bitter and the coating gets brittle in a bad way; if it doesn’t reach soft-ball stage, the cluster stays sticky and melts into the base. You want a candy shell that snaps cleanly once it cools, then breaks into chunks that stay separate in the freezer.
The custard has its own line you can cross. Heat it until it reaches 175F and thickens enough to coat the back of a spoon, but don’t let it simmer hard or you’ll get egg bits instead of a smooth base. Straining the custard catches any cooked yolk before it has a chance to ruin the texture, and the full chill time gives the fat and sugar time to settle into a churnable base.
What the Brown Sugar and Egg Yolks Are Doing Here

- Brown sugar — This is doing double duty in both the praline and the custard. It adds a deeper caramel note than white sugar and helps the ice cream stay a little softer in the freezer. You can use light or dark brown sugar; dark will push the caramel flavor a little further.
- Pecans — Toasted pecans bring the best flavor and better crunch, even though the praline coating carries a lot of the sweetness. Raw pecans will still work, but they taste flatter. If you have time, warm them in a dry skillet for a few minutes before making the candy.
- Heavy cream — In the praline, cream loosens the sugar enough to cook evenly. In the custard, it gives the ice cream body and that rich mouthfeel people expect from a homemade churned dessert. Don’t swap in half-and-half here unless you’re fine with a lighter, less plush finish.
- Egg yolks — These thicken the custard and help it freeze into a scoopable texture instead of an icy block. They also make the base taste rounder and more luxurious. Temper them slowly so they don’t scramble when the hot dairy goes in.
Building the Custard and Folding in the Praline
Cooking the Praline to the Right Stage
Start with the brown sugar, cream, and butter in a saucepan over medium heat and cook until the mixture reaches 235F. It should look glossy and fully combined, not separated or grainy. Stir in the pecans, vanilla, and salt off the heat, then spread the mixture on parchment right away before it sets in the pan. If it clumps too soon, that just means the candy hit the right stage and needs a minute to cool before you break it up.
Tempering the Yolks Without Scrambling Them
Warm the cream, milk, and brown sugar until the sugar dissolves, then whisk a little of that hot dairy into the yolks first. That step keeps the yolks from seizing when they hit the pot. Once the yolks are loosened, pour them back into the saucepan and cook over medium-low heat, stirring constantly, until the custard thickens and reaches 175F. If you see steam and tiny bubbles around the edge, you’re close; if you see curds, the heat was too high.
Chilling, Churning, and Adding the Chunks
Strain the custard into a clean bowl, stir in the vanilla and salt, and chill it completely before it goes into the ice cream maker. Cold base churns faster and traps less air, which gives you a creamier result. Add the praline chunks during the last 5 minutes of churning so they stay broken up instead of sinking or dissolving into the base. Freeze the finished ice cream until firm, then let it sit on the counter for a few minutes before scooping.
Three Ways to Make This Pecan Praline Ice Cream Your Own
Dairy-Free Version
Use full-fat canned coconut milk in place of the cream and milk, then skip the custard and use an egg-free base if that’s your preference. The flavor shifts toward coconut and the texture will be a little less rich, but the praline still gives you the same crunchy contrast. Keep the praline itself as written, since the candy coating is naturally dairy-friendly.
Extra Toasty Pecan Flavor
Toast the pecans before making the praline, then add a pinch more salt to the candy. You’ll get a deeper, nuttier finish that leans a little more Southern and less purely sweet. This is the version I’d make when I want the pecans to taste like the star instead of just a mix-in.
No-Churn Shortcut
Fold the cooled praline chunks into whipped cream sweetened with condensed milk if you don’t have an ice cream maker. The texture won’t have the same custard richness, but it will still freeze creamy and hold the candy pieces well. Break the praline into smaller bits so they disperse evenly through the base.
Storage and Reheating
- Refrigerator: Not applicable for finished ice cream. Keep the churned base cold only while it’s waiting to go into the machine.
- Freezer: Store in an airtight container for up to 2 weeks. The praline can soften slightly over time, but it still holds its shape better than most mix-ins.
- Reheating: Let the container sit at room temperature for 5 to 10 minutes before scooping. If you try to force it straight from the freezer, the base will seem too hard and you’ll crush the praline instead of slicing through it cleanly.
Questions I Get Asked About This Recipe
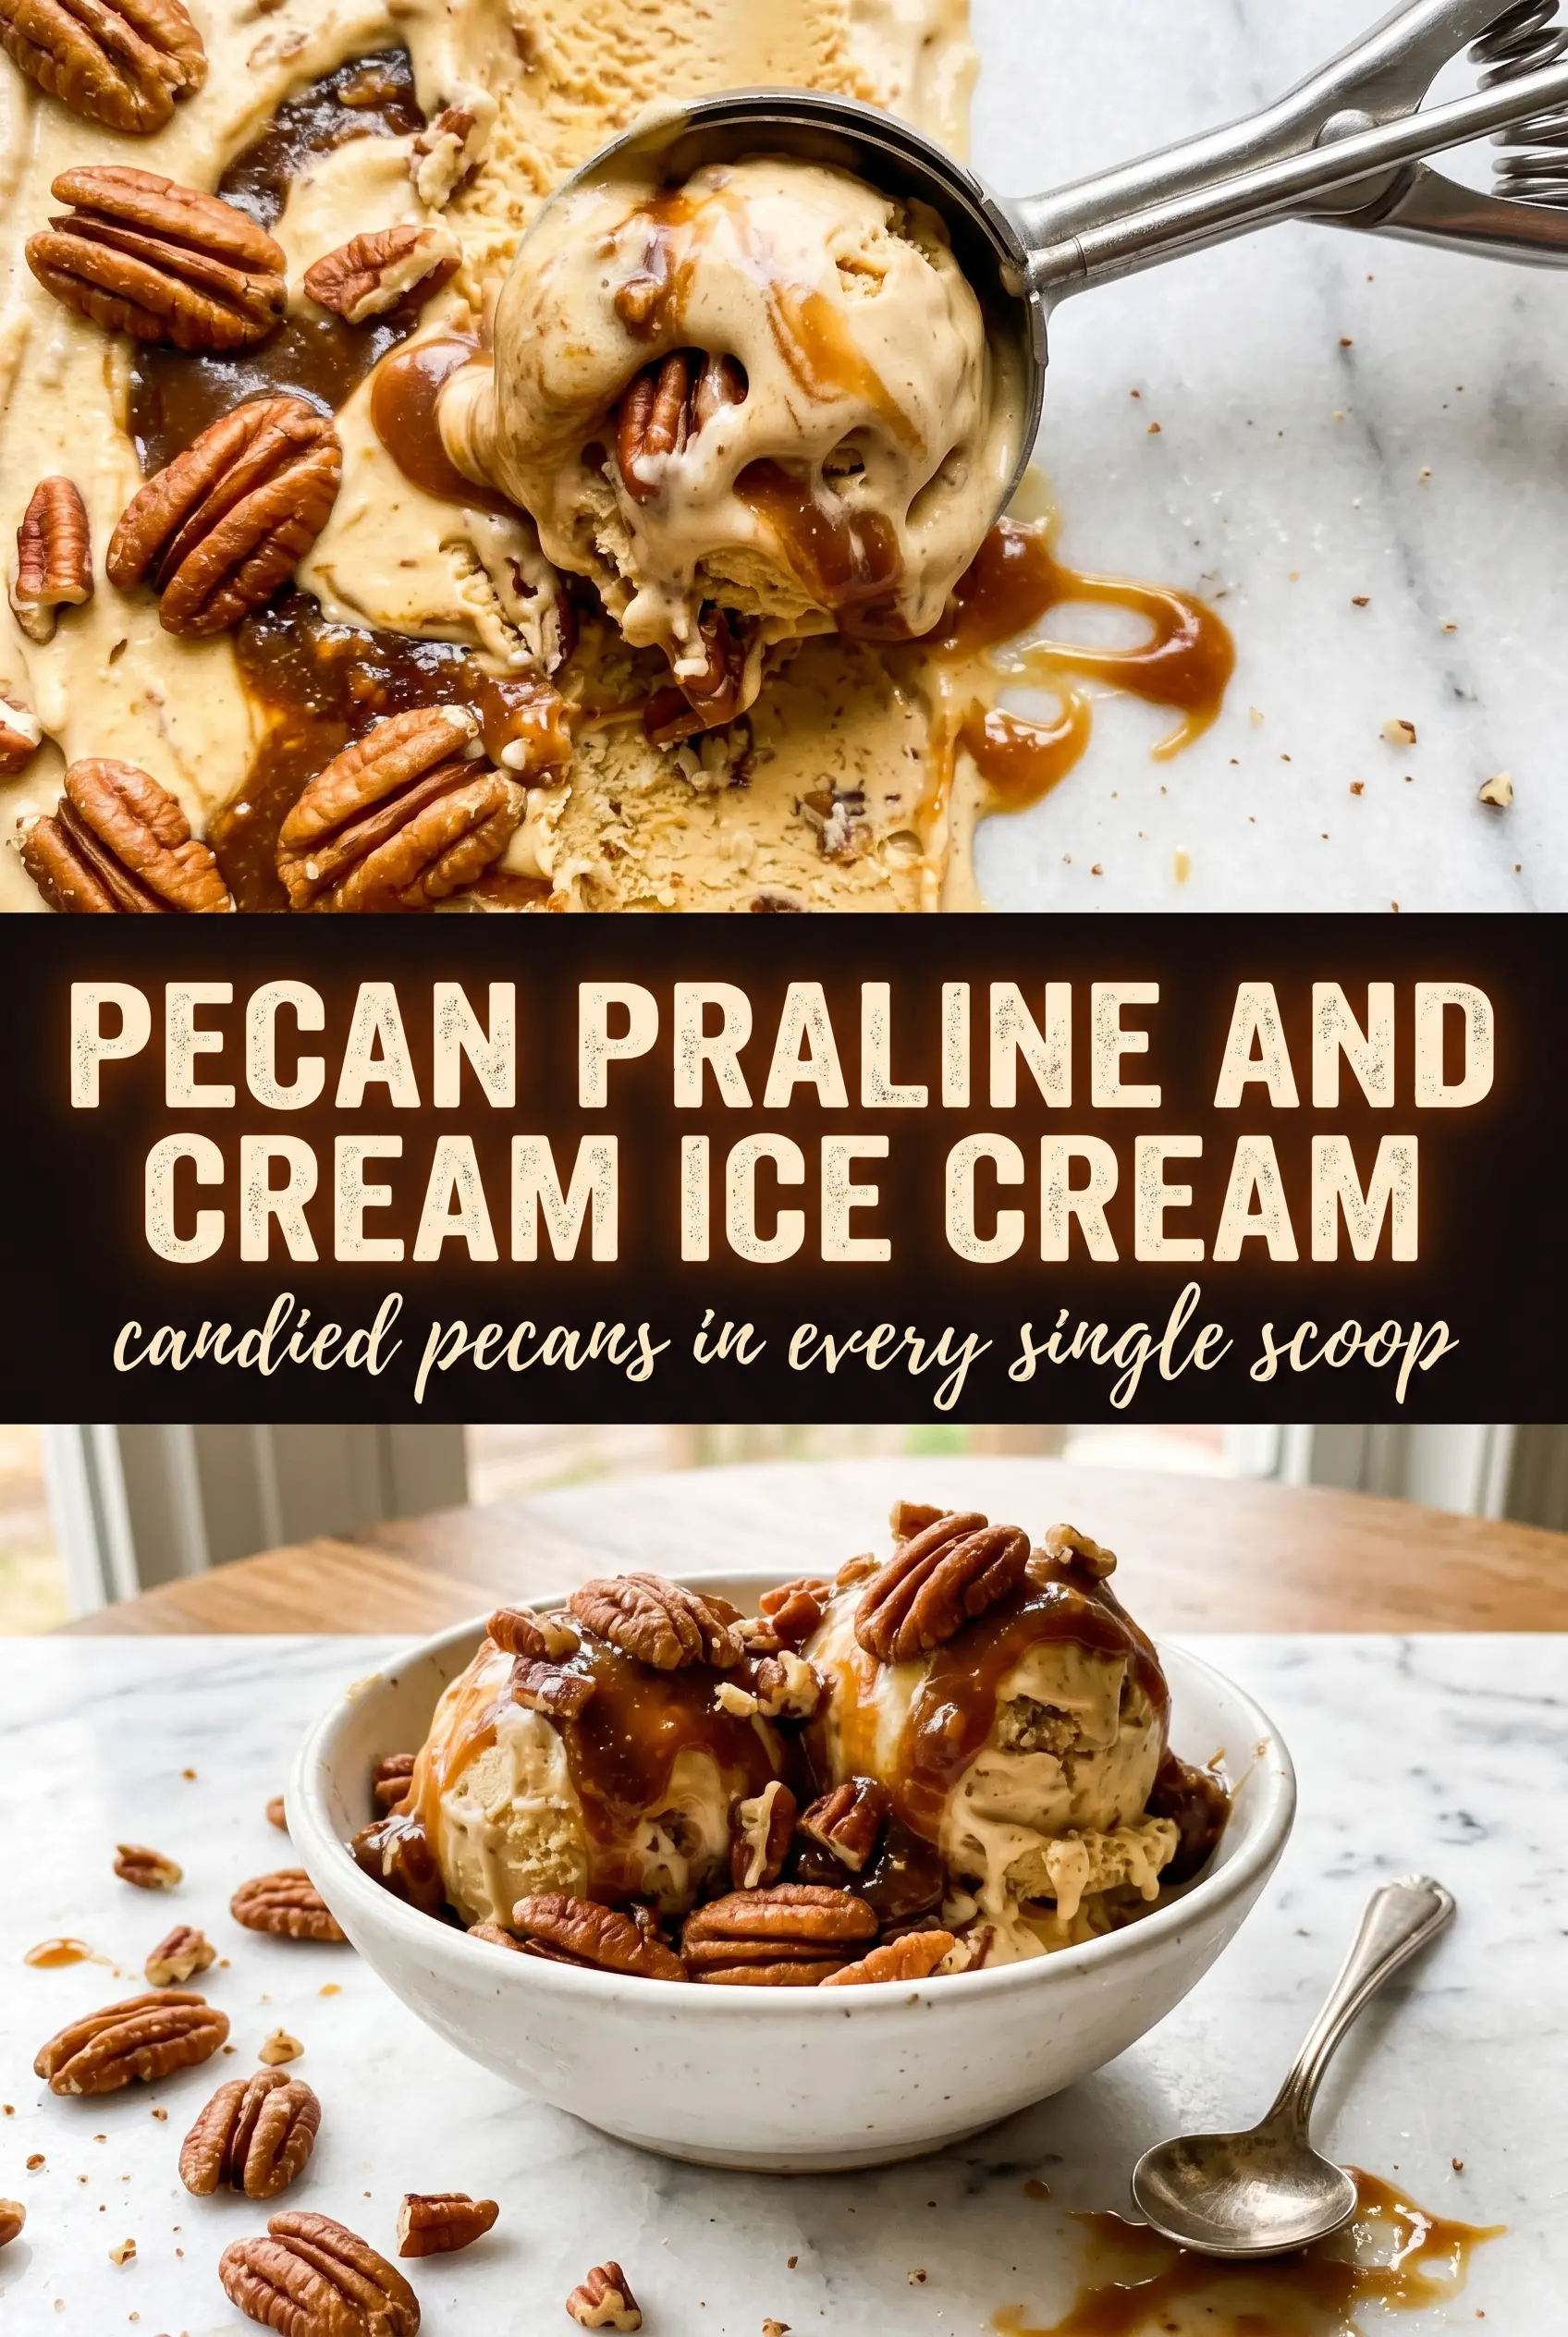
Pecan Praline and Cream Ice Cream
Ingredients
Equipment
Method
- Combine brown sugar, heavy cream, and butter in a saucepan over medium heat and stir until smooth.
- Cook the mixture to 235F (soft ball stage), then stir to keep the caramel from scorching.
- Stir in pecan halves, vanilla extract, and salt until the nuts are fully coated and glossy.
- Spread the caramelized pecans onto parchment to cool and harden completely.
- Break the hardened praline pecans into chunky pieces and set aside.
- Heat heavy cream, whole milk, and brown sugar in a saucepan just until the sugar dissolves.
- Slowly whisk the hot cream mixture into egg yolks until smooth.
- Cook the custard until it reaches 175F, stirring gently to prevent curdling.
- Strain the custard, then stir in vanilla extract and salt.
- Cool completely, then refrigerate for 4 hours until very cold.
- Churn the custard in an ice cream maker according to the manufacturer’s instructions until thickened.
- Fold praline pecan chunks in during the last 5 minutes of churning so they stay crisp.
- Transfer to a container and freeze until firm, with a visible scoopable texture.