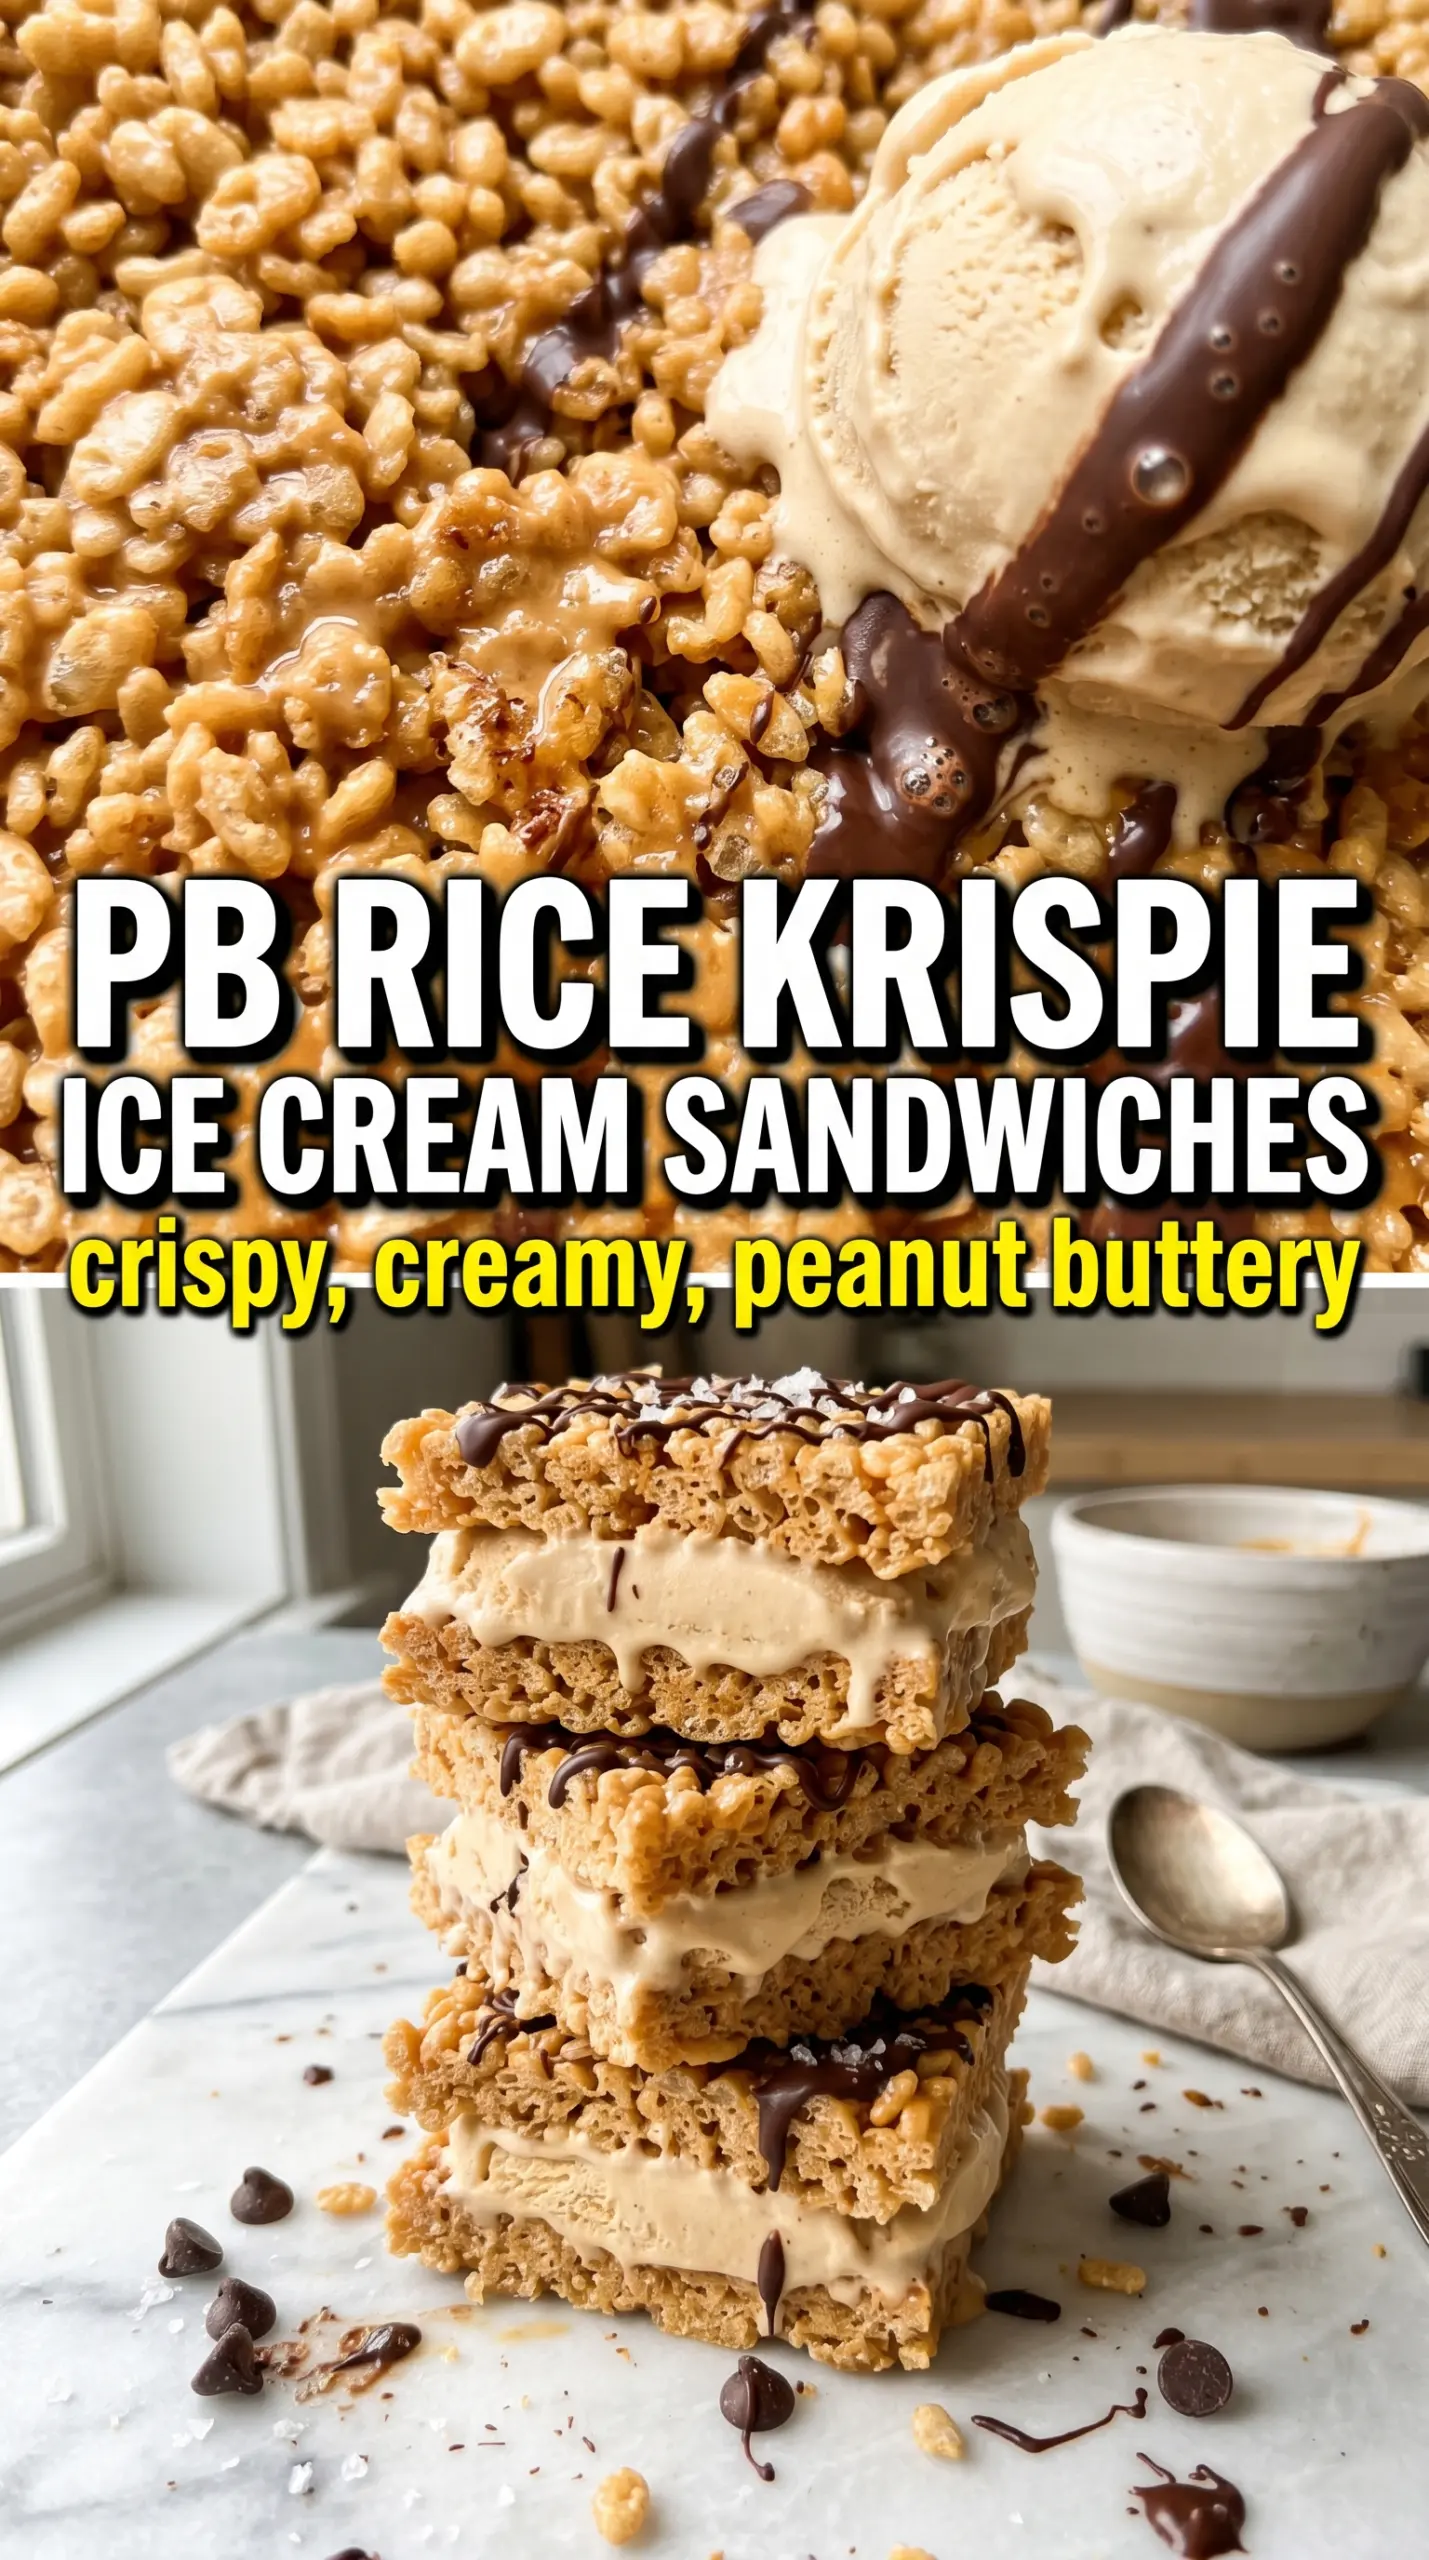
Peanut butter Rice Krispie ice cream sandwiches hit that rare sweet spot where every bite is cold, chewy, crunchy, and just messy enough to feel worth making. The cereal layers stay sturdy enough to hold the ice cream, but they still have that soft marshmallow pull when you bite through the edges. It’s the kind of frozen treat that disappears fast because it tastes familiar and a little new at the same time.
What makes this version work is the peanut butter stirred into the melted butter before the marshmallows go in. That little step gives the cereal slabs a deeper, nuttier base and helps the bars taste less like plain treat squares and more like an actual dessert with purpose. Pressing the mixture into a thin, even layer matters too, because thick slabs freeze up hard and make the sandwiches awkward to bite.
Below, I’ve included the one trick that keeps the sandwiches from cracking when you assemble them, plus a few swaps that make them easier to tailor to the ice cream you have on hand.
The peanut butter in the cereal layer made these taste richer than a regular Rice Krispie treat, and they held together even after freezing overnight. I let the ice cream soften just enough to spread, and the sandwiches sliced cleanly without squishing out the filling.
Save these peanut butter Rice Krispie ice cream sandwiches for the kind of dessert that stays crisp, creamy, and easy to slice after freezing.
The Freezing Trick That Keeps These Sandwiches From Cracking
The part that usually goes wrong is the cereal layer, not the ice cream. If the slabs are too warm when you cut them, they’ll smear and deform; if they’re too frozen, they’ll crack the moment you press in the filling. The sweet spot is a quick chill after the pan has cooled completely, just long enough for the slab to firm up without turning brittle.
Cutting the slabs into equal rectangles before adding the ice cream matters more than it sounds. Uneven pieces make lopsided sandwiches that tip, slide, and ooze out the sides. A lightly softened ice cream gives you spreadability without soupiness, and that helps the sandwiches stay neat enough to refreeze cleanly.
- Butter — This gives the marshmallow mixture richness and helps the slabs set with a softer chew. Salted butter works in a pinch, but keep the added salt light if you use it.
- Creamy peanut butter — Use a standard shelf-stable peanut butter here, not a natural style that separates heavily. The stabilized texture blends smoothly into the melted base and gives the treat a deeper peanut flavor without making it greasy.
- Mini marshmallows — Minis melt faster and more evenly than large ones, which matters because overcooked marshmallow turns dense and tough. If you only have large marshmallows, cut the melting time down and stir constantly.
- Rice Krispies cereal — This is the structure. Fresh cereal keeps the slabs crisp instead of stale, and that crispness is what makes the finished sandwiches snap in a good way.
- Ice cream — Chocolate is a natural match here, but vanilla gives you a cleaner peanut butter-forward bite. Let it soften just until spreadable; if it puddles, the center will squeeze out before it freezes again.
What Each Ingredient Is Actually Doing in This Ice Cream
- Base ingredient (cream, milk, or custard) — This provides the foundation and richness. Quality matters.
- Sweetener (sugar, honey, or condensed milk) — This sweetens and prevents ice crystals. The ratio is critical.
- Flavor element (vanilla, fruit, chocolate, or other) — This defines the ice cream personality. Use quality ingredients.
- Egg yolks (if making custard base) — These create richness and silky texture. Optional but elevates ice cream.
- Churning (if using ice cream maker) — This incorporates air and prevents ice crystals. Critical for smooth texture.
- Freezing temperature and time — Proper freezing prevents rock-hard texture. Store at 0°F or below.
- Mix-ins (chocolate, cookies, fruit, or swirls) — These add texture and prevent one-dimensional flavor. Add near end of churning.
- Serving temperature (slightly soft, not rock hard) — This provides creamy mouthfeel. Remove from freezer 5 minutes before serving.
Building the Slabs So the Sandwiches Hold Together
Melting the Peanut Butter Base
Melt the butter over medium heat, then stir in the peanut butter until the mixture looks smooth and unified. You’re not trying to fry anything or deepen color here; you just want a glossy base that will coat the marshmallows evenly. If the heat is too high, the peanut butter can catch at the bottom of the pot and leave little browned bits that don’t blend well into the finished treat.
Coating the Cereal Without Crushing It
Once the marshmallows are fully melted, pull the pot off the heat before adding the cereal. That keeps the marshmallow from tightening too fast and gives you a little more working time. Stir just until every piece is coated, then transfer the mixture to a parchment-lined pan right away; if you linger, the mass starts setting in the pot and turns hard to spread.
Pressing and Chilling for Clean Cuts
Press the mixture into an even layer with lightly greased hands or a piece of parchment. Don’t pack it down like a brick. You want it compact enough to slice, but still airy enough to stay chewy. After it cools fully, chill it until firm, then cut the slab into clean rectangles before you add the ice cream.
Assembling the Frozen Sandwiches
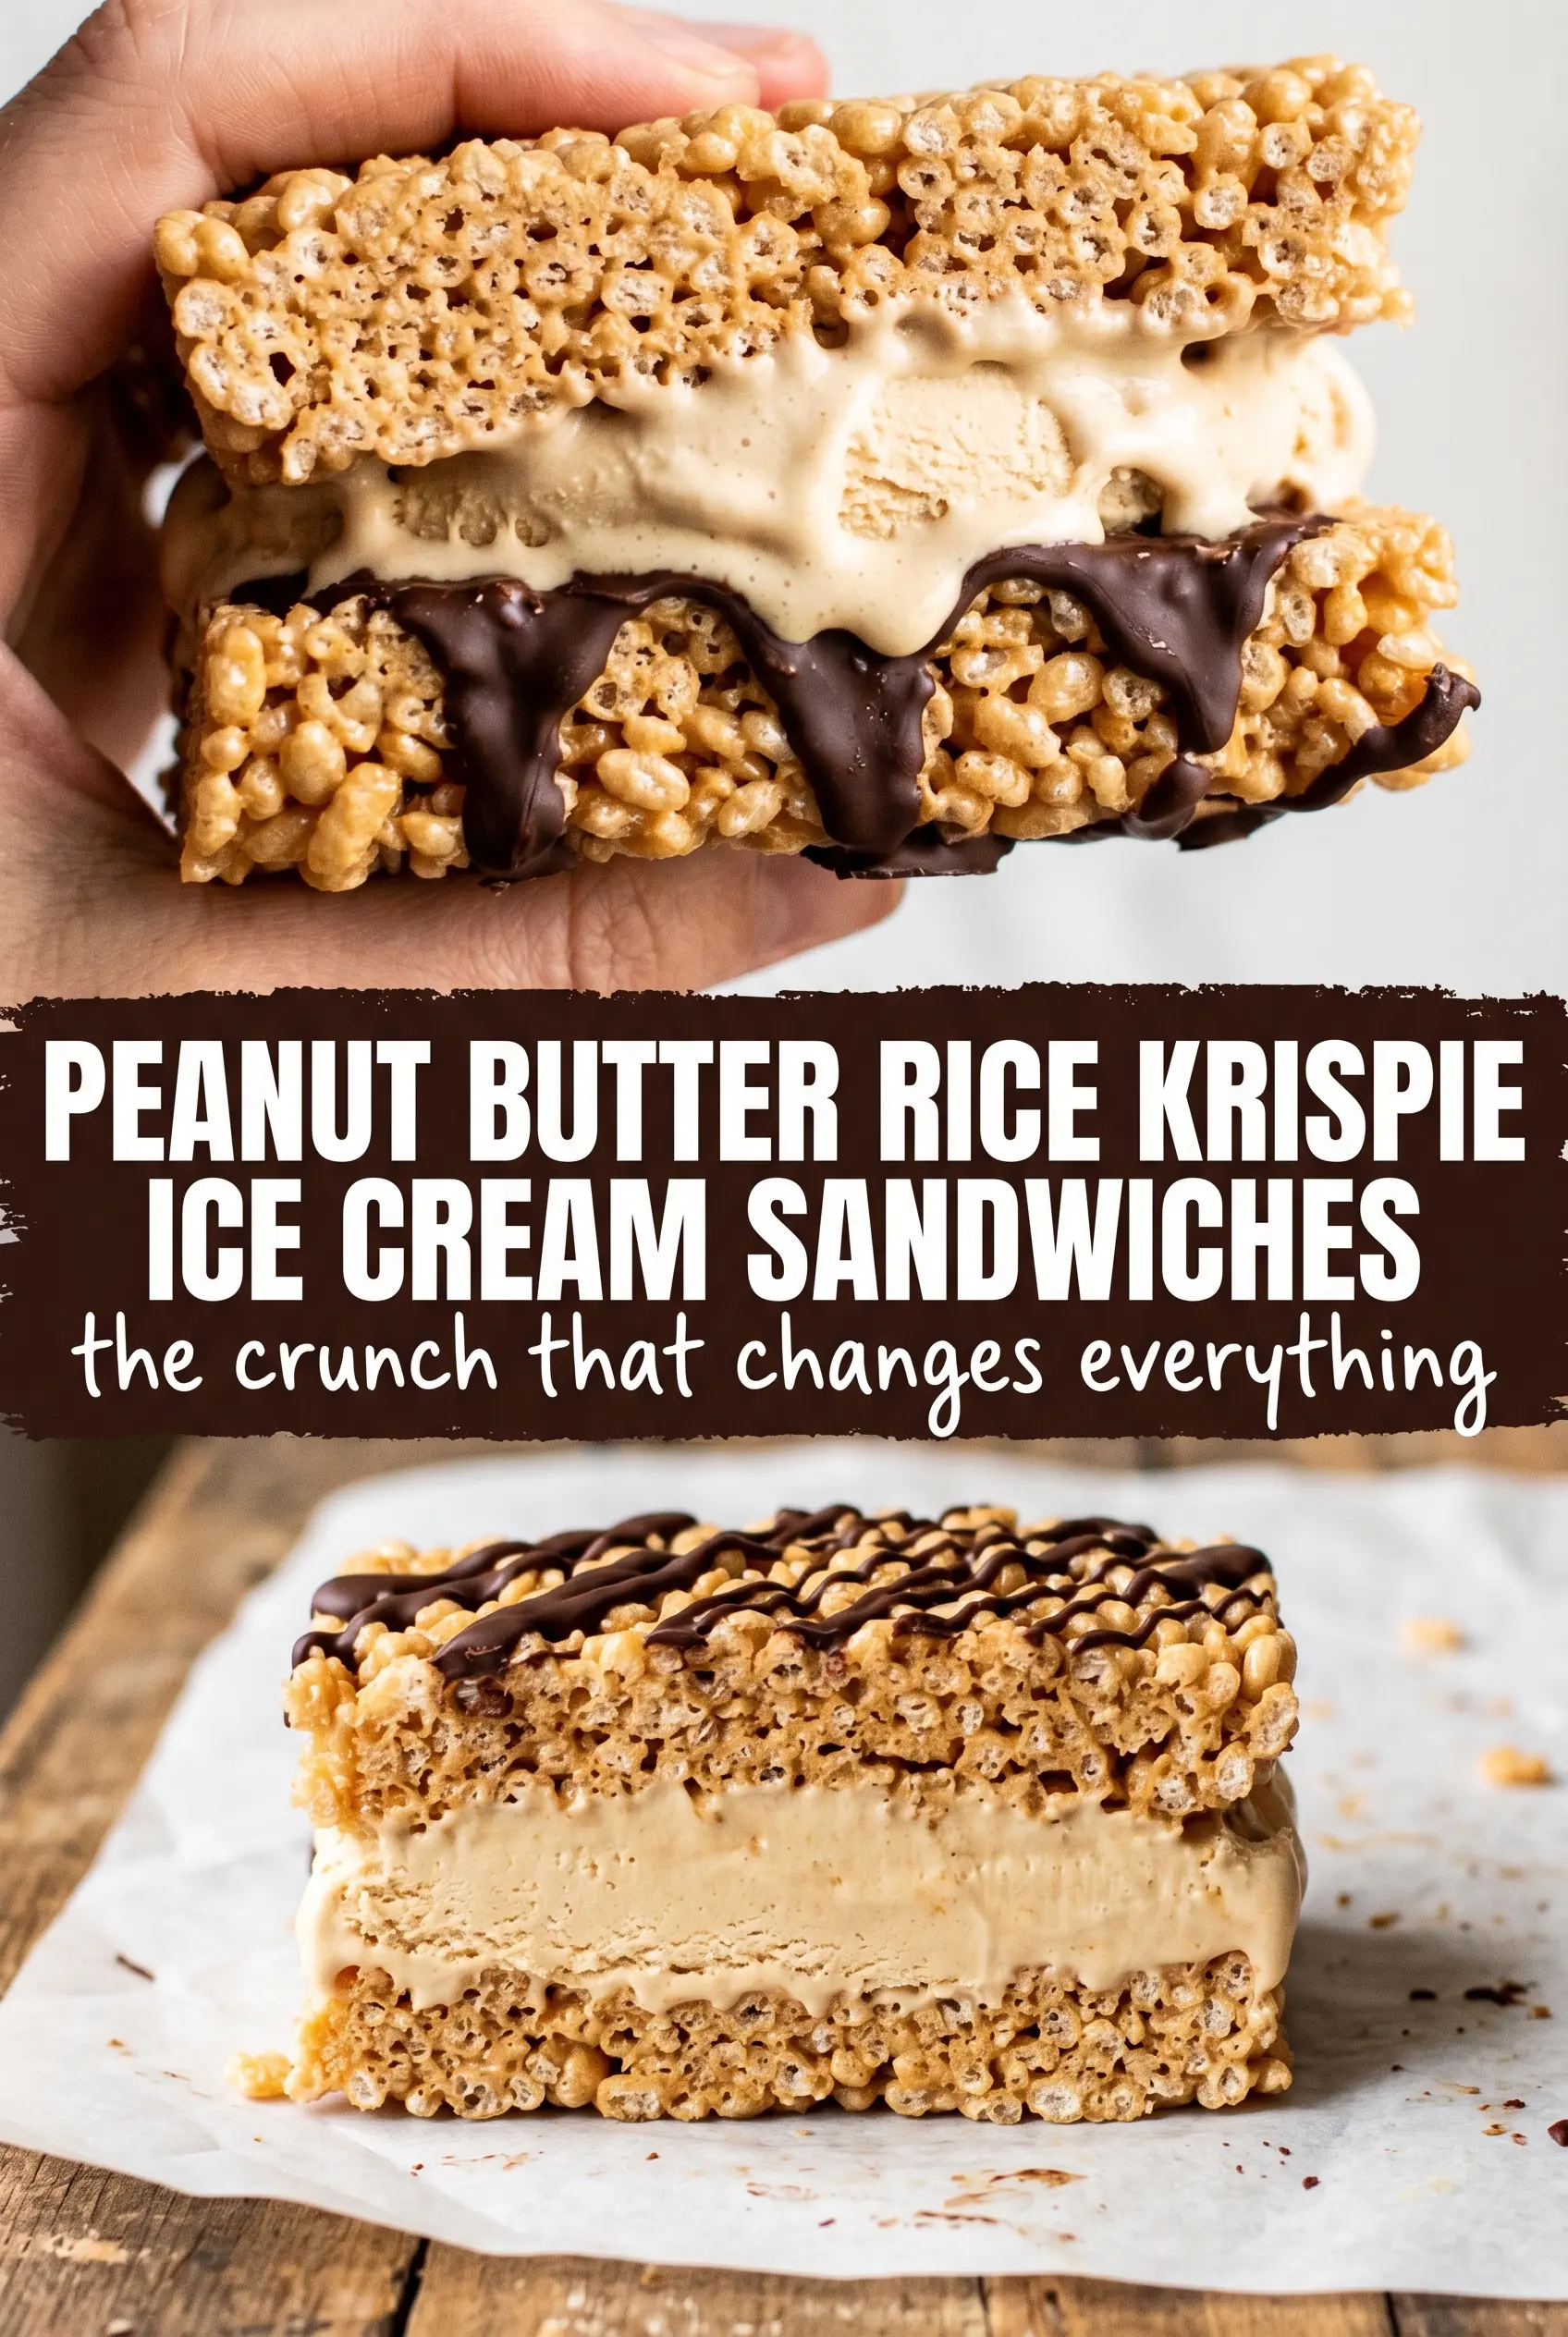
Spread a generous layer of slightly softened ice cream between two rectangles, then press gently just until the filling reaches the edges. If the ice cream starts sliding out, it’s too soft; if it resists spreading, let it sit a few minutes longer on the counter. Finish with chocolate drizzle, then freeze the sandwiches until the ice cream is set and the outside feels firm to the touch.
Chocolate Drizzle Version
Use melted chocolate or chocolate chips thinned with a small spoonful of neutral oil for a shinier drizzle that sets with a soft snap. This adds a firmer top layer and a little extra contrast against the sweet peanut butter cereal base.
Dairy-Free Swap
Use plant-based butter and a dairy-free ice cream with a thicker, scoopable texture. The sandwiches still work well, but the final bite will be a little less rich and a touch softer once frozen.
Chocolate-Free Filling
Vanilla, coffee, or peanut butter ice cream all work if you want the cereal slabs to stay front and center. Choose a flavor that isn’t too icy; denser ice cream gives you cleaner slices and a better sandwich texture.
Storage and Reheating
- Refrigerator: Not recommended. These soften quickly and lose their crisp edges.
- Freezer: Store tightly wrapped for up to 2 weeks. Layer parchment between sandwiches so they don’t stick together.
- Reheating: No reheating needed. Let a sandwich sit at room temperature for 3 to 5 minutes before serving so the cereal layer loosens just enough to bite cleanly.
Answers to the Questions Worth Asking
Peanut Butter Rice Krispie Ice Cream Sandwiches
Ingredients
Equipment
Method
- Melt the unsalted butter in a large pot over medium heat, then stir in the creamy peanut butter until smooth, about 1-2 minutes. The mixture should look glossy and fully combined.
- Add the mini marshmallows and stir continuously until completely melted, about 2-3 minutes. Keep the heat at medium so the caramel color stays light and uniform.
- Remove from heat and stir in the Rice Krispies cereal and salt until every piece is coated. Stop when the mass looks sticky and evenly speckled, not dry.
- Press the mixture into a parchment-lined 9x13 pan in an even 3/4-inch layer. Use gentle pressure to flatten the top for consistent rectangles.
- Cool completely at room temperature, then freeze for 30 minutes. The slab should feel firm to the touch before cutting.
- Cut the slab into 24 equal rectangles, working quickly to keep edges from warming. Aim for straight cuts so the sandwiches stack cleanly.
- Sandwich a generous slab of slightly softened chocolate or vanilla ice cream between two Rice Krispie rectangles. The ice cream layer should fill the gap without bulging out the sides.
- Drizzle with melted chocolate and freeze at least 1-2 hours before serving. The centers should be scoop-firm and the cereal edges should stay crisp.