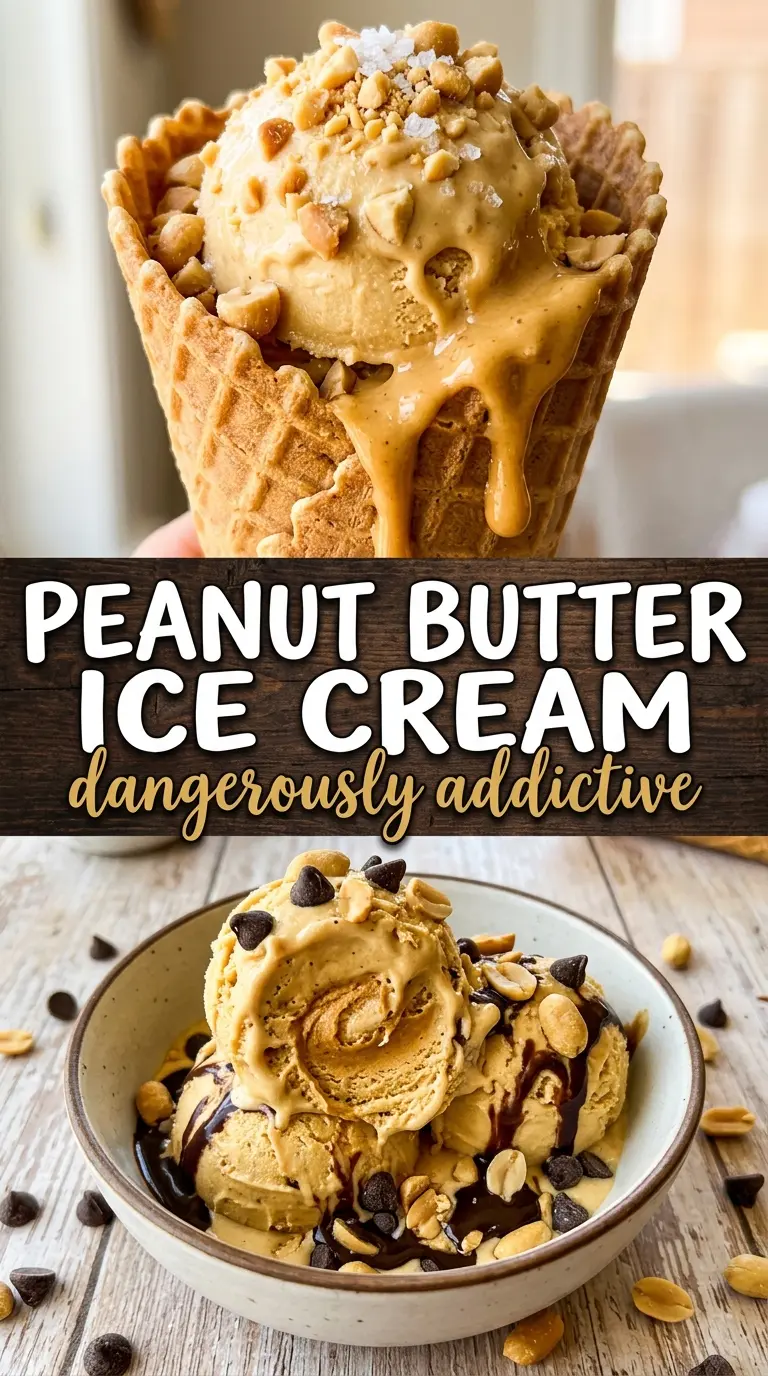
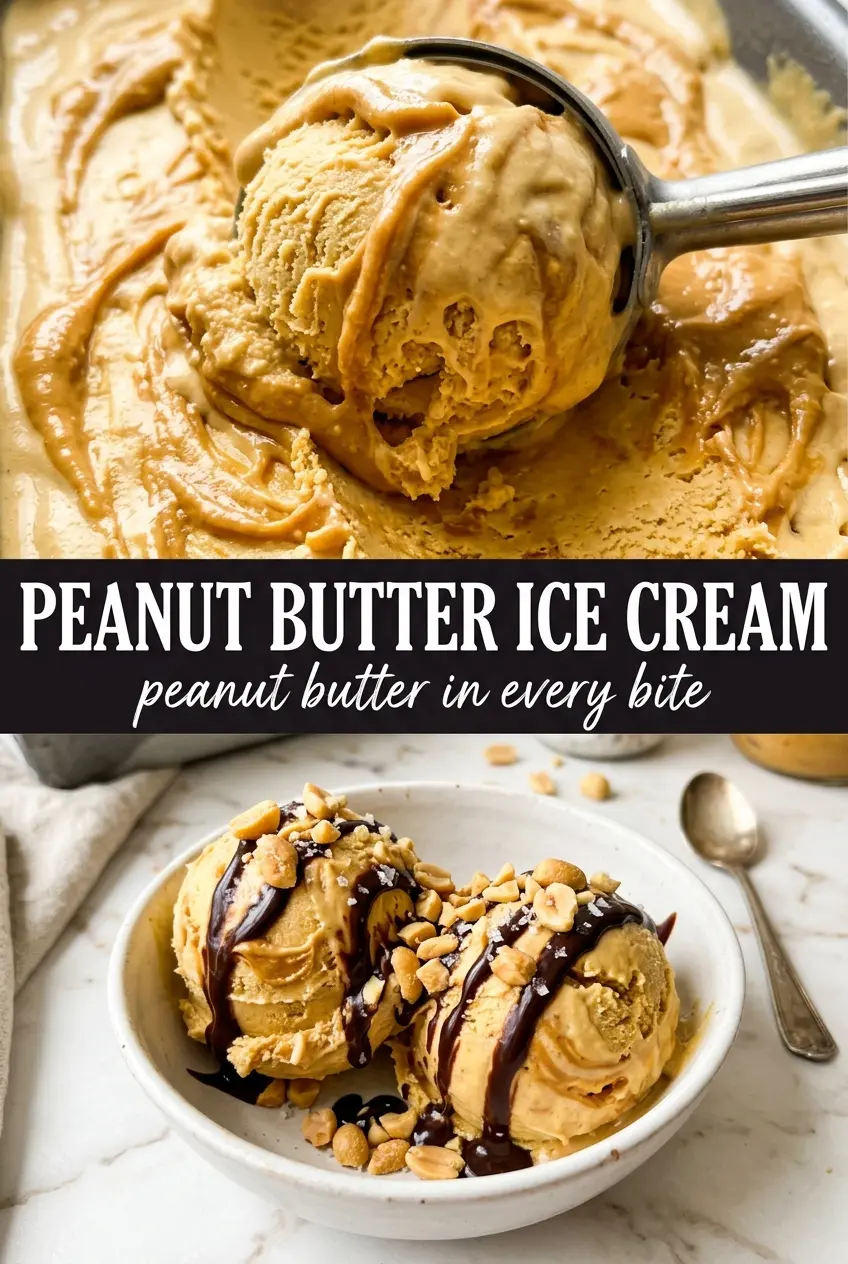
Peanut butter ice cream turns out best when it tastes deep, roasted, and full-bodied, not thin or chalky. This custard base gives you that dense, scoopable texture that holds its shape in the bowl but still melts cleanly on the tongue. The peanut butter doesn’t just flavor the ice cream; it rounds out the custard and gives every bite a soft, almost fudgy richness.
The trick is in the order of operations. Heating the milk and cream first, then tempering the yolks slowly, keeps the custard smooth instead of scrambled. Peanut butter goes in after the custard is cooked, while it’s still hot enough to dissolve completely. That gives you a uniform base with no greasy streaks or stubborn clumps. A final strain helps catch any bits of egg before they ever reach the churn.
Below, you’ll find the small details that matter here: how to keep the custard from curdling, why natural-style peanut butter can change the texture, and what to do if you want a softer-scoop finish straight from the freezer.
The custard came out silky and the peanut butter flavor stayed bold after freezing. I chilled it overnight, churned it the next day, and it scooped like a dream instead of turning icy.
Like this rich peanut butter custard ice cream? Save it to Pinterest for the nights when you want a bold, creamy dessert with real homemade texture.
The Custard Base Is What Gives This Ice Cream Its Scoopable Body
Egg yolks aren’t just there to make this feel fancy. They keep the ice cream rich and stable, which matters because peanut butter adds weight and can make a lighter base taste flat. A custard also freezes with a smoother, less icy texture than a simple cream-and-sugar mixture, especially after a night in the freezer.
The biggest mistake here is cooking the base too fast. If the heat climbs too high, the yolks seize and you end up with a grainy base that can’t be fixed later. Keep the pot on medium-low once the yolks are tempered, and stir constantly, scraping the bottom and corners so nothing catches.
- Egg yolks — These thicken the base and give you that dense, creamy body. There isn’t a true substitute if you want classic custard texture, but the closest lower-fuss swap is a cornstarch-thickened base, which will be lighter and a little less rich.
- Cream and whole milk — The cream carries flavor and softness, while the milk keeps the ice cream from turning greasy or too heavy. Use both as written; replacing too much milk with cream makes the texture feel waxy once frozen.
- Creamy peanut butter — Use a shelf-stable creamy peanut butter for the smoothest result. Natural peanut butter can work if it’s fully stirred and not overly oily, but the texture can separate slightly and freeze less evenly.
- Vanilla and salt — These don’t make the ice cream taste like vanilla or salty peanuts; they sharpen the peanut flavor so it reads deeper and more rounded.
What Each Ingredient Is Actually Doing in This Ice Cream
- Base ingredient (cream, milk, or custard) — This provides the foundation and richness. Quality matters.
- Sweetener (sugar, honey, or condensed milk) — This sweetens and prevents ice crystals. The ratio is critical.
- Flavor element (vanilla, fruit, chocolate, cookie, or other) — This defines the ice cream personality. Use quality ingredients.
- Egg yolks (if making custard base) — These create richness and silky texture. Optional but elevates ice cream.
- Churning (if using ice cream maker) — This incorporates air and prevents ice crystals. Critical for smooth texture.
- Freezing temperature and time — Proper freezing prevents rock-hard texture. Store at 0°F or below.
- Mix-ins (chocolate, cookies, candy, or swirls) — These add texture and prevent one-dimensional flavor. Add near end of churning.
- Serving temperature (slightly soft, not rock hard) — This provides creamy mouthfeel. Remove from freezer 5 minutes before serving.
How to Keep the Peanut Butter Smooth from Stove to Freezer
Tempering the Yolks Without Scrambling Them
Whisk the sugar and yolks until they look pale and thick, then stream in the hot dairy slowly while whisking constantly. That gradual heat shift protects the yolks from turning into tiny cooked bits. If you dump the dairy in all at once, the outer edges of the yolks will set before they can blend.
Cooking the Custard to the Right Point
Return the mixture to the saucepan and cook over medium-low heat until it reaches 175F. At that point, it should coat the back of a spoon and leave a clear line when you run your finger through it. If it goes much past that, the eggs can curdle and the finished ice cream will feel chalky instead of velvety.
Whisking in the Peanut Butter While It’s Still Warm
Take the pan off the heat before adding the peanut butter, then whisk until the base is completely smooth. Warm custard helps the peanut butter dissolve evenly; if the base has already cooled too much, you can end up with little streaks or soft blobs that never fully disappear. Strain it after that, even if it looks smooth, because the sieve catches any tiny cooked egg bits you don’t want in the churn.
Chilling Before Churning
Cool the custard over an ice bath, then refrigerate it for at least 4 hours or overnight. A cold base churns faster, which means smaller ice crystals and a smoother finish. If you rush this step and pour in a warm base, the machine has to work too hard and the ice cream often turns loose, soft, and icy at the same time.
Crunchy Peanut Butter Version
Swap in crunchy peanut butter if you want little peanut pieces scattered through the ice cream. The base still churns fine, but the finished texture is a touch less silky and more homemade in the best way.
Dairy-Free Peanut Butter Ice Cream
Use full-fat canned coconut milk in place of the cream and milk, then keep the rest the same. The result is a little more coconut-forward and less custardy, but it still churns into a rich, scoopable dessert.
Extra-Salty Peanut Butter Flavor
Add a small pinch more salt after the custard cools if you want the peanut flavor to taste louder and a little more grown-up. This works especially well if you plan to top it with chocolate sauce or chopped peanuts.
Storage and Reheating
- Refrigerator: Keep the churned base before freezing for up to 2 days. After churning, store the finished ice cream in an airtight container with parchment pressed on the surface for the best texture.
- Freezer: It freezes well for about 2 weeks before the texture starts to drift. After that, it can pick up ice crystals at the edges, especially if the container gets opened often.
- Reheating: Not needed, but let it sit at room temperature for 5 to 10 minutes before scooping. If it feels rock-hard, don’t microwave it; that softens the edges unevenly and ruins the clean, creamy texture.
Questions I Get Asked About This Recipe
Peanut Butter Ice Cream
Ingredients
Equipment
Method
- In a saucepan, heat the heavy cream and whole milk over medium heat until steaming. Keep it just hot enough to steam, not boiling, so the mixture stays smooth.
- In a bowl, whisk the egg yolks with the granulated sugar until thick and pale. Slowly drizzle in the steaming cream mixture while whisking constantly to prevent scrambling (visual cue: silky, uniform custard base).
- Return the mixture to the saucepan and cook over medium-low heat, stirring constantly, until it reaches 175F. Watch for the custard to coat a spoon (visual cue: a clear line stays when you run a finger through).
- Remove the saucepan from the heat and whisk in the creamy peanut butter until completely smooth. The custard should look glossy and evenly colored (visual cue: no peanut streaks).
- Strain the custard through a fine mesh sieve into a clean bowl. This removes any tiny bits and keeps the texture silky (visual cue: very smooth flow).
- Whisk in the vanilla extract and salt, then cool the custard over an ice bath until room temperature. Stir occasionally while it cools (visual cue: bowl feels cool and the custard thickens slightly).
- Cover and refrigerate until cold, at least 4 hours or overnight. Chilling firms the base so it churns properly (visual cue: fully chilled, not sloshy).
- Churn the chilled custard in an ice cream maker according to the manufacturer’s instructions. Stop when it reaches a soft-serve consistency (visual cue: thick, aerated, lighter texture).
- Transfer to a freezer-safe container and freeze until firm. Freeze until scoopable, about a few hours, depending on your freezer (visual cue: holds shape when you open the container).