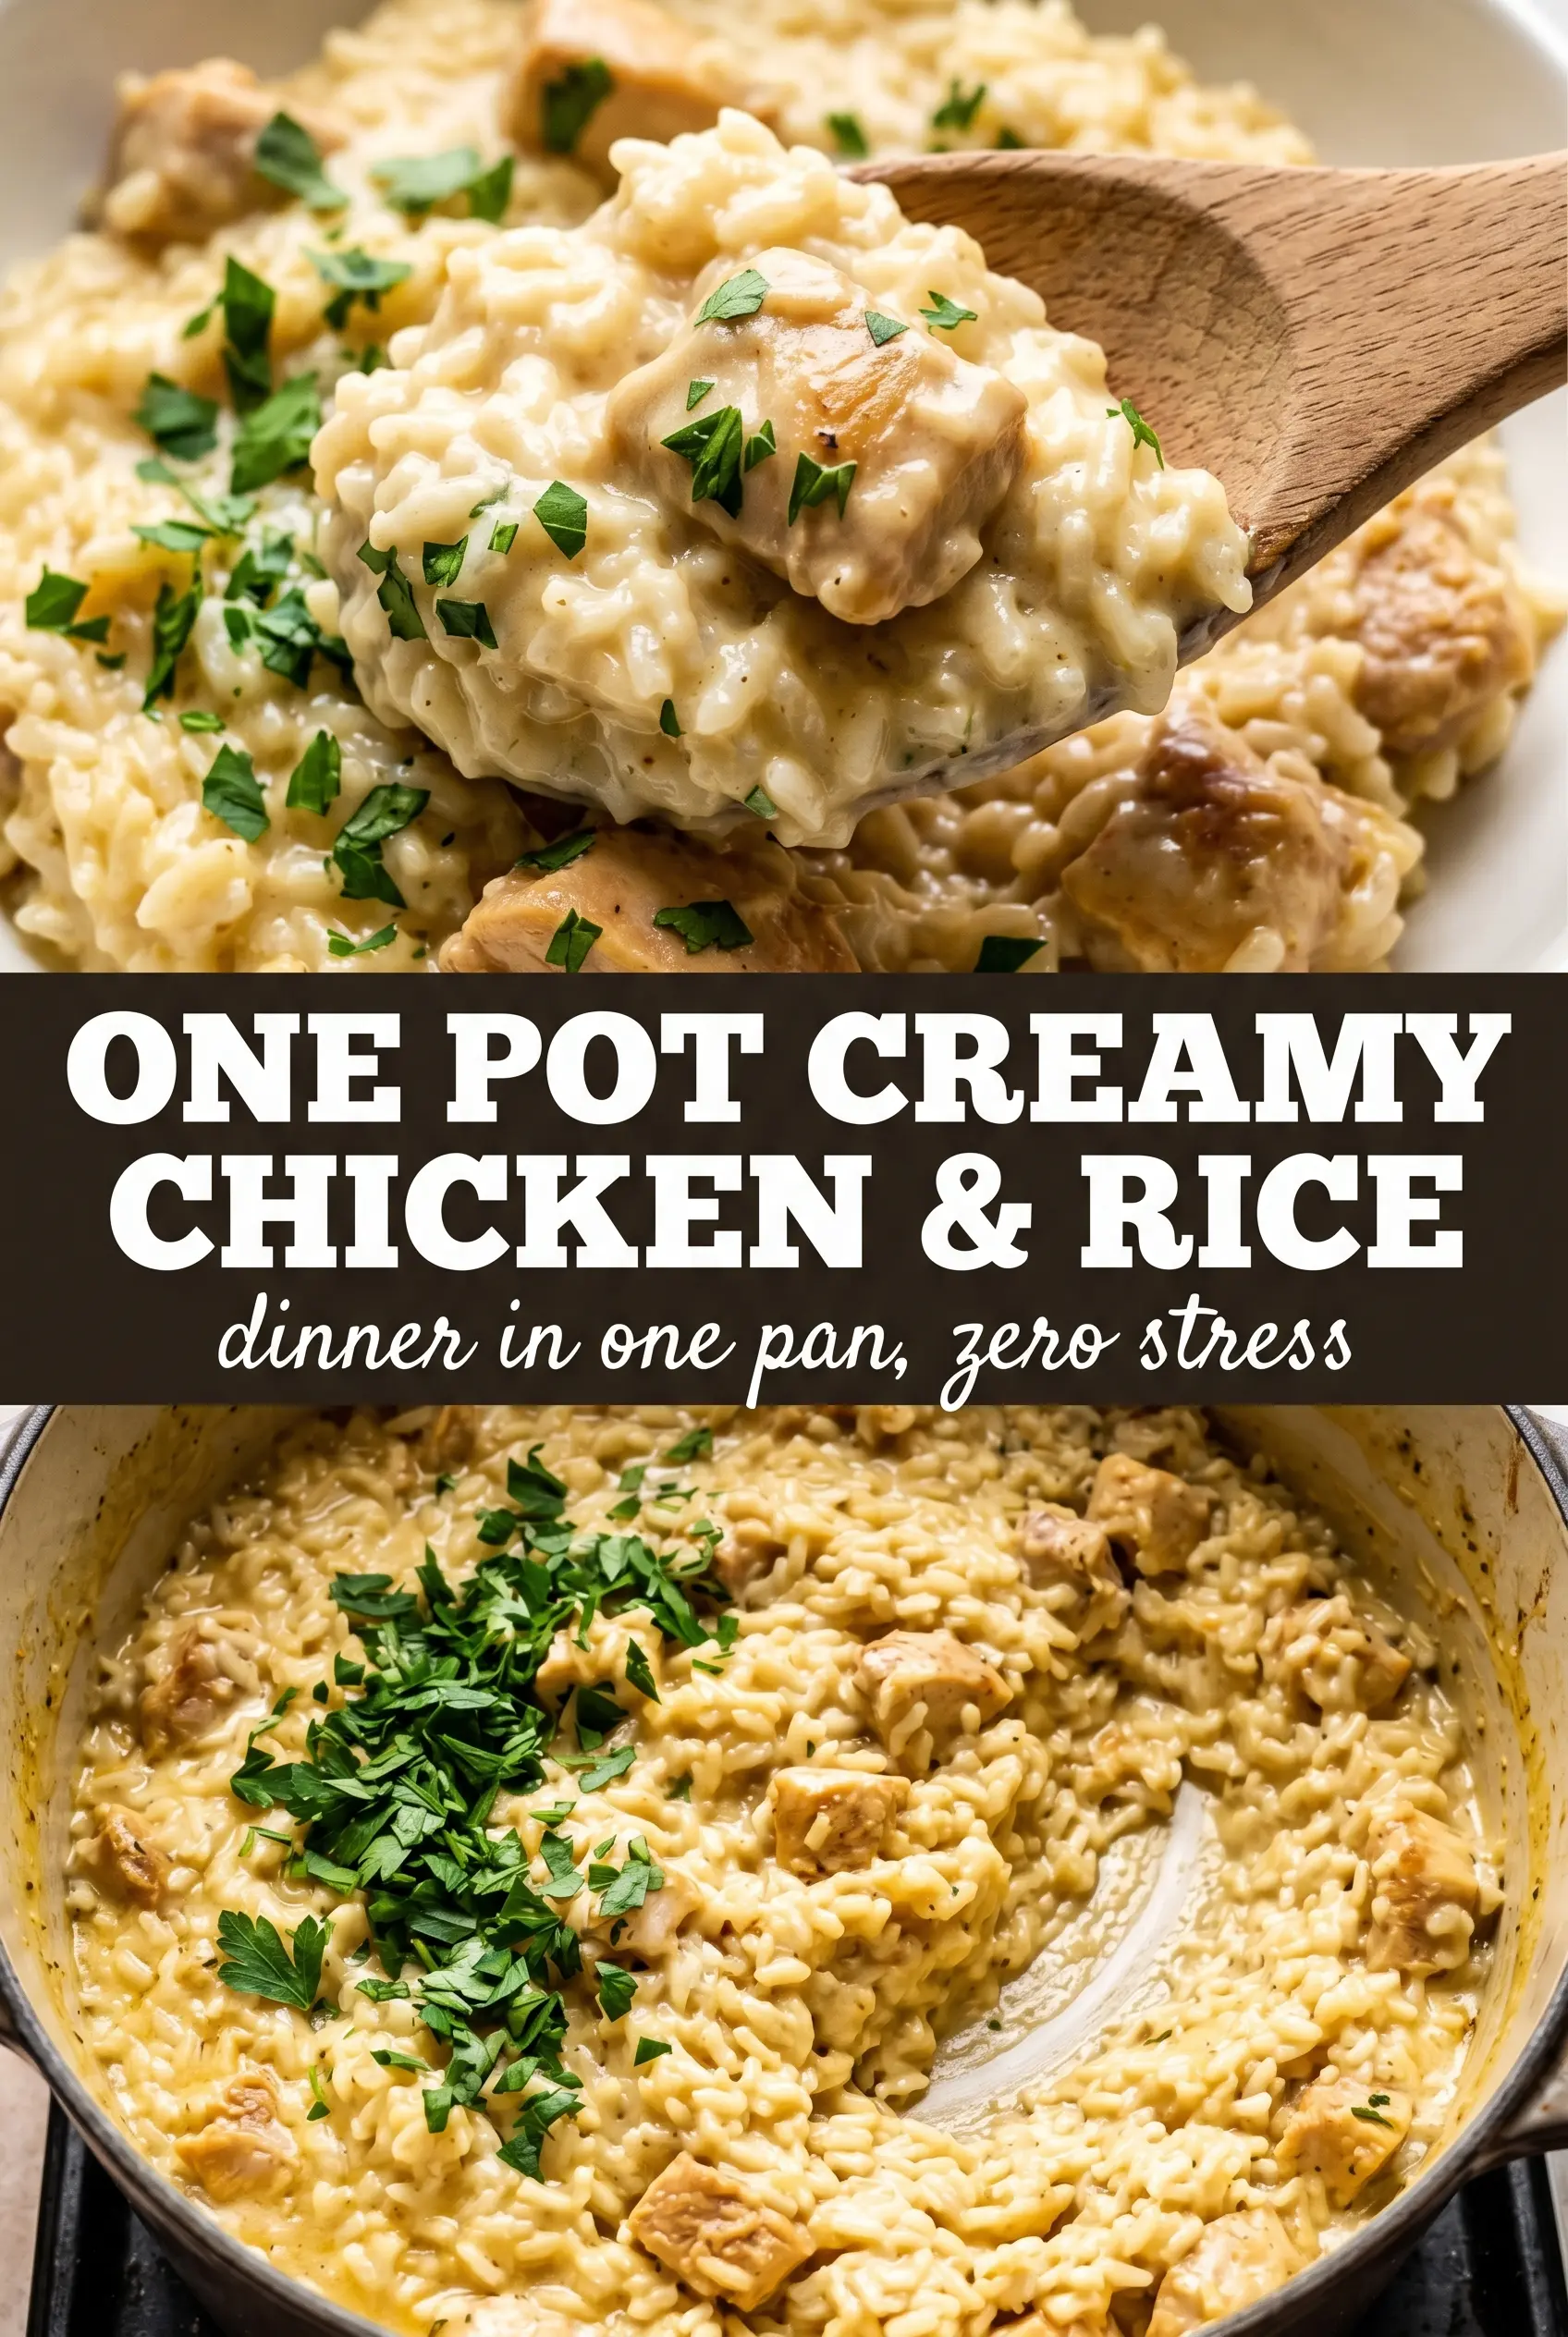
Golden chicken thighs tucked over creamy rice make the kind of one-pot dinner that disappears fast and leaves the pot scraped clean. The rice turns glossy and rich as it cooks in the chicken drippings, broth, cream, and Parmesan, while the thighs stay juicy with crisped skin on top. You get comfort-food texture in every bite without juggling a saucepan on the side.
The part that makes this version work is the order. First the chicken gets a hard sear so the skin has a head start on flavor and texture, then the onion and garlic pick up everything left in the pot. The rice toasts for a minute or two before the liquid goes in, which keeps it from turning mushy and gives the finished dish a little more depth.
Below, I’ve included the small details that matter here: how to keep the rice creamy instead of soupy, why the chicken goes back in skin-side up, and a few swaps that still keep the dish weeknight-friendly.
The rice came out creamy instead of gluey, and the chicken skin stayed crisp even after it finished in the pot. I followed the rest time too, and the texture was spot on.
Save this creamy chicken and rice for the night you want crisp chicken, silky rice, and one pan to wash.
The Chicken Sear Is What Keeps This Dish From Turning Flat
The biggest mistake in creamy chicken and rice is rushing the chicken and thinking the sauce will carry everything. It won’t. The sear builds the browned bits that flavor the rice, and it also gives the skin a chance to stay distinct instead of softening into the sauce. If the chicken goes in pale, the whole pot tastes one-note.
Use medium-high heat for the initial sear and leave the thighs alone until the skin releases on its own. If you try to flip too early, you’ll tear the skin and lose that deep color. After the chicken comes out, the pot should still have some brown fond stuck to the bottom; that’s the base of the finished dish.
- Bone-in, skin-on chicken thighs — These give you the richest flavor and stay forgiving during the simmer. Boneless thighs work, but they cook faster and don’t bring the same amount of drippings into the rice.
- Long-grain white rice — This is the right rice for separate, creamy grains. Short-grain rice turns stickier here, and brown rice needs more liquid and a longer cook time than this recipe gives it.
- Parmesan — It adds body and saltiness without making the sauce heavy. Use a finely grated Parmesan so it melts into the liquid; coarse shreds can clump.
- Heavy cream — This is what gives the rice its lush finish. Half-and-half can work in a pinch, but the sauce will be thinner and a little less stable.
What Each Ingredient Is Actually Doing in This Recipe

- Primary ingredient (the star) — Quality matters most. Choose the best you can find.
- Cooking medium (oil, butter, or broth) — This carries flavors and prevents dryness.
- Seasonings (salt, pepper, spices, herbs) — Layer flavors so nothing overpowers. Build depth gradually.
- Aromatics (garlic, onion, herbs) — Cook with fat to bloom flavors. Become the foundation.
- Supporting ingredients — Complement the main ingredient without overpowering it.
- Sauce or liquid (if applicable) — Brings flavors together. Balance richness with acid.
- Acid (lemon, vinegar, wine, or other) — Brightens and prevents flat-tasting results.
- Final finish (garnish, glaze, or sauce) — Prevents one-dimensional taste and adds visual appeal.
How to Keep the Rice Creamy Instead of Mushy
Add the rice after the onion and garlic have softened and let it toast for a minute or two. That quick toast matters more than people think. It coats the grains in fat and helps them hold their shape once the liquid goes in. Skip it, and the rice is more likely to turn soft before the chicken finishes cooking.
When the broth and cream go in, stir just enough to combine and scrape up the bottom of the pot. Once the chicken is nestled back on top, resist the urge to keep stirring. The rice needs a quiet simmer under a tight lid. Too much movement breaks the grains and turns the bottom layer pasty.
Building the Flavor Base
Cook the onion until it turns translucent and starts to smell sweet, then stir in the garlic for just a minute. Garlic burns fast, especially after a hot chicken sear, so keep it moving. If it darkens too much, the whole pot will taste bitter. The goal is fragrant, not browned.
Toasting the Rice
Add the uncooked rice and stir it around the pot until the grains look glossy. You’re not trying to color them deeply, only to give them a little coating of fat before the liquid hits. This short step helps the finished rice stay fluffy at the edges while the center turns creamy.
Simmering Under the Lid
Once the chicken goes back in skin-side up, bring the pot just to a simmer and lower the heat. A hard boil will rough up the rice and can make the cream separate. Keep the lid on tightly so the steam stays in the pot; if your lid is loose, trap moisture with a layer of foil underneath it.
The Rest That Pulls It Together
After the rice is tender and the chicken reaches 165°F, let the pot sit covered for five minutes. That pause lets the grains finish absorbing the last bit of liquid, which is why the rice looks calmer and creamier when you fluff it. Skip the rest and the dish can look loose for a minute, then tighten up unevenly on the plate.
How to Adapt This for a Different Pantry or Diet
Make It Dairy-Free
Swap the heavy cream for full-fat canned coconut milk and leave out the Parmesan. The result is still creamy, but it tastes a little softer and less savory, so add an extra pinch of salt and a little more thyme to keep the flavor balanced.
Use Boneless Chicken Thighs or Breasts
Boneless thighs work well and cook faster, usually a few minutes less in the covered simmer. Chicken breasts are leaner and can dry out if they overcook, so cut the simmer time back and check them early with a thermometer.
Make It Gluten-Free
The base recipe is naturally gluten-free as long as your chicken broth and Parmesan are certified gluten-free. That’s the part people miss most often, so check the label on the broth before you start.
Stretch It for More People
You can increase the rice and liquid together if you need a bigger batch, but keep the rice-to-liquid balance close to the original ratio. Adding more rice without enough broth leaves the center undercooked while the top seems done.
Storage and Reheating
- Refrigerator: Store leftovers in an airtight container for up to 4 days. The rice will tighten as it chills, which is normal.
- Freezer: It freezes well, though the rice softens a bit after thawing. Portion it into containers and freeze for up to 2 months for the best texture.
- Reheating: Reheat gently on the stove or in the microwave with a splash of broth or water to loosen the rice. High heat dries out the chicken and turns the rice gummy before the center warms through.
Questions I Get Asked About This Recipe
One Pot Creamy Chicken and Rice
Ingredients
Equipment
Method
- Season the chicken thighs all over with salt, pepper, garlic powder, smoked paprika, and Italian seasoning to taste.
- Heat the olive oil in a Dutch oven over medium-high heat and sear the chicken skin-side down for 7-8 minutes until deeply golden.
- Flip the chicken and sear for 3 minutes, then remove from the pot.
- Cook the diced onion in the same Dutch oven for 3 minutes until softened.
- Add the minced garlic and cook for 1 minute, stirring, until fragrant.
- Stir in the uncooked long-grain white rice and toast for 2 minutes.
- Pour in the chicken broth and heavy cream, then stir in the Parmesan cheese and dried thyme.
- Bring the mixture to a simmer.
- Nestle the chicken thighs skin-side up into the rice.
- Cover tightly and cook over low heat for 22-25 minutes until the rice is cooked and the chicken reaches 165°F.
- Rest the pot covered for 5 minutes, then fluff the rice gently.
- Garnish with fresh parsley and serve.