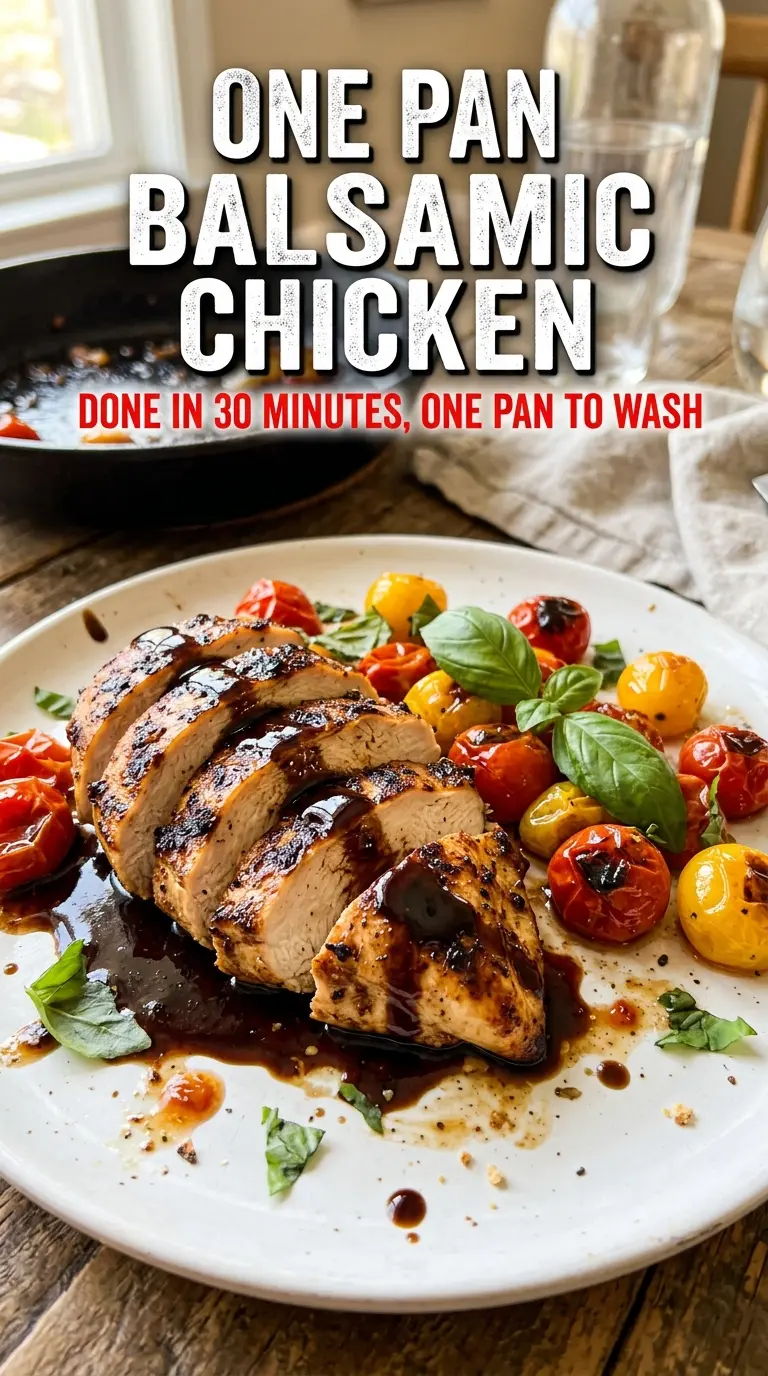
Golden chicken thighs with a sticky balsamic glaze and burst cherry tomatoes earn a permanent place in the dinner rotation because they hit that sweet spot between simple and special. The chicken turns crisp on the outside, juicy underneath, and the sauce cooks down into a glossy pan glaze that coats everything without feeling heavy.
What makes this version work is the order. The thighs get a hard sear first, which gives you the skin and browned bits that build the sauce later. Then the balsamic, honey, and broth reduce together in the same skillet, so the pan does double duty and the flavor stays concentrated instead of thin and sharp.
Below, I’ve included the small details that matter most: how long to leave the chicken alone for a proper crust, what to watch for when the glaze starts tightening up, and a few smart swaps if you want to change the sweetness or make it dairy-free.
The skin stayed crisp even after the balsamic glaze went in, and the tomatoes broke down into the sauce just enough without turning mushy. I served it with mashed potatoes and the pan was practically wiped clean.
Save this one pan balsamic chicken for nights when you want crisp chicken thighs, glossy glaze, and barely any cleanup.
The Sear Is Doing More Than Browning the Chicken
The biggest mistake with skillet chicken is rushing past the skin. If you move the thighs too soon, the skin sticks, steams, and turns rubbery instead of crisp. A proper 7 to 8 minute sear skin-side down gives you rendered fat, a deep golden crust, and the browned residue in the pan that becomes the base of the sauce.
The other part that matters is heat control once the liquid goes in. Balsamic vinegar needs time to reduce, not a furious boil that evaporates the liquid before the chicken finishes cooking. Keeping the chicken skin-side up during the final simmer protects that crust while the sauce tightens around the tomatoes and garlic.
What Each Ingredient Is Actually Doing in This Skillet
- Chicken thighs — Bone-in, skin-on thighs stay juicy through the simmer and give you enough fat to build flavor in the skillet. Boneless thighs work in a pinch, but you lose the crisp skin and need less simmer time so they don’t dry out.
- Balsamic vinegar — This is the backbone of the glaze. Use a balsamic you’d actually taste on food, not the harshest bottle on the shelf, because the sauce reduces and its sharp edges concentrate fast.
- Honey — It softens the vinegar and helps the glaze cling to the chicken. If you cut it too far, the sauce can taste thin and tart instead of rounded.
- Cherry tomatoes — They burst into the pan and give you little pockets of sweetness that balance the glaze. If yours are large, halve them first so they soften in time with the chicken.
- Butter — Stirred in at the end, it smooths the glaze and gives the sauce a satin finish. Add it after the pan comes off a hard boil so it melts in instead of separating.
- Fresh basil — It goes on last for a clean, herbal finish that keeps the skillet from tasting one-note. Dried basil won’t give the same lift here.
Building the Glaze Without Losing the Crisp Skin
Season and Sear with Patience
Season the chicken generously on both sides, then lay the thighs skin-side down in hot olive oil and leave them alone. You want an even, deep golden crust that releases on its own; if it clings to the pan, it needs another minute. The goal here is not full doneness. It’s color, rendered fat, and flavor.
Blister the Tomatoes Before the Liquid Goes In
Once the chicken comes out, the garlic and cherry tomatoes go into the same skillet for just a couple of minutes. The tomatoes should start to split and wrinkle at the edges, and the garlic should smell sweet, not dark or bitter. If the garlic browns too fast, the pan was too hot, so pull it back before adding the balsamic.
Reduce Until the Spoon Leaves a Trail
Pour in the balsamic vinegar, honey, and broth, then scrape up every browned bit from the pan. Those bits dissolve into the sauce and give it depth. Return the chicken skin-side up and simmer until the sauce looks glossy and lightly syrupy, not watery, and the chicken reaches 165°F in the thickest part.
Finish Off the Heat
Butter goes in at the end for shine and body. Stir until it disappears into the glaze, then shower the basil over the top just before serving. If you add the basil too early, it turns dark and loses the fresh note that makes the dish taste finished.
Three Smart Ways to Adjust This Chicken
Dairy-Free Version
Skip the butter and finish the sauce with a small splash of olive oil instead. You’ll lose a little of the round, glossy richness, but the glaze still thickens well and stays bright. This is the cleanest swap if you need to keep the dish dairy-free.
Lower-Sugar Glaze
Cut the honey down to 1 tablespoon if you want a sharper, more savory sauce. The glaze will be a touch less sticky and the balsamic will read louder, which works well if you’re serving the chicken with rice or potatoes.
Using Boneless Chicken Instead
Boneless, skinless thighs will cook faster and still taste great, but they won’t give you the same crisp pan finish. Start checking them several minutes early and reduce the sauce with the lid off so you don’t overcook the meat while waiting for the glaze to thicken.
Make It Gluten-Free
This recipe is naturally gluten-free as written, as long as your chicken broth is certified gluten-free. That keeps the sauce intact without changing the texture or the final glaze.
Storage and Reheating
- Refrigerator: Store leftovers in an airtight container for up to 3 days. The skin softens, but the flavor gets even deeper after a night in the fridge.
- Freezer: It freezes well, though the tomatoes will soften more after thawing. Freeze the chicken and sauce together for up to 2 months, then thaw overnight in the refrigerator.
- Reheating: Rewarm gently in a covered skillet over low heat with a splash of broth to loosen the sauce. High heat dries out the chicken and can turn the glaze sticky in a bad way before the middle is hot.
Answers to the Questions Worth Asking

One Pan Balsamic Chicken
Ingredients
Equipment
Method
- Season the chicken thighs generously on both sides with salt, pepper, garlic powder, and Italian seasoning.
- Heat the olive oil in a large cast iron skillet over medium-high heat and sear the chicken skin-side down for 7-8 minutes until skin is deeply golden and crispy; flip and sear 3 more minutes; remove.
- Add the whole garlic cloves and cherry tomatoes and cook for 2 minutes until tomatoes begin to blister.
- Pour in the balsamic vinegar, honey, and chicken broth, then stir and bring to a boil while scraping up any browned bits.
- Return the chicken skin-side up and cook over medium heat for 12-15 minutes until chicken reaches 165°F and the balsamic sauce reduces to a thick glaze.
- Stir in the butter until melted, scatter fresh basil over the top, and serve straight from the skillet.