Pale golden vanilla custard ice cream has a way of disappearing faster than almost any other dessert. The texture is what wins people over first: dense, smooth, and spoonable straight from the freezer, with tiny vanilla bean specks running through every scoop. It tastes clean and rich at the same time, not overly sweet, and the egg yolks give it that old-fashioned body you just can’t get from a simple no-cook base.
This version leans on a real custard, which is why it eats like a classic ice cream shop scoop instead of an airy frozen cream. Heating the milk and cream with the vanilla first pulls out more fragrance, then the slow tempering protects the yolks so the base stays silky. Cooking it to the point where it coats the back of a spoon gives you the right thickness for churning without turning the custard into scrambled eggs.
Below, I’m sharing the little details that keep the custard smooth, plus a few variations if you only have extract, want to skip the bean, or need a make-ahead plan for serving it later.
The custard turned out silky and the vanilla bean specks made it taste like the good old scoop shop version. I chilled it overnight and it churned up thick and creamy with no icy bits at all.
Save this old-fashioned vanilla ice cream for the creamiest custard scoops, with real vanilla bean flavor and that classic dense texture.
The Custard Temper That Keeps This Ice Cream Smooth
The part that trips people up is rushing the egg yolks. If the warm cream goes in too fast, the yolks tighten and you get little bits of cooked egg instead of a smooth base. The fix is plain old patience: whisk constantly while you drizzle in the warm dairy, then keep the heat low when the custard goes back on the stove.
What you’re looking for is not a boil, not even a strong simmer. The custard should thicken enough to coat the back of a spoon, and when you drag a finger through it, the line should hold. If it gets too hot, it can curdle in seconds; pull it off the heat the moment it reaches about 175°F.
What Each Ingredient Is Actually Doing in the Bowl
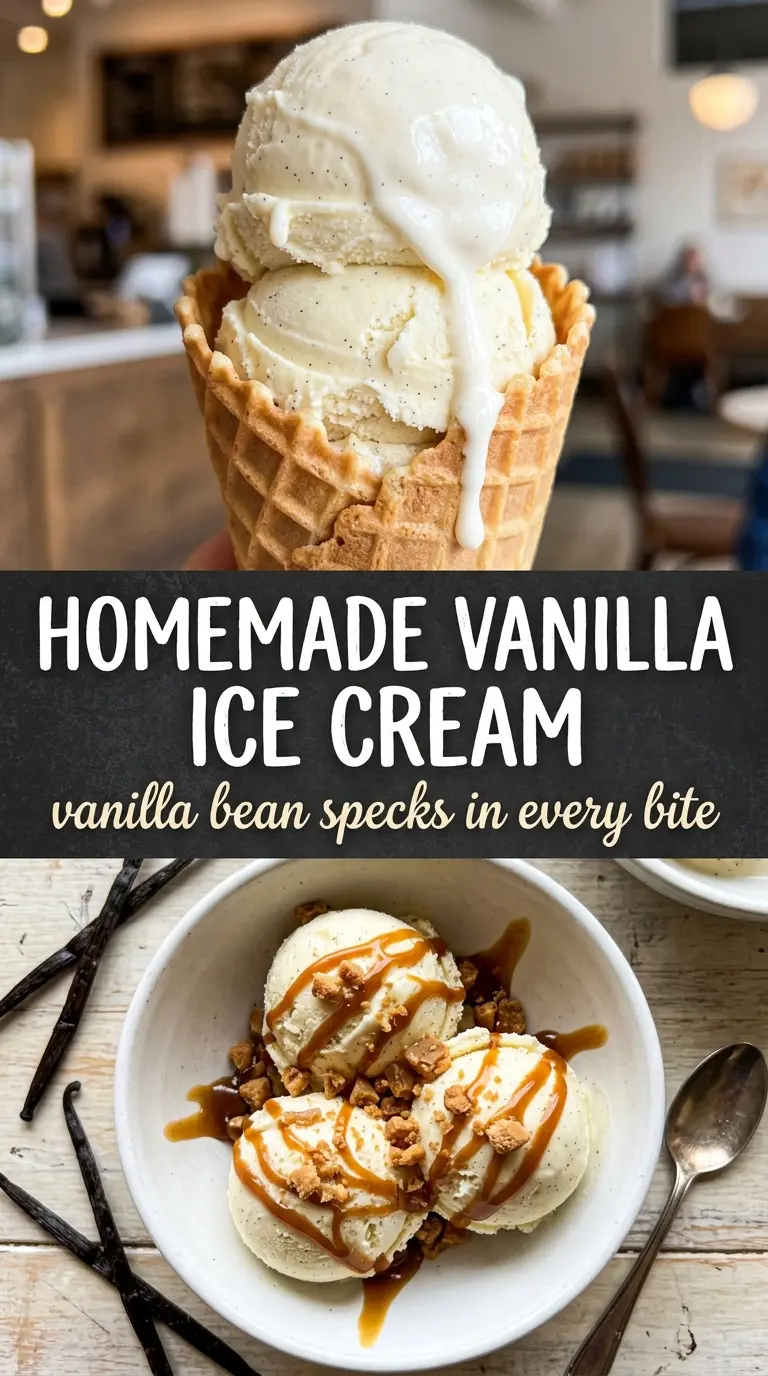
- Heavy cream — This is where the rich, plush texture comes from. A lower-fat cream won’t churn into the same dense finish, and the ice cream will taste thinner and freeze harder.
- Whole milk — It lightens the base just enough so the custard doesn’t turn greasy. You can swap in half-and-half in a pinch, but the result will be heavier and less clean-tasting.
- Egg yolks — These thicken the custard and give the ice cream its old-fashioned body. They also help it stay scoopable after freezing, which is the big difference between custard ice cream and a simpler base.
- Vanilla bean or extract — A bean gives the deepest aroma and those visible specks people love. If you use extract instead, stir it in after the custard comes off the heat so the flavor stays bright instead of cooking off.
- Sugar — It’s not just for sweetness. Sugar lowers the freezing point, which is part of why homemade ice cream stays smooth instead of icy.
- Salt — Just a small amount sharpens the vanilla and keeps the custard from tasting flat.
Turning the Custard Into Ice Cream Without Icy Edges
Steeping the Vanilla Into the Dairy
Split the vanilla bean, scrape the seeds into the cream and milk, and add the pod too. Heat it until the mixture is steaming and just starting to flirt with a simmer, then pull it off the heat and let it sit for 15 minutes. That steeping time matters because it gives the vanilla a chance to infuse the dairy instead of tasting like a quick mix-in. If you’re using extract, skip the steep and add it later so the flavor stays sharper.
Tempering the Yolks Slowly
Whisk the yolks and sugar until the mixture looks pale and thick, then drizzle in the warm cream in a thin stream while whisking the whole time. If you pour it in all at once, the yolks will scramble in spots and you’ll see little curds later in the custard. Once enough warm dairy is whisked in, the yolks loosen and you can pour everything back into the saucepan without panic.
Cooking to Spoon-Coating Thickness
Cook over medium-low heat and stir constantly, scraping the bottom and corners of the pan. The custard should gradually thicken, and when it’s ready it will coat a spoon and leave a clean trail when you run a finger across it. If you stop too early, the base will churn up thin and icy; if you push it too far, it’ll turn grainy. A thermometer takes the guesswork out, and 175°F is the sweet spot.
Chilling, Churning, and Freezing
Strain the custard through a fine mesh sieve, stir in the salt, and cool it over an ice bath before moving it to the fridge. That strain catches any tiny bits that cooked too fast, and the full chill gives the ice cream maker a head start so the texture turns smooth instead of slushy. Churn it only after it’s fully cold, then freeze until firm. If the base goes into the machine warm, it takes longer to freeze and the finished ice cream gets more air and less richness.
Vanilla Bean vs. Vanilla Extract
Use the bean when you want the deepest flavor and those little specks throughout the custard. Extract works fine, but add it after the custard comes off the heat so the flavor doesn’t soften during cooking. The ice cream will still be good, just a little less fragrant and a little less dramatic in the bowl.
Dairy-Free Version
For a dairy-free custard-style ice cream, use full-fat coconut milk in place of the cream and milk, then expect a light coconut note in the finished flavor. The texture will be rich, but it won’t taste exactly like classic vanilla because coconut fat behaves differently on the palate. Keep the custard technique the same so the yolks still do the thickening.
Strawberry Swirl or Cookie Mix-In
Fold in ribbons of chilled strawberry compote or chopped cookies after churning, right before the final freeze. Adding mix-ins too early can weigh down the machine and make the base churn unevenly. Keep the pieces small so they distribute instead of sinking.
Storage and Reheating
- Refrigerator: The custard base can be held up to 2 days before churning, tightly covered, after it has fully chilled. The ice cream itself should be kept in the freezer, not the fridge, or it’ll melt into a loose custard.
- Freezer: Finished ice cream keeps well for about 2 weeks in an airtight container with parchment pressed onto the surface. After that, it can start to pick up ice crystals and lose some of that fresh vanilla aroma.
- Serving: Let it sit at room temperature for 5 to 10 minutes before scooping. If it’s rock hard, don’t microwave it; that melts the edges and leaves the center frozen solid.
Answers to the Questions Worth Asking
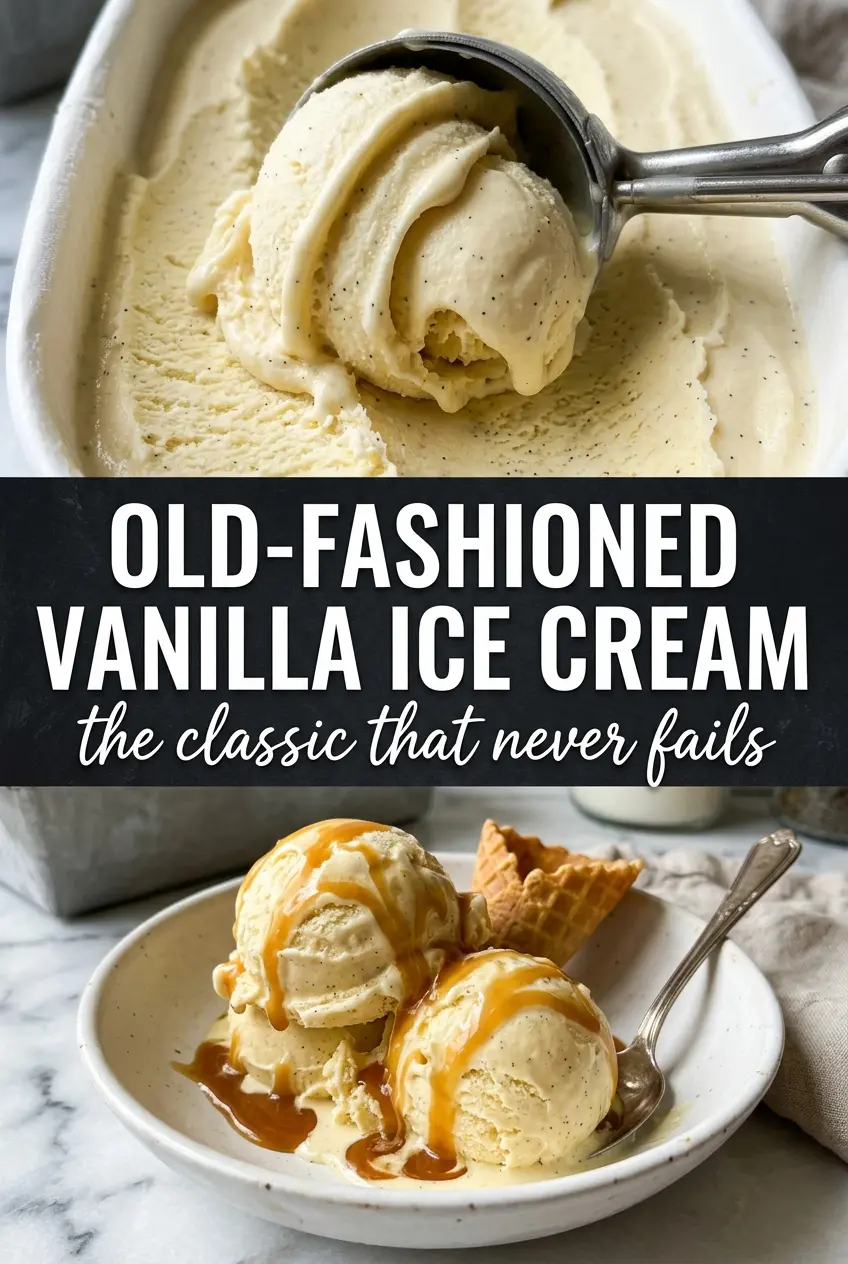
Old-Fashioned Homemade Vanilla Ice Cream
Ingredients
Equipment
Method
- Split the vanilla bean, scrape the seeds, and add the pod and seeds to the heavy cream and milk in a saucepan.
- Heat the cream mixture over medium heat until steaming and just beginning to simmer, then remove from heat and let steep 15 minutes.
- Remove the vanilla pod after steeping and discard the pod.
- Whisk the egg yolks and granulated sugar together until pale and thick.
- Slowly pour the warm cream into the yolks while whisking constantly.
- Return the mixture to the saucepan and cook over medium-low heat, stirring constantly, until the custard thickens to coat the back of a spoon (175°F).
- Strain the custard through a fine mesh sieve.
- Stir in the salt, then cool the custard over an ice bath.
- Refrigerate the custard at least 4 hours or overnight.
- Churn the chilled custard in an ice cream maker, then freeze until firm.