Oatmeal Cream Pie Cake has the same comforting pull as the snack cake people grew up with, only here it shows up as a tall, sliceable layer cake with soft oatmeal spice crumb and a thick marshmallow cream center. The cake stays tender and just a little chewy from the finely blended oats, while the filling brings that sweet, fluffy middle that makes each bite taste familiar fast.
What makes this version work is the balance: brown sugar for depth, buttermilk for lift and tang, and enough oil to keep the layers moist even after chilling. Blending the oats fine matters. It gives you the oatmeal flavor without turning the crumb heavy or gritty, which is where a lot of oat cakes go wrong. The marshmallow filling also gets a little heavy cream so it spreads cleanly instead of dragging the cake apart.
Below you’ll find the trick for getting smooth, even layers, how to keep the filling from squeezing out the sides, and a few smart ways to adapt the cake if you want a different finish or need to make it ahead.
The oat flavor came through without the cake tasting heavy, and the marshmallow filling stayed fluffy enough to spread cleanly. I chilled it for 20 minutes before slicing and the layers held beautifully.
Like this oatmeal cream pie cake? Save it to Pinterest for a nostalgic layer cake with fluffy marshmallow filling and a soft oatmeal crumb.
The Part That Keeps the Layers Soft Instead of Dense
Oatmeal cakes can turn heavy fast if the oats stay too coarse or if the batter gets overmixed once the flour goes in. Blending the oats fine gives you a smoother crumb and helps the dry ingredients hydrate evenly in the oven. That matters here because this cake has enough structure to stack, but it still needs to eat tender enough to feel like a snack cake in layer form.
Buttermilk does more than add tang. It works with the baking soda to give the cake lift and keeps the brown sugar from tasting flat. If your layers bake up sunken in the center, the usual culprit is underbaking or too much batter left in one pan. Divide it evenly and pull the cakes when the center springs back and a toothpick comes out with a few moist crumbs, not wet batter.
What Each Part of the Cake Is Doing
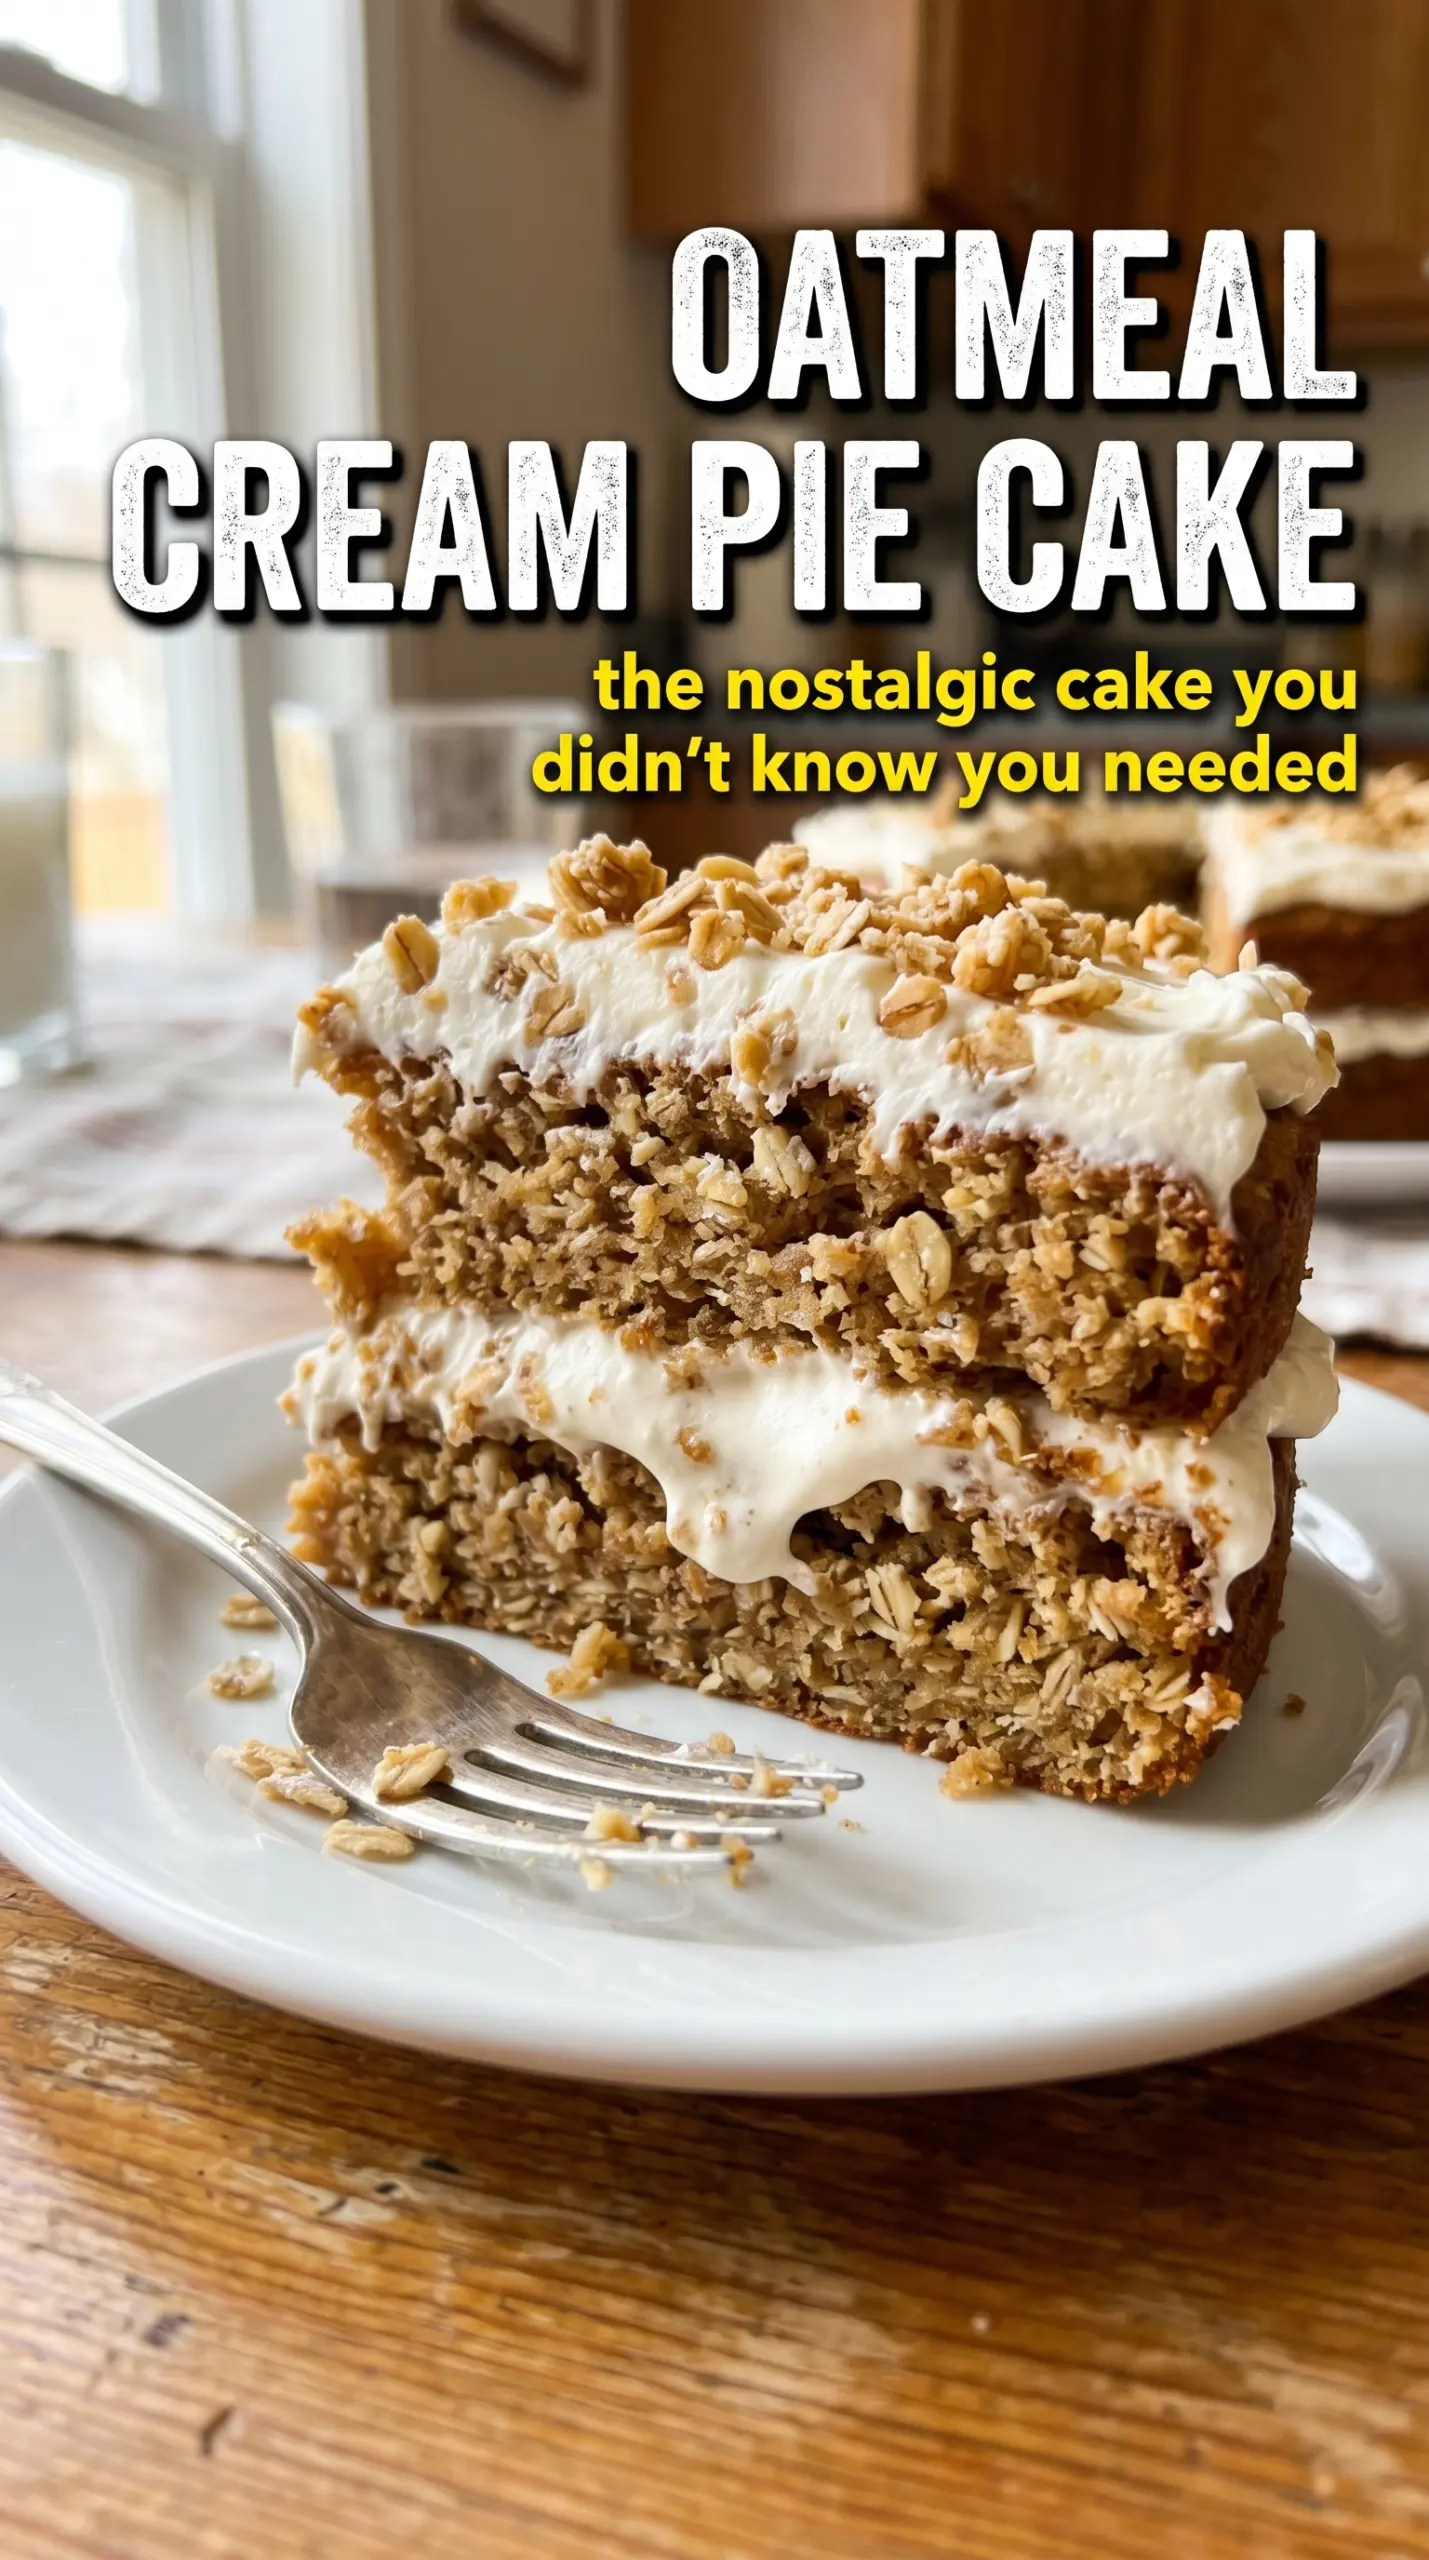
- Rolled oats, blended fine — This is the ingredient that gives the cake its oatmeal cream pie character. Blending them removes the rough, pebbly texture you’d get from whole oats and helps the crumb stay soft enough to slice cleanly.
- Brown sugar — It adds moisture and that caramel note that makes the cake taste deeper than a standard spice cake. Light or dark brown sugar both work; dark brown sugar gives a little more molasses flavor.
- Buttermilk — This keeps the crumb tender and gives the baking soda something to react with. Regular milk won’t give the same soft texture, though you can use milk mixed with a little lemon juice or vinegar in a pinch.
- Marshmallow fluff — This is what makes the filling taste like the center of the snack cake instead of just sweet frosting. There isn’t a true substitute that gives the same airy chew, so if you swap it out, expect a more traditional buttercream texture.
- Heavy cream in the filling — A small amount loosens the frosting just enough to spread without tearing the cake. Add it slowly; too much and the filling gets soft enough to squish out when you stack the layers.
Building the Layers Without Losing the Filling
Mixing the Batter Without Toughening It
Whisk the dry ingredients first so the cinnamon, leaveners, salt, and oat flour are evenly distributed. Once the wet and dry ingredients meet, stir only until you stop seeing streaks of flour. If you beat it hard at this stage, the cake can bake up tight instead of plush, and you’ll lose the soft crumb that makes this dessert work.
Baking for a Flat, Stackable Crumb
Use two 9-inch pans and divide the batter evenly so the layers bake at the same rate. The cakes are done when the tops spring back lightly and the edges start to pull from the pan, even if the center still looks a touch moist. Overbaking dries out the edges fast, which makes the finished cake crumble when you try to frost it.
Whipping the Marshmallow Cream
Beat the butter first until it looks pale and fluffy. That step keeps the filling from tasting greasy. Add the powdered sugar before the marshmallow fluff so the base thickens first, then beat in the fluff and cream until the frosting looks glossy and spreadable. If it seems loose, keep beating for another minute before adding more sugar; most of the time it needs air, not more sweetness.
Assembling for Clean Slices
Let the cake layers cool all the way before you build the cake. Warm cake melts marshmallow filling fast, and once that starts, the filling slides instead of sitting in a neat layer. Spread the filling thickly, but stop just shy of the edge so the top layer has room to settle without pushing everything out the sides. A short chill before slicing makes the whole cake easier to cut and keeps the filling from smearing.
How to Adapt This Cake for Different Pans and Preferences
Gluten-Free Version
Use a good 1:1 gluten-free flour blend in place of the all-purpose flour and check that your oats are certified gluten-free. The cake will still be tender, but it may need a few extra minutes in the oven because gluten-free batters often hold a little more moisture.
Dairy-Free Swap
Use a dairy-free buttermilk substitute made from non-dairy milk plus lemon juice or vinegar, and replace the butter in the filling with a plant-based baking stick. The cake still bakes up soft, but the filling will be a little less rich and more sweet, which is the tradeoff for skipping dairy.
Cupcake Style
Bake the batter in lined muffin tins and fill the centers or split the cupcakes and add filling between the layers. This gives you the same flavor in a simpler format, but you lose the dramatic cream layer and the sliceable, snack-cake look.
Storage and Reheating
- Refrigerator: Store covered for up to 4 days. The filling firms up in the fridge, which actually makes slicing cleaner.
- Freezer: Freeze individual slices wrapped tightly, then tucked into an airtight container for up to 2 months. The texture of the cream stays best when the cake is frozen in slices rather than as a whole assembled cake.
- Reheating: Let chilled slices sit at room temperature for 20 to 30 minutes before serving. Microwaving softens the frosting too much and can make the filling slide.
Answers to the Questions Worth Asking
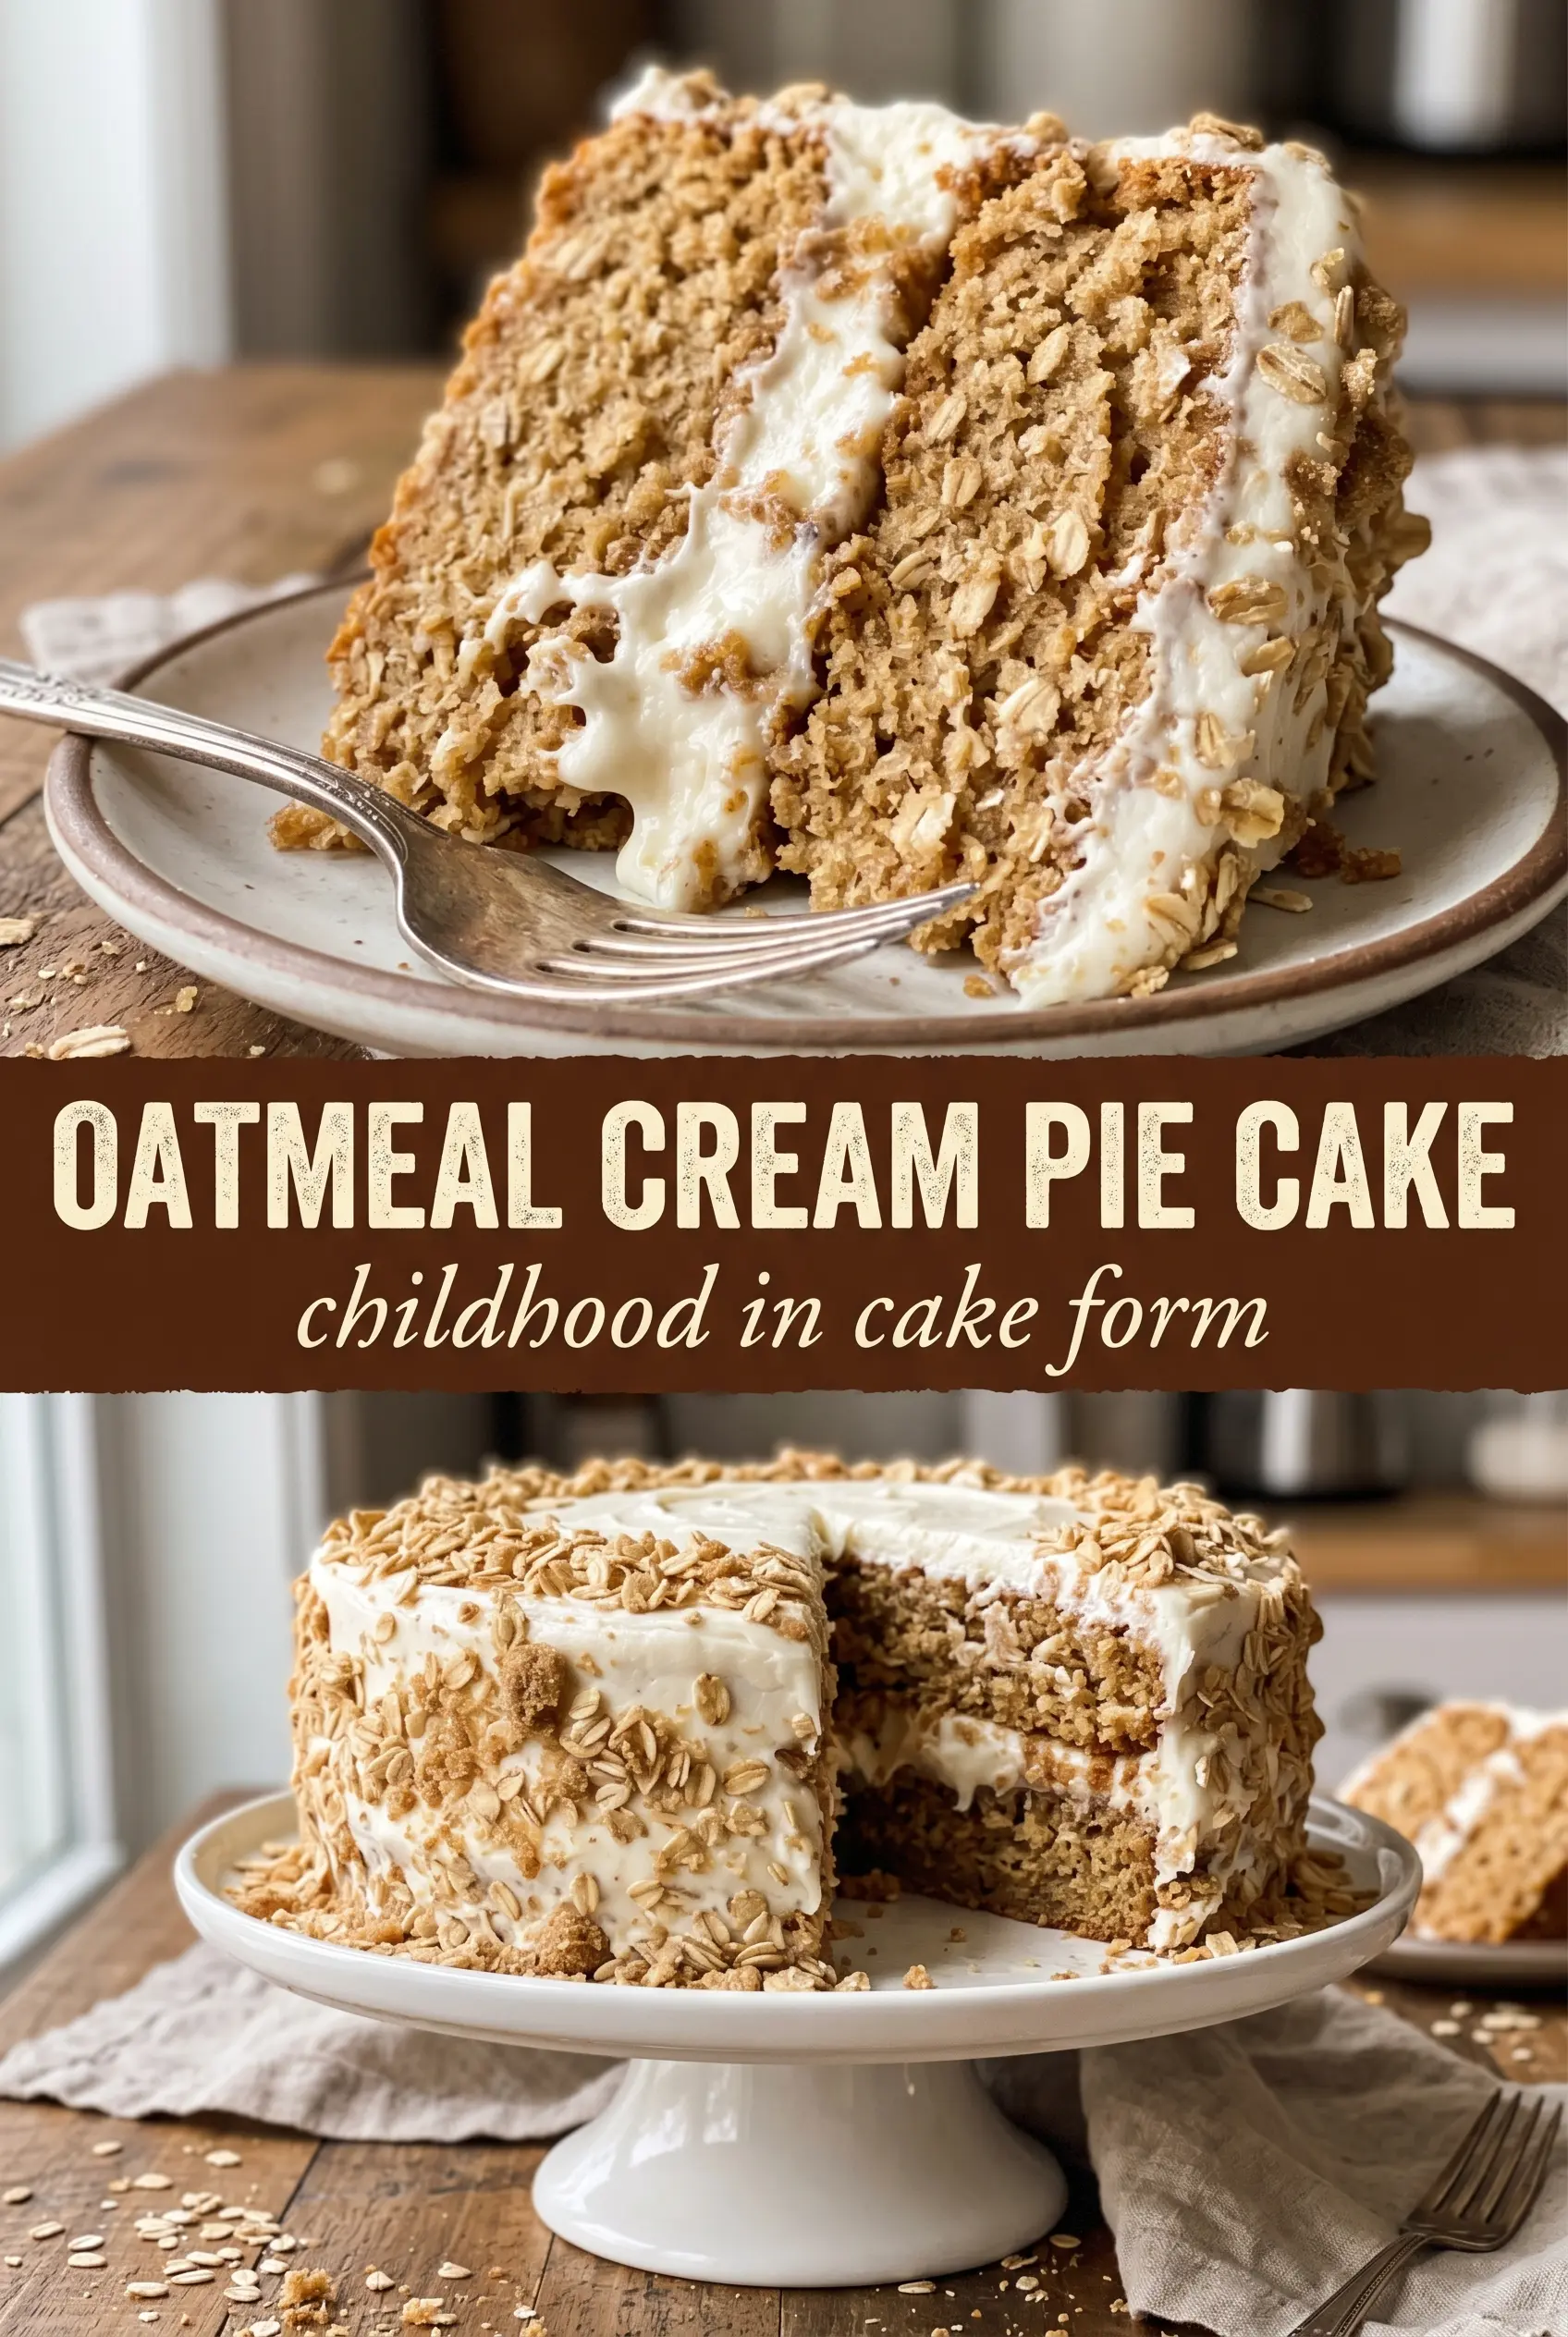
Oatmeal Cream Pie Cake
Ingredients
Equipment
Method
- Preheat the oven to 350°F, then grease two 9-inch round pans. Make sure the pan surfaces are well coated for easy release.
- Whisk together the all-purpose flour, blended fine rolled oats, brown sugar (packed), cinnamon, baking soda, baking powder, and salt in a bowl. Whisk until the dry mixture looks evenly speckled.
- Whisk the eggs, buttermilk, vegetable oil, and vanilla extract in a separate bowl. Stop when the wet ingredients are fully combined.
- Combine the wet ingredients with the dry ingredients and mix until smooth. Scrape the sides as needed so no dry streaks remain.
- Divide the batter between the prepared pans and bake for 28-32 minutes until a toothpick comes out clean. The tops should look set and spring back lightly.
- Cool the cakes completely before filling or frosting. Let them cool on a rack until no warmth remains in the centers.
- Beat the softened butter until fluffy. Beat long enough to lighten the butter’s color and texture.
- Add powdered sugar, marshmallow fluff, vanilla extract, and heavy cream, then beat until smooth and spreadable. The filling should hold shape when lifted with the beater.
- Place one cake layer on a stand and spread the cream filling generously over the top. Add enough to create an even thick layer that can ooze at the edges.
- Place the second layer on top and frost the outside with the remaining cream. Smooth the sides for a clean tall finish.
- Crumb le oatmeal cream pie cookies over the top for garnish. Add them generously so you see a textured oat-cookie layer.
- Dust with powdered sugar and serve. Finish with a light, even snowfall across the top.