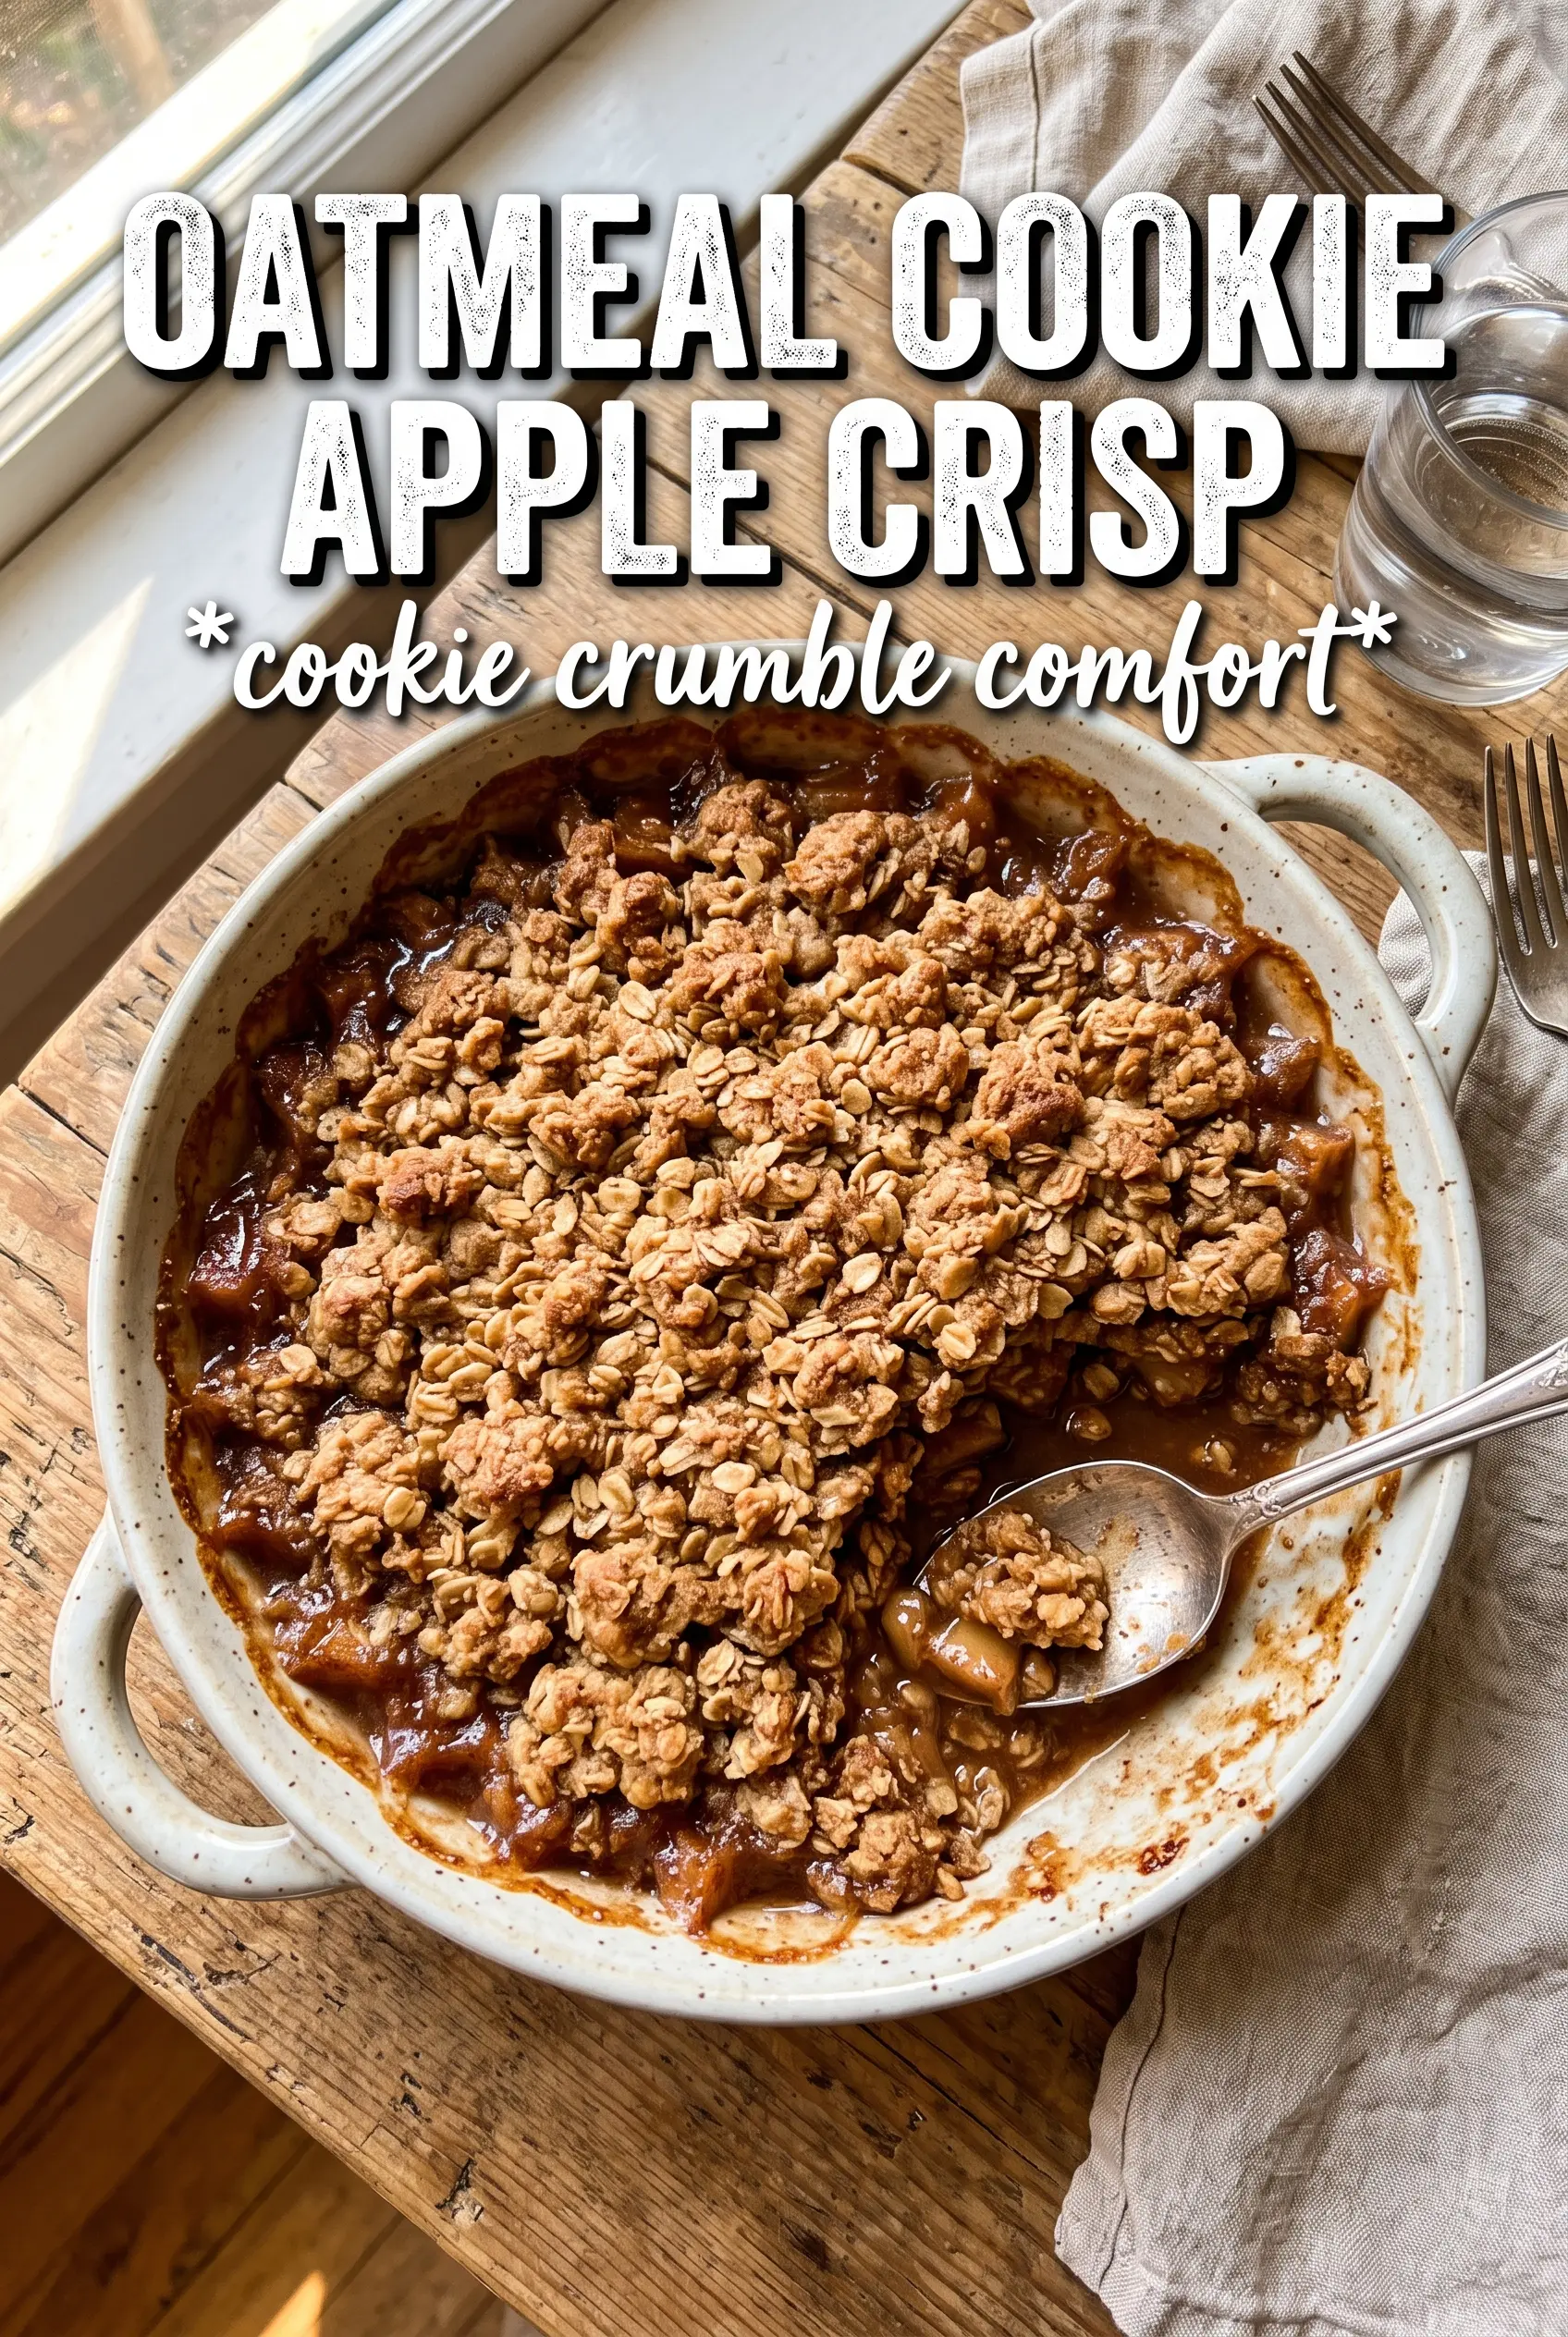
Oatmeal Cookie Apple Crisp bakes up with a thick, golden topping that lands somewhere between a crisp and a soft oatmeal cookie. The edges turn caramelized and lacy, the center stays craggy and buttery, and the apples underneath soften into a cinnamon-scented filling that bubbles up around the corners of the dish. It’s the kind of dessert that disappears fast once it hits the table, especially with a scoop of cold ice cream melting over the top.
What makes this version work is the texture contrast. The apples get a quick toss with cornstarch, which keeps the filling glossy instead of watery, and the crumble uses melted butter plus honey so it clumps into those cookie-like chunks instead of staying sandy. Rolled oats give the topping chew, while a little baking soda nudges it toward that browned, oatmeal-cookie taste.
Below, I’ve added the details that matter most: how to keep the topping crisp, when the filling is actually thick enough, and a few easy ways to adapt it if you need to work with what’s already in your kitchen.
The topping baked up in big cookie-like clumps instead of turning dusty, and the apple filling thickened around the edges just like you said. I served it warm with vanilla ice cream and my husband went back for a second bowl before it even cooled.
Save this oatmeal cookie apple crisp for the nights when you want caramelized apples, a thick cookie-style topping, and barely any cleanup.
The Trick to Keeping the Topping Craggy, Not Sandy
A good apple crisp topping should bake into clusters, not a dry blanket of oats and flour. The mistake most people make is cutting in cold butter the way they would for pie dough. That gives you a crumbly texture that stays loose in the oven. Melted butter changes the structure here. It coats the oats and flour evenly, and when it bakes, those coated bits set into chunky, cookie-like pieces.
The other small detail that matters is the honey. It adds stickiness and encourages those browned edges that make this dessert taste more like oatmeal cookie than plain crumble. If your topping looks a little wet before baking, that’s fine. You want it damp enough to clump when squeezed, because dry topping turns dusty in the oven and never gets that crisp, layered texture.
What Each Ingredient Is Actually Doing in This Apple Crisp
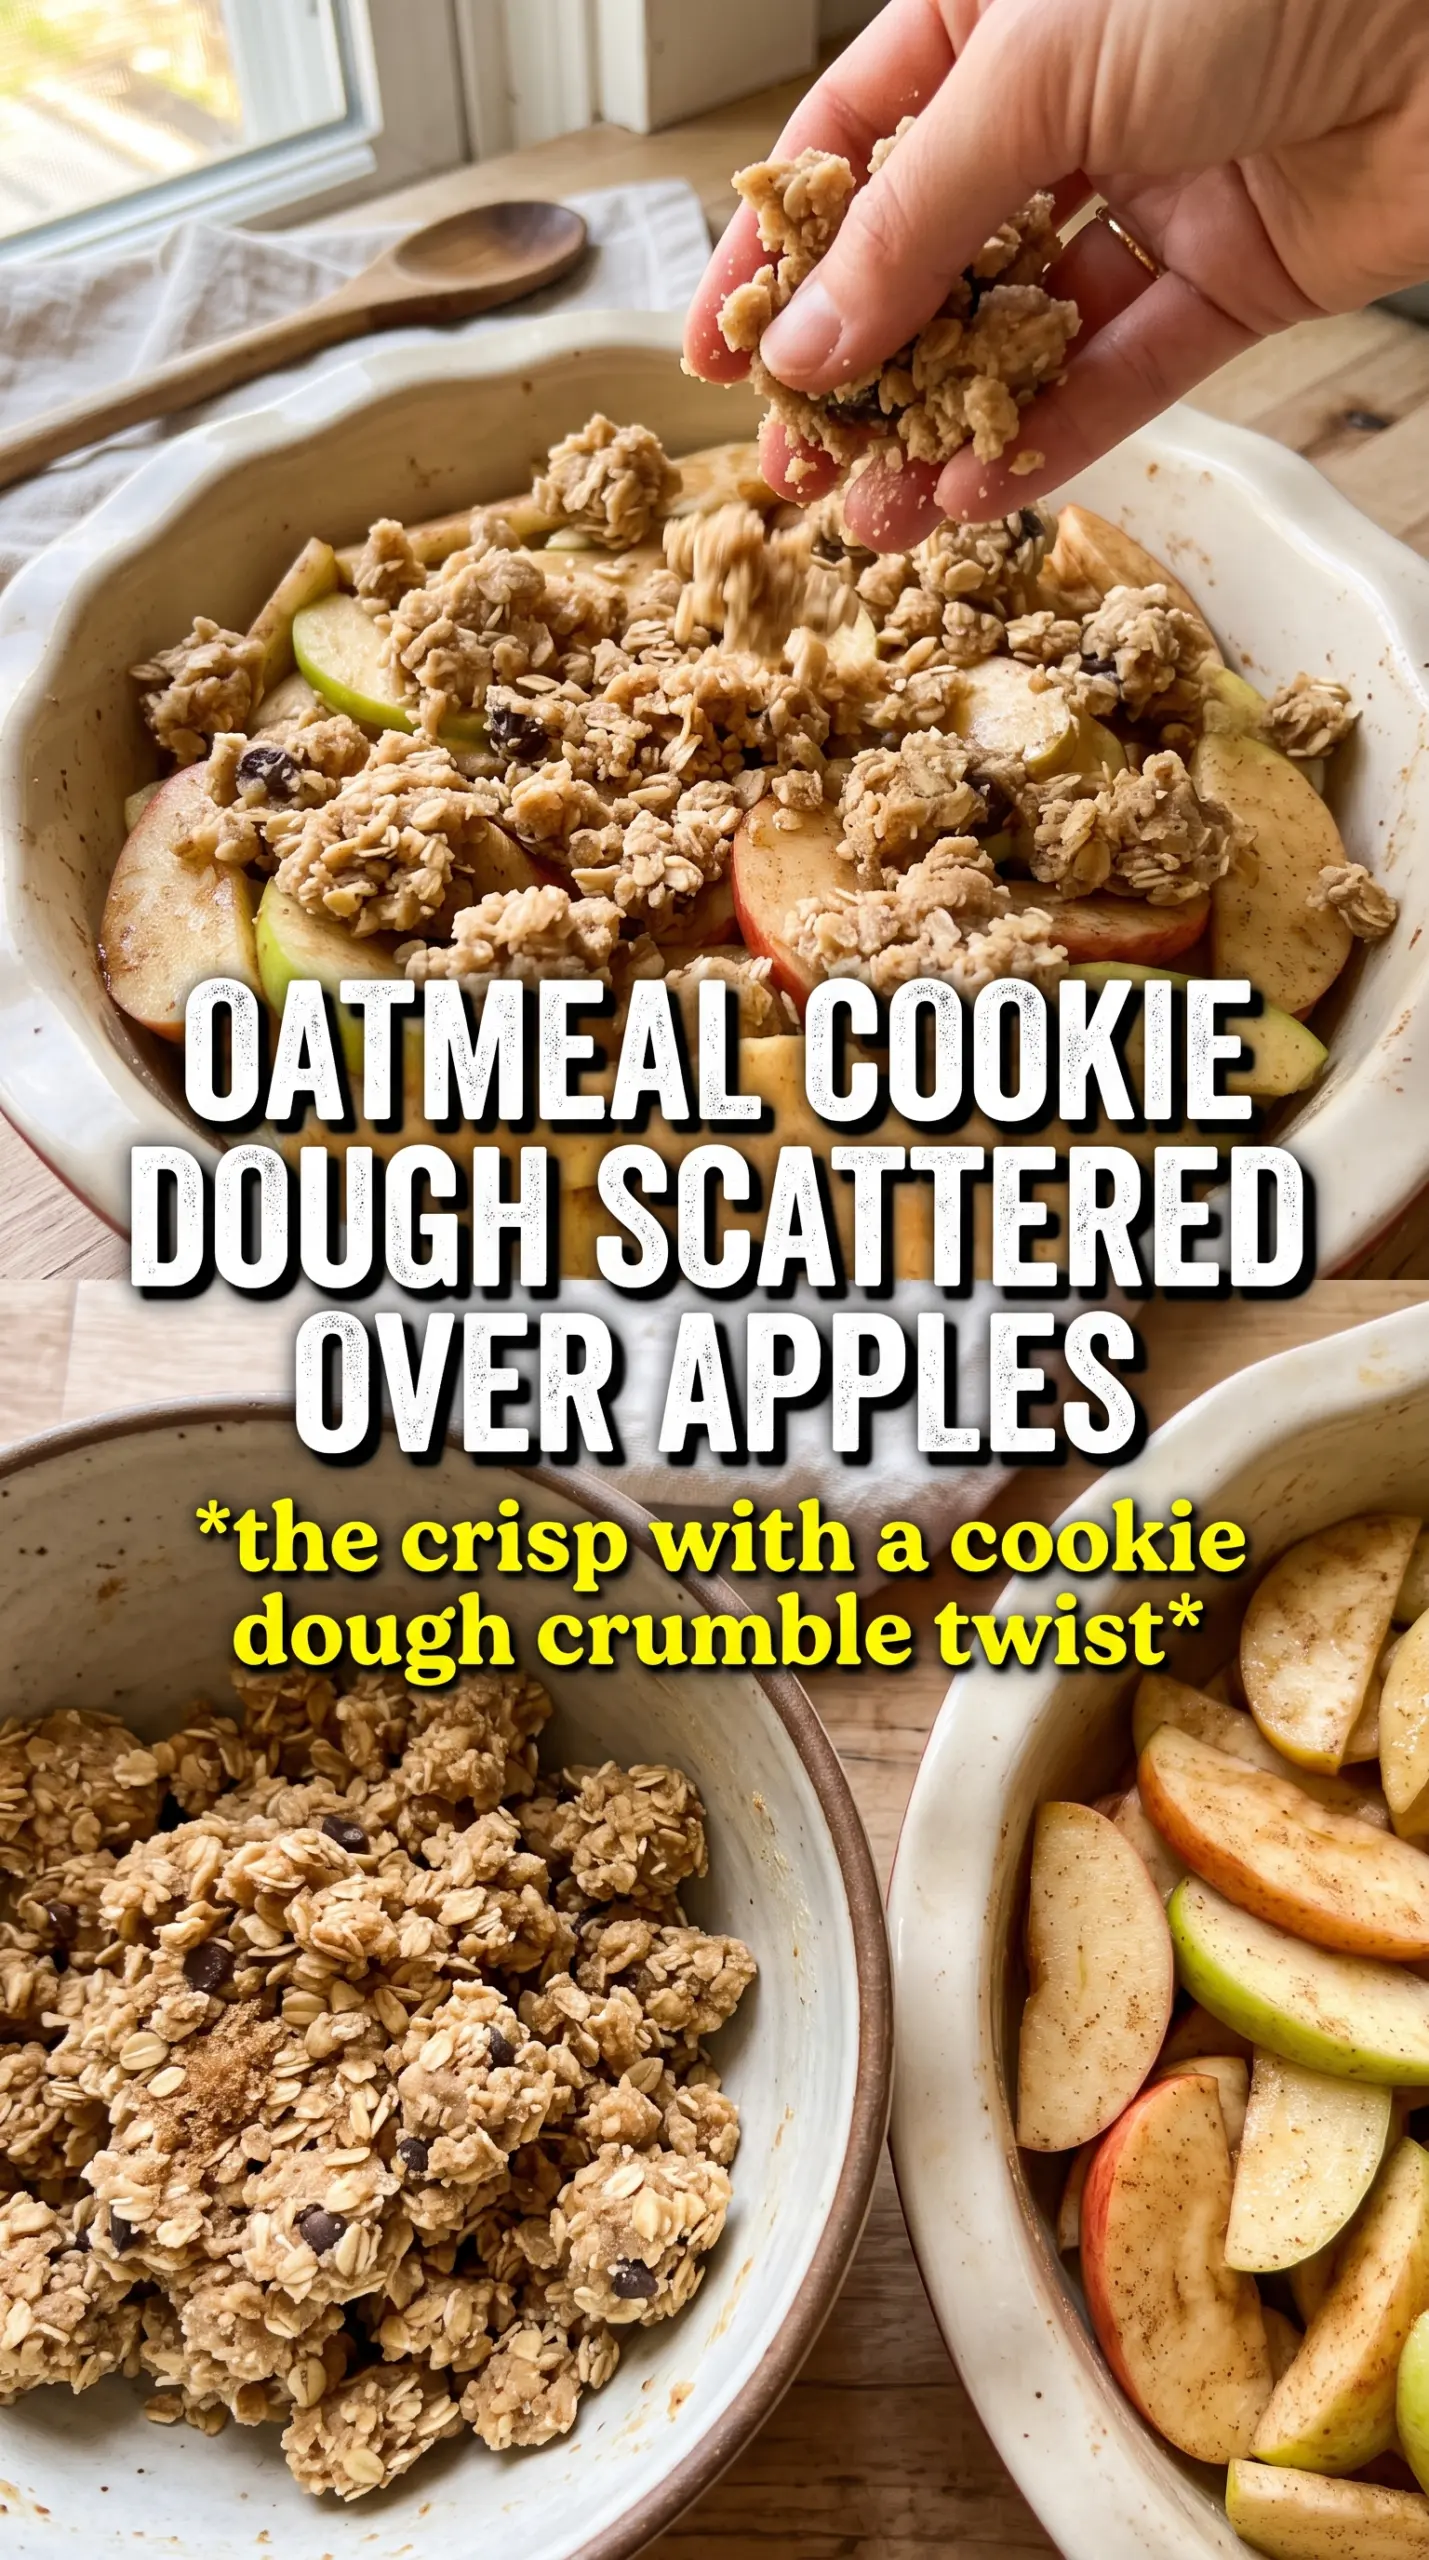
- Apples — Use a firm baking apple if you can. You want slices that soften without turning to applesauce. A mix of tart and sweet apples gives the best balance, but any firm variety works as long as it holds its shape long enough to bubble under the topping.
- Cornstarch — This is what keeps the filling from leaking all over the pan. It thickens the juices as the apples bake, so the dessert slices neatly instead of puddling. Flour can work in a pinch, but it gives a slightly heavier, cloudier filling.
- Rolled oats — Old-fashioned oats give the topping its chewy, rustic structure. Quick oats soften too much and can make the crumble pasty. If that’s all you have, the crisp will still bake, but the texture won’t be as chunky.
- Melted butter — This is the key to the cookie-like crumble. It helps the dry ingredients clump and brown instead of staying sandy. Don’t swap in softened butter here; you’ll lose the even coating that makes the topping crisp properly.
- Brown sugar and honey — Brown sugar brings depth, and honey helps the topping stick together. Together, they create those caramelized edges that taste almost like the corner of a baked oatmeal cookie.
Building the Filling and Topping So They Bake at the Same Speed
Coating the apples
Toss the sliced apples with sugar, cinnamon, nutmeg, cornstarch, and lemon juice until every piece is lightly coated. You’re looking for a thin, glossy film, not a wet pool at the bottom of the bowl. Spread the apples evenly in the baking dish so they bake at the same rate; if the pile is mounded in the middle, the center stays firm while the edges overcook.
Making the crumble
Mix the oats, flour, brown sugar, cinnamon, baking soda, and salt first so the dry ingredients are evenly distributed. Then stir in the melted butter, honey, and vanilla. Stop as soon as everything looks moistened and clumpy. If you keep stirring, you’ll crush the clusters that give the topping its cookie-like bite.
Baking until the filling bubbles through
Scatter the topping over the apples in big chunks instead of pressing it flat. That leaves pockets for steam to escape and helps the top brown in uneven, appealing ridges. Bake until the topping is deeply golden and you can see the filling bubbling around the edges and through the center. If the top is brown but the filling isn’t bubbling yet, the apples underneath still need time; the boil is the sign that the cornstarch has activated.
Letting it rest before serving
Give the crisp about 10 minutes out of the oven. The filling thickens as it cools, and if you cut in immediately, it runs. That short rest also helps the topping stay crisp instead of collapsing under the steam from the apples.
How to Adapt This Crisp for the Apples You Have on Hand
Make it dairy-free
Use a plant-based butter block with a similar fat content. The topping still clumps and browns well, but the flavor will be a little less rich, so the vanilla becomes more important. Avoid soft tub-style spreads, which add too much water and can keep the crumble from crisping.
Swap the raisins for cranberries or skip them entirely
Raisins add little pockets of chew and a deeper sweetness, while dried cranberries bring a sharper bite. If you don’t like dried fruit in desserts, leave it out. The crisp still holds together because the topping structure comes from the oats, flour, and butter, not the fruit.
Use a different fruit mix
Pear slices, a handful of berries, or a little peeled peach can be mixed in with the apples, but keep the total fruit volume about the same so the topping still covers the dish evenly. Softer fruits release more juice, so the filling may need a few extra minutes in the oven before it bubbles through.
Make it gluten-free
Use a certified gluten-free oat and a 1:1 gluten-free flour blend in place of the all-purpose flour. The texture stays close to the original, though the topping may brown a little faster, so start checking it near the end of baking.
Storage and Reheating
- Refrigerator: Store covered for up to 4 days. The topping softens a bit in the fridge, but the flavor stays strong.
- Freezer: Freeze baked portions tightly wrapped for up to 2 months. Thaw in the fridge before reheating so the center doesn’t stay icy while the top burns.
- Reheating: Warm in a 325F oven until the filling is hot and the topping crisps back up. The microwave works in a pinch, but it softens the crumble fast, which is the one thing you’re trying to avoid.
Answers to the Questions Worth Asking
Oatmeal Cookie Apple Crisp
Ingredients
Equipment
Method
- Preheat the oven to 375F and grease a 9x13 baking dish so the crisp releases cleanly.
- Toss the apple slices with granulated sugar, cinnamon, nutmeg, cornstarch, and lemon juice, then spread them evenly in the prepared dish so the filling bakes thick and bubbling at the edges.
- Combine rolled oats, all-purpose flour, brown sugar, cinnamon, baking soda, and salt to build a crisp, cookie-like topping.
- Stir melted butter, honey, and vanilla extract together, then pour over the oat mixture and toss until every clump looks evenly moistened.
- Fold in raisins or dried cranberries if using, then scatter the oatmeal crumble in large chunks over the apples for crispy caramelized edges.
- Bake for 40-45 minutes at 375F until the topping is golden and the filling is bubbling in the corners, with visible browning across the top.
- Rest the apple crisp for 10 minutes before serving so the bubbling filling thickens slightly and the crumble stays crisp.