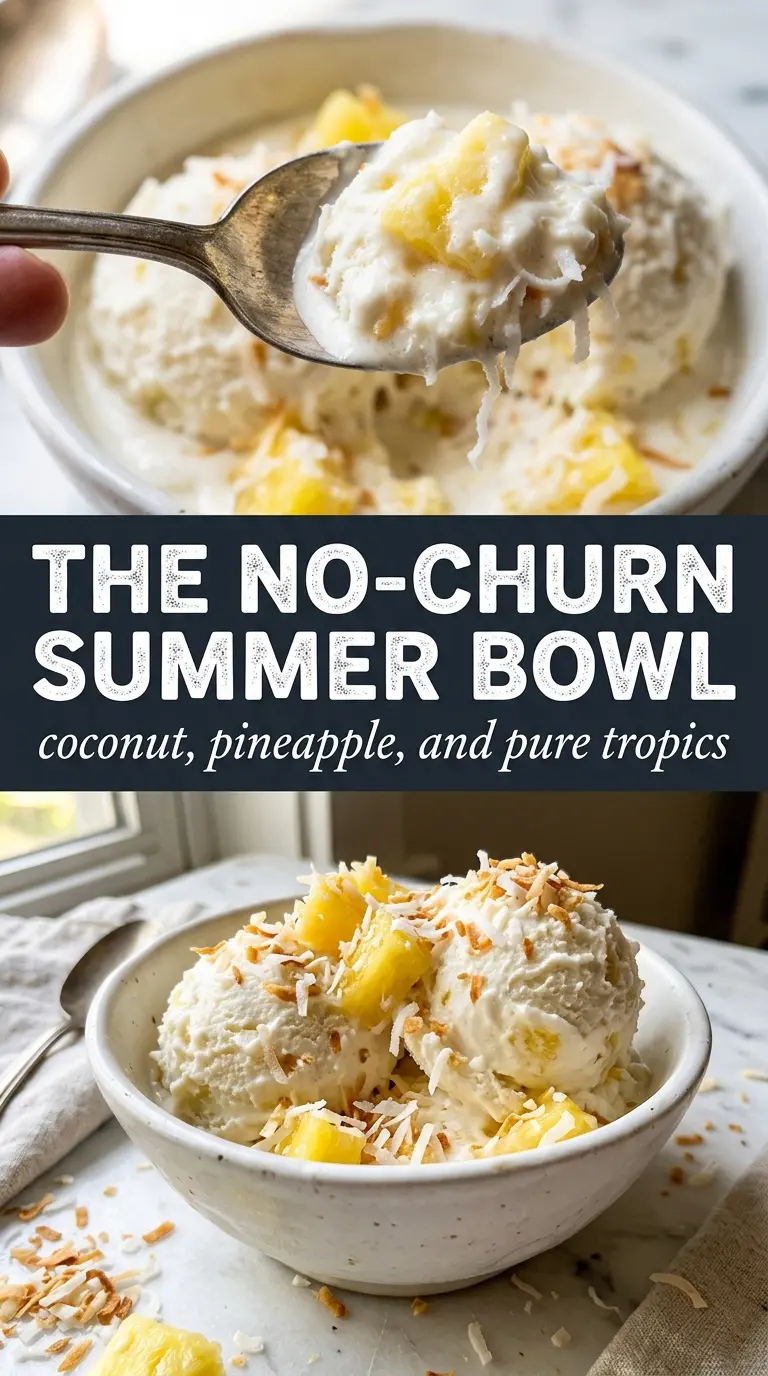
No-churn pina colada ice cream gives you the best part of the cocktail in a spoonable dessert: creamy coconut base, bright pineapple, and that little hint of rum that keeps every bite from tasting flat. It freezes up with a plush texture instead of icy shards, and the toasted coconut adds the kind of chew and nuttiness that makes each scoop feel finished, not just sweet.
The trick is treating the cream like structure and the condensed milk like flavor and sweetness. Whip the cream to stiff peaks first so the base has enough body to hold the fruit, then fold everything together gently enough to keep that air in place. The pineapple has to be diced fine, too. Big chunks freeze hard and turn the whole dessert clunky.
Below, I’m walking through the one step that matters most for texture, the ingredient choices that actually change the result, and a few variations if you want to skip the rum or make it work for a crowd.
The texture stayed creamy after a full night in the freezer, and the pineapple pieces stayed small enough that every scoop had the coconut and rum in balance.
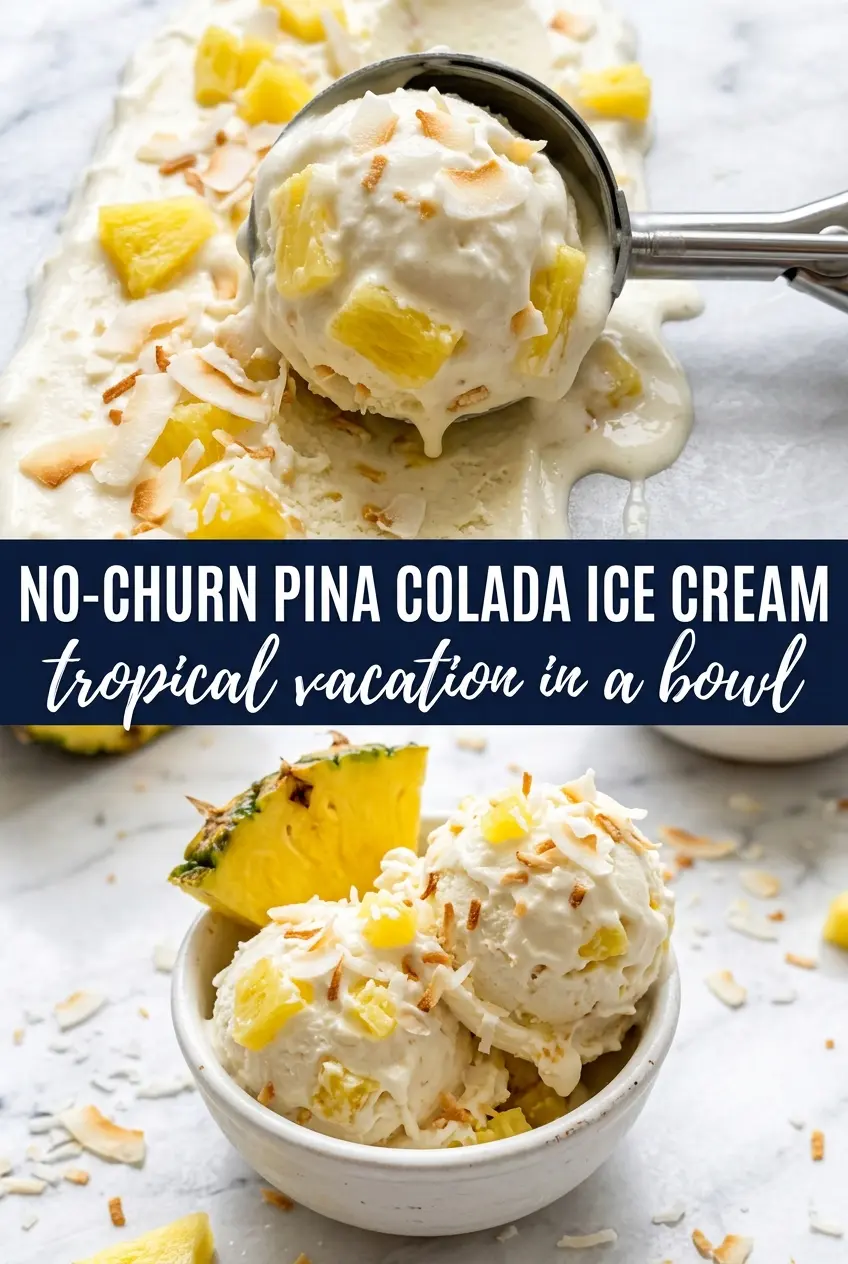
Love that creamy coconut-pineapple swirl? Save this no-churn pina colada ice cream for the nights when you want a boozy frozen dessert without an ice cream maker.
The Freezer Trick That Keeps This Creamy Instead of Icy
No-churn ice cream lives or dies by air. If the cream isn’t whipped to stiff peaks, the mixture freezes dense and hard, and all the fruit in the world won’t save it. The other common failure is too much moisture from the pineapple. Fresh pineapple works here, but only if it’s diced small and folded in dry. Juicy chunks can turn into icy pockets that break up the smooth texture.
The sweetened condensed milk matters for more than sweetness. It lowers the freezing point and keeps the base scoopable after a long freeze, which is why this method works without churning. Coconut cream adds richness that coconut milk can’t quite match, and a little rum helps soften the freeze even more. If you skip the rum, the recipe still works; you just lose a touch of that classic pina colada finish.
What Each Ingredient Is Actually Doing in This Frozen Cocktail Dessert
- Heavy cream — This is the structure of the ice cream. It needs to be whipped to stiff peaks so the dessert stays light and scoopable after freezing. Don’t substitute half-and-half here; it won’t hold the air you need.
- Sweetened condensed milk — This gives sweetness, body, and that soft-frozen texture. There isn’t a clean substitute that behaves the same way in a no-churn base, so this is one ingredient I wouldn’t swap if you want the classic result.
- Coconut cream — Use coconut cream, not canned coconut milk, if you want a fuller coconut flavor and a richer freeze. If the can separates, scoop from the thickest part and give it a good whisk before measuring.
- Fresh pineapple — Fresh fruit brings the bright, tangy part of the flavor and keeps the dessert from tasting too sweet. Dice it finely so it disperses through the base instead of freezing into hard chunks. If your pineapple is extra juicy, blot it with paper towels before folding it in.
- Rum — Optional, but it adds the cocktail note and keeps the ice cream a little softer. A light or coconut rum both work. Leave it out for a family-friendly version; the texture will still be good, just slightly firmer.
- Toasted shredded coconut — Toasting matters here. It deepens the coconut flavor and gives the ice cream a little chew instead of turning the mix bland and flat. Unsweetened shredded coconut works best, but sweetened is fine if that’s what you have.
Folding, Freezing, and Knowing When It’s Set
Whipping the Cream to the Right Peak
Start with cold cream and a cold bowl if you have them. Whip until the cream holds tall peaks that stand up when you lift the beaters. If you stop too early, the base won’t have enough structure and the finished ice cream will freeze heavy. If you go past that point, the cream can look grainy and begin to separate, which makes folding harder.
Combining the Coconut Base
Whisk the condensed milk, coconut cream, rum, coconut extract, and vanilla until the mixture looks smooth and glossy. Add the extracts carefully; coconut extract can take over fast if you pour in too much. The base should taste a little sweeter than you want the finished ice cream to taste, because the cold dulls sweetness after freezing.
Folding Without Deflating
Add the whipped cream in two or three additions and fold with a spatula, scraping from the bottom and turning the bowl as you go. Stop as soon as the mixture looks even and no white streaks remain. Once the pineapple and toasted coconut go in, fold just enough to distribute them. Overmixing at this stage knocks out the air and gives you a denser freeze.
Freezing Until Scoopable
Transfer the mixture to a 9×5 loaf pan and smooth the top. Press a piece of parchment or plastic wrap directly onto the surface if you want to keep ice crystals from forming. Freeze at least 6 hours, but overnight is better if you want clean scoops. If it feels rock hard straight from the freezer, let it sit on the counter for 5 to 10 minutes before scooping.
Make It Without the Rum
Leave out the rum and add an extra teaspoon of vanilla if you want a family-friendly dessert. The ice cream freezes a little firmer, but the coconut and pineapple still carry the whole flavor. This is the easiest way to keep the recipe kid-friendly without changing the texture too much.
Dairy-Free Version
Use a dairy-free whipping cream and a coconut-based sweetened condensed milk alternative if you can find one. The texture won’t be quite as plush as the original, but it still gives you a creamy frozen dessert with the same tropical profile. Freeze it in a shallow container so it scoops more easily.
Extra Pineapple, Bigger Bite
If you want more fruit in every spoonful, increase the pineapple slightly, but keep the pieces small and blot them first. Too much extra fruit adds water, and water is what turns homemade ice cream icy. This version tastes brighter and more like a frozen cocktail, but it needs a little more time to firm up.
Storage and Reheating
- Refrigerator: Not a good storage option. This is meant to stay frozen, and it will collapse into a loose, melty mixture in the fridge.
- Freezer: Keeps well for about 2 weeks if it’s covered tightly. After that, the texture starts to pick up ice crystals and the pineapple loses some of its brightness.
- Reheating: No reheating needed. For the best texture, let the container sit at room temperature for 5 to 10 minutes before scooping. Trying to force a spoon through it straight from the freezer is the fastest way to crack the top and end up with messy chunks.
Answers to the Questions Worth Asking
No-Churn Pina Colada Ice Cream
Ingredients
Equipment
Method
- Whip heavy cream to stiff peaks until it holds clear ridges when the whisk is lifted, about 3 to 5 minutes at cool room temperature.
- Whisk sweetened condensed milk, coconut cream, rum if using, coconut extract, and vanilla extract together until smooth and fully combined, with no streaks.
- Gently fold the condensed milk mixture into the whipped cream in 2 to 3 additions until the color is uniform, keeping the mousse airy.
- Fold in diced pineapple and toasted shredded coconut just until evenly distributed, with visible pineapple flecks throughout.
- Transfer the mixture to a 9x5 loaf pan, smooth the top, and freeze at least 6 hours or overnight until firm and scoopable.
- Garnish with extra toasted coconut and pineapple when serving for added texture and fresh pops of fruit.