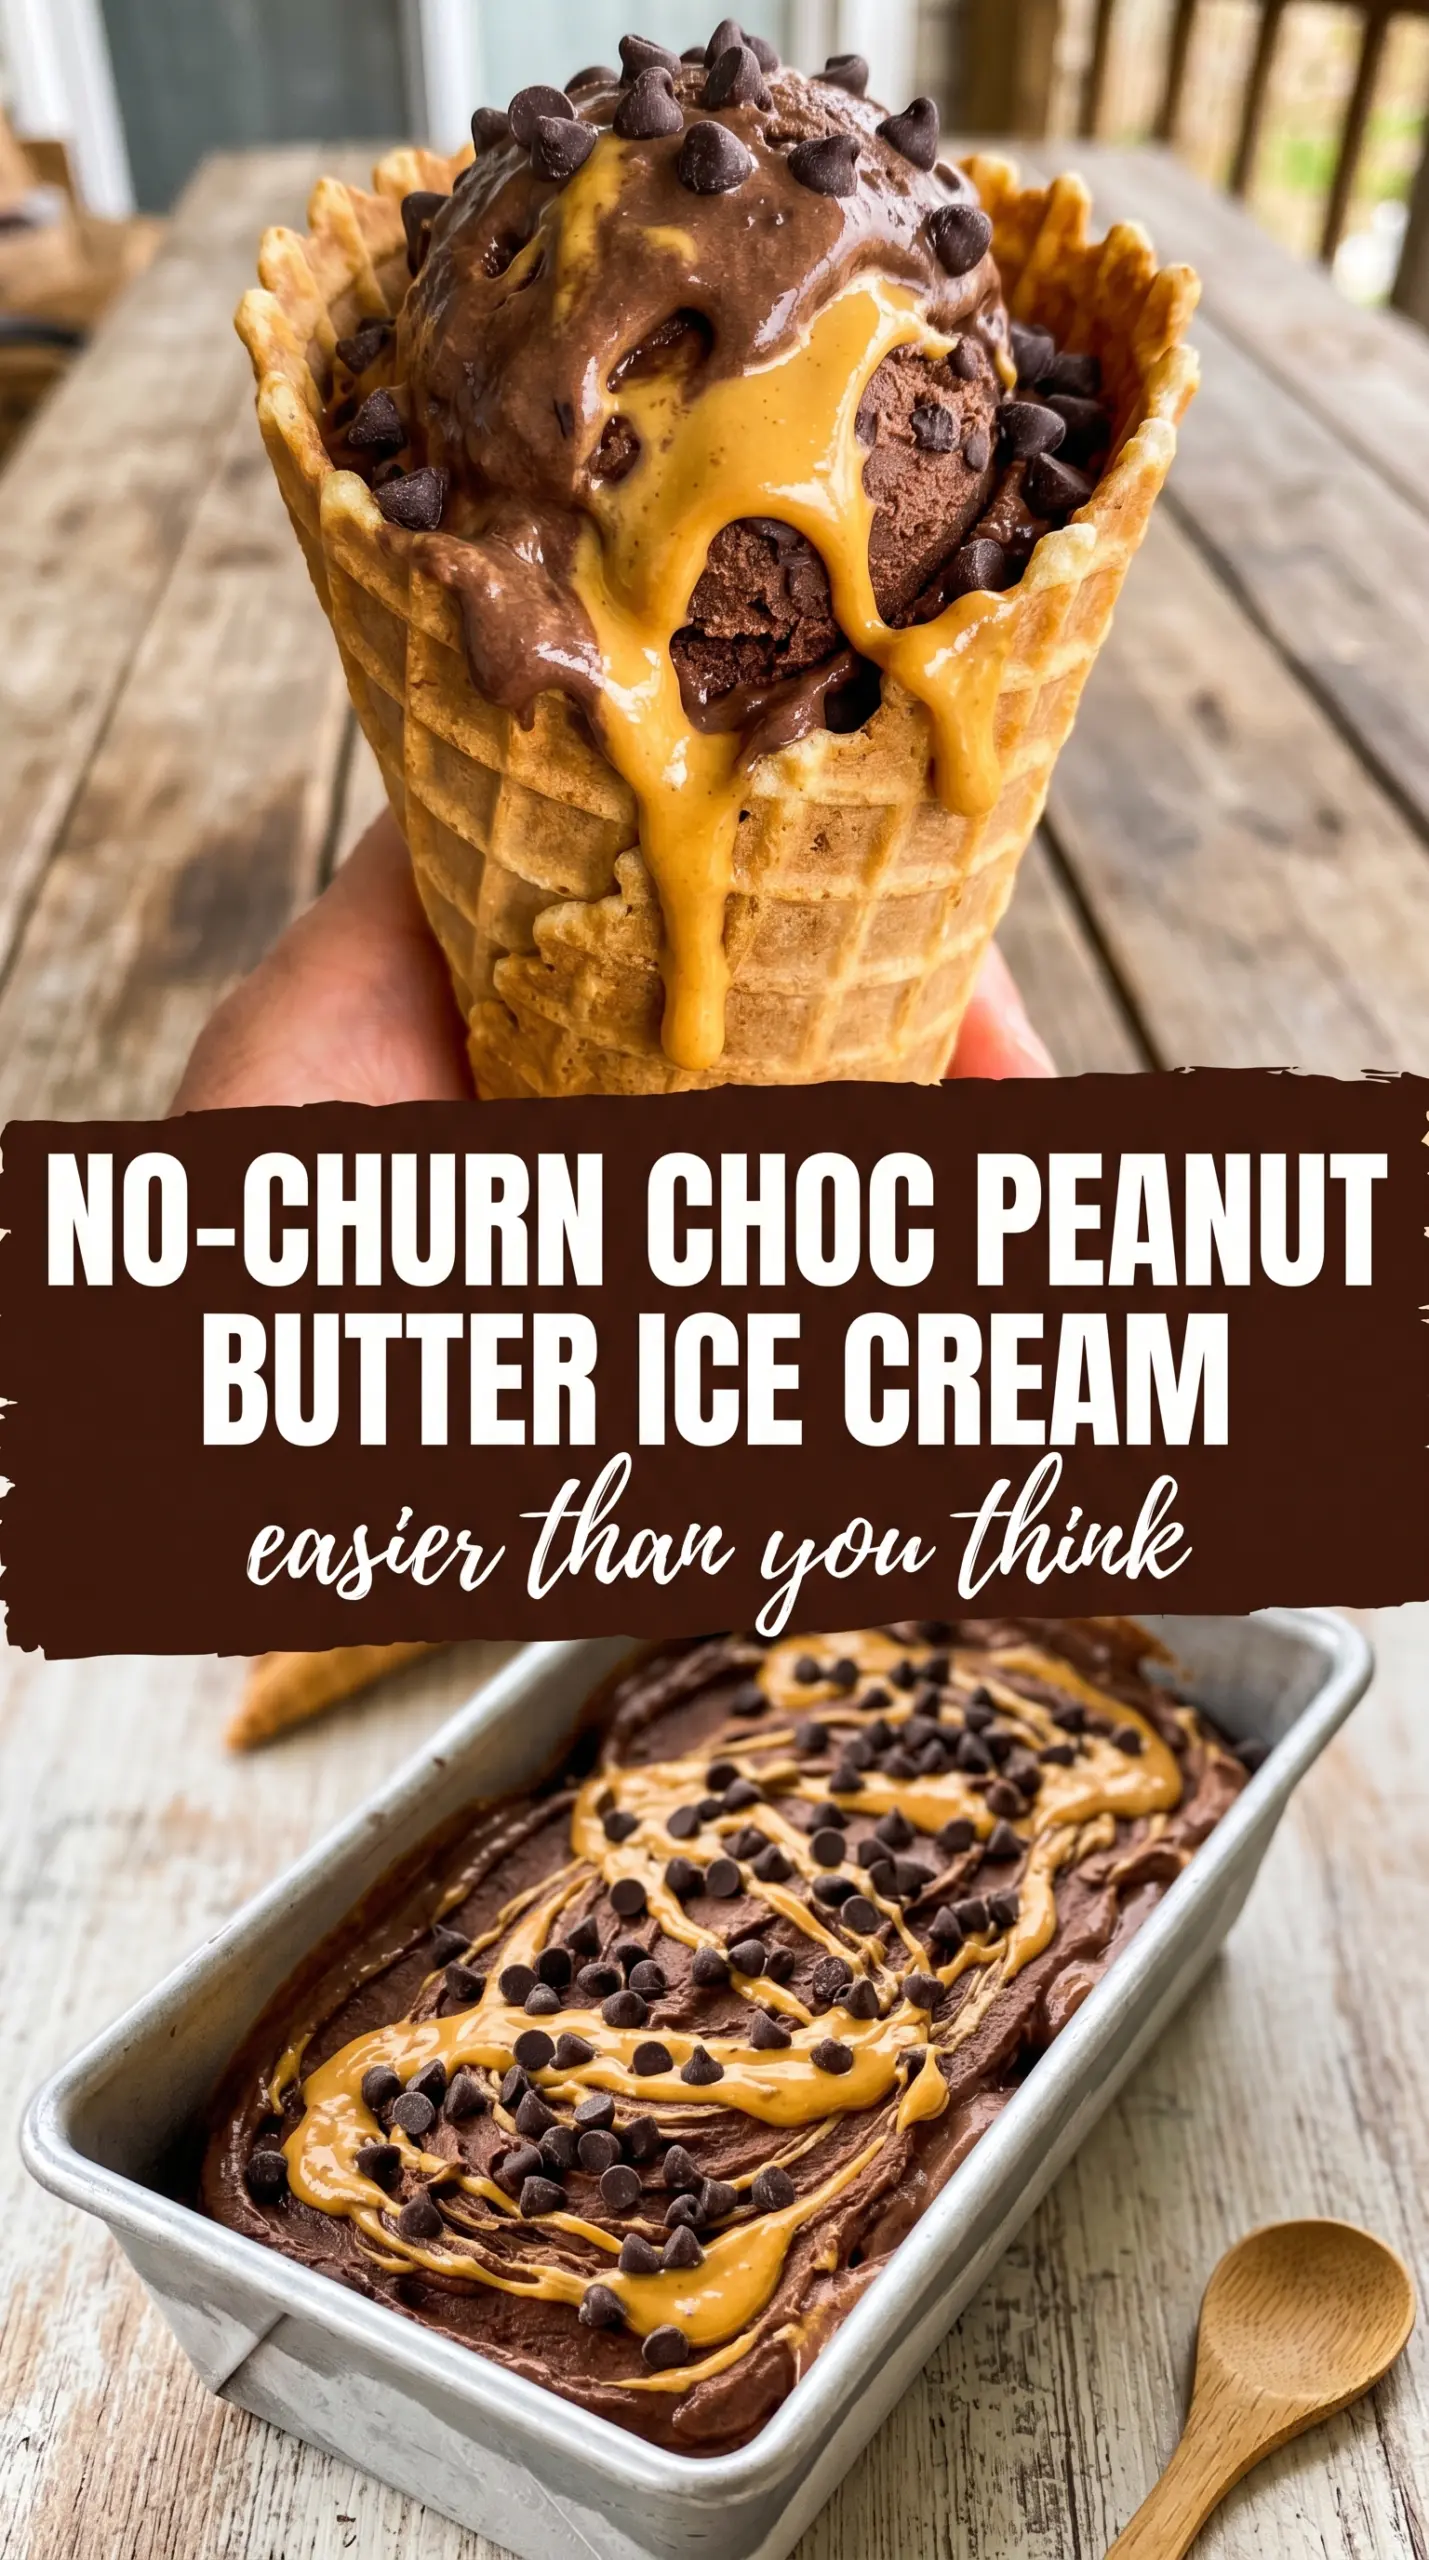
Fudgy chocolate ice cream with thick peanut butter ribbons is one of those desserts that disappears faster than you expect. The chocolate base turns dense and creamy without an ice cream maker, and the peanut butter cuts through the richness with just enough salt to keep every bite interesting. It freezes up with a scoopable texture instead of turning icy, which is the whole reason this version earns a spot in the freezer.
The trick is in the balance. Sweetened condensed milk gives you sweetness and body at the same time, while whipped cream keeps the texture light enough to scoop. The cocoa needs to be whisked smooth before it meets the cream, and the peanut butter should be warmed just enough to drizzle without being thin and greasy. That’s what gives you those big, clean swirls instead of a muddy brown base.
Below, I’ll walk you through the swirl pattern that keeps the peanut butter visible after freezing and the one mixing step that protects the airy texture. If you’ve had no-churn ice cream collapse or freeze hard, this method fixes the usual trouble spots.
The peanut butter swirls stayed separate even after freezing overnight, and the texture was still creamy enough to scoop straight from the loaf pan. My kids kept asking for the part with the ribbons of peanut butter.
Save this no-churn chocolate peanut butter ice cream for the nights when you want a fudgy freezer dessert with bold peanut butter swirls and no machine required.
The Step That Keeps No-Churn Ice Cream Creamy Instead of Icy
No-churn ice cream lives or dies on how much air you keep in the base. The whipped cream has to reach stiff peaks before anything else goes in, because that structure is what stands in for churning. If you stop at soft peaks, the mixture settles as it freezes and the texture turns dense in the wrong way.
The other place people run into trouble is overmixing after the whipped cream and chocolate mixture come together. Once the whipped cream is folded in, stop as soon as the streaks disappear. A few light folds are enough. If you beat it smooth like cake batter, you crush the air you just built and the finished ice cream freezes harder.
- Heavy cream — This is what gives the ice cream its body and scoopable texture. Cold cream whips fastest and holds the best structure, so chill the bowl if your kitchen runs warm.
- Sweetened condensed milk — This keeps the ice cream soft after freezing and adds sweetness without extra ice crystals. There isn’t a perfect substitute here; evaporated milk won’t give the same richness or texture.
- Cocoa powder — Unsweetened cocoa gives the base that deep fudgy flavor. Whisk it into the condensed milk mixture before folding so you don’t end up with dry pockets or grit.
- Peanut butter — Warm it just enough to drizzle. If it’s too hot, it thins out and sinks; if it’s too thick, it won’t swirl and you’ll lose those ribbons.
- Vanilla and salt — Vanilla rounds out the chocolate, and salt keeps the dessert from tasting flat. That tiny bit of salt matters more here than it does in many desserts because the base is very sweet.
What Each Ingredient Is Actually Doing in This Ice Cream
- Base ingredient (cream, milk, or custard) — This provides the foundation and richness. Quality matters.
- Sweetener (sugar, honey, or condensed milk) — This sweetens and prevents ice crystals. The ratio is critical.
- Flavor element (vanilla, fruit, chocolate, cookie, or other) — This defines the ice cream personality. Use quality ingredients.
- Egg yolks (if making custard base) — These create richness and silky texture. Optional but elevates ice cream.
- Churning (if using ice cream maker) — This incorporates air and prevents ice crystals. Critical for smooth texture.
- Freezing temperature and time — Proper freezing prevents rock-hard texture. Store at 0°F or below.
- Mix-ins (chocolate, cookies, candy, or swirls) — These add texture and prevent one-dimensional flavor. Add near end of churning.
- Serving temperature (slightly soft, not rock hard) — This provides creamy mouthfeel. Remove from freezer 5 minutes before serving.
How to Build the Swirls Without Muddying the Base
Whip the cream first and stop at stiff peaks that hold their shape when you lift the whisk. In a separate bowl, whisk the condensed milk, cocoa, vanilla, and salt until the mixture looks glossy and smooth. If the cocoa looks dusty at the bottom of the bowl, keep whisking before it goes anywhere near the cream.
Whipping the Cream
Use a large bowl so the cream has room to move. It should look thick, billowy, and stand upright when you pull the whisk out. If it turns grainy, you’ve gone too far and it’s starting to head toward butter, so stop earlier next time. Cold cream whips faster and gives you a lighter final texture.
Mixing the Chocolate Base
Whisk the condensed milk and cocoa until the mixture looks uniform and dark, with no pale streaks. The warm vanilla helps the cocoa blend, but the real goal is a smooth base that won’t leave bitter pockets behind. Don’t pour the chocolate mixture straight into the whipped cream until it’s fully smooth, or you’ll end up chasing lumps while the cream deflates.
Folding and Swirling
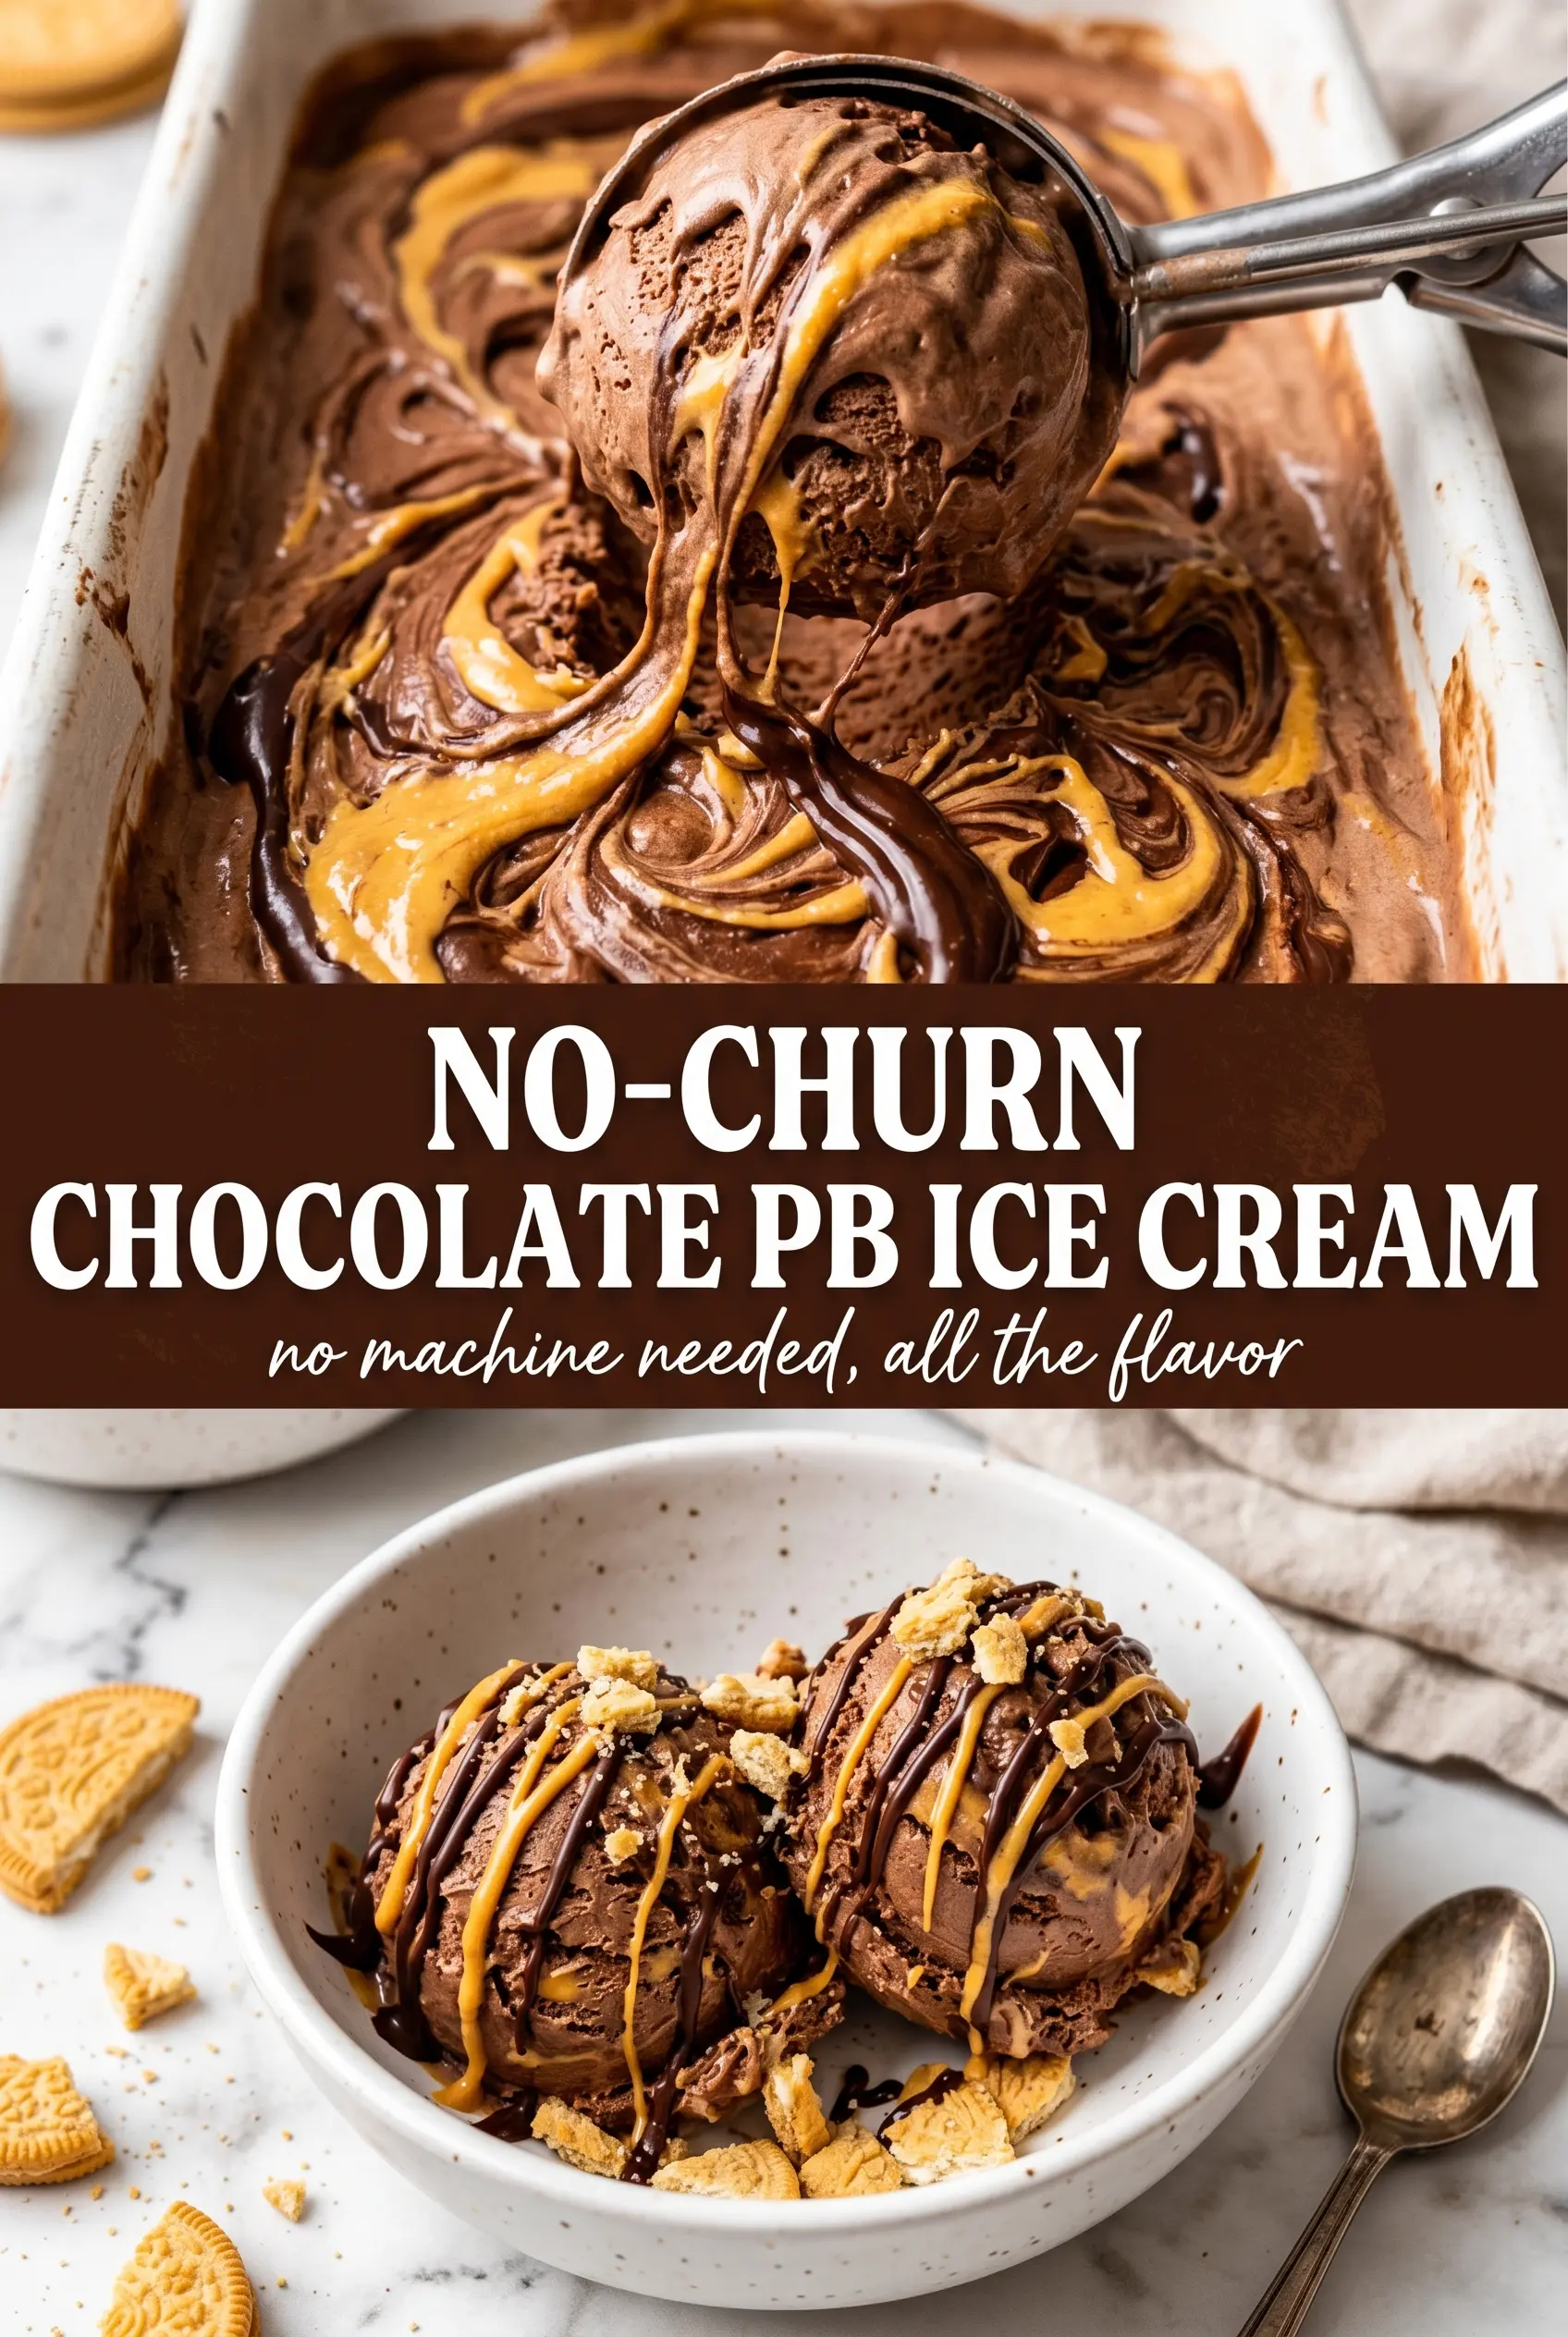
Add the chocolate mixture to the whipped cream in two or three additions and fold gently with a spatula. Use a wide motion from the bottom of the bowl, turning the mixture over on itself until it’s just combined. Pour half into the loaf pan, drizzle with half the warm peanut butter, and run a knife through it once or twice for visible ribbons. Repeat with the remaining mixture and peanut butter. Too much swirling turns the whole pan into one color, and that’s the easiest way to lose the contrast that makes this dessert special.
Freezing Until Firm
Cover the pan tightly and freeze for at least 6 hours, or overnight if you want cleaner scoops. The center should feel firm all the way through, not soft in the middle. If it freezes in an uncovered pan, ice crystals form on top and the texture suffers, so press plastic wrap or parchment directly over the surface before covering.
How to Adapt This for Different Freezers, Diets, and Toppings
Dairy-Free Version
Use a full-fat coconut cream that whips well and a dairy-free condensed milk alternative. The texture will be a little softer and the coconut flavor will show through, but the ice cream still freezes into a scoopable dessert with good body.
Chocolate Peanut Butter Cup Style
Fold chopped peanut butter cups into the ice cream before freezing and sprinkle a few more on top. That adds a chewy, candy-like bite, but it also makes scooping a little firmer once frozen, so let the pan sit at room temperature for a few minutes before serving.
Less Sweet, Deeper Chocolate
Use a slightly darker cocoa and add a small pinch more salt. You can’t remove much sweetness from the condensed milk without changing the structure, so the smarter move is to push the chocolate flavor deeper and let the peanut butter bring balance.
Storage and Reheating
- Refrigerator: Not recommended. This is a freezer dessert, and it will melt quickly if kept in the fridge.
- Freezer: Store tightly covered for up to 2 weeks for the best texture. After that, it can still be eaten, but the peanut butter swirls and creaminess start to fade.
- Reheating: No reheating needed. For clean scoops, let the pan sit at room temperature for 5 to 10 minutes. If it’s rock hard, that usually means the base was overmixed or the freezer is set very cold.
Answers to the Questions Worth Asking
No-Churn Chocolate Peanut Butter Ice Cream
Ingredients
Equipment
Method
- Whip the heavy cream to stiff peaks in a large bowl using a hand mixer or stand mixer. Visual cue: the peak holds upright with no droop when you lift the beaters.
- Whisk the sweetened condensed milk, unsweetened cocoa powder, vanilla extract, and salt together until smooth in a separate bowl. Visual cue: no cocoa streaks remain.
- Gently fold the condensed milk mixture into the whipped heavy cream until just combined, taking care not to deflate. Visual cue: the mixture thickens and looks uniformly chocolate without losing its airy volume.
- Pour half the ice cream mixture into a 9x5 loaf pan and drizzle with half the warmed creamy peanut butter. Visual cue: peanut butter sits in ribbons on top of the chocolate base.
- Swirl the top with a knife using a few slow figure-eight motions. Visual cue: distinct marbled streaks form, not fully mixed in.
- Pour in the remaining ice cream mixture and top with the remaining creamy peanut butter. Visual cue: the surface is covered with spoonable peanut butter swirls.
- Swirl again with the knife to create thick peanut butter ribbons throughout the surface. Visual cue: marbling is visible across the pan.
- Freeze for at least 6 hours or overnight until firm. Visual cue: a knife inserted in the center comes out with no wet wobble.