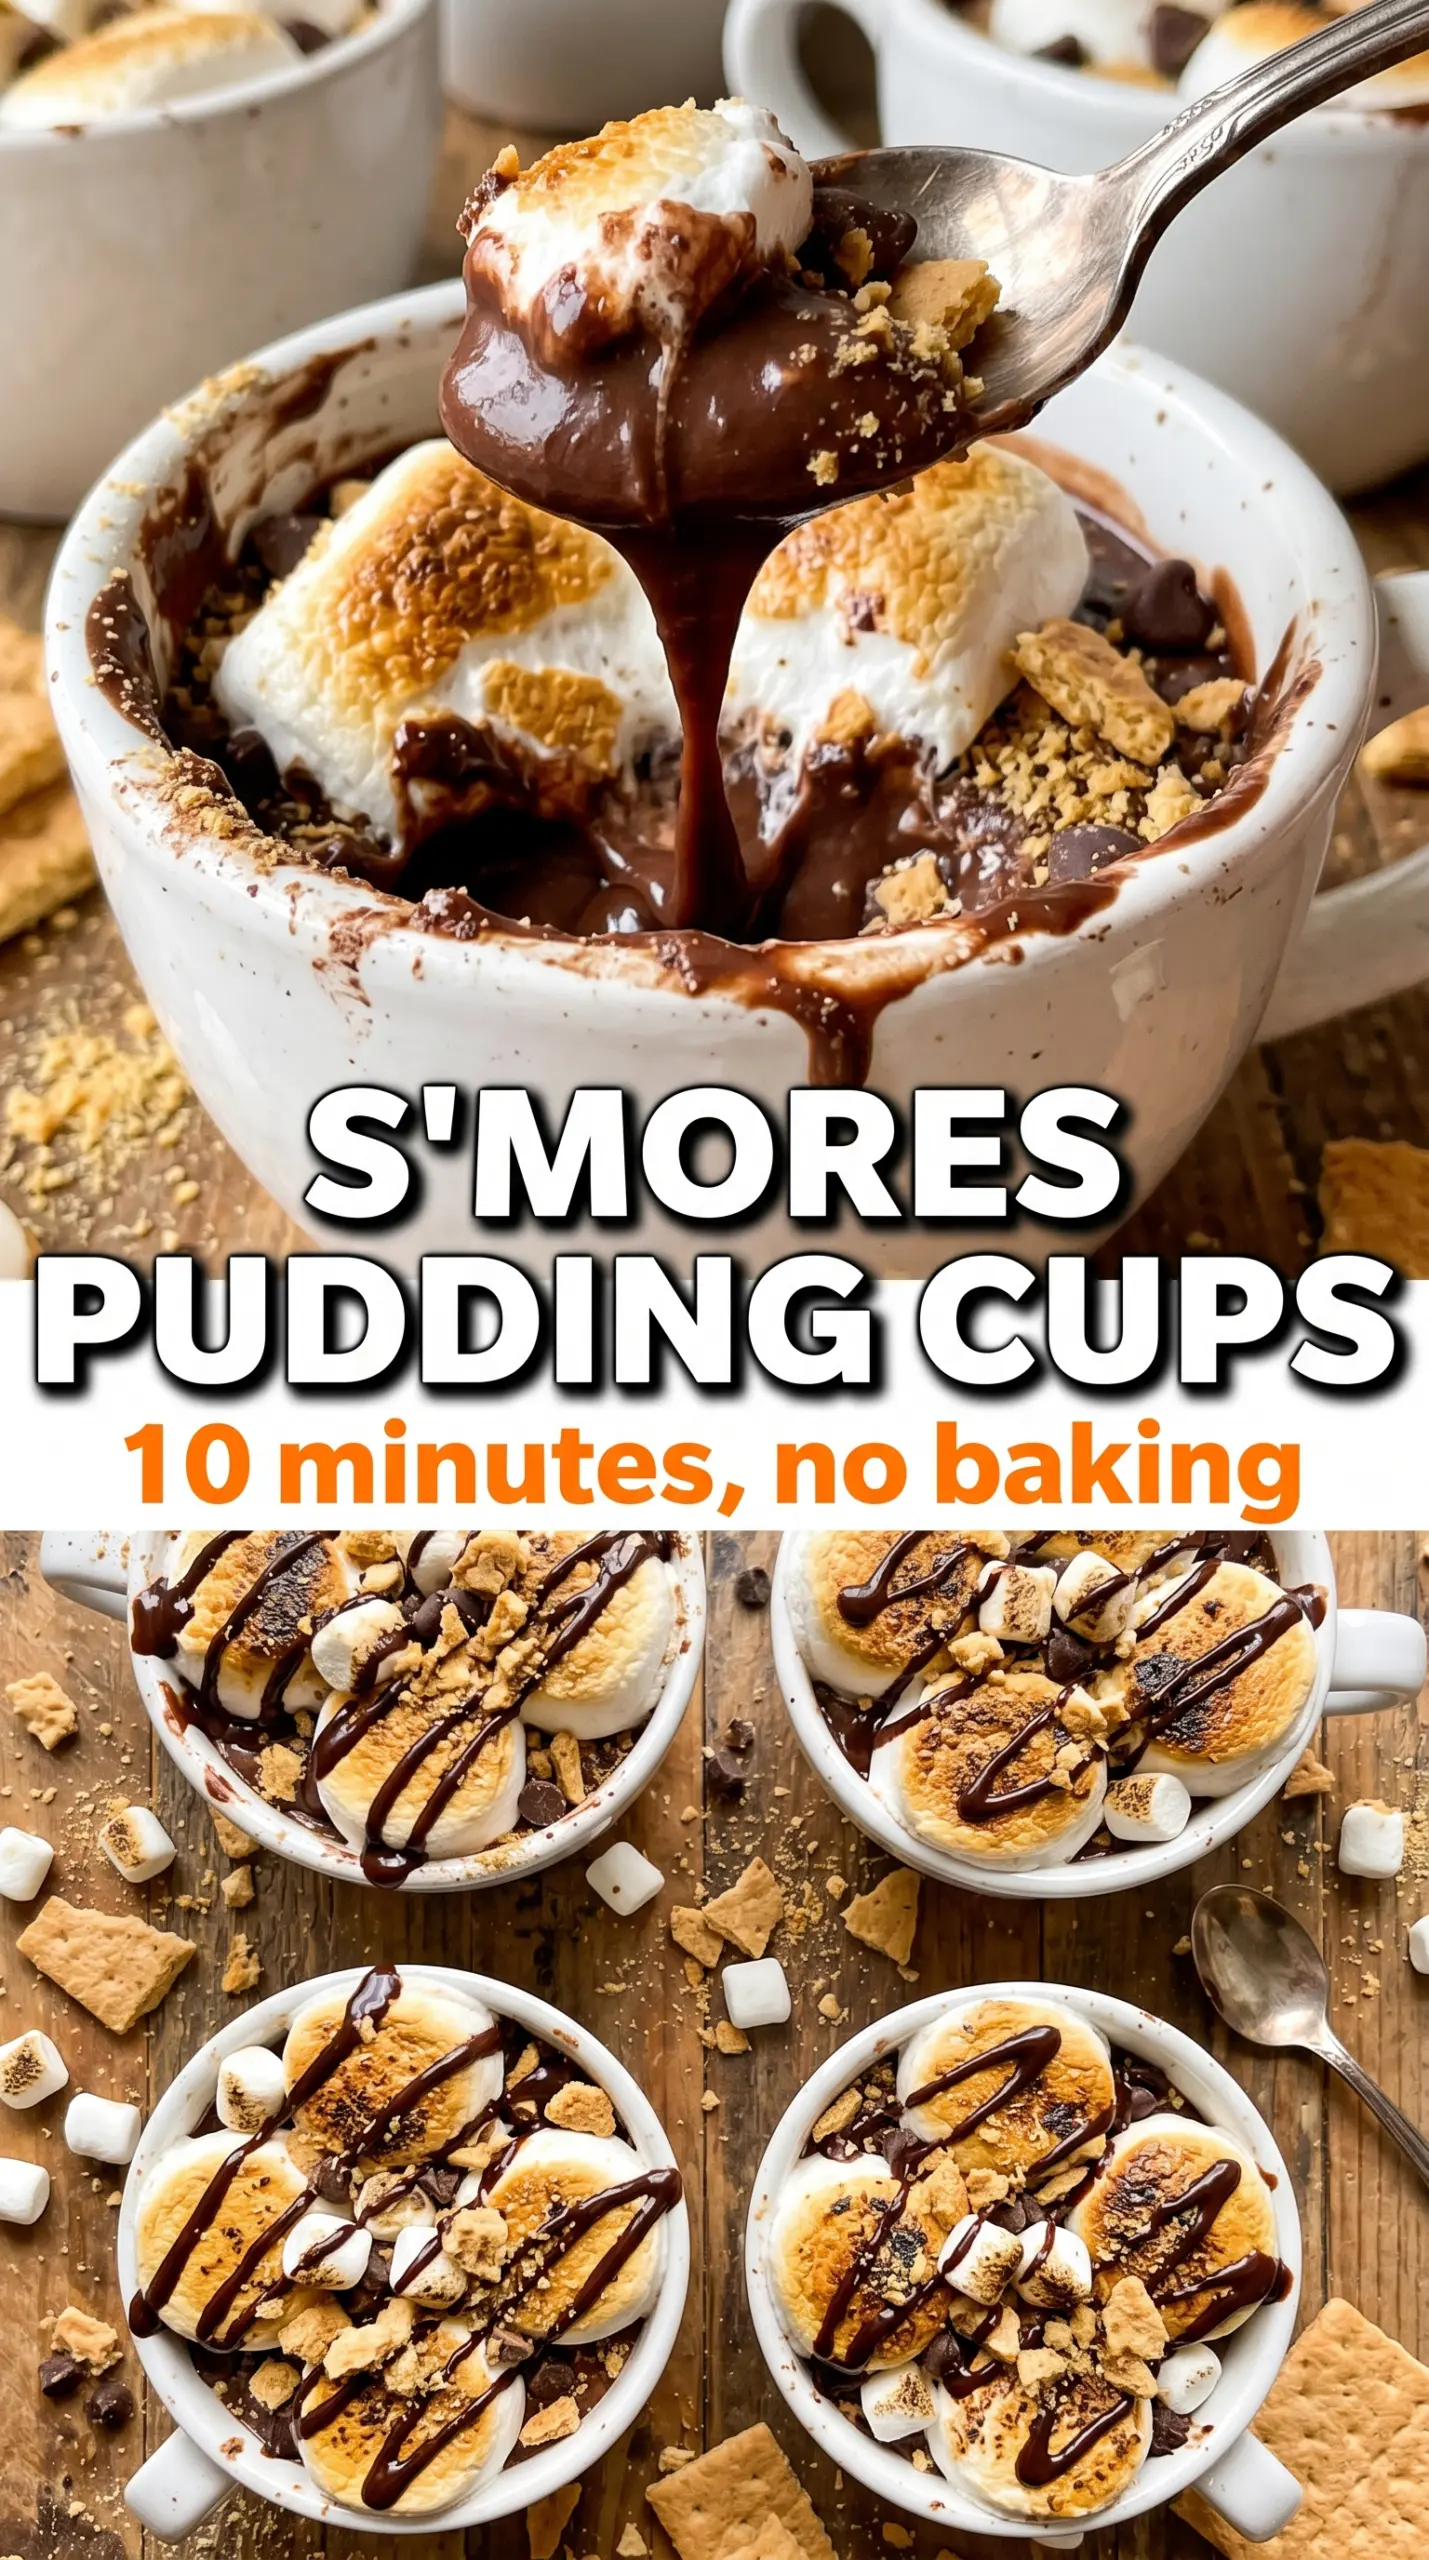
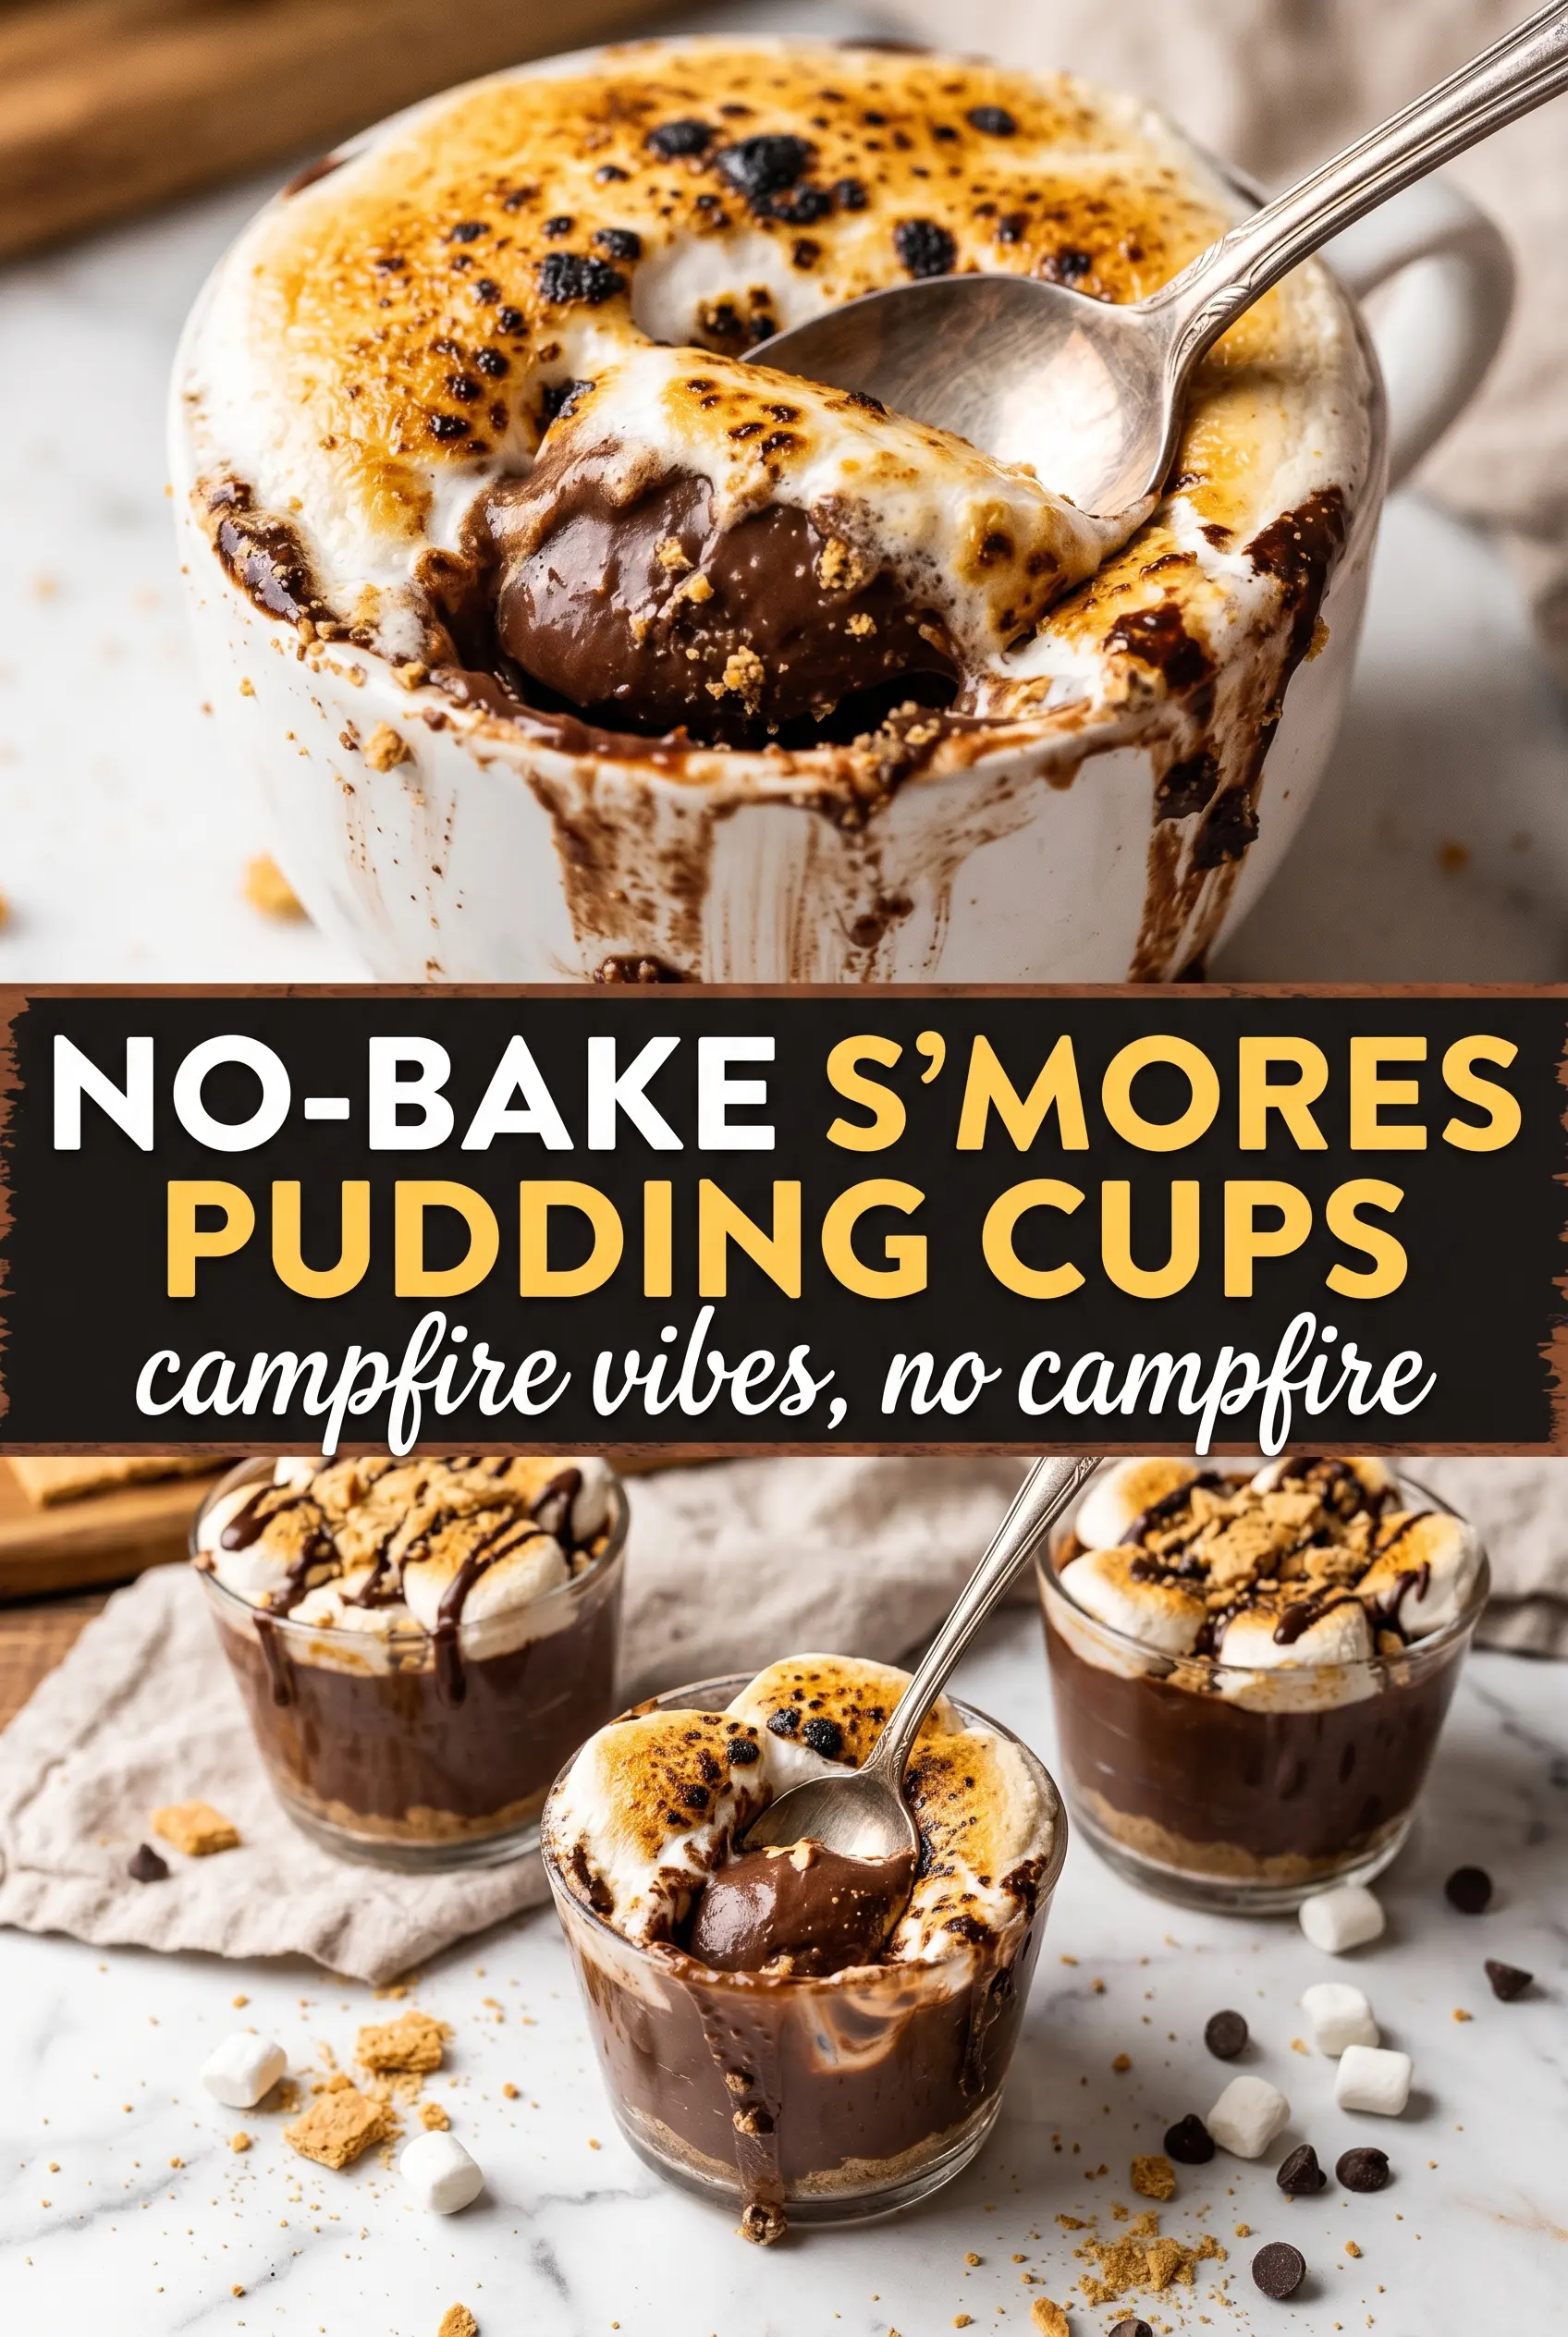
Layers of buttery graham cracker crumble, thick chocolate pudding, and fluffy marshmallow cream turn these no-bake s’mores pudding cups into the kind of dessert people pause for before taking the first spoonful. The texture is the whole point here: cool and creamy in the middle, a little crunchy at the bottom, and just enough toasted sweetness on top to make each cup taste like a campfire treat without turning on the oven.
What makes this version work is the balance. Instant pudding keeps the chocolate layer stable and smooth, while cream cheese gives the marshmallow mixture enough body that it sits neatly instead of sliding into the pudding. The graham crumbs get mixed with melted butter and sugar, so they taste like an actual crust instead of dry cookie dust. That extra little bit of salt and fat keeps the dessert from tasting flat.
Below, I’ve included the layering order that gives the cleanest look in clear cups, plus a few swaps that still keep the dessert holding together well. If you’ve ever had layered pudding cups collapse into one muddy spoonful, the timing notes here will help.
The pudding set up thick and the marshmallow layer stayed fluffy even after chilling overnight. I loved that the graham cracker layer still had a little crunch at the bottom of the cup.
Save these layered s’mores pudding cups for an easy no-bake dessert with crunchy graham crumbs, smooth chocolate pudding, and marshmallow cream.
The Layer Order That Keeps These Cups Clean and Distinct
The difference between a pretty layered dessert and a muddy one comes down to firmness. The graham layer needs enough butter to pack into a base that holds its shape, but not so much that it turns greasy. The pudding needs a full chill after whisking so it thickens before it goes into the cups, and the marshmallow layer should be smooth enough to pipe or spoon without sinking into the chocolate.
Clear cups help here because you can see when each layer has settled. If the pudding is still loose when you build the cups, the layers will bleed together and the finished dessert will look flat instead of striped. Give the pudding its short chill, then assemble with a light hand.
- Graham cracker crumbs — Finely crushed crumbs make the best base because they pack tightly and give a real crust-like bite. If yours are a little coarse, pulse them a few times before mixing so the layer doesn’t crumble apart.
- Instant chocolate pudding — Instant pudding is the right choice because it sets quickly and stays stable in the cup. Cooked pudding can work, but it needs a longer chill and is easier to over-loosen while layering.
- Whole milk — The extra fat gives the pudding a fuller, softer texture. Lower-fat milk will still set, but the filling tastes thinner and needs a bit more chilling time.
- Marshmallow fluff and cream cheese — Cream cheese keeps the marshmallow layer from tasting one-note sweet and gives it enough structure to sit on top. Soften the cream cheese fully before mixing, or you’ll end up chasing little lumps around the bowl.
- Whipped topping — Fold it in gently so the marshmallow layer stays light. Stirring hard knocks out the air and makes the topping dense instead of cloudlike.
What Each Ingredient Is Actually Doing in This Recipe
- Primary ingredient (the star) — Quality matters most. Choose the best you can find.
- Cooking medium (oil, butter, or broth) — This carries flavors and prevents dryness.
- Seasonings (salt, pepper, spices, herbs) — Layer flavors so nothing overpowers. Build depth gradually.
- Aromatics (garlic, onion, herbs) — Cook with fat to bloom flavors. Become the foundation.
- Supporting ingredients — Complement the main ingredient without overpowering it.
- Sauce or liquid (if applicable) — Brings flavors together. Balance richness with acid.
- Acid (lemon, vinegar, wine, or other) — Brightens and prevents flat-tasting results.
- Final finish (garnish, glaze, or sauce) — Prevents one-dimensional taste and adds visual appeal.
Building the Cups So the Layers Stay Separate
Mixing the Crust Base
Stir the graham cracker crumbs, melted butter, and sugar until every crumb looks lightly moistened. The mixture should hold together when you pinch it, not look wet or shiny. If it seems sandy, add another teaspoon of melted butter; if it feels greasy, the cups will get soggy fast.
Setting the Chocolate Layer
Whisk the pudding mix with cold milk for the full 2 minutes so it starts thickening all the way through. Then let it chill for 5 minutes before assembling. That short rest matters because it gives the pudding enough body to sit cleanly on the crumb layer instead of running into it.
Making the Marshmallow Cream
Beat the marshmallow fluff and softened cream cheese until completely smooth before folding in the whipped topping. Any streaks of cream cheese will show up in the finished cup, so scrape the bowl and keep mixing until the texture looks even. Fold the whipped topping in slowly so the mixture stays airy.
Layering and Finishing
Spoon or pipe the layers into the cups in the same order each time: crumb, pudding, marshmallow cream, then repeat. A piping bag gives the cleanest edges, but a spoon works fine if you keep the layers low and level. Chill the cups for at least 2 hours so the filling firms up, and torch the mini marshmallows right before serving if you want that toasted top.
How to Adapt These S’mores Pudding Cups Without Losing the Structure
Dairy-Free Version
Use a dairy-free instant pudding mix if you can find one, then swap in unsweetened plant milk that matches the pudding brand’s setting instructions. Replace the cream cheese with a dairy-free cream cheese alternative that beats smooth, and use a non-dairy whipped topping. The texture will be a little lighter, but the cups still hold their layers well.
Gluten-Free Cups
Swap the graham crackers for certified gluten-free grahams or another gluten-free cookie with a similar crumb. The important part is the texture: you want a dry crumb that can soak up the butter and still stay crisp after chilling. If the cookie is sweeter than standard grahams, reduce the sugar in the base slightly.
Extra-Chocolate Version
Use chocolate graham crackers in the base and add a few chocolate shavings between the layers. This deepens the chocolate flavor and makes the dessert taste more like a frozen s’mores bar, but it also pushes the dessert sweeter, so keep the marshmallow layer a little thinner.
Storage and Reheating
- Refrigerator: Store covered for up to 3 days. The graham layer softens a little over time, but the cups still taste great.
- Freezer: I don’t recommend freezing these. The pudding and marshmallow layer can separate and turn watery as they thaw.
- Reheating: No reheating needed. Serve straight from the fridge, and torch the marshmallows only at the very end so the top stays fresh and the cups don’t warm up too much.
Questions I Get Asked About This Recipe
No-Bake S'mores Pudding Cups
Ingredients
Method
- Combine graham cracker crumbs, melted butter, and sugar until evenly mixed, then set aside for layering.
- Spoon a portion into each of 6 individual cups to form the first graham cracker pudding cup layer.
- Whisk instant chocolate pudding mix and cold whole milk for 2 minutes until thickened, with a smooth, spoonable texture.
- Refrigerate the chocolate pudding for 5 minutes to help it set slightly before assembling the cups.
- Beat marshmallow fluff and softened cream cheese together until smooth, glossy, and free of lumps.
- Fold in whipped topping until the mixture is light and fluffy, then use immediately for best texture.
- Layer the cups with chocolate pudding over the graham cracker crumble, keeping the top even.
- Add marshmallow cream on top of the chocolate pudding, then repeat the graham cracker, chocolate pudding, and marshmallow layers in each cup to match the three distinct levels.
- Finish each cup with extra graham cracker crumble, then top with mini marshmallows and chocolate shavings.
- Refrigerate for at least 2 hours so the layers firm up and slice cleanly.
- Just before serving, torch the mini marshmallows if desired for a lightly toasted campfire look.