These no bake pumpkin dream bars slice cleanly, hold their shape, and taste like the best part of pumpkin pie and cheesecake had a softer, fluffier meeting. The graham cracker crust stays sturdy under a thick pumpkin cream cheese layer, and the whipped topping on top gives each bite that cool, cloudlike finish people go back for before the pan even has time to warm up.
The key is balance. The cream cheese needs to be beaten until perfectly smooth before anything else goes in, because any lumps will stay lumps once the pumpkin and sugar are added. Folding in the whipped topping instead of stirring it hard keeps the filling light, and chilling the crust before layering gives you cleaner squares when it’s time to cut. A little cinnamon and crushed gingersnap on top is enough to give the whole dessert some snap without making it heavy.
Below, I’m walking through the little details that keep the bars firm instead of soft and messy, plus a few easy swaps if you want to change the spice level or make the dessert fit what’s in your pantry.
The filling set up perfectly after chilling overnight, and the gingersnap crumbs on top gave each square a little crunch without overpowering the pumpkin.
These No Bake Pumpkin Dream Bars set up with a fluffy pumpkin layer and a graham cracker crust that cuts cleanly after chilling.
The Trick to Bars That Slice Cleanly After Chilling
The biggest mistake with no bake layered bars is rushing the chill time. If the crust is still loose or the filling hasn’t had enough time to firm up, you end up with soft edges and a middle that slumps when you try to lift a square out of the pan. This version works because each layer gets just enough structure before the next one goes on.
Pressing the crust firmly into the pan matters more than people think. You want it packed enough that it behaves like a base, not loose crumbs waiting to scatter under the knife. The filling also needs to be spread in an even layer all the way to the corners so the bars chill at the same rate from edge to center.
- Chilled crust: A cold crust holds together better when the creamy layer goes on top, and it keeps the bottom from turning sandy.
- Softened cream cheese: Cold cream cheese stays lumpy. Let it sit until it yields easily when pressed, or you’ll be beating forever trying to smooth it out.
- Full chill: Four hours is the minimum, but overnight gives the cleanest slices and the most stable texture.
What Each Layer Is Doing in These Pumpkin Dream Bars
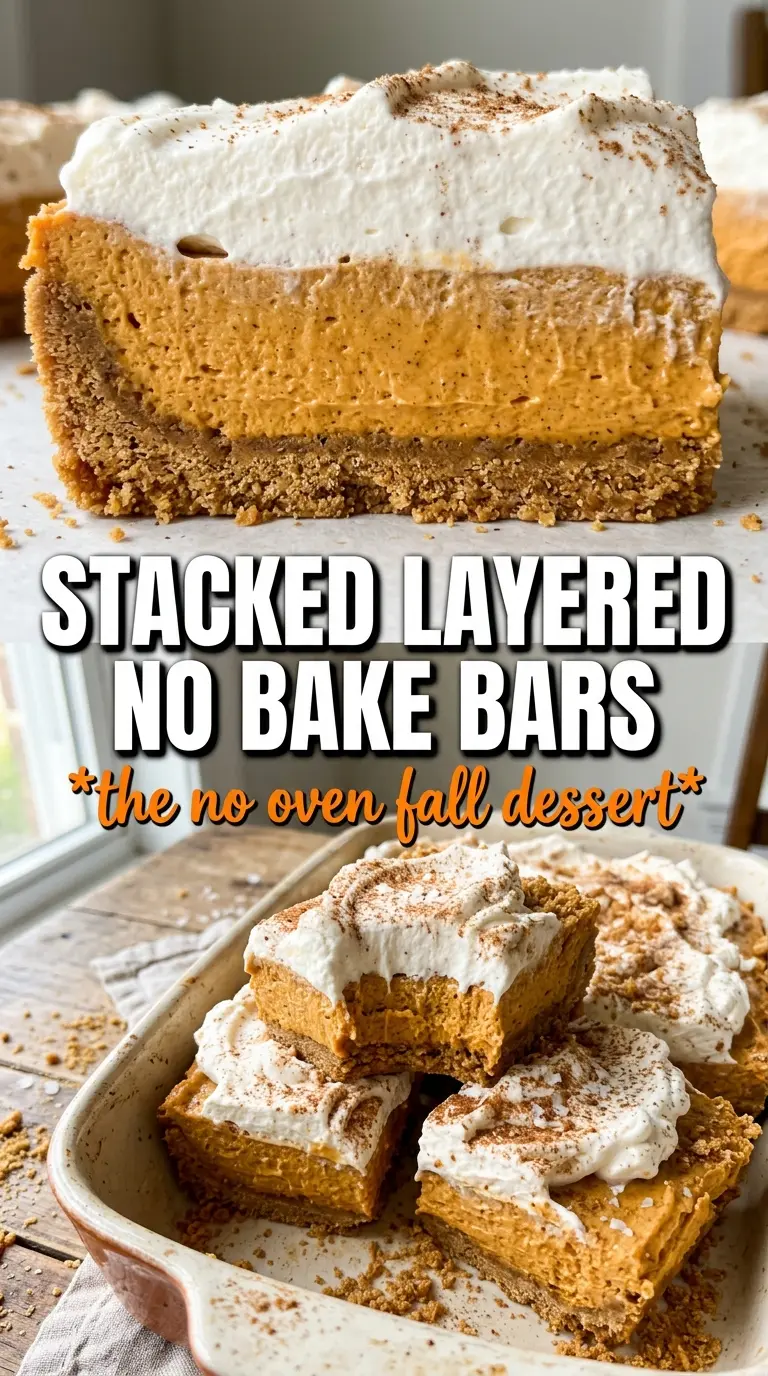
- Graham cracker crumbs: These give the bars their buttery, toasty base. Fresh crumbs from whole crackers or pre-crushed crumbs both work, but you want fine crumbs so the crust packs tightly and doesn’t crumble apart when sliced.
- Butter: Melted butter is what binds the crust together. If the mixture looks dry and won’t clump when pressed, it needs a little more butter, but don’t overdo it or the crust turns greasy.
- Cream cheese: This is the backbone of the filling and gives the bars their cheesecake-like body. Full-fat cream cheese gives the best texture here; reduced-fat versions can set, but the filling won’t taste as rich and may feel a little softer.
- Pumpkin puree: Use pure pumpkin, not pumpkin pie filling. Pie filling already has sugar and spice mixed in, which throws off the balance and can make the bars too soft.
- Whipped topping: This lightens the filling and keeps it mousse-like instead of dense. Homemade whipped cream can work, but it won’t hold as long, so these bars are best served the same day if you swap it in.
- Gingersnap crumbs: The topping is small, but it matters. The spicy crunch cuts through the sweet filling and gives the finished bars a little bite.
Building the Crust and Filling Without Losing the Fluff
Pressing the Crust First
Mix the graham crumbs, sugar, and melted butter until the crumbs look evenly moistened, then press them firmly into a 9×13 pan. Use the bottom of a measuring cup or glass to pack it down evenly, especially into the corners where loose crumbs tend to collect. Chill the crust for 20 minutes so it firms up before the filling goes on. If you skip that rest, the filling can tug at the crust and leave you with a messy bottom edge.
Whipping the Pumpkin Layer Smooth
Beat the cream cheese until it looks completely smooth before adding the pumpkin, powdered sugar, spices, and vanilla. Once the pumpkin goes in, scrape the bowl well so there aren’t streaks of plain cream cheese hiding at the bottom. Fold in two-thirds of the whipped topping with a spatula, not the mixer, or you’ll knock the air out and end up with a heavier layer. The filling should look light, thick, and spreadable, not runny.
Finishing and Chilling the Bars
Spread the pumpkin filling over the cold crust in an even layer, then spoon the remaining whipped topping over the top. Work gently so you don’t drag crumbs into the white topping. Finish with a dusting of cinnamon and a scatter of crushed gingersnaps, then chill until firm. If you cut them before they’ve set, the top layer will smear instead of stack cleanly on the crust.
How to Adapt These Bars When You Need a Different Finish
Dairy-Free Version
Use dairy-free cream cheese and a coconut-based whipped topping with a neutral flavor. The bars will still chill and slice, but the filling will taste a little softer and less tangy than the original. Keep the chill time on the longer side so the dairy-free filling has time to firm up.
Gluten-Free Crust
Swap the graham crackers for gluten-free graham-style crumbs or another gluten-free cookie crumb that toasts well. The texture stays nearly the same if the crumbs are fine and the butter ratio stays unchanged. Just check that your gingersnaps are gluten-free too if you’re using them on top.
A Stronger Spice Finish
Add an extra 1/2 teaspoon of pumpkin pie spice or a pinch of ground ginger if you want the pumpkin layer to lean warmer and more bakery-style. Don’t increase the cinnamon too aggressively, or it takes over the filling instead of supporting it. The gingersnap topping can stay the same, since it adds the sharper spice note on the surface.
Storage and Reheating
- Refrigerator: Store covered for up to 4 days. The crust softens a little over time, but the bars still slice well.
- Freezer: These freeze well. Cut into bars, wrap individually, and freeze in a sealed container for up to 1 month. Thaw in the refrigerator so the filling doesn’t weep.
- Reheating: No reheating needed. Serve them cold from the fridge for the best texture; warming them will loosen the filling and make the layers slide.
Questions I Get Asked About These No Bake Pumpkin Dream Bars
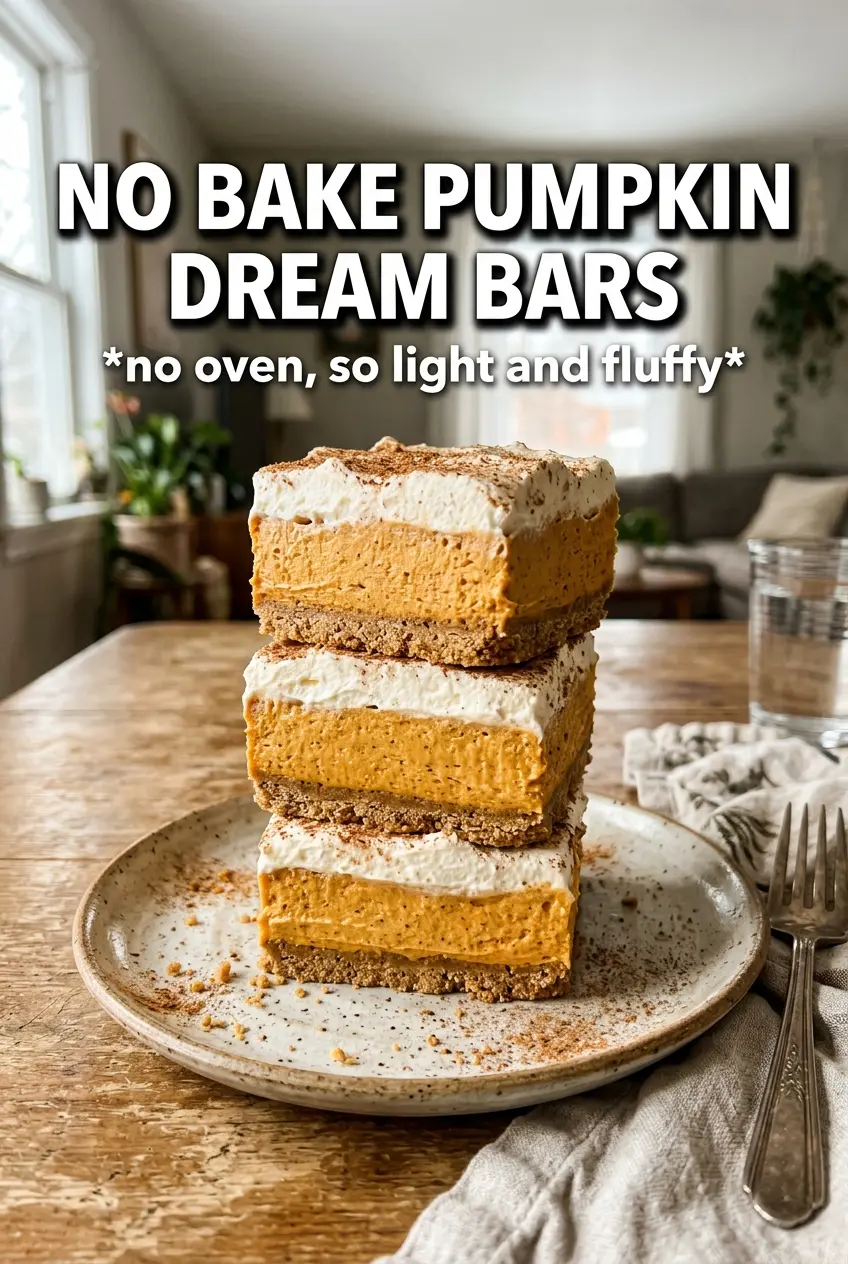
No Bake Pumpkin Dream Bars
Ingredients
Equipment
Method
- Press the graham crust mixture into a 9x13 pan, packing it evenly. Refrigerate for 20 minutes to set.
- Beat the softened cream cheese until smooth. Add the pumpkin puree, powdered sugar, pumpkin pie spice, cinnamon, and vanilla, then beat until fully combined.
- Fold in 2/3 of the thawed whipped topping until no streaks remain. Spread the pumpkin cream cheese layer over the chilled crust in an even layer.
- Spread the remaining whipped topping over the pumpkin layer. Dust with cinnamon and scatter the crushed gingersnap cookies on top.
- Refrigerate for 4 hours or overnight until firm. Cut into bars after the top sets and the layers hold together.