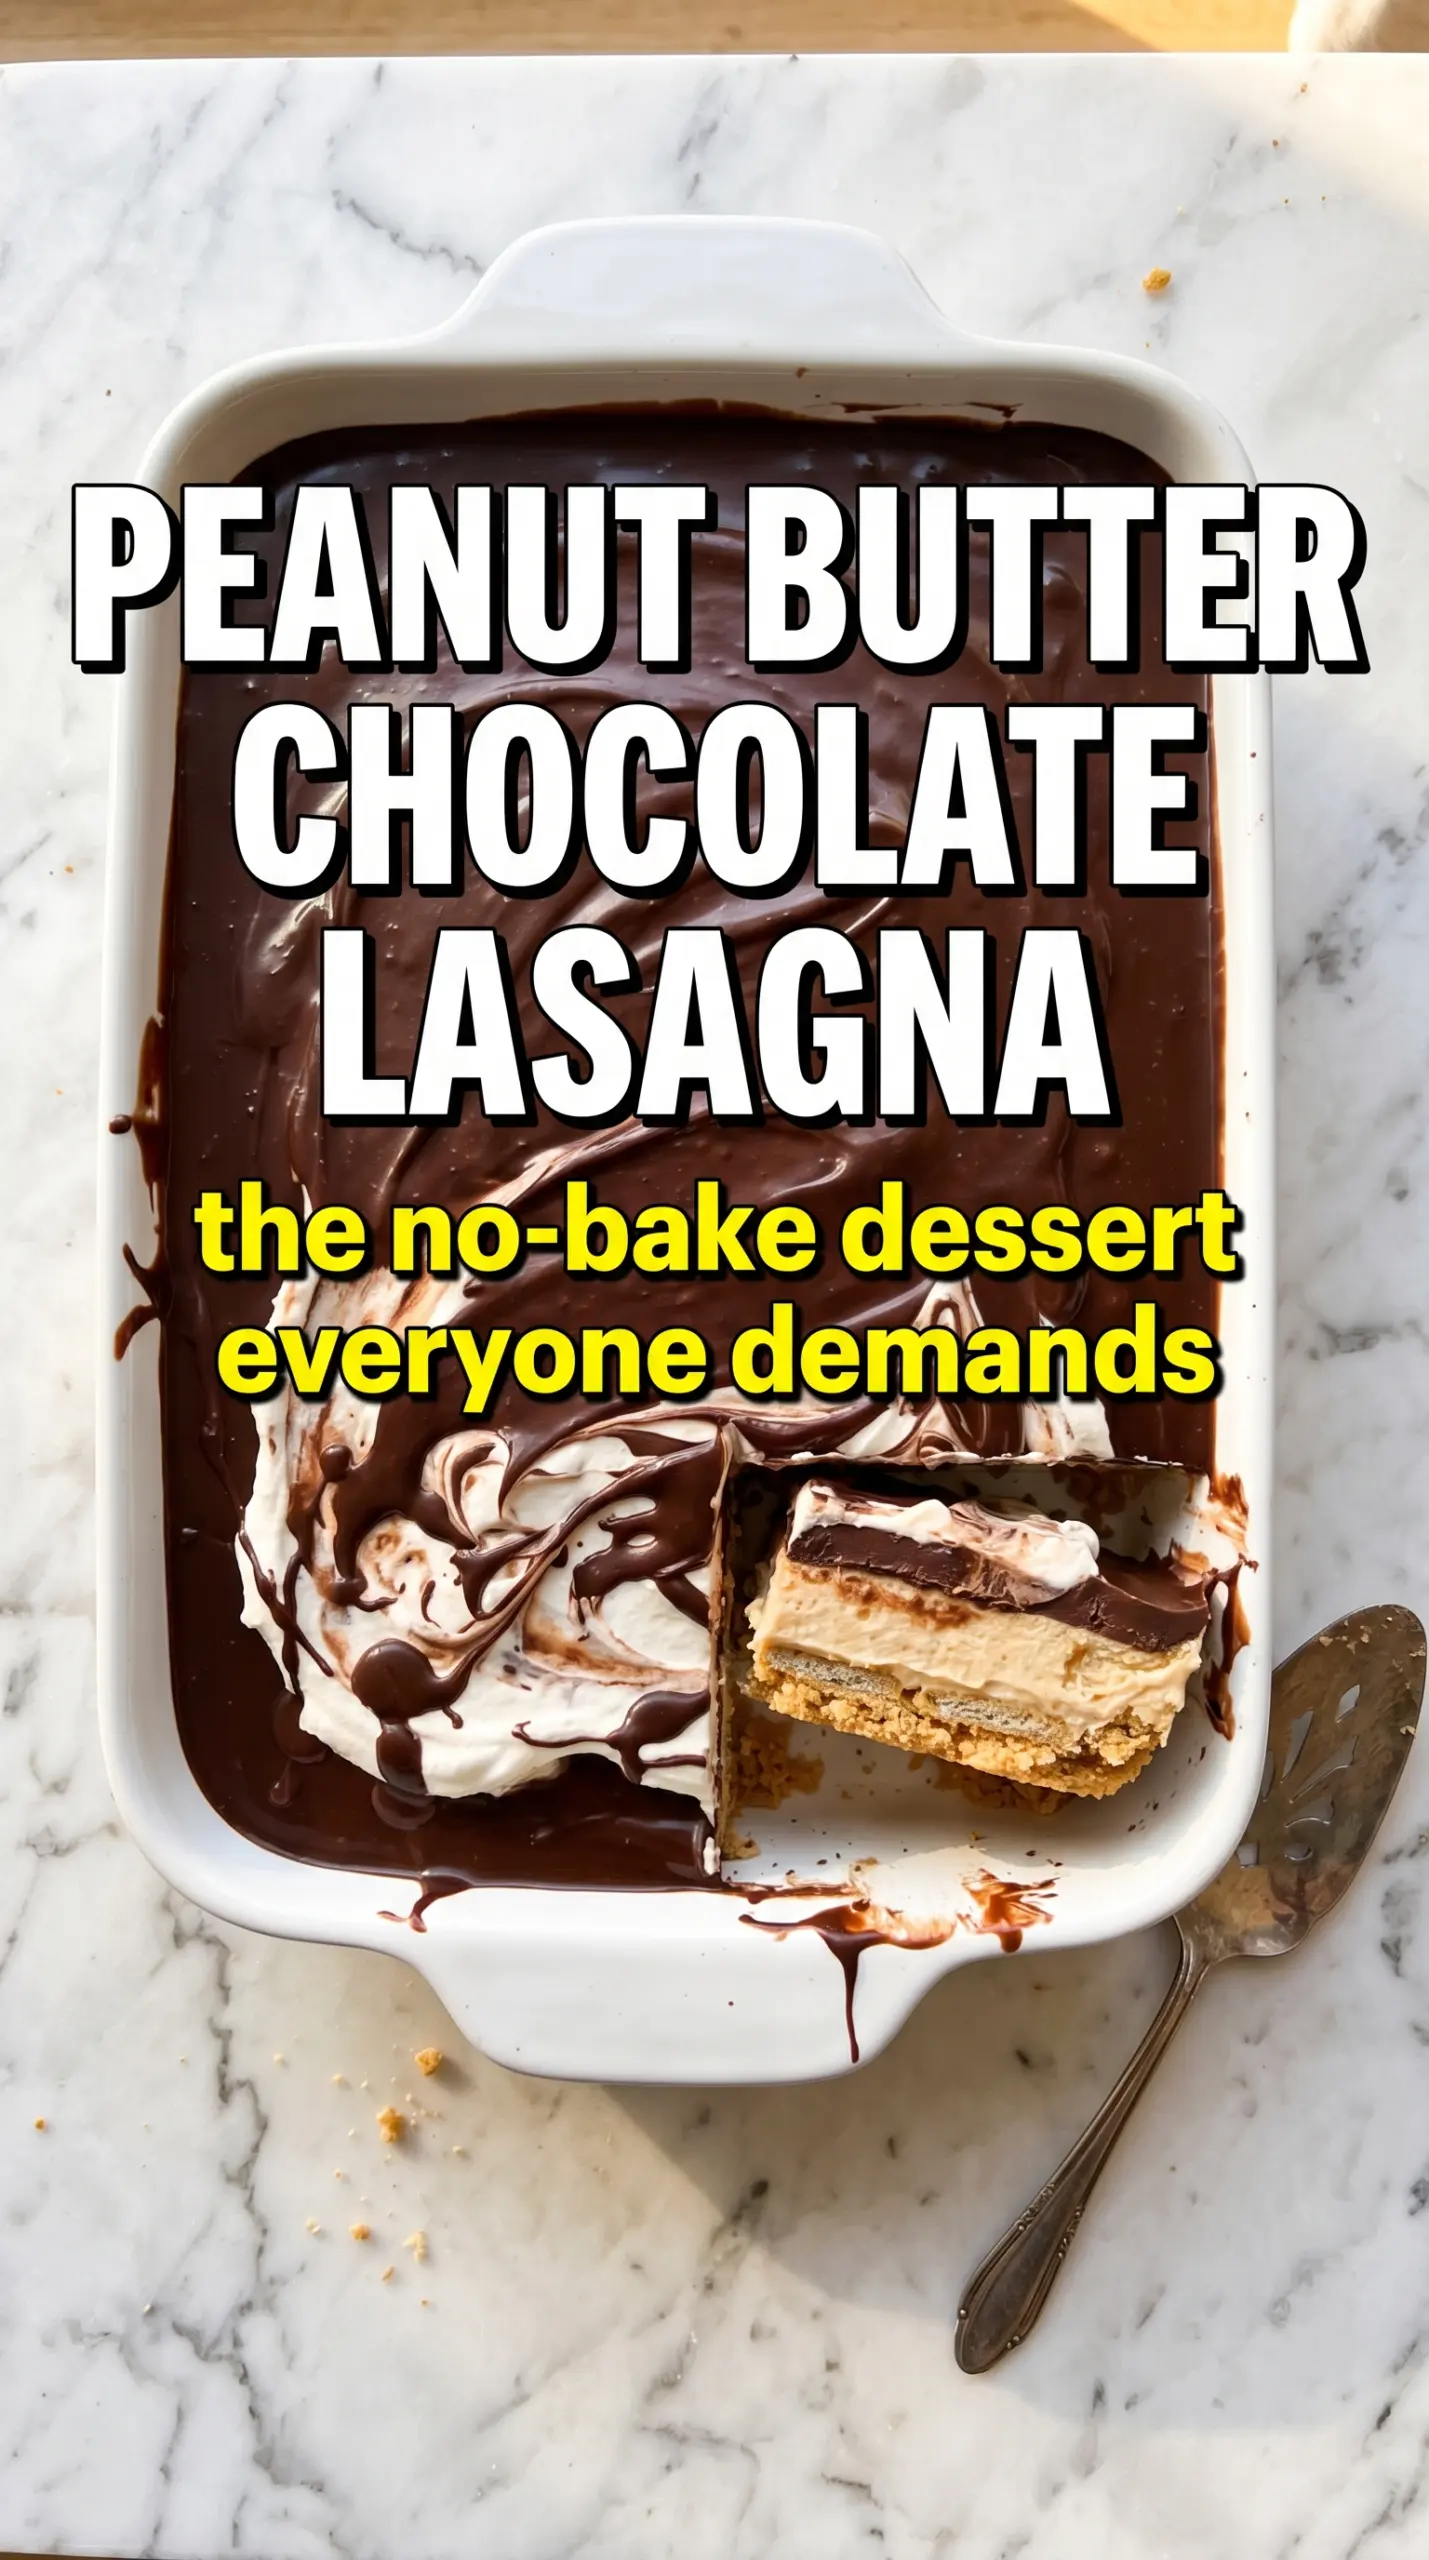
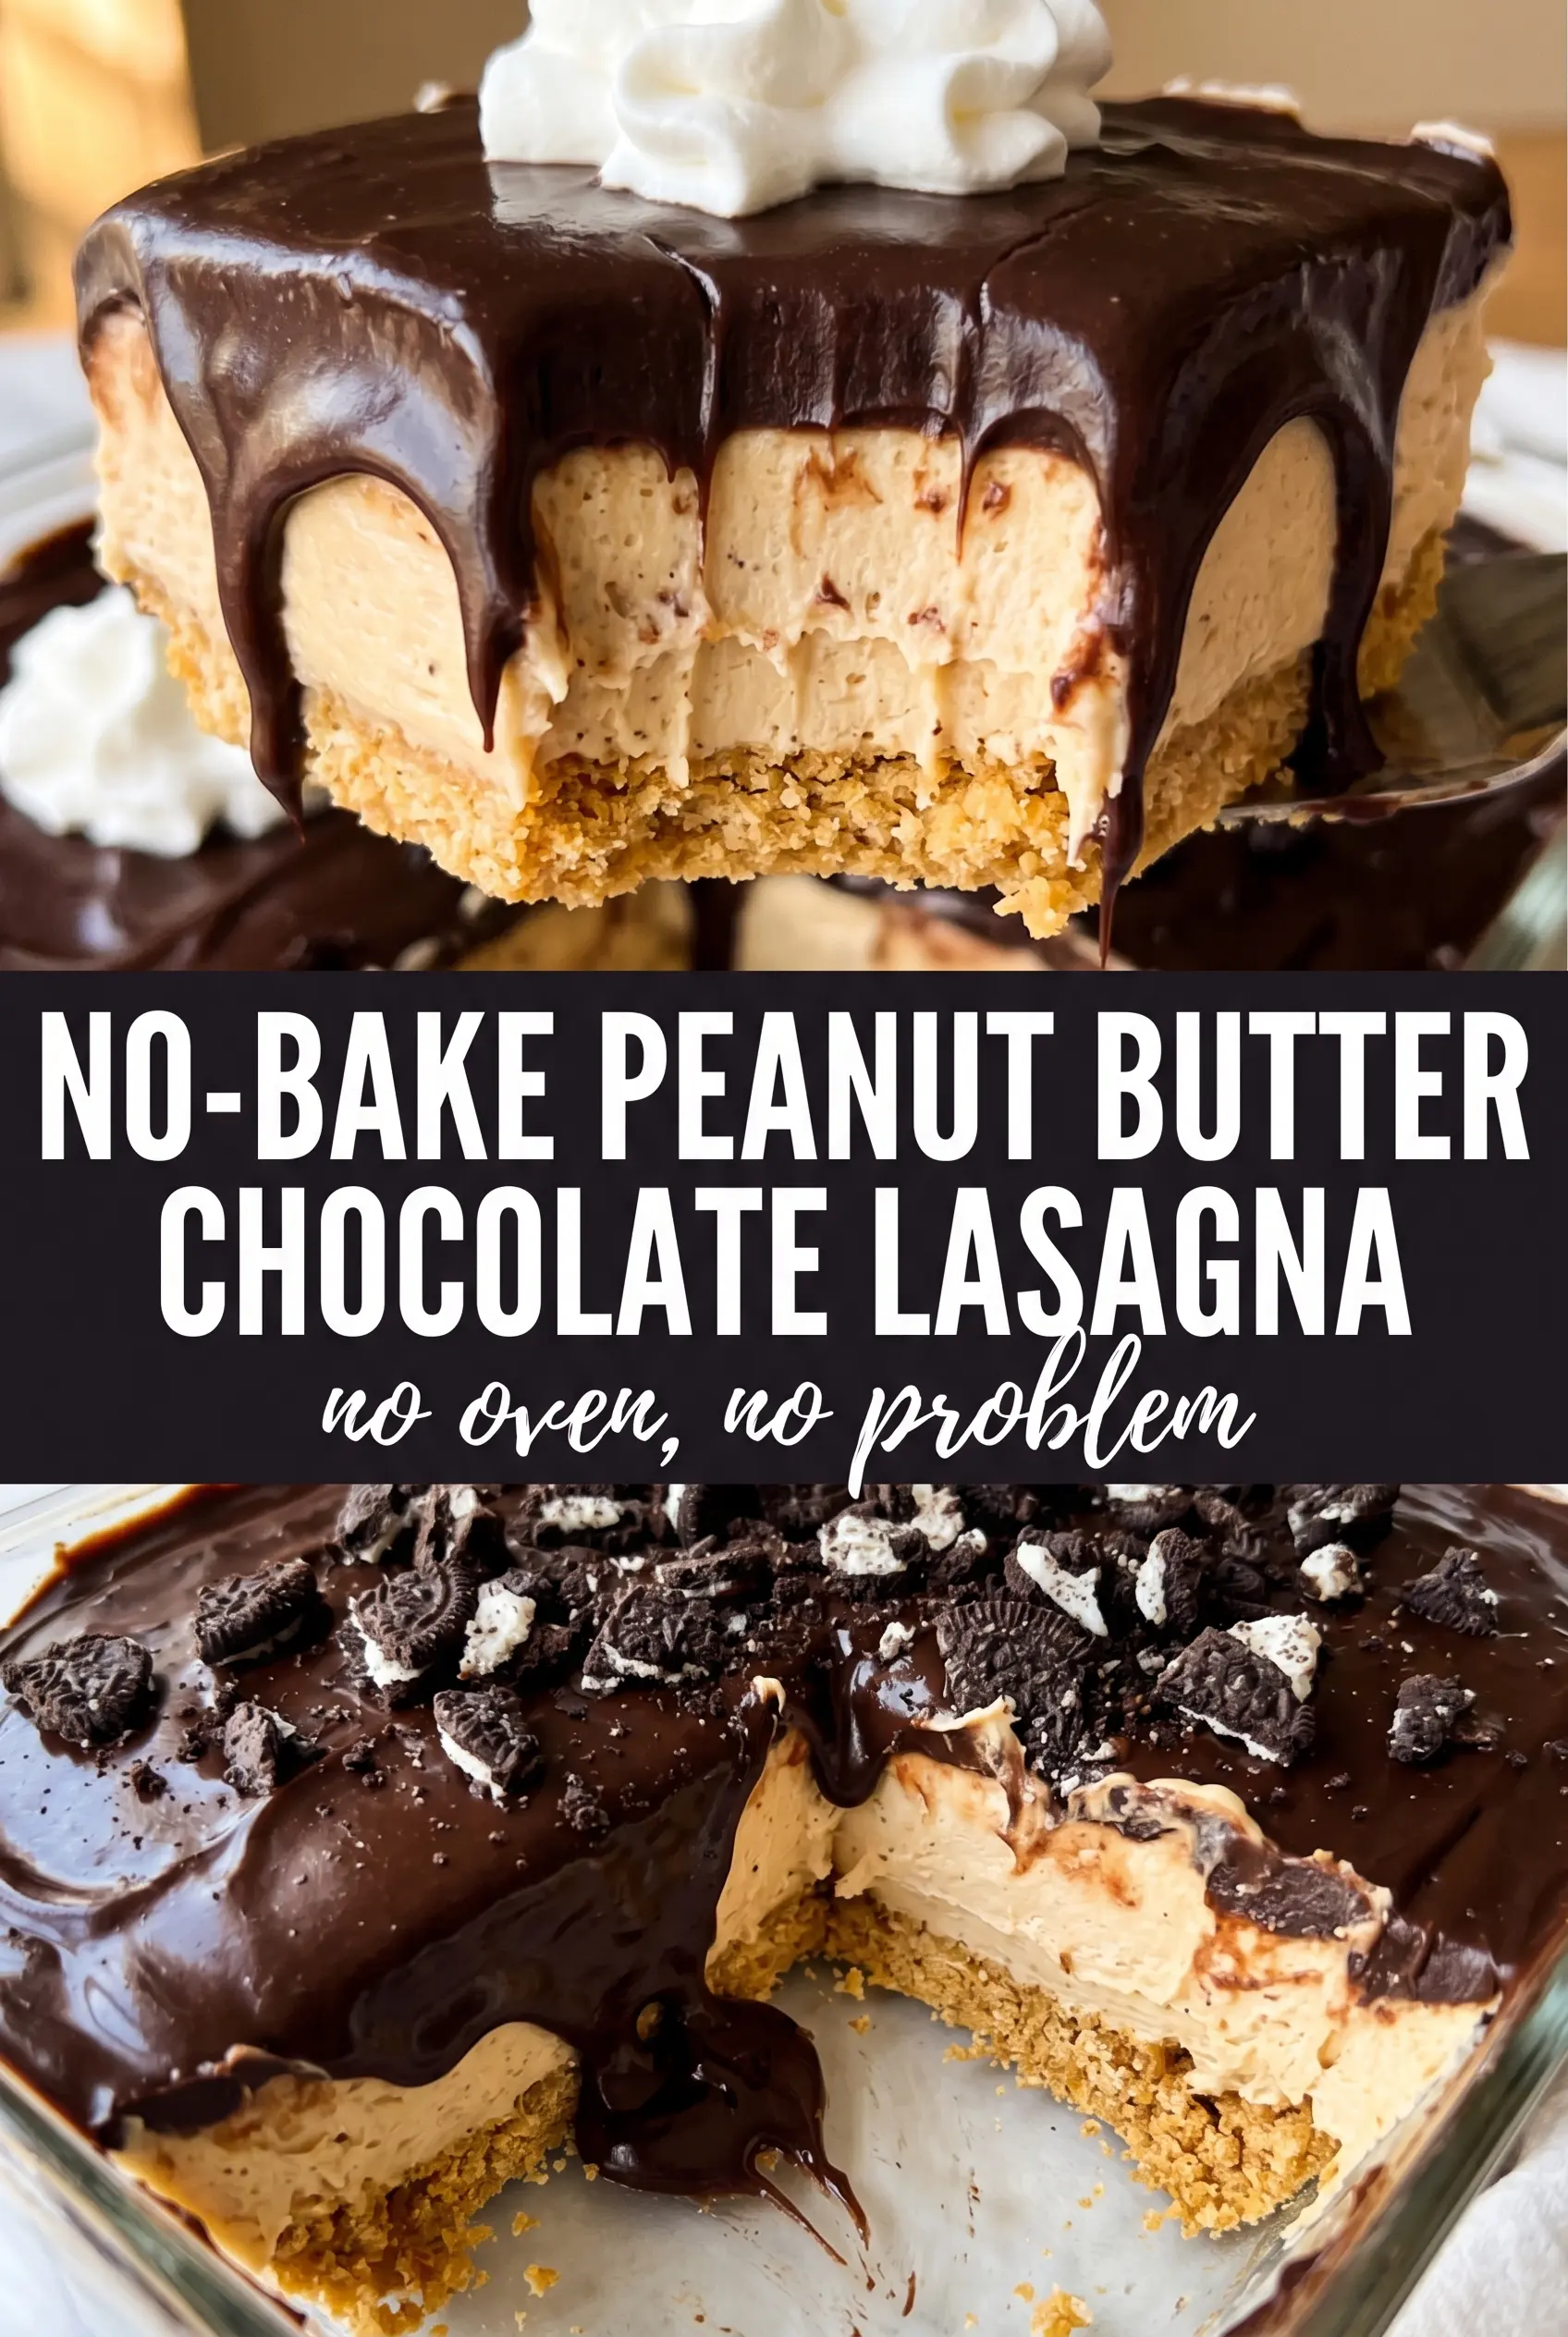
Cold, creamy layers and a chocolate cookie crust make this no-bake peanut butter chocolate lasagna one of those desserts that disappears fast from a holiday table or a weeknight fridge raid. The contrast is the whole point: a firm Oreo base, a fluffy peanut butter cheesecake layer, a smooth chocolate pudding middle, and a cloud of whipped topping on top. Every bite lands with crunch first, then creaminess, then that familiar peanut butter and chocolate combo that never gets old.
What keeps this version from turning muddy is the order and the texture of each layer. The crust gets chilled before the filling goes in, which helps it set enough to support the peanut butter layer. The peanut butter mixture is beaten until light before the whipped topping is folded in, so it stays spreadable instead of dense. Instant pudding works here because it thickens fast and slices cleanly after chilling; cooked pudding would be softer and harder to layer neatly.
Below, I’ve included the little things that matter most, like how to keep the layers distinct, what to swap if you need a different cookie crust, and how far ahead you can make it without losing that clean slice.
The layers held their shape beautifully after chilling overnight, and the peanut butter filling was fluffy without being heavy. My slice came out clean with all five layers showing, just like the picture.
Save this no-bake peanut butter chocolate lasagna for the kind of dessert that slices cleanly and chills into neat, distinct layers.
The Mistake That Turns Layered Dessert Lasagna Heavy and Soft
The biggest failure in desserts like this is rushing the chill time between layers. If the crust is still loose, the peanut butter layer sinks in and muddies the edges. If the pudding is spread before it has thickened, it seeps into the cream layer instead of sitting in a clean middle band. The fix is simple: chill the crust briefly, beat the filling until it looks light and spreadable, and let the pudding thicken for the full two minutes before it touches the pan.
- Crushed Oreos — These give you the right dark, chocolatey base without extra baking. Crush them finely so the crust packs tightly and slices without crumbling apart.
- Butter — Melted butter is what binds the crust. There isn’t a great substitute here if you want that firm, sliceable bottom, though coconut oil can work in a pinch with a slightly softer set.
- Cream cheese — This is what gives the peanut butter layer body and tang. It needs to be softened before beating, or you’ll end up with little lumps that never fully smooth out.
- Creamy peanut butter — Use a standard creamy style, not a natural one that separates heavily. Natural peanut butter can work, but it’s less stable and the filling may loosen as it chills.
- Whipped topping — This lightens both the peanut butter layer and the top layer. Real whipped cream can be used, but it softens faster and the dessert won’t hold its edges quite as long.
- Instant chocolate pudding mix — Instant pudding is the shortcut that gives you the stable middle layer this dessert needs. Cook-and-serve pudding won’t set the same way in a layered pan dessert.
What Each Ingredient Is Actually Doing in This Recipe
- Primary ingredient (the star) — Quality matters most. Choose the best you can find.
- Cooking medium (oil, butter, or broth) — This carries flavors and prevents dryness.
- Seasonings (salt, pepper, spices, herbs) — Layer flavors so nothing overpowers. Build depth gradually.
- Aromatics (garlic, onion, herbs) — Cook with fat to bloom flavors. Become the foundation.
- Supporting ingredients — Complement the main ingredient without overpowering it.
- Sauce or liquid (if applicable) — Brings flavors together. Balance richness with acid.
- Acid (lemon, vinegar, wine, or other) — Brightens and prevents flat-tasting results.
- Final finish (garnish, glaze, or sauce) — Prevents one-dimensional taste and adds visual appeal.
Building the Layers So Each One Stays Clean
Pressing the Oreo Crust
Mix the crushed Oreos with melted butter until every crumb looks damp, then press the mixture firmly into a 9×13 dish. Use the bottom of a measuring cup to get the crust packed flat, especially into the corners. A loose crust breaks apart when you cut the first slice. Chill it for about 15 minutes so it firms up before the filling goes on.
Making the Peanut Butter Layer
Beat the cream cheese, peanut butter, powdered sugar, and vanilla until the mixture looks smooth and lighter in color. If the cream cheese is cold, the filling will stay speckled with lumps, so let it soften first. Fold in the whipped topping instead of beating it hard; that keeps the layer airy. Spread it gently over the chilled crust so you don’t pull up crumbs from the bottom.
Setting the Chocolate Middle
Whisk the pudding mix with cold milk for a full two minutes. It should thicken to a spoonable consistency before you spread it. If it’s still runny, it will slide into the peanut butter layer and blur the stripes. Work quickly once it’s mixed, because instant pudding starts setting fast.
Finishing and Chilling
Spread the remaining whipped topping over the pudding in an even layer, then add the chopped peanut butter cups, chocolate shavings, and drizzle. Hold the pan level while you decorate or the toppings will sink to one side. Chill for at least four hours, and overnight is better if you want sharp, bakery-style slices. The dessert cuts best when it’s fully cold from edge to center.
How to Adapt This No-Bake Dessert for Different Needs
Use a different cookie crust
Chocolate graham crackers or chocolate wafer cookies can replace the Oreos if you want a less intense chocolate base. The crust will be a little lighter and more crumbly, so press it firmly and chill it well before layering.
Make it gluten-free
Use gluten-free sandwich cookies in place of the Oreos and confirm that your pudding mix is gluten-free. The texture stays close to the original, and the rest of the ingredients already fit without much adjustment.
Swap the peanut butter for almond butter
Almond butter gives a slightly sweeter, less salty filling with a softer peanut-butter-cup style finish. Use a thick, well-stirred almond butter, since thinner versions can make the filling looser.
Storage and Reheating
- Refrigerator: Cover and chill for up to 4 days. The crust softens a little over time, but the dessert still slices neatly.
- Freezer: It freezes well for up to 1 month if wrapped tightly. Freeze slices on a tray first, then wrap individually so the layers stay intact.
- Reheating: No reheating needed. Thaw frozen slices in the refrigerator, not on the counter, so the pudding layer doesn’t weep and the top stays smooth.
Questions I Get Asked About This Recipe
No-Bake Peanut Butter Chocolate Lasagna
Ingredients
Equipment
Method
- Mix finely crushed Oreo cookies with melted butter until combined, then press the mixture firmly into the bottom of a 9x13 dish. Refrigerate for 15 minutes so the crust firms up.
- Beat softened cream cheese, creamy peanut butter, powdered sugar, and vanilla extract until smooth and fluffy, then fold in 1 cup whipped topping. Spread the mixture evenly over the chilled Oreo crust.
- Whisk instant chocolate pudding mix with cold whole milk for 2 minutes until thickened, then spread it evenly over the peanut butter layer. Press lightly to level the surface.
- Spread the remaining 2 cups whipped topping over the chocolate pudding layer to cover it completely. Scatter chopped Reeses Peanut Butter Cups and chocolate shavings over the top, then drizzle with peanut butter.
- Refrigerate the lasagna for at least 4 hours or overnight until fully set. Slice into squares and serve cold.