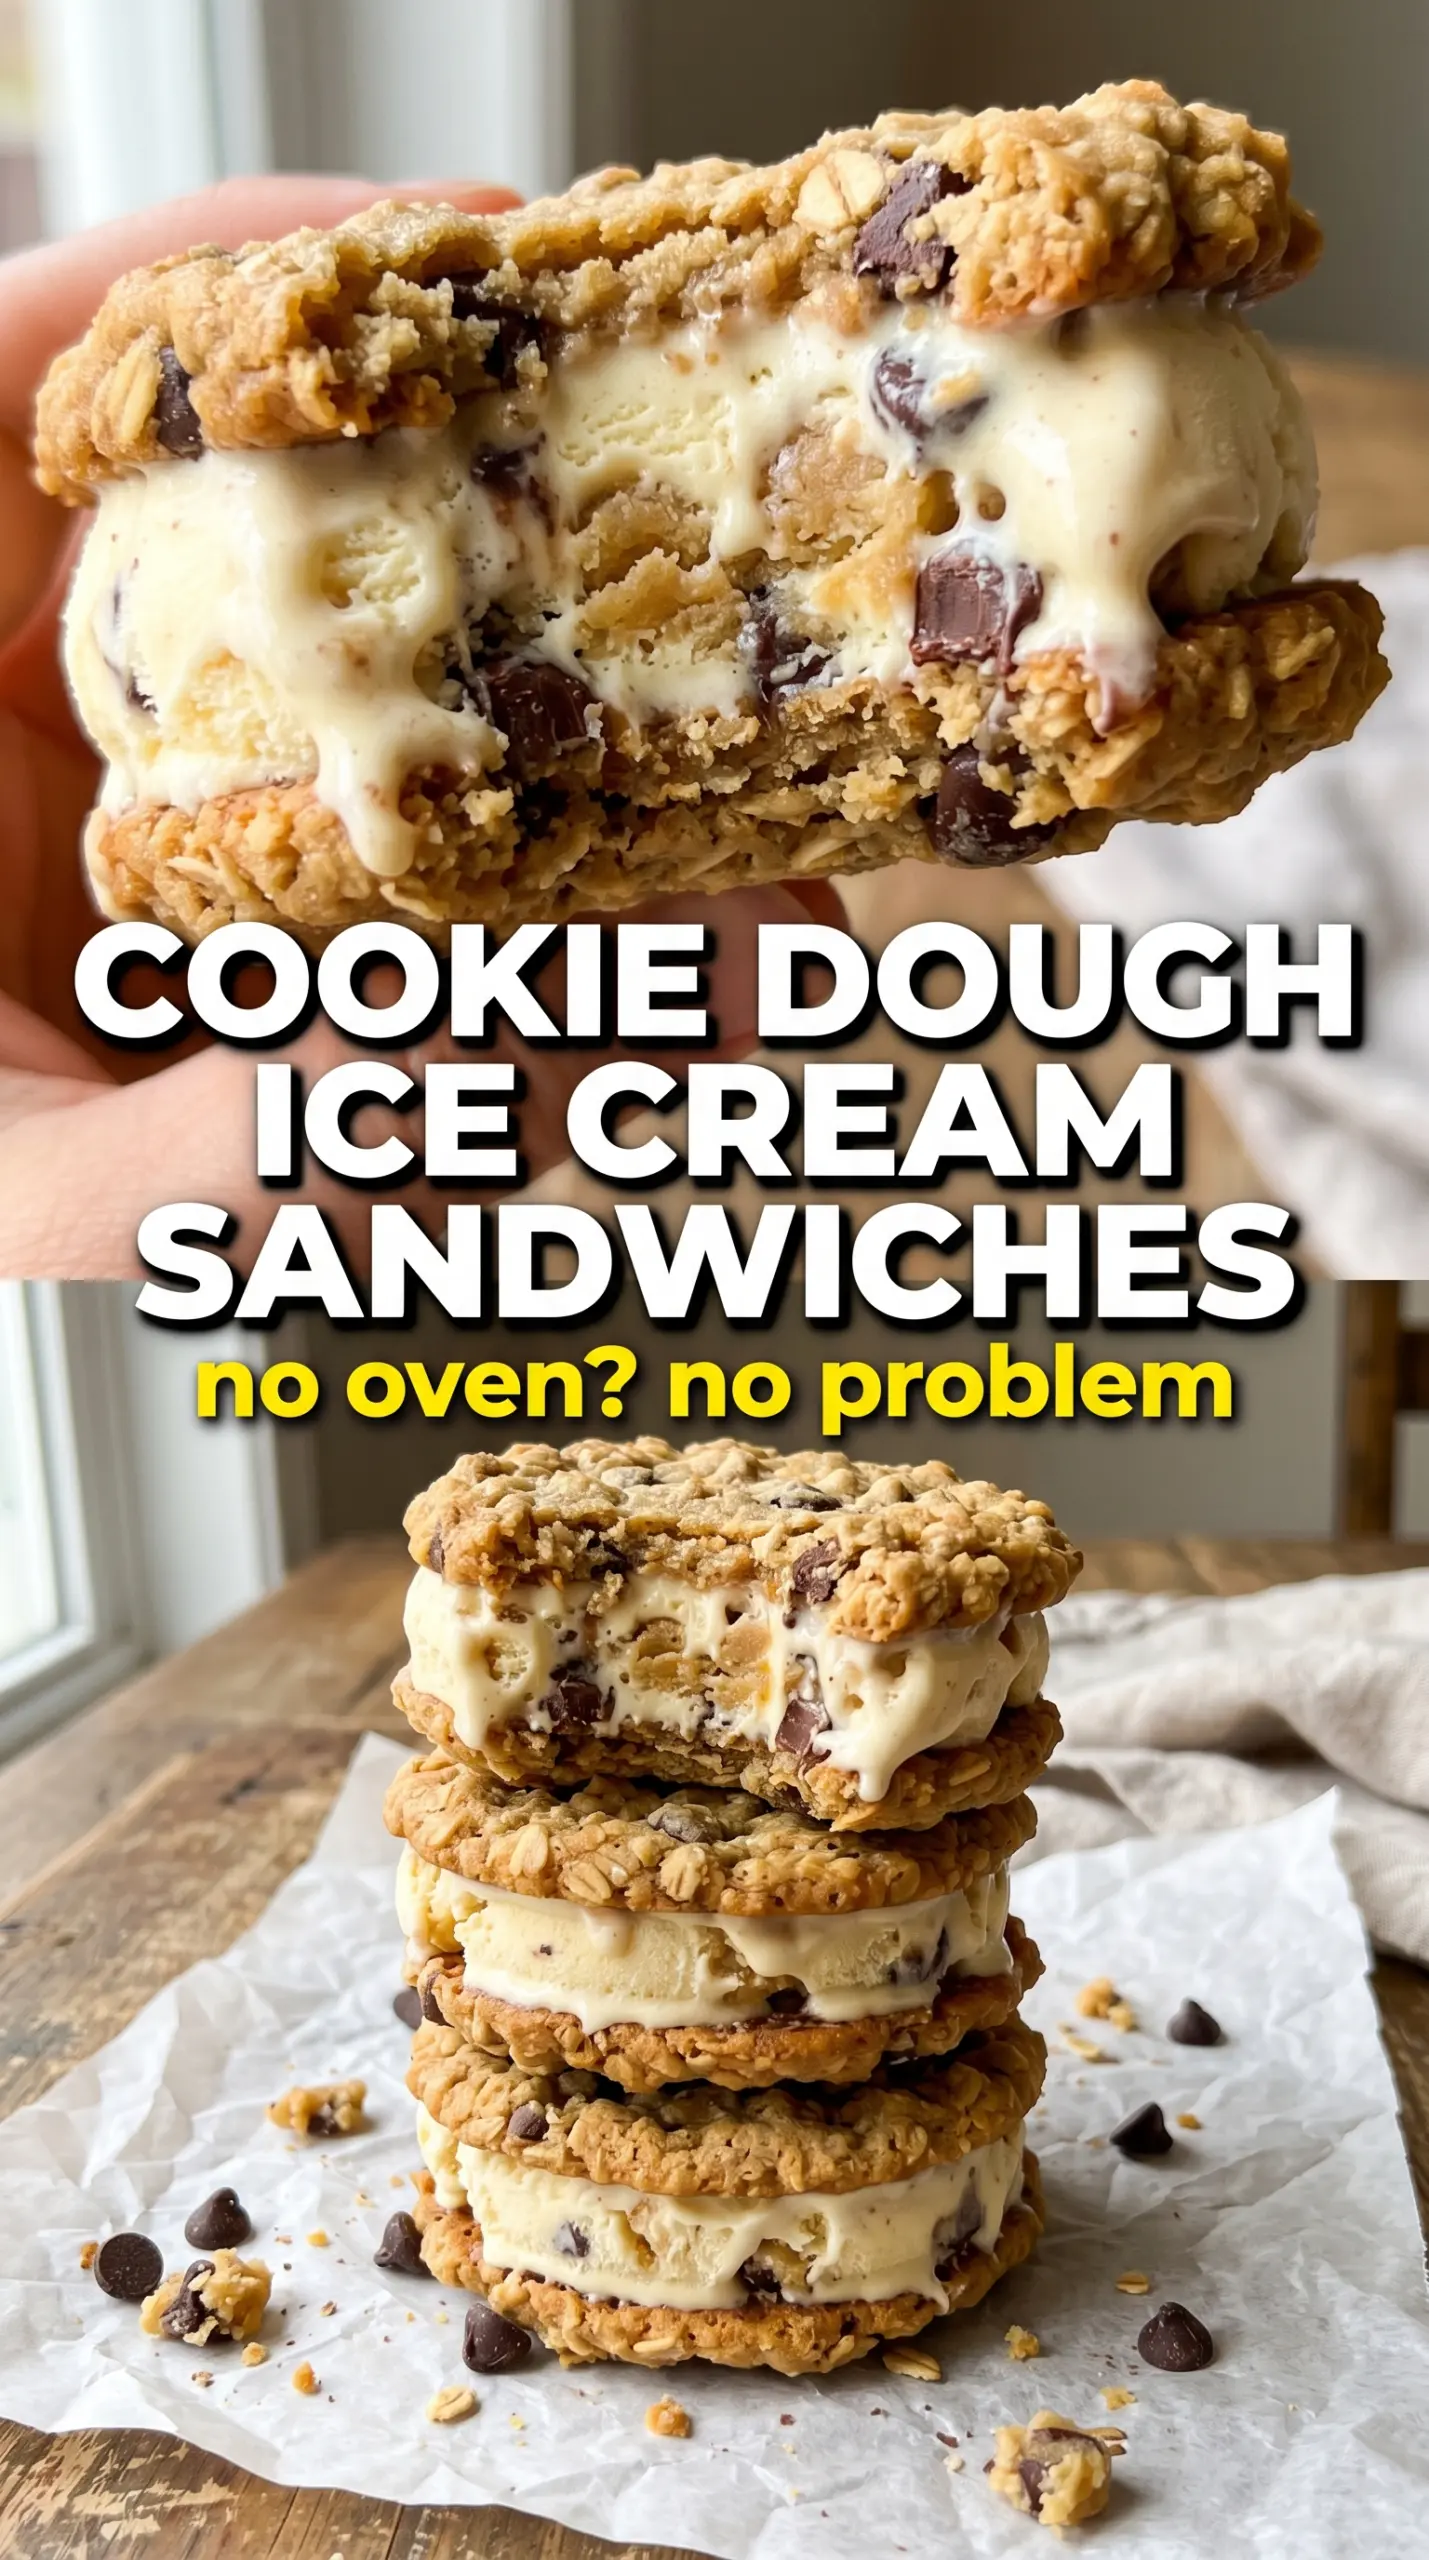
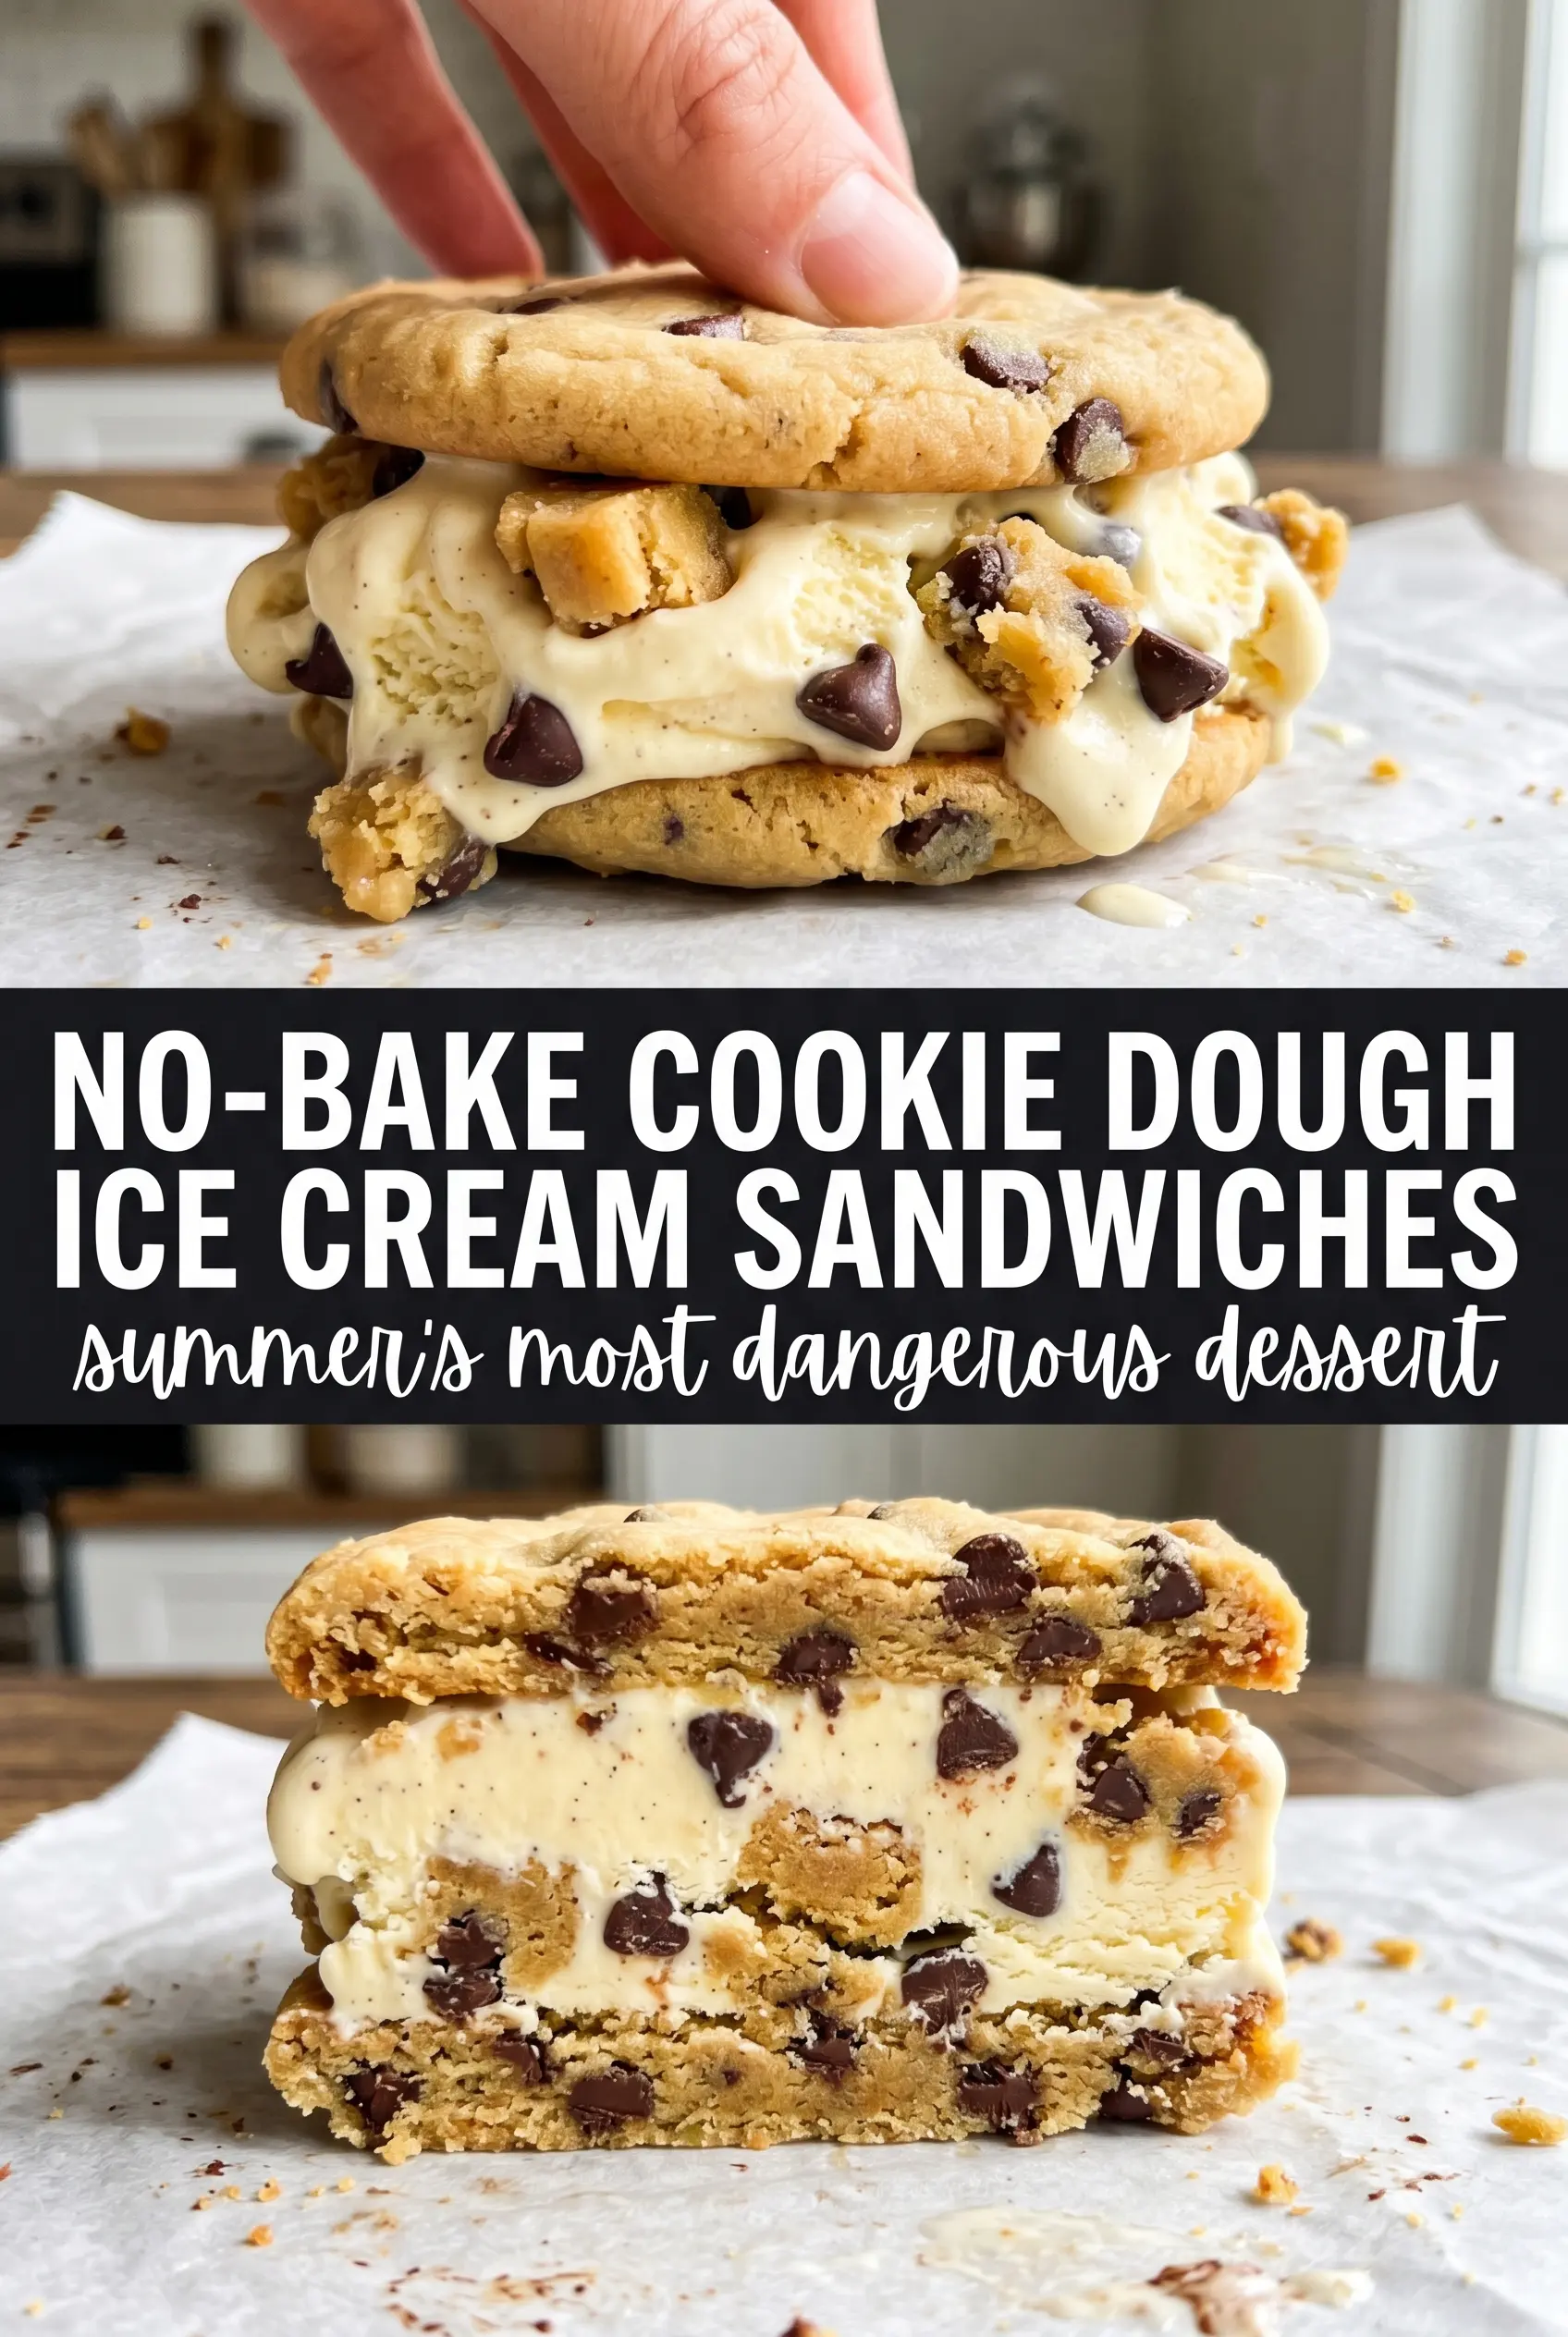
Thick slabs of edible cookie dough and a center of vanilla ice cream make these sandwiches feel like something you’d get from a specialty shop, but they’re built with a handful of everyday ingredients and no oven time for the finished dessert. The dough stays soft and biteable even when frozen, which is what keeps each sandwich from eating like a brick. Instead, you get a cold, creamy middle and a cookie dough shell that holds together just long enough to slice and serve cleanly.
The trick is treating the dough like a proper no-bake base instead of a loose cookie dough bowl filling. Heat-treated flour takes away the raw-flour issue, and the butter-sugar mixture gets beaten until light so the finished dough doesn’t turn dense after freezing. The ice cream layer also needs a few minutes to soften; if it’s too hard, the top dough slab will crack when you try to set it in place. Once you know that rhythm, the whole dessert comes together fast.
Below, I’ve included the exact freezing cue that keeps the layers neat, plus a couple of swaps that still give you a sandwich with that same thick, bakery-style feel.
The dough froze up firm enough to slice cleanly, but it still stayed soft when we ate it. I loved that the ice cream layer didn’t squish out everywhere once I let the sandwiches sit for just a minute.
Save these cookie dough ice cream sandwiches for the kind of dessert that slices neatly, freezes solid, and still eats soft at the center.
The Part That Keeps the Dough Soft Instead of Turning Icy
The difference between a creamy sandwich and a hard block is how much air you beat into the dough before it ever goes near the freezer. When the butter and sugars are whipped until fluffy, the dough traps enough structure to stay tender after freezing instead of setting up dense and chewy in a bad way. That lighter base also helps the sandwich slice cleanly once the ice cream has firmed up.
The other point that matters is balance. Too much flour makes the dough dry and crumbly, and too little leaves it sticky enough to smear when you try to assemble it. Heat-treated flour gives you safety, but it still needs to be measured carefully so the layers press into a smooth slab that holds its shape.
- Heat-treated all-purpose flour — This is nonnegotiable here because the dough isn’t baked. Baking it at 350°F for 5 minutes is enough to make it safe, and cooling it before mixing keeps the butter from melting on contact.
- Mini chocolate chips — Mini chips spread more evenly through the dough than full-size chips and make slicing easier. Big chips can tear the frozen layers when the knife cuts through.
- Vanilla ice cream — A plain vanilla base lets the cookie dough stay the star. Slightly softened ice cream spreads without ripping the bottom layer; if it’s rock hard, the top slab will crack when you press it on.
- Brown sugar — This gives the dough that classic cookie dough taste and a softer chew after freezing. Granulated sugar alone won’t bring the same depth or the same plush texture.
What Each Ingredient Is Actually Doing in This Ice Cream
- Base ingredient (cream, milk, or custard) — This provides the foundation and richness. Quality matters.
- Sweetener (sugar, honey, or condensed milk) — This sweetens and prevents ice crystals. The ratio is critical.
- Flavor element (vanilla, fruit, chocolate, or other) — This defines the ice cream personality. Use quality ingredients.
- Egg yolks (if making custard base) — These create richness and silky texture. Optional but elevates ice cream.
- Churning (if using ice cream maker) — This incorporates air and prevents ice crystals. Critical for smooth texture.
- Freezing temperature and time — Proper freezing prevents rock-hard texture. Store at 0°F or below.
- Mix-ins (chocolate, cookies, fruit, or swirls) — These add texture and prevent one-dimensional flavor. Add near end of churning.
- Serving temperature (slightly soft, not rock hard) — This provides creamy mouthfeel. Remove from freezer 5 minutes before serving.
Building the Sandwiches So the Layers Stay Clean
Whipping the Base
Beat the softened butter with the brown sugar and granulated sugar until the mixture looks pale and fluffy, not greasy and grainy. That takes a couple of minutes longer than most people expect, but it pays off in texture. Add the milk, vanilla, and salt next, then mix until the base looks smooth and glossy. If the butter is still cold, the sugar won’t dissolve properly and the finished dough will feel sandy.
Forming the Dough
Stir in the cooled heat-treated flour until the dough just comes together, then fold in the mini chocolate chips. Stop mixing as soon as no dry flour remains; overmixing makes the dough tough and stiff. Divide it in half and press each portion into an even slab in a parchment-lined 9×13 pan. Uneven thickness is the main reason these sandwiches break later, so spend a minute smoothing the corners.
Freezing and Assembling
Freeze the dough layers until firm before adding the ice cream. This first chill keeps the dough from stretching or sticking when you lift it out of the pan. Spread the softened vanilla ice cream in an even 1-inch layer over one frozen slab, then flip the second slab on top with the parchment as support. Press lightly to seal the layers; if you press hard, the ice cream will squeeze out the sides instead of staying neatly centered.
Setting and Slicing
Give the assembled dessert at least 2 hours in the freezer so the center firms all the way through. For clean cuts, use a warm knife and wipe it between slices. If the knife drags, the sandwiches usually need another 15 to 20 minutes in the freezer. Serve right away, or wrap each piece individually before storing them.
How to Adapt These Cookie Dough Ice Cream Sandwiches Without Losing the Fun Part
Dairy-Free Version
Use a plant-based butter that behaves like regular butter and swap in a creamy dairy-free vanilla ice cream. The texture will stay close, but the dough may freeze a little firmer, so let the sandwiches sit for 2 to 3 minutes before slicing or serving.
Gluten-Free Swap
A 1:1 gluten-free flour blend works best here, especially one with xanthan gum already included. The dough may seem a little softer at first, but it firms up well once frozen. Avoid almond flour on its own; it won’t give you the same sliceable slab.
Chocolate Lover’s Version
Swap half the vanilla ice cream for chocolate ice cream, or use a mix of mini chocolate chips and chopped chocolate for a heavier chocolate bite. The result is richer and a little less classic, but the layered texture stays the same.
Storage and Reheating
- Refrigerator: Not recommended. The ice cream softens too far and the dough loses its clean edges.
- Freezer: Wrap individual sandwiches tightly and freeze up to 2 weeks for the best texture. After that, the dough can pick up freezer flavor.
- Reheating: No reheating needed. Set a sandwich at room temperature for 2 to 5 minutes before eating so the dough softens slightly and the ice cream isn’t rock hard.
Questions I Get Asked About This Recipe
No-Bake Cookie Dough Ice Cream Sandwiches
Ingredients
Equipment
Method
- Preheat oven to 350F and spread the all-purpose flour in a thin even layer on a sheet pan; bake for 5 minutes, then cool completely before using.
- Beat softened unsalted butter, brown sugar, and granulated sugar until fluffy, about 2-3 minutes, until lighter in color and texture.
- Add whole milk, vanilla extract, and salt, then mix until smooth and fully combined with no dry streaks visible.
- Stir in the cooled heat-treated all-purpose flour just until a dough forms, then fold in mini chocolate chips so they’re evenly distributed.
- Divide the cookie dough in half and press each half into a parchment-lined 9x13 pan in an even 1/2-inch layer.
- Freeze both dough layers for 30 minutes at freezer temperature until firm to the touch.
- Spread a 1-inch layer of slightly softened vanilla ice cream over one frozen dough layer, keeping it level to the edges.
- Carefully flip the second frozen dough layer on top of the ice cream so the edges align.
- Press gently to seal, then freeze at freezer temperature for at least 2 hours until completely firm.
- Slice into rectangles with a warm knife, wiping the blade as needed between cuts for clean edges.
- Serve immediately, or wrap individually for grab-and-go portions.