Tiny, crisp phyllo shells plus a cool, fluffy cream cheese filling make these mini peach cream cheese tarts disappear fast. The contrast is the whole trick: buttery crunch underneath, silky filling in the middle, and a slice of ripe peach on top with just enough glaze to make each tart look polished without turning sticky.
What makes this version work is the order of the steps. The shells get a quick bake so they stay crisp, then they cool completely before the filling goes in. That matters more than people think, because even a few minutes of heat can soften phyllo shells and turn the base leathery. The filling is kept simple on purpose, with lemon zest to keep the cream cheese from tasting flat and a little powdered sugar for structure as well as sweetness.
Below, you’ll find the little details that keep these tasting fresh and looking neat, plus a few ways to change them up for different fruit, different timing, or a bigger dessert tray.
The shells stayed crisp even after chilling, and the cream cheese filling piped in beautifully. I used ripe peaches and the honey glaze made them look bakery-fancy with almost no effort.
These mini peach cream cheese tarts are the kind of party dessert that looks fancy, chills cleanly, and still keeps every shell crisp.
The Reason the Shells Stay Crisp Instead of Going Soft
Mini phyllo shells are fragile, which is exactly why the cooling step matters. If you fill them while they’re warm, the cream cheese softens from underneath and the bottoms lose their snap before the tarts ever hit the table. A five-minute bake is enough to wake them up, not enough to dry them out.
The other thing people miss is that the filling needs to be thick, not airy in a whipped-cream way. You want it smooth enough to pipe cleanly, but structured enough to hold a peach slice without collapsing. That’s why powdered sugar works better here than granulated sugar: it dissolves faster and keeps the texture velvety.
What Each Ingredient Is Actually Doing in These Peach Tarts
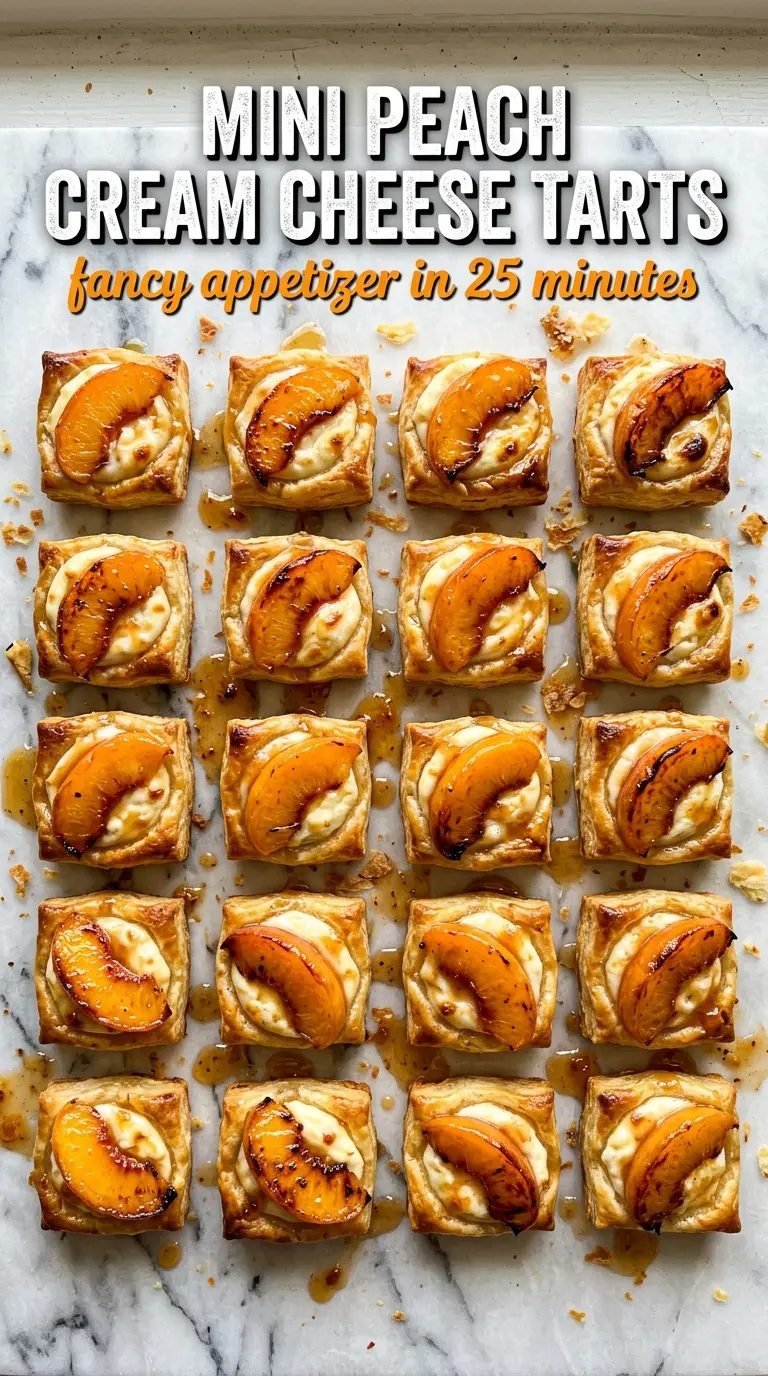
- Mini phyllo tart shells — These give you the crisp, shattery base that makes the dessert feel finished. Graham crusts or cookie cups will taste good, but they won’t give you the same clean bite or the same contrast against the filling.
- Cream cheese — Use full-fat cream cheese for the smoothest texture and best set. Reduced-fat versions can work, but they’re looser and more likely to taste a little tangy in a way that overpowers the peaches.
- Powdered sugar — This sweetens the filling without grittiness and helps it pipe neatly. If you swap in granulated sugar, the mixture can stay sandy unless you beat it for a long time.
- Vanilla and lemon zest — Vanilla rounds the filling out, while lemon zest keeps it bright so the peaches taste more peachy. Skip the zest if you want, but the tarts will taste flatter.
- Ripe peaches — Choose fruit that smells fragrant and gives slightly when pressed. Hard peaches won’t soften here, so the topping ends up tasting underwhelming.
- Peach jam or honey — This is the quick glaze that gives the fruit shine and helps the topping look fresh for longer. Jam gives you more peach flavor; honey gives you a cleaner, floral finish.
- Fresh thyme — Just a tiny sprig brings a gentle herbal note that keeps the tarts from reading one-dimensional. It’s garnish first, but it does add a little sophistication.
Building the Filling and Assembling Without Soggy Shells
Warming the Shells Just Enough
Bake the mini phyllo shells at 350°F until they look lightly crisped and pale gold at the edges. They should smell toasted, not browned. Let them cool all the way on the tray or a rack before you touch the filling, because any leftover heat will start softening the cream cheese and the shell at the same time.
Whipping the Cream Cheese Base
Beat the softened cream cheese, powdered sugar, vanilla, and lemon zest until the mixture looks completely smooth and glossy. If the cream cheese is still cold, you’ll get tiny lumps that never fully disappear, so let it sit at room temperature until it yields easily under your finger. Stop once it’s fluffy and spreadable; overbeating can make it loose.
Filling and Topping the Tarts
Pipe or spoon the filling into each shell, then press one or two thin peach slices into the top. Thin slices sit neatly and won’t slide off the cream cheese, while thick wedges tend to wobble and push the filling out of the shell. Brush or drizzle on the jam glaze right before chilling so the fruit gets that glossy finish without turning watery.
Chilling for the Final Set
Thirty minutes in the fridge gives the filling enough time to firm up and the glaze enough time to cling. Don’t skip this if you’re serving them on a platter, because the tarts hold their shape much better once the filling has tightened slightly. Add the thyme right before serving so it stays fresh and bright.
How to Adapt These Mini Peach Tarts for Different Needs
Swap the Peaches for Nectarines or Apricots
Nectarines slide in with the same prep and a slightly firmer bite, while apricots bring a tangier, more tart finish. Keep the slices thin either way so they sit neatly on the cream cheese and don’t make the tarts top-heavy.
Make Them Gluten-Free
Use certified gluten-free tart shells if you can find them, or spoon the filling into cups made from another gluten-free pastry shell. The filling and topping don’t need any changes, so this is one of the easiest parts of the recipe to adapt.
Turn Them into a Make-Ahead Dessert
You can bake the shells and mix the filling a day ahead, then assemble a few hours before serving. Hold back the peach slices and glaze until the last minute if you want the cleanest look and the best shell texture.
Use Honey Instead of Jam for a Cleaner Finish
Warm honey with the water and drizzle it over the fruit if you want a lighter glaze and a more floral note. Jam gives more color and a thicker shine, but honey keeps the tarts looking a little less glossy and a little more delicate.
Storage and Reheating
- Refrigerator: Best eaten the same day, but they’ll hold for up to 2 days in the fridge. The shells soften a little as they sit.
- Freezer: Don’t freeze assembled tarts. The peaches turn watery and the filling loses its smooth texture after thawing.
- Reheating: These aren’t meant to be reheated. If the shells have softened, the only fix is to serve them chilled and crisp up the shells next time before filling.
Answers to the Questions Worth Asking
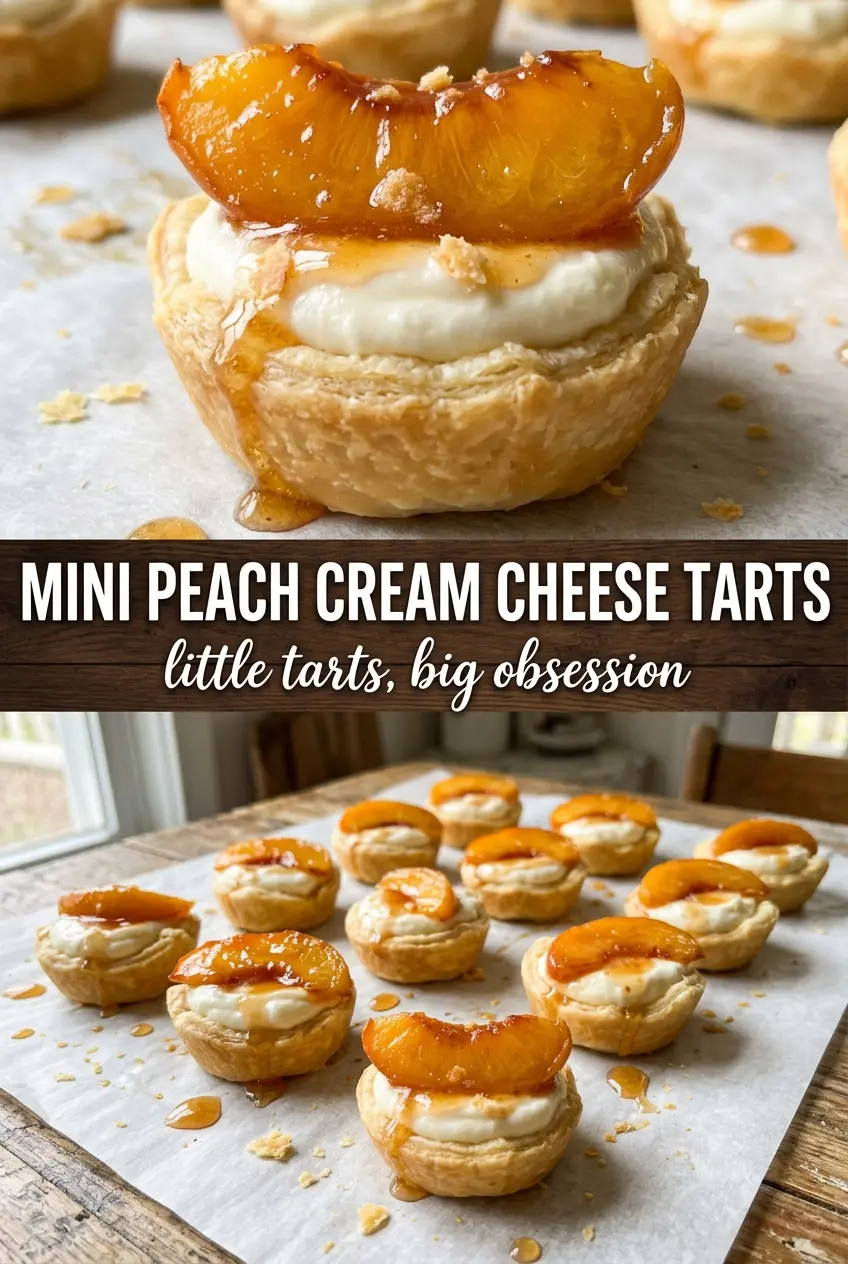
Mini Peach Cream Cheese Tarts
Ingredients
Equipment
Method
- Heat oven to 350°F and bake mini phyllo tart shells for 5 minutes until lightly crisped. Transfer to a rack or counter and cool completely so the filling won’t melt.
- Beat cream cheese, powdered sugar, vanilla extract, and lemon zest until very smooth and fluffy. Stop and scrape the bowl to keep the texture lump-free.
- Fit a piping bag (or zip-lock bag with a corner snipped) with the prepared filling. Keep gentle pressure so the swirl stays consistent.
- Pipe a generous swirl of cream cheese filling into each cooled tart shell. Fill to the top for a pillow-like center.
- Top each tart with one or two thin peach slices and press gently into the cream cheese. Arrange them so the peach edge sits slightly above the filling.
- Whisk peach jam with warm water until pourable. Brush or drizzle a thin glossy layer over each tart.
- Refrigerate the tarts for 30 minutes to set. Garnish with fresh thyme sprigs before serving.