Mini Biscoff cheesecakes bake up with a buttery cookie crust, a silky spiced filling, and that unmistakable caramelized cookie-butter flavor in every bite. The size makes them feel a little more polished than a standard cheesecake, but they’re also easier to serve, easier to chill, and a lot less fussy than a full springform version. The best part is the contrast: crisp base, creamy center, and a thick drizzle of warmed Biscoff spread on top.
What makes this version work is keeping the filling simple and gentle. The cream cheese gets beaten smooth first, the eggs go in one at a time, and the batter stays on the cool side once the sour cream and cookie butter are added. That keeps the texture dense and creamy instead of airy and cracked. A short bake is enough here; the centers should still wobble a little when they come out of the oven.
Below, I’ve included the little details that matter most: how to keep the crust from crumbling, when the filling is actually done, and what to do if you want to make these ahead for a party or holiday tray.
The crust stayed crisp under the filling and the centers set up perfectly after chilling. I used the whole Biscoff cookie on top and it looked bakery-style with almost no effort.
Love these mini Biscoff cheesecakes? Save them for the make-ahead dessert that chills into neat, creamy little bites with a cookie-crisp base.
The Secret to a Cheesecake That Sets Cleanly in a Muffin Tin
Mini cheesecakes can go wrong in two places: the crust gets packed too loosely and falls apart, or the filling gets overmixed and puffs, then cracks as it cools. This recipe avoids both by treating the batter gently once the eggs go in and by baking just until the centers still have a soft wobble. They finish setting in the fridge, not in the oven.
The muffin tin works in your favor here because the smaller size bakes fast and evenly, but that also means the line between set and overbaked is thin. Pull them when the edges look firm and the centers still move a little if you tap the pan. If they look fully solid in the oven, they’re usually already past the ideal point.
What the Cookie Crust, Sour Cream, and Biscoff Spread Each Do
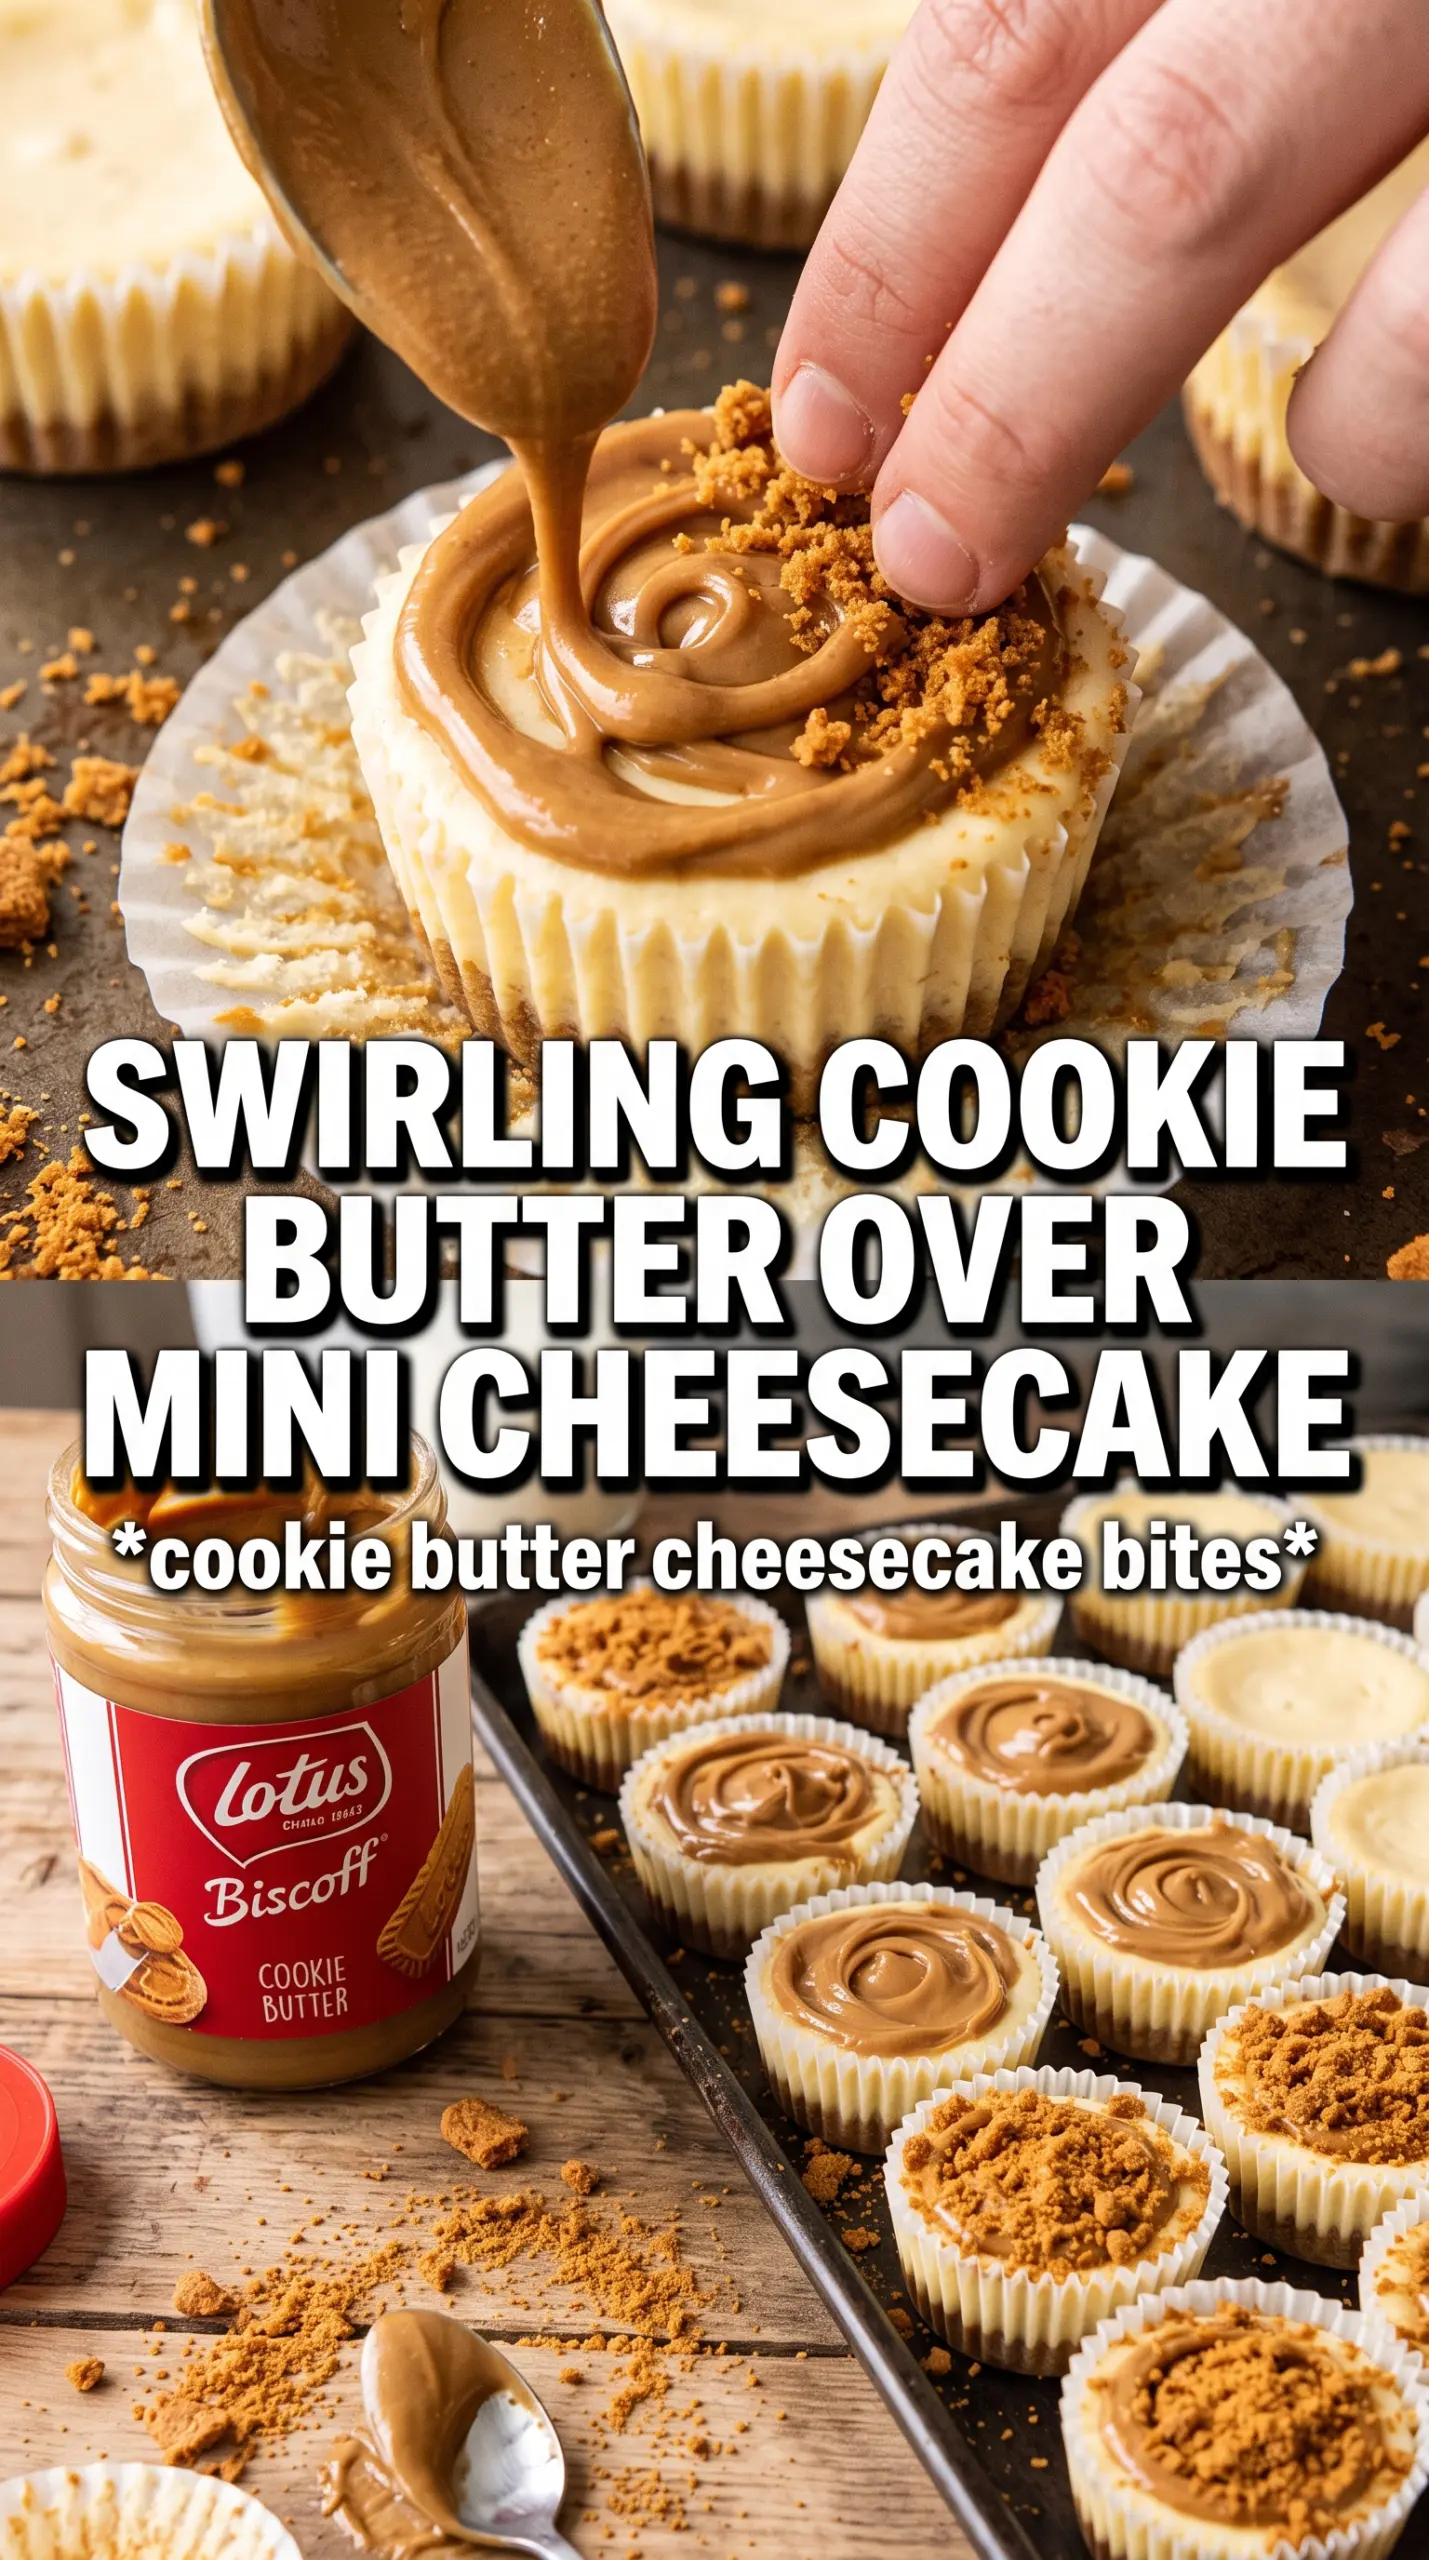
- Biscoff cookies — These make the crust and give you that caramelized spice base you can’t get from graham crackers. If you substitute another cookie, the flavor changes fast; speculoos cookies are the closest stand-in.
- Cream cheese — Use full-fat cream cheese and let it soften properly. Cold cream cheese leaves tiny lumps that never fully disappear, and low-fat versions can bake up loose instead of rich and dense.
- Biscoff cookie butter — This is the main flavor in the filling, so this is not the place to swap casually. If you can only find the spread, warm it slightly before measuring so it blends smoothly into the batter.
- Sour cream — It softens the richness and keeps the filling from tasting heavy. Full-fat plain Greek yogurt works in a pinch, but the texture is a little tangier and less plush.
- Eggs — They set the filling. Add them one at a time and stop mixing as soon as the yolk disappears, because extra air in the batter is what leads to cracks later.
From Crushed Cookies to Chilled Mini Cheesecakes
Pressing the Crust Firmly
Mix the crushed Biscoff cookies with melted butter and sugar until the crumbs look evenly moistened, almost like damp sand. Press them firmly into the lined muffin cups with the bottom of a small glass or spoon so the crust compacts into a thin, even layer. If the crust is loose now, it will crumble the moment you peel back the liner later. A quick 5-minute bake is enough to set it without drying it out.
Mixing the Filling Without Whipping in Air
Beat the cream cheese and sugar until smooth before adding anything else. Once the eggs go in, mix only until combined; the batter should look glossy and thick, not fluffy. Stir in the sour cream, Biscoff spread, vanilla, and cinnamon at low speed or by hand so the mixture stays dense. If you beat it hard at this stage, the cheesecakes will rise, then sink and crack as they cool.
Knowing When They’re Done
Spoon the filling over the crusts and bake until the edges are set and the centers still have a slight jiggle. They should not look wet on top, but they also shouldn’t be firm all the way through. That middle wobble disappears in the fridge. Let them cool at room temperature first, then chill for at least 3 hours so the texture turns clean and creamy instead of soft and fragile.
The Final Drizzle and Cookie Topper
Warm the Biscoff spread just enough to loosen it, then drizzle it over the chilled cheesecakes. If it’s too hot, it melts the tops and runs off the sides; if it’s too cold, it clumps. Press a whole Biscoff cookie into each one right after drizzling so it settles in place and gives you that bakery-case look.
How to Adapt These Mini Biscoff Cheesecakes for Different Needs
Gluten-Free Version
Use gluten-free speculoos-style cookies for both the crust and topping. The filling is naturally gluten-free, so the only real swap is the cookie layer. The flavor stays close, but check the texture of the gluten-free cookies before crushing them; some are drier and may need a touch more butter to hold together.
Dairy-Free Version
Use a dairy-free cream cheese and plant-based butter, then skip the sour cream or replace it with a thick dairy-free yogurt. The texture will be a little softer and the flavor slightly less rich, but the cookie butter still carries the dessert. Chill it a full night if you want the cleanest set.
Making Them Ahead for a Party
Bake and chill the cheesecakes without the topping, then add the warmed Biscoff spread and whole cookies shortly before serving. That keeps the cookies crisp and the drizzle glossy instead of softening into the filling. They hold their shape well on a dessert tray, which makes them a good choice for entertaining.
Storage and Reheating
- Refrigerator: Store covered for up to 4 days. The crust stays best in the first 2 days, while the filling keeps its creamy texture a little longer.
- Freezer: Freeze without the cookie topper for up to 1 month. Wrap each cheesecake well, then thaw overnight in the fridge before adding the drizzle and cookie.
- Reheating: These are meant to be served chilled, not warmed. If they sit out too long, the filling softens and the crust loses its snap, so keep them refrigerated until just before serving.
Answers to the Questions Worth Asking
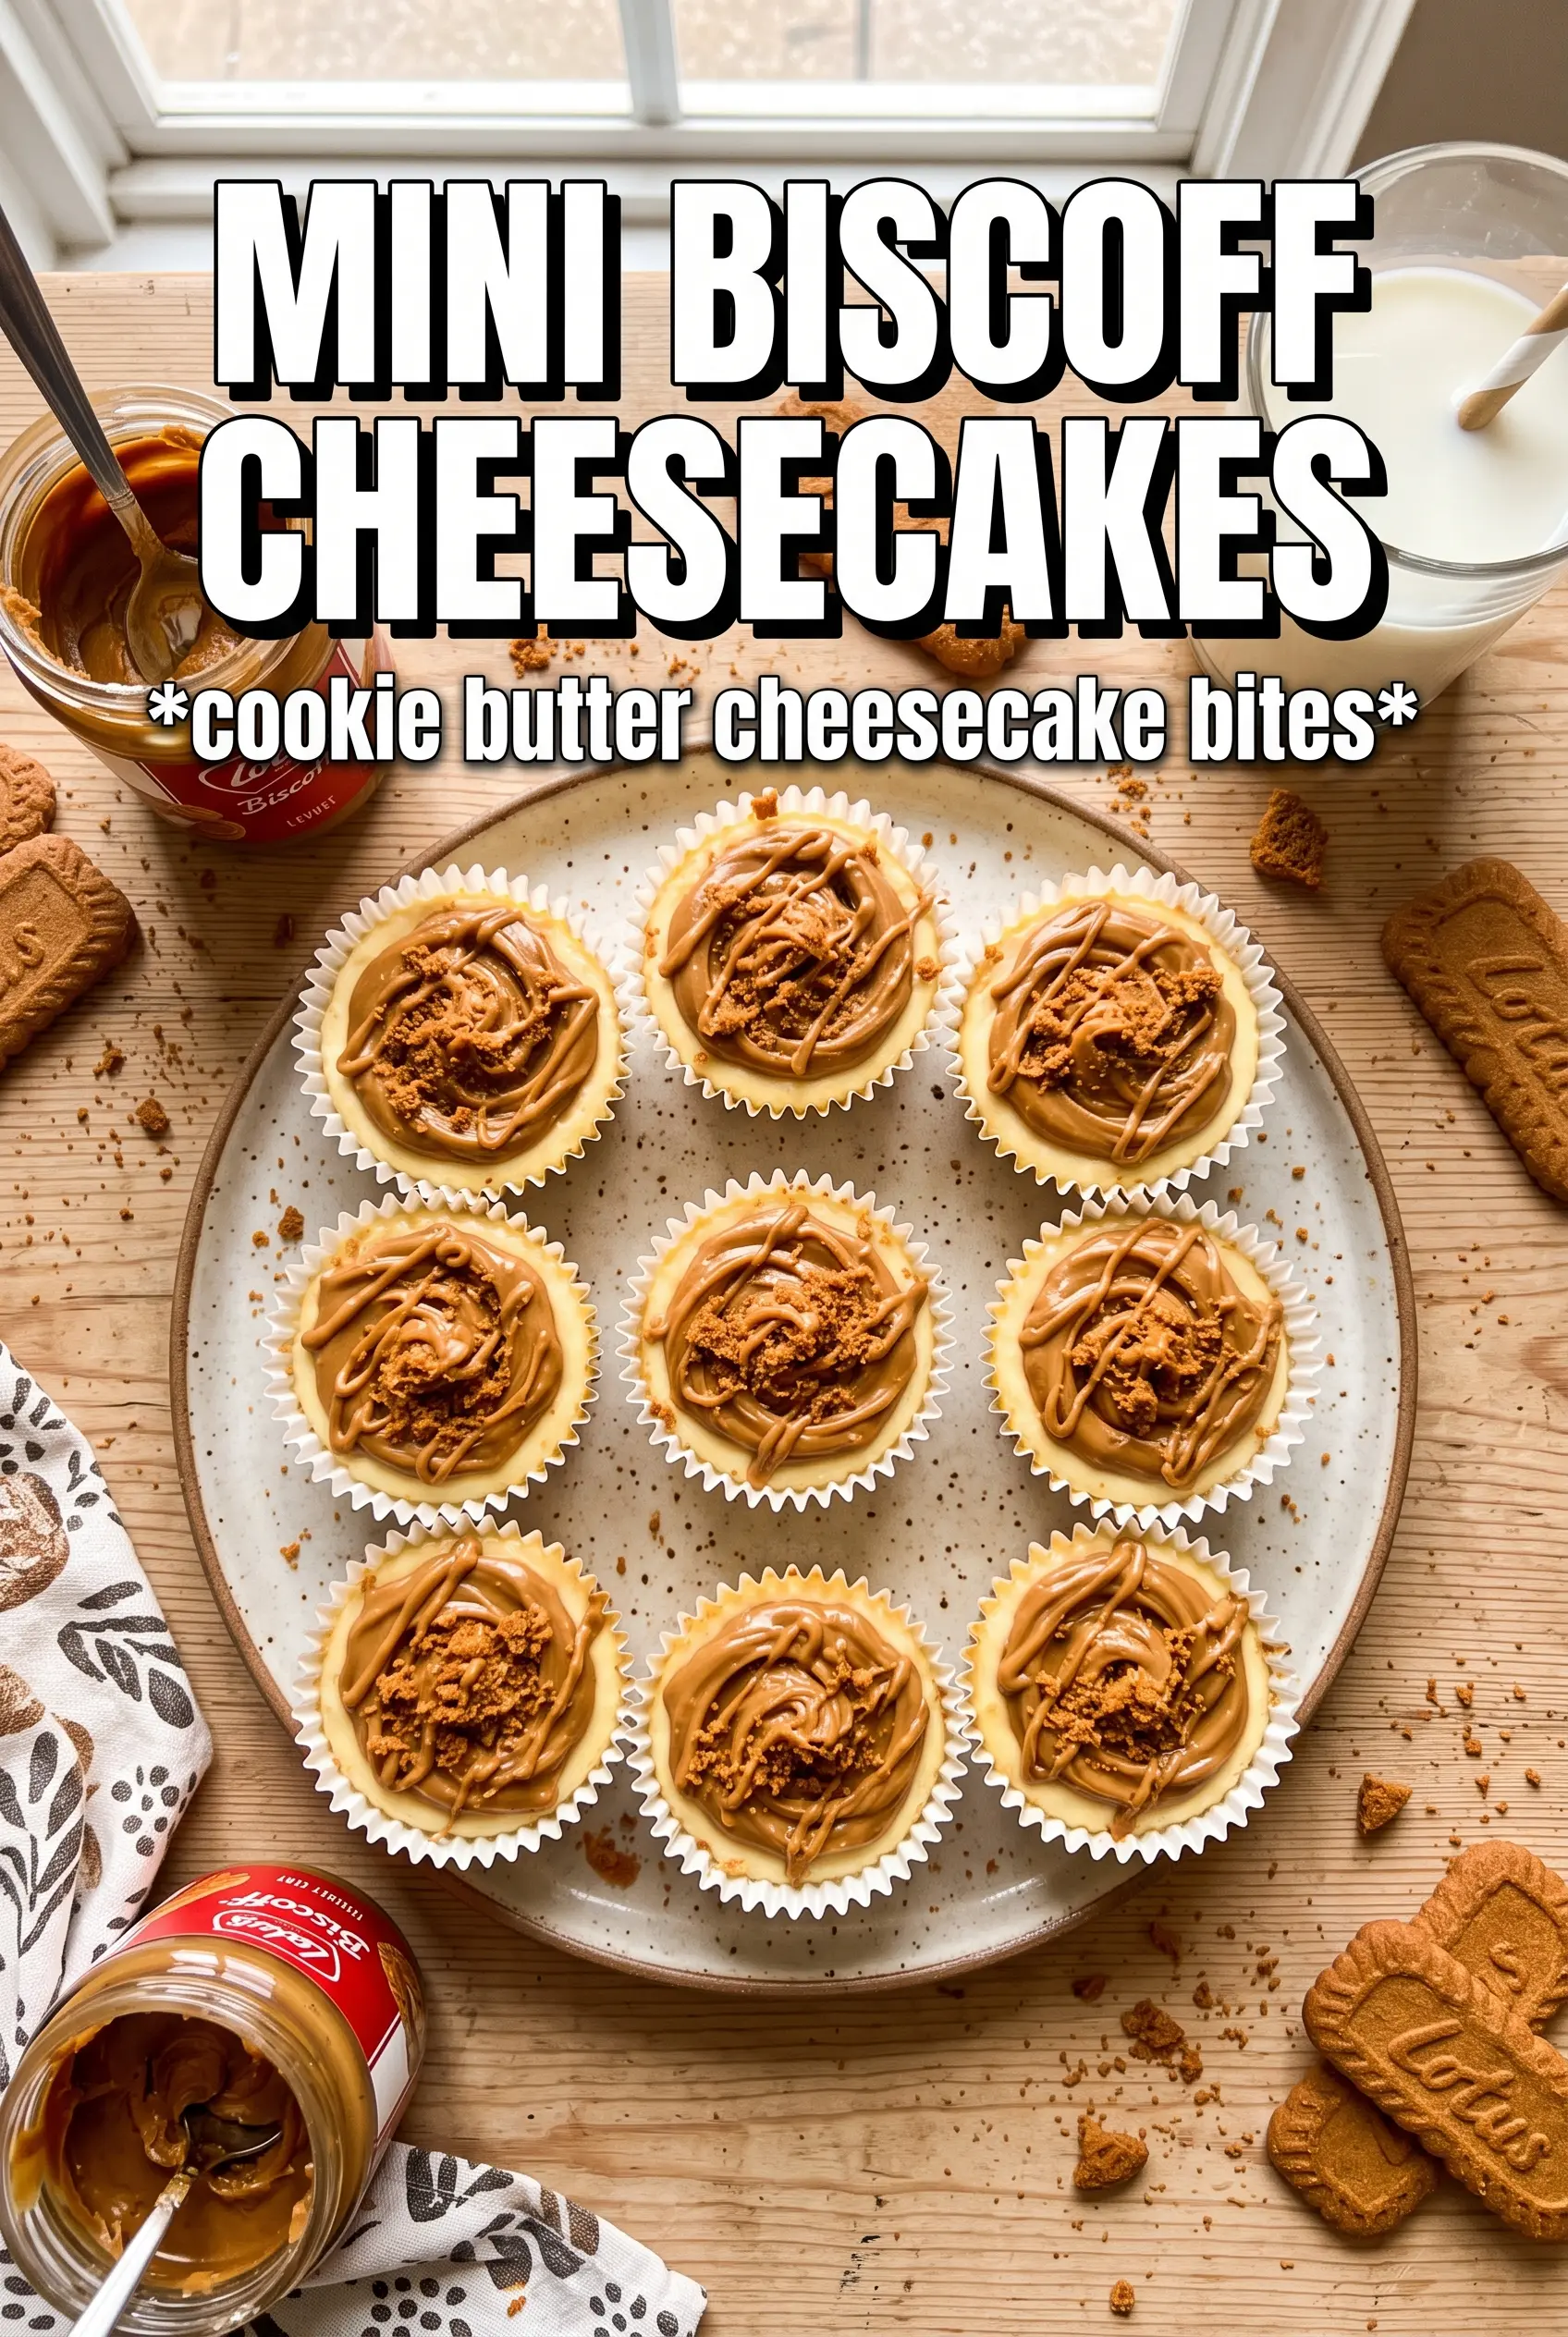
Mini Biscoff Cheesecakes
Ingredients
Equipment
Method
- Preheat oven to 325F and line a 12-cup muffin tin with liners; keep the tin ready for portioning.
- Stir crushed Biscoff cookies, melted unsalted butter, and sugar, then press firmly into each liner to form an even base.
- Bake the crusts for 5 minutes, then leave them in the pan while you mix the filling.
- Beat cream cheese and granulated sugar until smooth, scraping the bowl as needed for a lump-free texture.
- Add eggs one at a time, beating just until each egg disappears before adding the next.
- Stir in sour cream, Biscoff cookie butter, vanilla extract, and cinnamon until fully combined and creamy.
- Divide filling among the muffin cups, filling each crust base nearly to the top.
- Bake at 325F for 18-20 minutes until the centers are just set with a slight jiggle when the pan is tapped.
- Cool the mini cheesecakes to room temperature, then refrigerate for 3 hours to firm up.
- Warm the Biscoff spread until pourable, then drizzle over each cheesecake.
- Press a whole Biscoff cookie into the top of each cheesecake so it adheres to the drizzle.