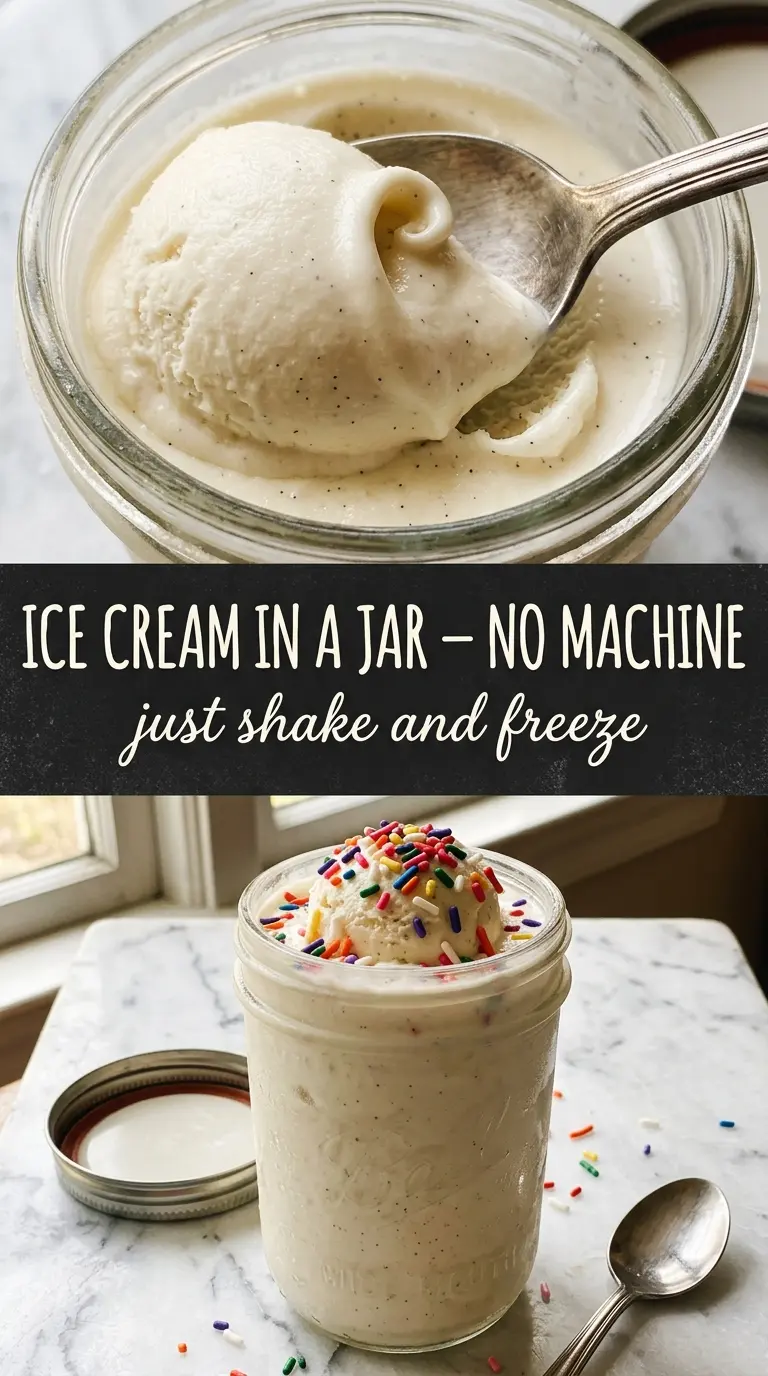
Cold, creamy vanilla ice cream with no machine, no special bowl, and no churn fits into the kind of dessert routine that actually gets used. The texture lands somewhere between soft-serve and scoopable ice cream, with just enough body from the shaking process to feel like a small kitchen win. It’s the kind of treat that turns four basic ingredients into something you’d happily eat straight from the jar.
The trick is in the shaking. Heavy cream thickens as air gets whipped into it, and the sugar dissolves enough to keep the finish smooth instead of icy. A tight lid matters here, and so does using a 16-ounce jar with room left at the top; if it’s packed too full, the cream won’t move enough to build that thick, creamy texture. A short rest in the freezer finishes the job without turning the whole thing into a brick.
Below, you’ll find the little details that make this work on the first try, plus the mix-ins and timing notes that help you adjust the jar to your own sweet tooth.
I shook it about four minutes and it got thick enough to cling to the jar, then froze up smooth instead of icy. My kids loved choosing their own mix-ins, and the vanilla flavor was perfect on its own too.
Love this no-churn mason jar ice cream? Save it for the nights when you want creamy vanilla dessert with almost no cleanup.
The Shaking Step Is Doing the Churning for You
The biggest mistake with mason jar ice cream is stopping too soon. At first it looks like sweet cream sloshing around in a jar, then it starts to feel heavier and cling to the sides as air gets whipped in. That change is the whole point. If you freeze it before that thickened stage, you’ll end up with a bland, icy block instead of a creamy scoop.
A little salt helps keep the flavor clean and the sweetness balanced. The jar also needs enough empty space for the cream to move; if it’s too full, the mixture can’t aerate properly. Shaking for a full 3 to 5 minutes sounds simple, but that’s the part that gives this recipe its texture.
What the Cream, Sugar, and Vanilla Are Actually Doing
- Heavy cream — This is the base that thickens when shaken. Lower-fat dairy won’t whip the same way, so the texture turns thin and icy instead of creamy.
- Granulated sugar — Sugar doesn’t just sweeten here; it also helps keep the finished ice cream softer. You can cut it a little, but too much reduction makes the jar freeze harder.
- Vanilla extract — Use real vanilla extract if you can, because it carries the whole dessert. This is the ingredient that makes the final result taste like ice cream instead of sweet cream.
- Optional mix-ins — Sprinkles, mini chocolate chips, or crushed Oreos all work well, but add them before freezing so they settle evenly through the jar. Large mix-ins can make scooping awkward, so keep them small.
Getting the Cream Thick Before It Freezes Hard
Mixing the Base
Put the cream, sugar, vanilla, and salt into a 16-ounce mason jar, then seal it tightly before you start shaking. The lid has to stay on under pressure, because any leak means less aeration and a mess on the counter. Shake hard enough that the jar feels cooler in your hand and the liquid starts to look slightly thicker and foamy.
Building Body Through Shaking
Keep shaking for 3 to 5 minutes. The cream should noticeably thicken and coat the sides of the jar instead of moving like plain liquid. If your arms are tired before the mixture changes, it needs more time; stopping early is the main reason this turns out runny after freezing.
Freezing Until Firm
Set the jar in the freezer for about 4 hours, until the ice cream is firm but not rock hard. If you leave it much longer, let it sit at room temperature for 3 to 5 minutes before eating. That short rest softens the edges just enough to scoop or spoon it straight from the jar.
Chocolate Cookie Mason Jar Ice Cream
Stir in crushed Oreos before freezing for a cookies-and-cream version. The cookies soften a bit in the freezer, which gives you pockets of chocolate without turning the whole jar muddy. Keep the pieces small so the spoon still moves through the ice cream cleanly.
Sprinkle Birthday Cake Version
A spoonful of rainbow sprinkles turns this into a kid-friendly treat with a little color and crunch. Add them right before freezing so they stay visible instead of bleeding into the cream. This one tastes best with extra vanilla.
Dairy-Free Version
Use a full-fat canned coconut cream in place of the heavy cream. It won’t taste exactly the same, but it will still freeze into a rich, spoonable dessert. Chill the can first and use only the thick cream from the top for the best texture.
Storage and Reheating
- Refrigerator: This dessert isn’t meant to sit in the fridge; it melts quickly and loses its texture.
- Freezer: Freeze in the sealed jar for up to 1 week. After that, it can get icier, especially if the jar has been opened and closed a few times.
- Reheating: There’s no reheating here. Let the jar stand at room temperature for 3 to 5 minutes before serving so the edges soften enough to scoop.
Answers to the Questions Worth Asking
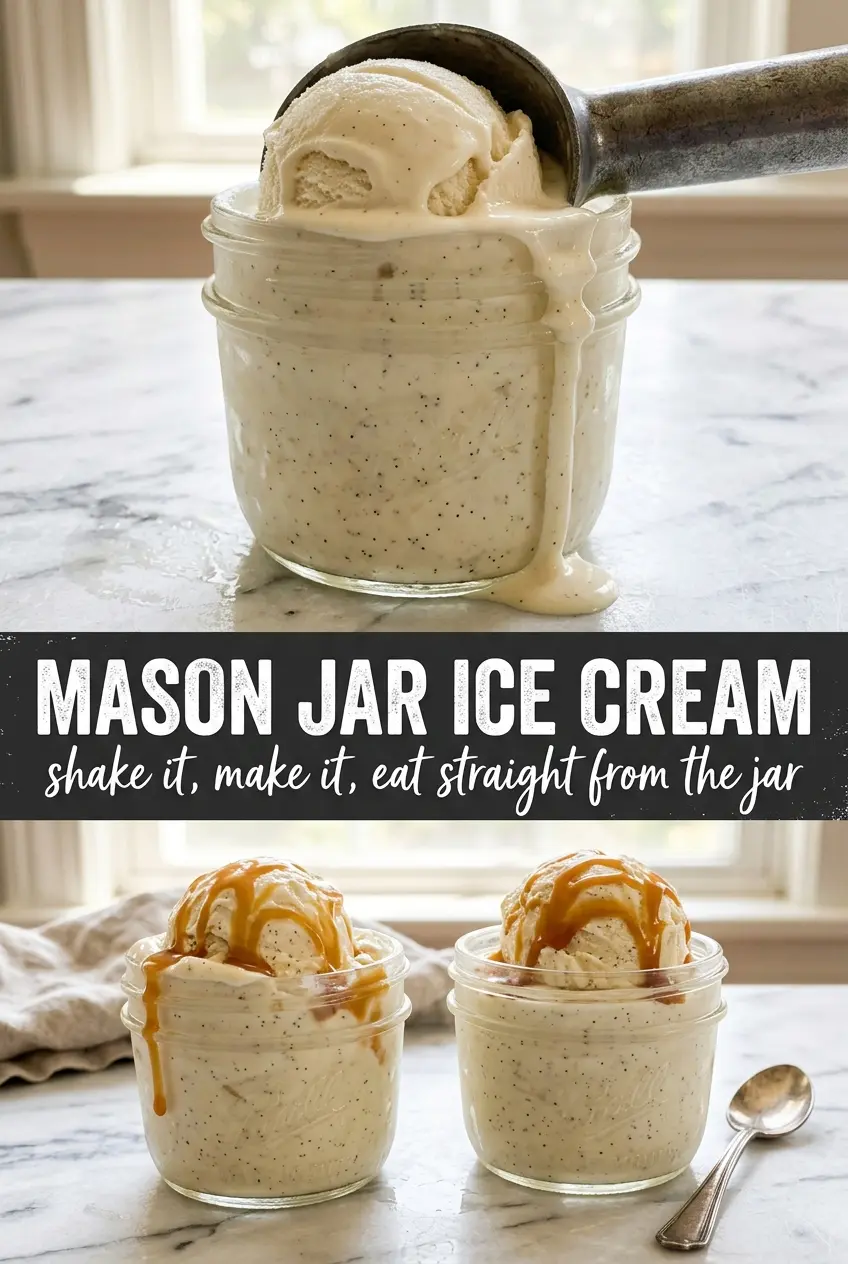
Mason Jar Ice Cream
Ingredients
Method
- Add heavy cream, granulated sugar, vanilla extract, and salt to a 16-oz mason jar.
- Seal the lid tightly and shake vigorously for 3-5 minutes until the mixture thickens noticeably.
- Place the jar in the freezer for 4 hours until firm.
- Before freezing, stir in optional mix-ins (sprinkles, mini chocolate chips, or crushed Oreos) if desired.
- Let the jar sit at room temperature for 3-5 minutes before eating directly from the jar.