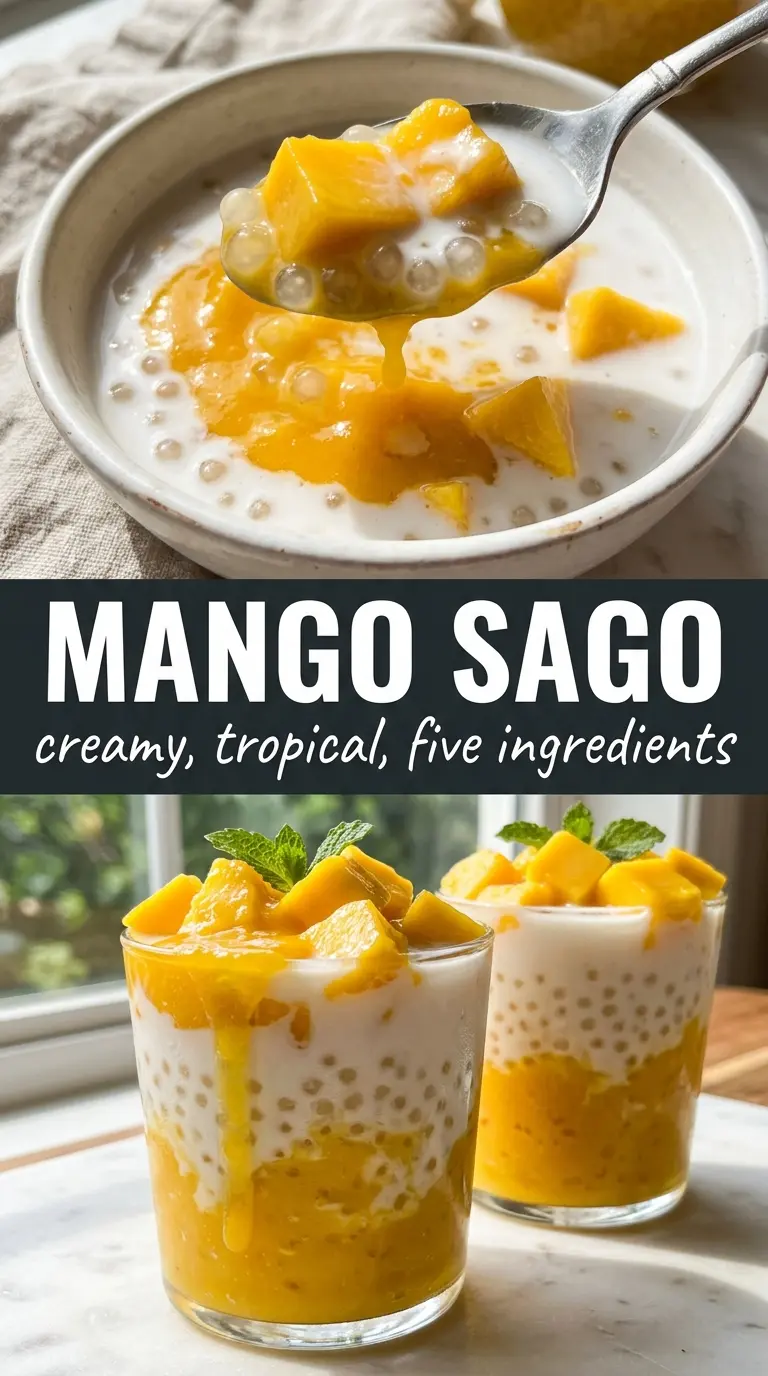
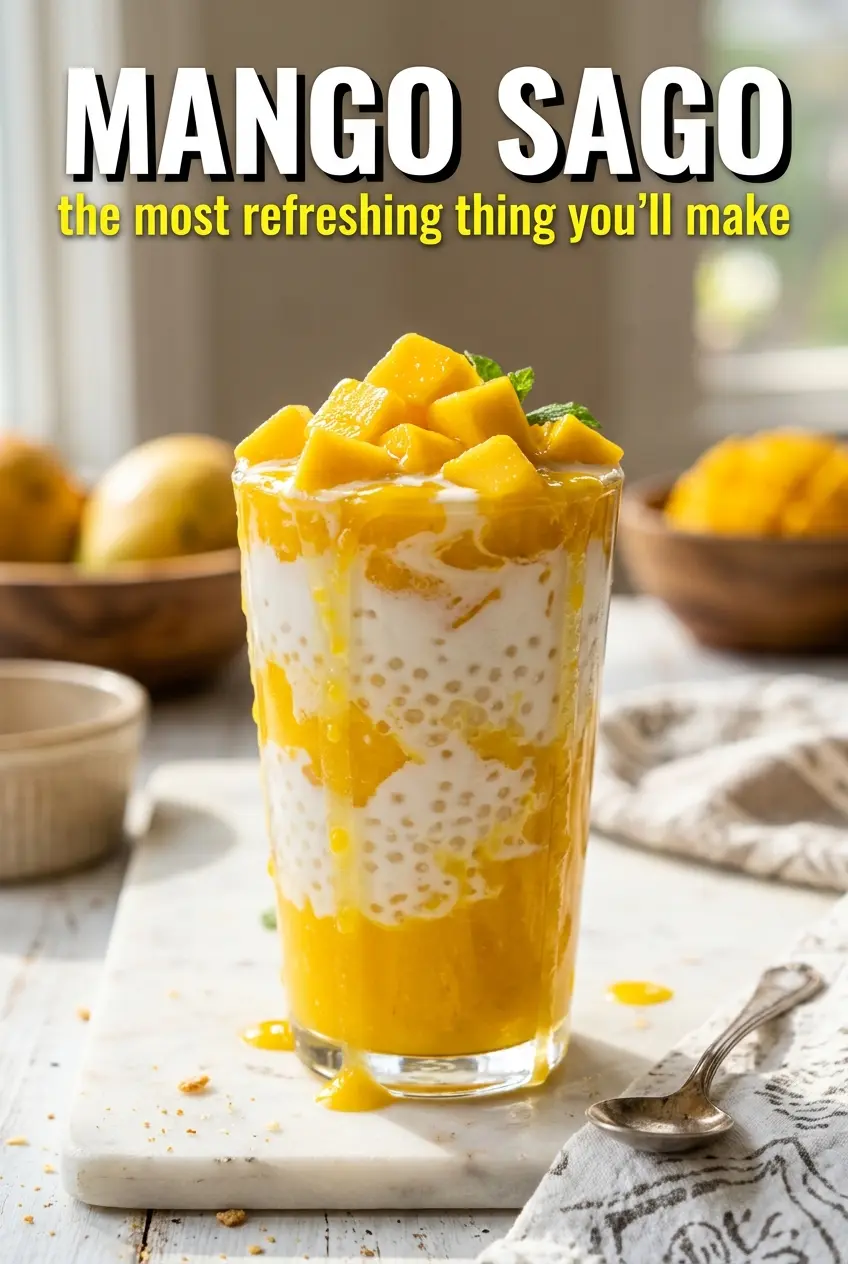
Mango sago lands in that sweet spot between creamy dessert and refreshing fruit bowl. The coconut base stays lush and cold, the mango puree brings a bright, velvet texture, and the little sago pearls give every spoonful a soft chew that keeps it from feeling one-note. It’s the kind of dessert that disappears fast because it tastes rich without being heavy.
What makes this version work is the balance. One mango gets blended into the coconut milk so the base tastes deeply mango-forward, while the second mango stays in cubes for contrast and freshness. Cooking the tapioca until it turns translucent, then rinsing it, keeps the pearls tender instead of gluey, which matters more here than in almost any other dessert. The chill time is part of the recipe, not an afterthought; that hour in the fridge lets the flavors settle and the texture tighten up.
Below, I’ve included the one step that keeps sago from clumping, plus a few notes on swaps if your mangoes aren’t perfectly ripe. If you’ve had mango desserts that tasted flat or turned oddly thick, this version fixes both problems.
The sago stayed perfectly chewy after chilling, and the mango-coconut base was silky without being too thick. I used very ripe mangoes and the whole bowl tasted like it came from a dessert shop.
Mango sago with coconut milk, chewy tapioca, and fresh mango cubes is the kind of chilled dessert worth keeping on repeat.
The Sago Needs Full Cooking, Not Just Softening
The biggest mistake with mango sago is pulling the tapioca too early. Small sago pearls should turn translucent all the way through, with only the tiniest bit of opacity at the center when you drain them. If they still look chalky, they’ll stay gritty after chilling. If you overcook them until they burst, the dessert loses that gentle chew and turns muddy.
Rinsing the cooked pearls under cold water stops the cooking and washes away the surface starch that makes them clump. That step matters here because the pearls get folded into a thick coconut-mango base, and any extra starch would make the dessert heavier than it should be. Treat the sago like texture, not filler.
What the Mangoes and Dairy Are Each Doing Here
- Ripe mangoes — These carry the whole dessert. The best mangoes are fragrant and give slightly when pressed; if yours are bland, the finished bowl will taste flat no matter how much sugar you add. Ataulfo or honey mangoes blend especially smoothly, but any ripe, non-fibrous mango works.
- Full-fat coconut milk — This gives the dessert its lush body and cool richness. Light coconut milk will taste thinner and a little watery once chilled, so use the full-fat can if you can. Shake the can before opening so the cream and liquid are evenly combined.
- Whole milk — This loosens the coconut milk just enough so the puree eats like a dessert spoon, not a pudding. If you want a dairy-free version, use more coconut milk instead, but expect a denser, more tropical result. Don’t swap in skim milk; it thins the body without adding anything useful.
- Condensed milk — This adds sweetness and a soft milky roundness that granulated sugar alone can’t mimic. It also helps the base taste more dessert-like and less like blended fruit. If you’re reducing sugar, cut back the added sugar first and keep a little condensed milk for texture.
Building the Dessert So It Stays Creamy and Light
Cooking the Sago to the Right Point
Bring a large pot of water to a rolling boil before the sago goes in. The pearls need room to move or they’ll stick together and cook unevenly. Stir for the first minute, then again a few times during cooking, and watch for the pearls to turn mostly translucent. Drain them as soon as that happens and rinse under cold water until they feel separate and no longer sticky.
Blending the Mango Base
Blend one mango with the coconut milk, sugar, condensed milk, and whole milk until the mixture looks completely smooth and glossy. If the mango is fibrous, blend a little longer than you think you need, then strain it if you want an extra-silky finish. Taste before chilling; ripe mangoes may need only a spoonful of sugar, while less fragrant fruit may need the full amount.
Chilling Before Serving
Stir the cooled sago into the mango mixture, then chill for at least an hour. The base thickens slightly as it rests, and the sago takes on the flavor instead of tasting separate. If the dessert seems too thick after chilling, splash in a little milk and stir; if it seems loose, it probably needs more time in the fridge rather than more starch.
Finishing With Fresh Mango
Top each bowl with diced mango just before serving so you get clean bites of fresh fruit against the creamy base. A mint sprig adds a fresh note and makes the bowl look finished without much effort. Serve it cold; mango sago loses its charm when it sits around and warms up.
How to Adapt This for Different Kitchens and Different Diets
Dairy-Free Version
Replace the whole milk with more coconut milk. The result will be a little richer and more coconut-forward, but it keeps the same creamy texture. If you want it lighter, add a splash of cold water or coconut water at the end instead of more dairy.
Less Sweet, More Mango
Cut the granulated sugar in half and taste after blending. Very ripe mangoes carry enough sweetness on their own, and pulling back the sugar lets the fruit taste brighter. Keep the condensed milk if you still want that classic dessert finish, or reduce it too for a cleaner fruit flavor.
Using Frozen Mango
Frozen mango works when fresh fruit is out of season, and it actually blends into a smooth base with less effort. Thaw it first so the puree doesn’t turn icy and dilute the dessert. The flavor is usually a little less fragrant than ripe fresh mango, so taste and adjust the sugar after blending.
Storage and Reheating
- Refrigerator: Store covered for up to 2 days. The sago will continue to absorb liquid, so the dessert thickens as it sits.
- Freezer: I don’t recommend freezing it. The coconut base separates and the sago turns unpleasantly firm after thawing.
- Reheating: Don’t reheat this dessert. Serve it chilled straight from the fridge, and if it gets too thick, stir in a splash of milk before serving.
Questions I Get Asked About This Recipe
Mango Sago
Ingredients
Equipment
Method
- Bring a large pot of water to a boil, then add small tapioca pearls (sago) and cook for 12-15 minutes, stirring until translucent. Drain and rinse with cold water, then set aside to stop the cooking.
- In a blender, puree one ripe mango with full-fat coconut milk, granulated sugar, condensed milk, and whole milk until completely smooth, with no mango chunks remaining. Scrape down the sides as needed for an even orange base.
- Dice the second ripe mango into small cubes, then stir the cooked sago pearls into the mango coconut mixture. Fold in the diced mango cubes so they float throughout the base.
- Refrigerate the mixture for at least 1 hour, until thoroughly chilled and set to a cool, creamy consistency. Keep it covered to prevent skin from forming on top.
- Spoon the chilled mango sago into bowls or glasses, then top with fresh mango cubes and a mint sprig. Serve cold for the best texture contrast between pearls, puree, and fruit.