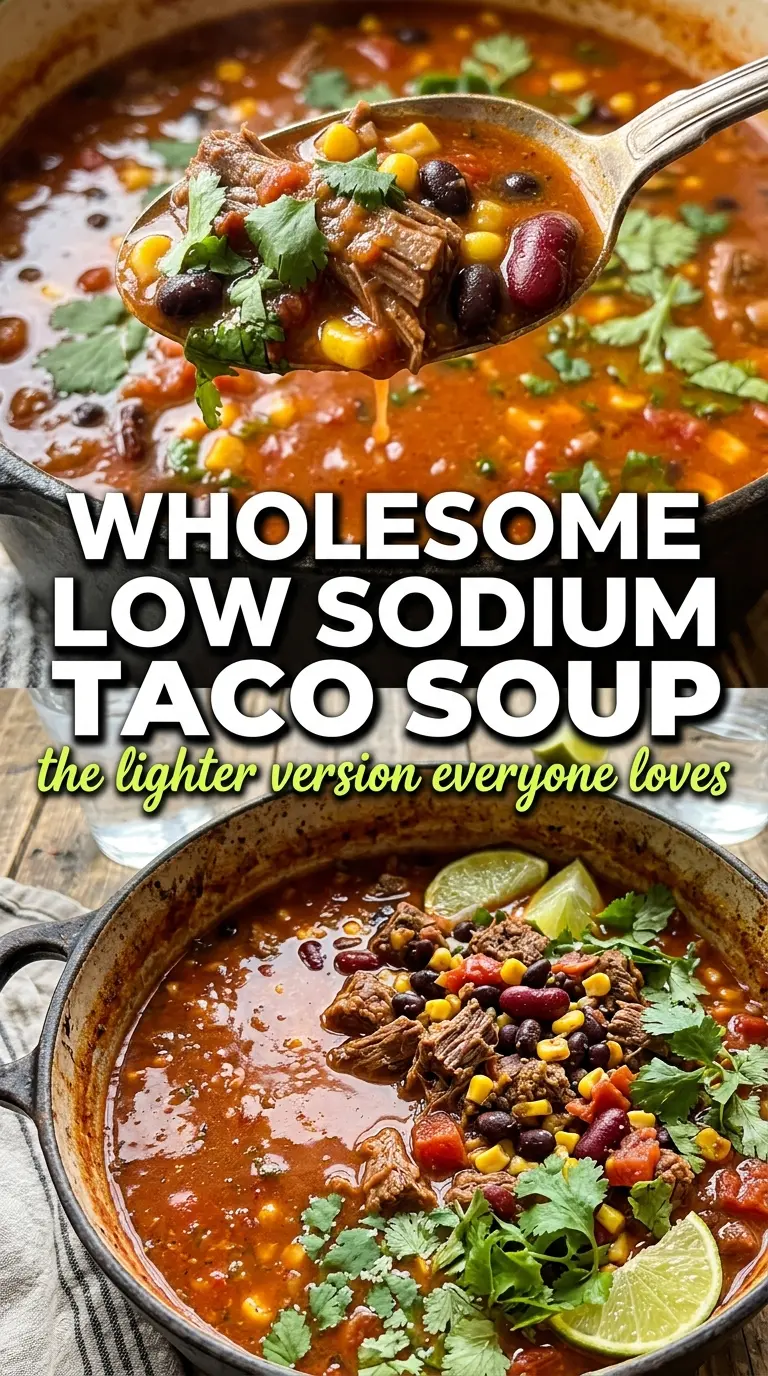
Low sodium taco soup still needs to taste bold, and this one does it by building flavor the old-fashioned way: browning the meat, blooming the spices, and using canned ingredients that don’t bring a hidden salt load with them. The broth stays light and clean, but the bowl still eats like taco night in soup form, with black beans, corn, tomatoes, and just enough heat to keep every spoonful interesting.
The trick is using a homemade seasoning blend instead of a packet. Packets carry most of the sodium, and they also push the flavor in one fixed direction. When you mix your own cumin, chili powder, garlic, onion, smoked paprika, and oregano, you get a deeper Tex-Mex base and control over the salt at the very end instead of the beginning.
Below, I’m walking through the parts that matter most: how to keep the soup from tasting flat, which canned items are worth buying no-salt-added, and the toppings that make a low-sodium bowl taste finished instead of trimmed down.
The broth had real taco flavor without tasting salty, and the avocado and lime made the whole bowl pop. I was surprised how rich it tasted after only 20 minutes of simmering.
Save this low sodium taco soup for nights when you want a fast, hearty bowl with homemade seasoning and all the Tex-Mex comfort without the salt-heavy packet.
The Part That Keeps Low-Sodium Taco Soup from Tasting Flat
The biggest mistake in low-sodium soup is treating salt like the only thing that makes food taste complete. It doesn’t. Browning the meat first gives you a savory base, and blooming the spices in the hot pot wakes up the cumin and chili powder before the liquid goes in. That step matters more here than in a lot of soups because the broth itself is intentionally restrained.
Another thing that helps is choosing no-salt-added canned beans, corn, and diced tomatoes. Regular canned vegetables can push the soup into salty territory before you’ve even tasted it. If you use one regular can, keep the rest no-salt-added so you stay in control. Then finish with lime and avocado, which lift the whole bowl without adding sodium the way extra cheese or broth often does.
- Browned meat — Lean ground beef gives the soup a deeper, beefier finish, while ground turkey keeps it lighter. Either works, but you want some actual browning on the bottom of the pot. Gray meat makes gray soup.
- No-salt-added canned goods — These are the difference between a soup you can season and one you’re stuck rescuing. If you can’t find no-salt-added diced tomatoes with green chiles, use regular and skip any extra salt at the end.
- Low-sodium broth — This is one place where the label matters. A standard broth can undo the point of the recipe fast, while a low-sodium version gives you room to build flavor yourself.
- Homemade taco seasoning — The cumin and smoked paprika carry most of the character here. The packet version may be convenient, but it brings a sharp, salty edge that’s hard to control in a low-sodium soup.
What Each Ingredient Is Actually Doing in This Recipe
- Primary ingredient (the star) — Quality matters most. Choose the best you can find.
- Cooking medium (oil, butter, or broth) — This carries flavors and prevents dryness.
- Seasonings (salt, pepper, spices, herbs) — Layer flavors so nothing overpowers. Build depth gradually.
- Aromatics (garlic, onion, herbs) — Cook with fat to bloom flavors. Become the foundation.
- Supporting ingredients — Complement the main ingredient without overpowering it.
- Sauce or liquid (if applicable) — Brings flavors together. Balance richness with acid.
- Acid (lemon, vinegar, wine, or other) — Brightens and prevents flat-tasting results.
- Final finish (garnish, glaze, or sauce) — Prevents one-dimensional taste and adds visual appeal.
Building the Broth So It Stays Bold Without Extra Salt
Brown the ground beef in a large pot first, then drain off the fat if there’s a lot of it. You want drippings and fond on the bottom, not a greasy broth. Add the onion next and cook it until it turns soft and a little translucent, because raw onion can stick out in a soup that cooks this fast. Garlic only needs about a minute; longer than that and it can turn bitter.
Stir in the taco seasoning and let it cook for a minute before adding the broth. That short bloom gives the spices a toastier edge and keeps them from tasting dusty or thin once they’re diluted. After the tomatoes, beans, corn, and broth go in, bring the pot to a boil, then drop it to a steady simmer for 15 to 20 minutes. If it tastes flat at the end, the answer is usually lime juice or a tiny pinch of salt, not a full extra spoonful of seasoning.
Getting the Meat and Onion Started
Cook the meat over medium-high heat until it has real browned bits, not just cooked-through crumbles. Those browned spots are what give the soup body. Once the onion goes in, it should soften and pick up some of that flavor from the pan. If the pot looks dry, a small splash of broth can loosen the bits without washing them away.
Blooming the Seasoning
When the garlic is fragrant, stir in the seasoning and cook it briefly in the heat of the pot. You’re looking for a warmer smell and a darker color, not burned spices. If the pot is too hot and the seasoning starts to scorch, pull it off the burner for a few seconds and stir, because burnt chili powder will make the whole batch taste harsh.
Simmering to the Right Texture
Once everything is in, the soup should move from boiling to a gentle simmer. You want the tomatoes to soften a little and the broth to pick up body from the beans and beef. Twenty minutes is enough for the flavors to come together without turning the vegetables mushy. If it reduces too far, add a splash more broth instead of more salt.
How to Adjust This Bowl for Different Kitchens and Diets
Ground turkey instead of beef
Ground turkey works well and keeps the soup lighter, but it needs a little more help in the pan because it doesn’t bring as much natural richness. Brown it well and don’t rush the seasoning step. The flavor stays clean and Tex-Mex, just with a leaner finish.
Dairy-free topping bowl
Skip the cheese and sour cream, then lean harder on avocado, lime, and cilantro. That swap keeps the bowl bright and still gives you creaminess from the avocado. If you want extra richness, add a spoonful of plain dairy-free yogurt at the end.
Lower-carb version
Leave out the corn and add extra diced tomatoes or a handful of chopped zucchini if you want more volume. The soup will taste a little less sweet and a little more savory, which works well with the smoky seasoning. The texture stays hearty because the beans and meat are still doing the heavy lifting.
Storage and Reheating
- Refrigerator: Store in an airtight container for up to 4 days. The flavors get even better overnight, though the beans will soften a bit more.
- Freezer: This soup freezes well for up to 3 months. Cool it completely first, then freeze in portions so it thaws evenly.
- Reheating: Warm it gently on the stove over medium-low heat or in the microwave in short bursts, stirring between each one. Don’t boil it hard, or the beans can break down and the broth can taste dull.
Questions I Get Asked About This Recipe
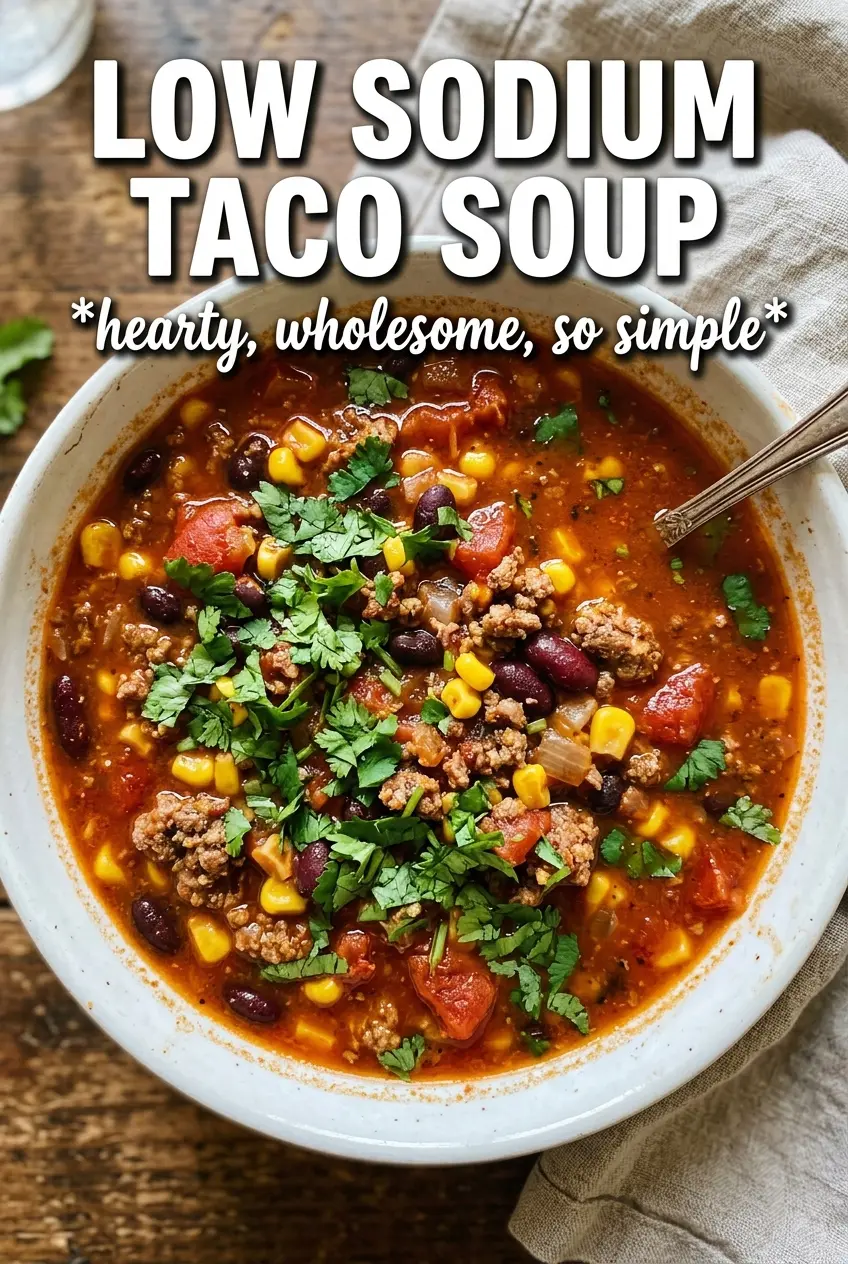
Low Sodium Taco Soup
Ingredients
Equipment
Method
- Brown the ground beef in a large pot over medium-high heat, then drain excess fat so the soup stays lighter.
- Sauté the onion for 4 minutes, then add the garlic and cook 1 minute until fragrant.
- Stir in the homemade taco seasoning and cook for 1 minute to toast the spices.
- Add the no-salt-added black beans, no-salt-added corn, no-salt-added diced tomatoes, diced tomatoes with green chiles, and low-sodium broth, then bring the mixture to a boil.
- Simmer the soup for 15-20 minutes to thicken slightly and let flavors meld.
- Taste and add only a small pinch of salt if truly needed, then simmer 2 minutes more if you adjusted seasoning.
- Ladle the taco soup into bowls and top with avocado, fresh lime, cilantro, shredded cheese, and a small spoon of light sour cream.