Key lime pie bars hit the sweet spot between bright, tart citrus and a buttery crust that holds its shape when you cut into it. The filling sets up smooth and sliceable, with that classic creamy key lime flavor that tastes clean instead of heavy. A thick graham cracker base gives every bite enough crunch to stand up to the soft custard on top.
This version keeps the ingredient list simple, but the method matters. The crust gets baked first so it stays crisp under the filling, and the bars go back in the oven just long enough to set the custard without curdling the eggs or drying out the edges. Fresh lime juice gives the filling its sharp, lively finish, and the zest carries the citrus aroma all the way through.
Below you’ll find the small details that make these bars cut cleanly, plus a few swaps for when you want to adjust the citrus or make them a little easier to plan ahead.
The filling set up perfectly after chilling, and the lime zest on top made each square taste fresh instead of overly sweet. I cut them the next day and the crust held together cleanly.
Save these key lime pie bars for the days when you want a tart citrus dessert with a crisp graham crust and a clean, creamy slice.
The Part That Keeps the Bars from Turning Watery
The filling in key lime bars looks simple, but the set depends on restraint. The most common mistake is baking until the center looks completely firm in the oven. By the time the pan cools, that extra heat has already pushed the eggs past the point of a smooth custard, and the bars can turn dry or a little grainy.
Pull them when the center still has a slight jiggle and the edges are just set. That residual heat finishes the job as the pan cools. If the top starts to puff or crack, the oven is too hot or the bars stayed in too long. You want a surface that looks matte and settled, not browned.
- Fresh key lime juice — This gives the bars their sharp, clean citrus bite. Bottled juice can work in a pinch, but fresh juice tastes brighter and the zest carries the aroma that makes these bars stand out.
- Sweetened condensed milk — This is the backbone of the filling. It brings sweetness and body at the same time, so you don’t need extra sugar, and it’s what helps the custard slice cleanly after chilling.
- Egg yolks — Yolks help the filling set without making it rubbery. Whole eggs would make the bars firmer and less silky, which changes the texture more than most people expect.
- Graham cracker crumbs — Use finely crushed crumbs so the crust packs evenly and doesn’t crumble when sliced. If you only have whole crackers, pulse them to a fine sand texture before mixing with the butter.
- Lime zest — Don’t skip it. The juice gives acidity, but the zest gives the bar its lime aroma and makes the flavor taste fuller from the first bite to the last.
Building the Filling Without Breaking the Custard
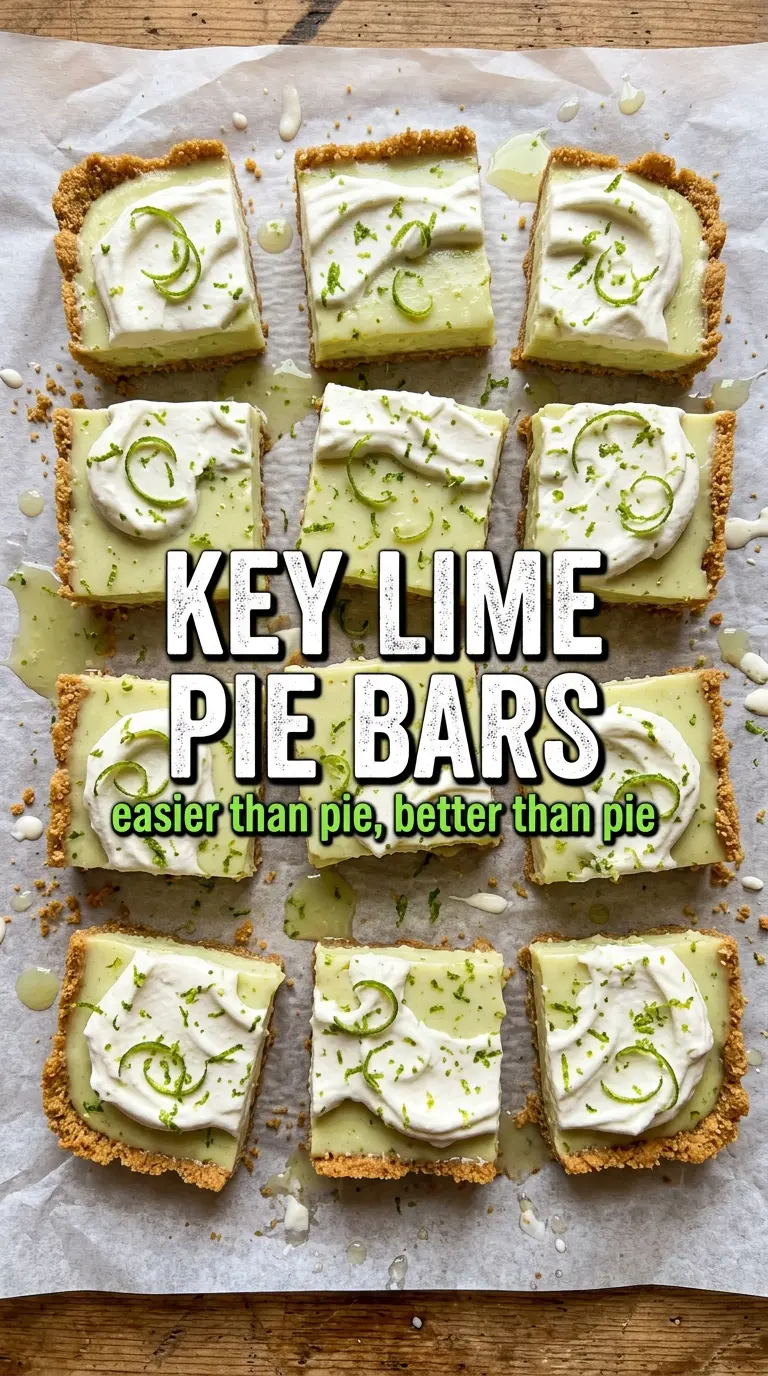
- Egg yolks — Whisk them until the yolks look loose and smooth before adding anything else. That keeps the filling silky and prevents streaks when the lime juice goes in.
- Sweetened condensed milk — The full-fat canned version gives the best texture. Low-fat versions can set, but the filling won’t taste as rich and can feel a little thin.
- Fresh lime juice — Add it after the yolks and milk are combined, then whisk just until smooth. If you add the juice too aggressively or let the mixture sit too long before baking, the filling can tighten unevenly.
- Lime zest — Stir it in with the juice so the oils get distributed through the filling. If your limes are small, zest first and then juice them; it’s easier than trying to zest a squeezed lime.
- Green food coloring — Optional, and only for appearance. It won’t change flavor, so skip it if you want a natural pale yellow-green filling from the juice and yolks alone.
The Crust and Bake That Give You Clean Squares
Pressing the Crust Firmly
Mix the graham cracker crumbs, sugar, and melted butter until the crumbs look evenly moistened, like damp sand that holds together when squeezed. Press the mixture into a parchment-lined 9×13 pan with firm, even pressure, especially in the corners and along the edges. A loose crust will fall apart when you slice the bars, and an uneven one can bake too hard in thin spots while staying crumbly in thick spots.
Prebaking for Structure
Bake the crust for about 8 minutes, just until it smells toasted and the surface looks slightly darker. This short bake sets the butter so the filling doesn’t soak in and soften the base. Let it cool for a few minutes before adding the filling, but don’t wait until it’s completely cold; a warm crust helps the filling settle evenly.
Baking the Filling Just to Set
Pour the filling over the warm crust and spread it into the corners. Bake until the center has only the slightest wobble when you nudge the pan, usually 18 to 20 minutes. If the edges start to brown, the bars are already going too far, so pull the pan and let the carryover heat finish the set. Cool completely, then chill for at least 3 hours before cutting so the squares hold their shape instead of oozing at the knife.
Make It More Tart
Add an extra tablespoon of lime zest and use the full 3/4 cup of juice. That pushes the bars toward a sharper citrus edge without changing the texture, which is the easiest way to brighten the flavor if you like your desserts less sweet.
Lemon Bar-Style Swap
Use fresh lemon juice and lemon zest in the same amount for a classic lemon bar variation. The filling will taste a touch less floral and a little more straightforwardly bright, but the custard set and bake time stay the same.
Gluten-Free Crust
Swap in certified gluten-free graham-style crumbs or another gluten-free cookie crumb with a similar texture. You still want the same fine crumb and butter ratio, because a coarse substitute can leave the base sandy and fragile.
Storage and Reheating
- Refrigerator: Store covered for up to 5 days. The crust stays crisp enough for the first few days, though the filling will become a little firmer as it chills.
- Freezer: These freeze well. Wrap the chilled, cut bars tightly and freeze for up to 2 months, then thaw in the refrigerator so the filling doesn’t sweat.
- Reheating: No reheating needed. Serve chilled or lightly chilled; warming these bars softens the filling and can make the crust soggy, which is the one move that undoes the clean slice you’re after.
Answers to the Questions Worth Asking
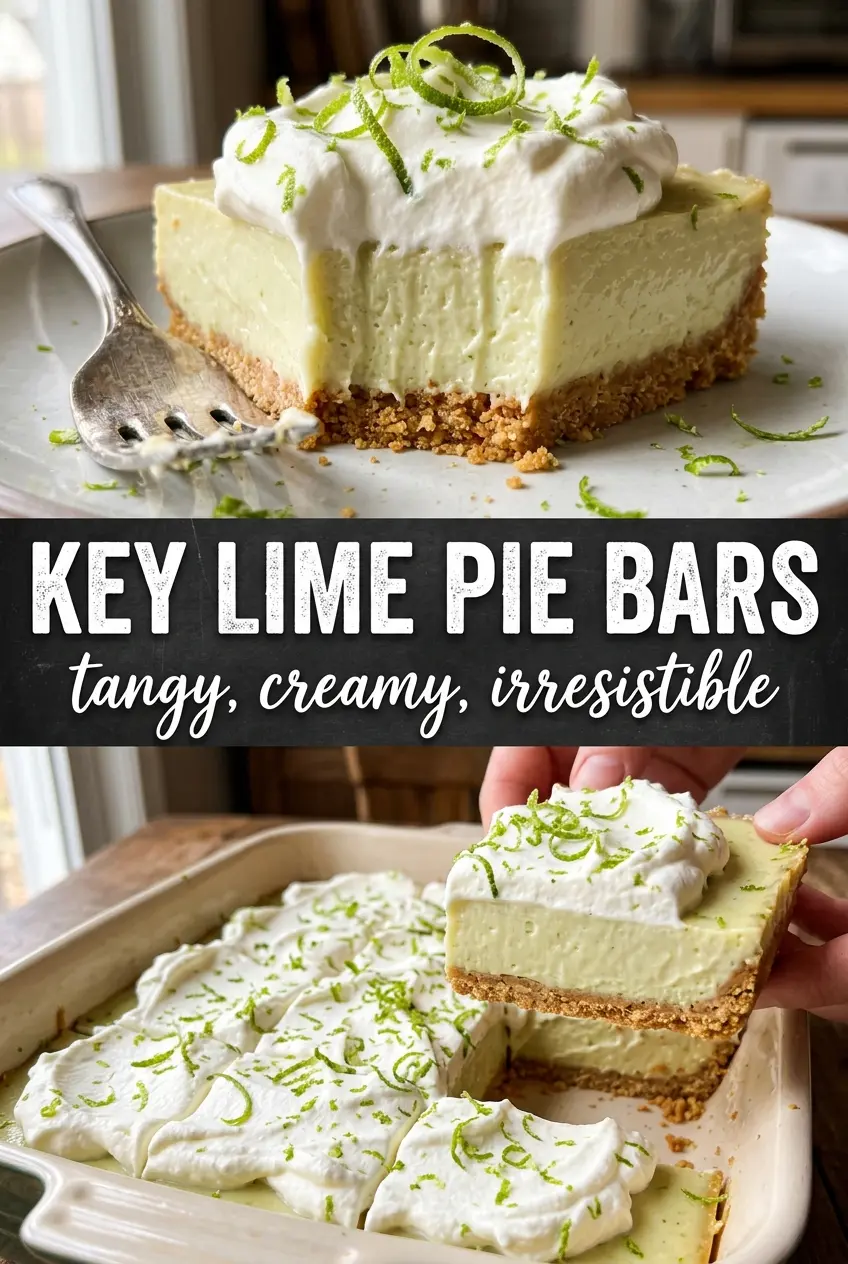
Key Lime Pie Bars
Ingredients
Equipment
Method
- Preheat the oven to 350°F, then mix the graham cracker crumbs, granulated sugar, and melted butter until evenly combined. Press the mixture firmly into a parchment-lined 9x13 pan to form an even crust layer.
- Bake the crust for 8 minutes, then cool slightly while you prepare the filling. The crust should look set and lightly toasted at the edges.
- Whisk the egg yolks, sweetened condensed milk, key lime juice, and lime zest until smooth. Add a drop of green food coloring (optional) and whisk again until the mixture is evenly pale green.
- Pour the key lime filling over the warm crust and spread evenly with the back of a spoon or spatula. Tap the pan gently to level the surface.
- Bake for 18–20 minutes at 350°F until the filling is just set with a slight jiggle in the center. The edges should look set while the middle still trembles slightly.
- Cool completely at room temperature, then refrigerate for at least 3 hours until firm. The filling should slice cleanly with no liquid wobble.
- Dust the bars with powdered sugar, scatter lime zest, then cut into 16 bars to serve. Finish with a visible green filling and crisp crust at the cut edges.