Individual apple crumbles bake up with tender, cinnamon-spiced apples under a crisp oat topping that stays nubby and golden instead of turning sandy or flat. The best part is the contrast in every spoonful: soft fruit at the bottom, buttery crunch on top, and a little molten ice cream sliding into the cracks. Serving them in ramekins keeps the topping extra crisp and gives each portion its own caramelized edge, which is exactly what makes them feel special without turning the dessert into a project.
The filling starts on the stove, and that matters. Cooking the apples briefly with cornstarch before they go into the oven gives you a thicker, glossy filling instead of a watery puddle at the bottom of the ramekin. I also like using rolled oats in the crumble because they hold their shape better than a flour-heavy topping, especially once the butter melts and the edges start to brown.
Below, you’ll find the exact texture cues to look for, plus the swaps that still keep the topping crisp if you need to adjust the recipe a little. If you’ve ever pulled a fruit crumble from the oven only to find runny filling or a topping that went soft, this version fixes both.
The apples thickened up beautifully on the stove, and the oat topping stayed crisp even after we added ice cream. My ramekins came out with those caramelized edges I always hope for.
Love these individual apple crumbles? Save them to Pinterest for the nights when you want a crisp oat topping and warm cinnamon apples in one perfect ramekin.
The Secret to Keeping the Filling Thick in Every Ramekin
The mistake with small fruit crumbles is assuming the oven will do all the work. Apples release juice as they heat, and if you skip the stovetop step, that juice has nowhere to go except into the topping. Cooking the apples first with cornstarch gives the filling a head start, so the crumbles bake up with a spoonable center instead of a loose, soupy one.
Finely diced apples matter here too. Big chunks take longer to soften, which tempts you to overbake the topping while waiting for the fruit to catch up. Small pieces cook evenly, pack neatly into the ramekins, and give you that soft, jammy texture in just 5 to 7 minutes on the stove.
- Apples — Use a firm baking apple if you can, since it keeps some shape after cooking. Softer apples turn mushy fast, especially in individual portions.
- Cornstarch — This is what turns the apple juices glossy and thick. Flour works in a pinch, but it leaves the filling a little cloudier and less clean-set.
- Lemon juice — It keeps the apples bright and balances the sugar. Without it, the filling can taste flat once the crumble is baked.
What the Oats, Butter, and Sugar Are Doing Up Top
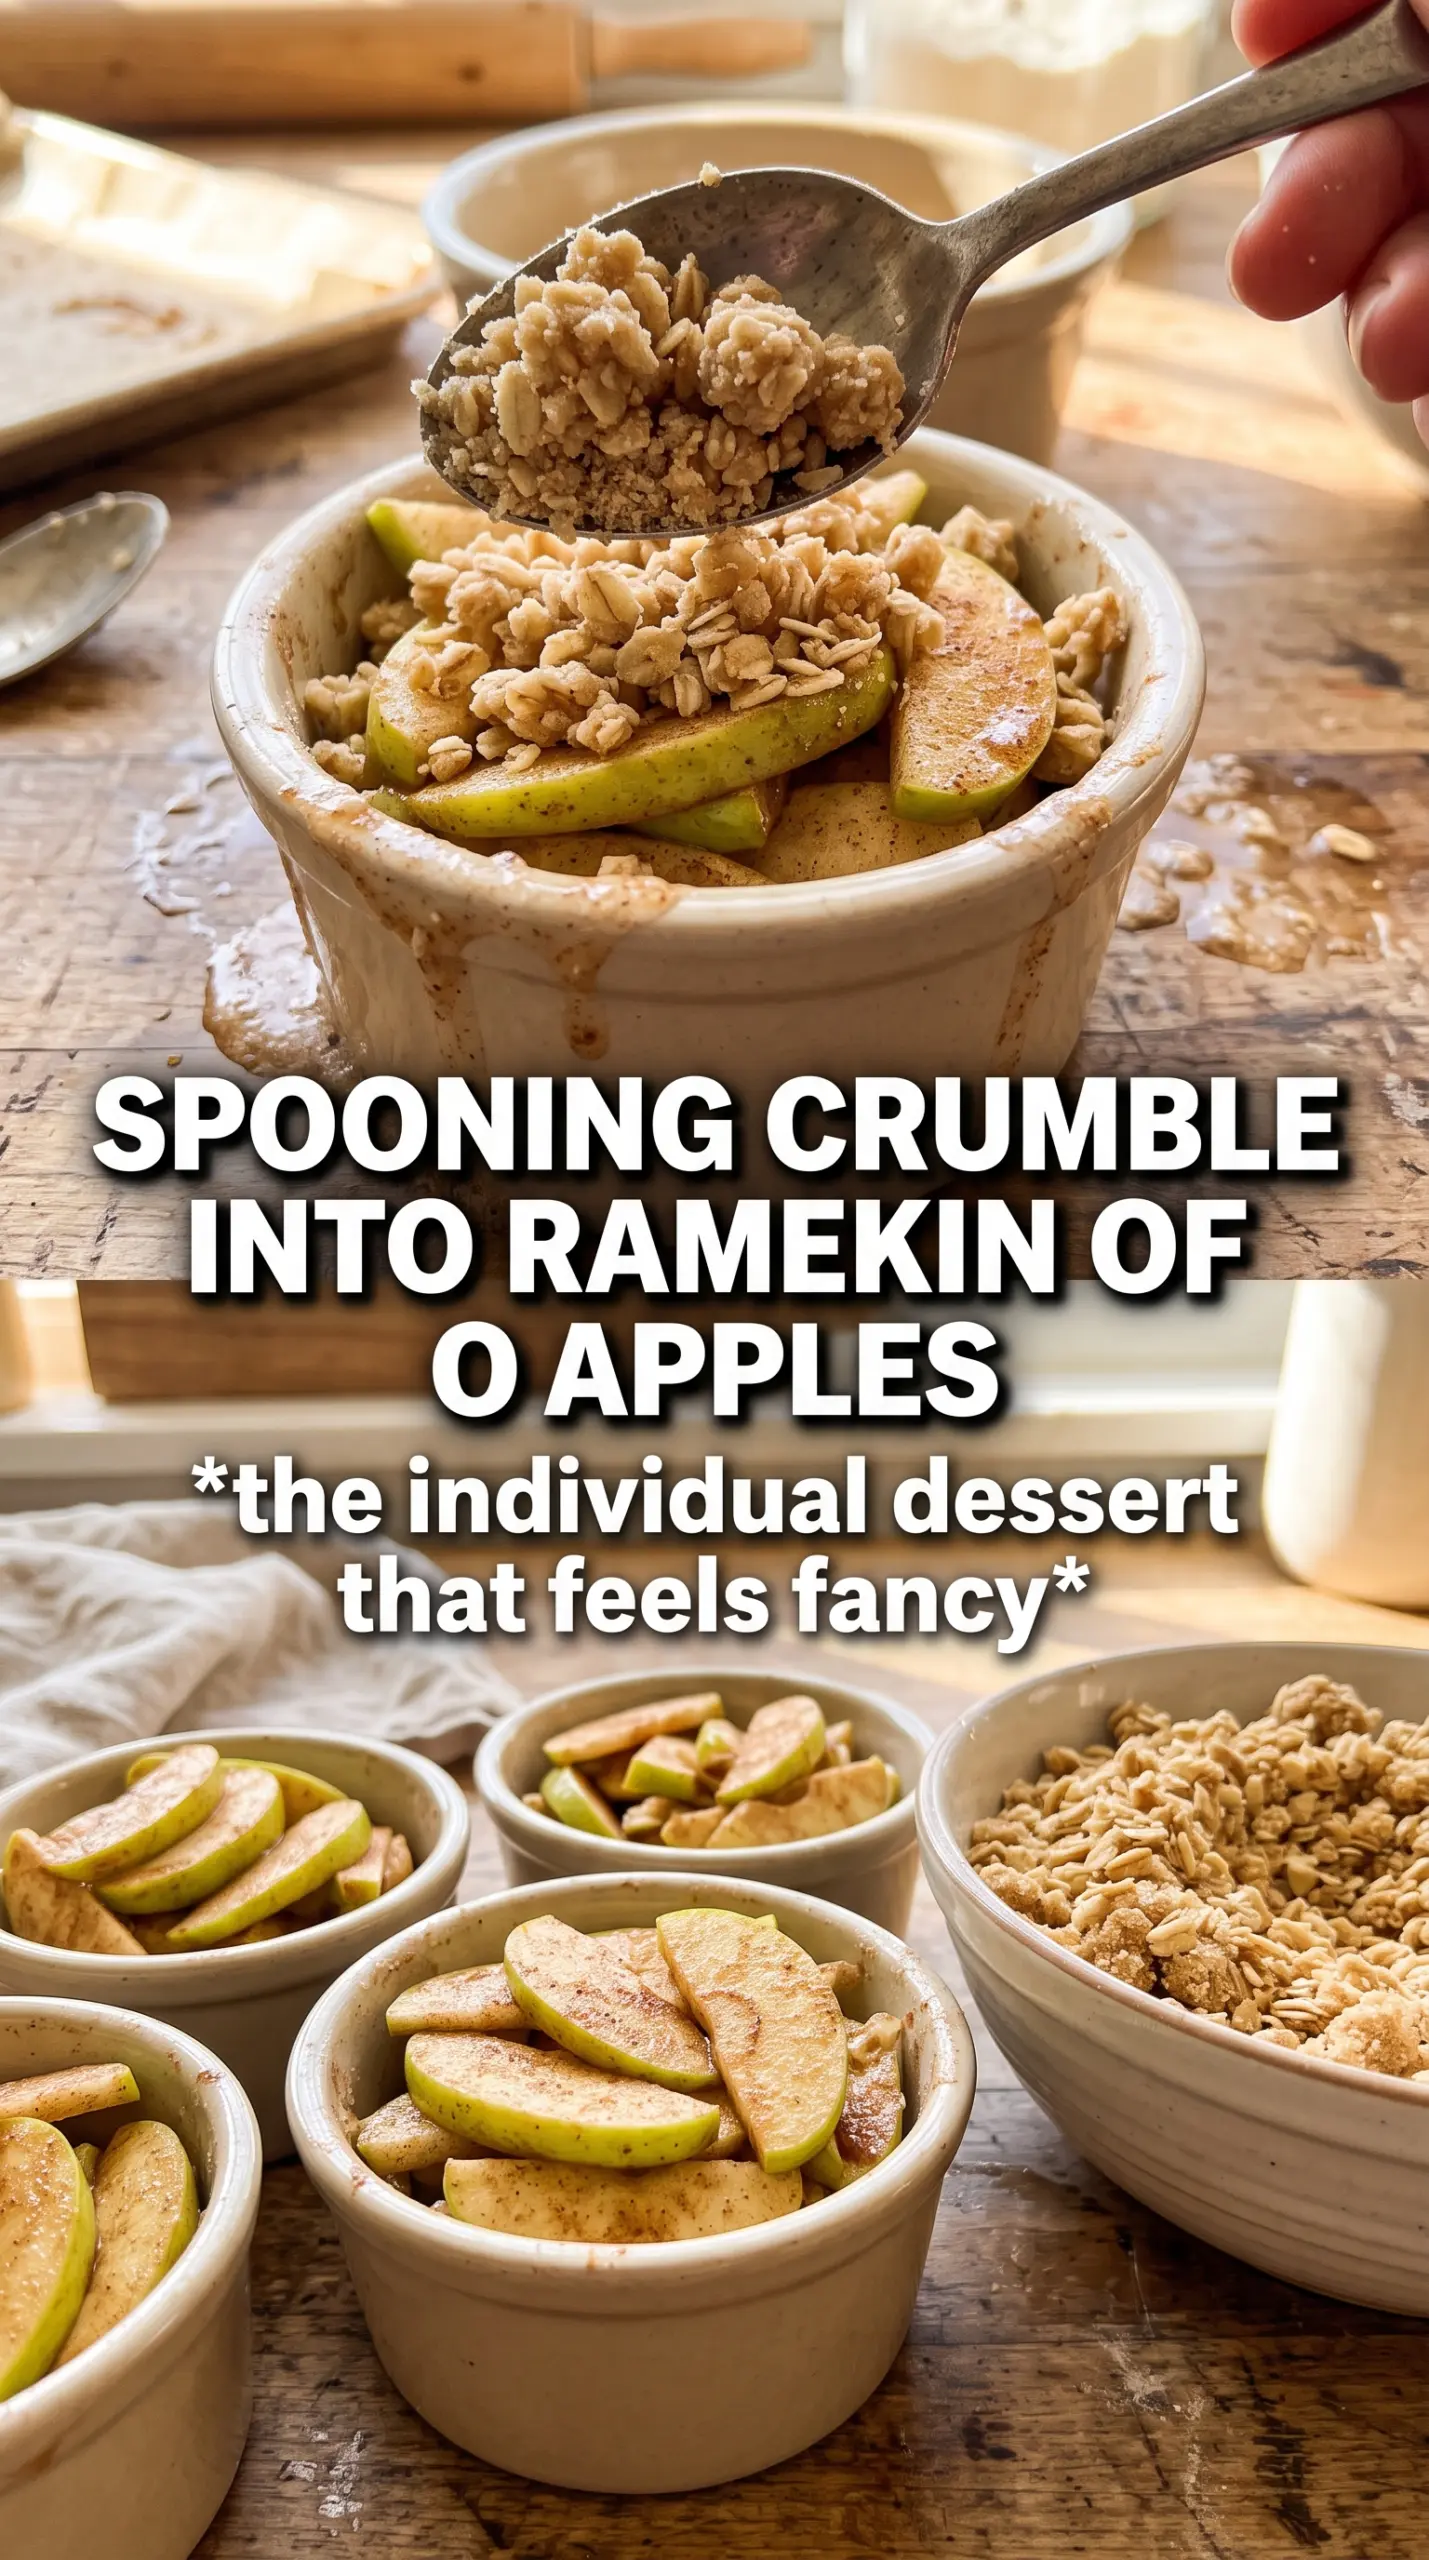
- Rolled oats — They give the topping structure and that rugged, craggy texture that shatters when you spoon into it. Quick oats can work, but they make a finer, softer crumble.
- Cold butter — Cold cubes are nonnegotiable. They create little pockets that melt in the oven and leave behind crisp bits instead of a greasy paste.
- Brown sugar — This adds deeper caramel notes than white sugar and helps the topping brown nicely around the edges. Packed brown sugar also gives the crumble a slightly denser, more cohesive texture.
- Flour — It binds the oats and butter into chunky clumps. Too much flour and the topping gets dusty; too little and it falls apart before you can pile it on.
Building the Ramekins So the Tops Brown and the Centers Bubble
Thickening the Apples First
Start the filling in a skillet over medium heat and cook until the apples soften slightly and the liquid turns glossy. You want a thick spoonable mixture, not dry apples or a loose syrup. If the cornstarch still looks chalky, cook it a minute longer before dividing it into the ramekins, because undercooked starch can leave a raw taste in the finished dessert.
Cutting the Butter Into the Crumble
Mix the oats, flour, brown sugar, cinnamon, and salt, then work in the cold butter until you have uneven clumps ranging from pea-size to a little larger. Those jagged bits are what bake into crunch. If the mixture turns pasty, the butter was too warm, and the topping will melt into a sheet instead of baking into a crumble.
Baking Until the Edges Start to Sniff Out
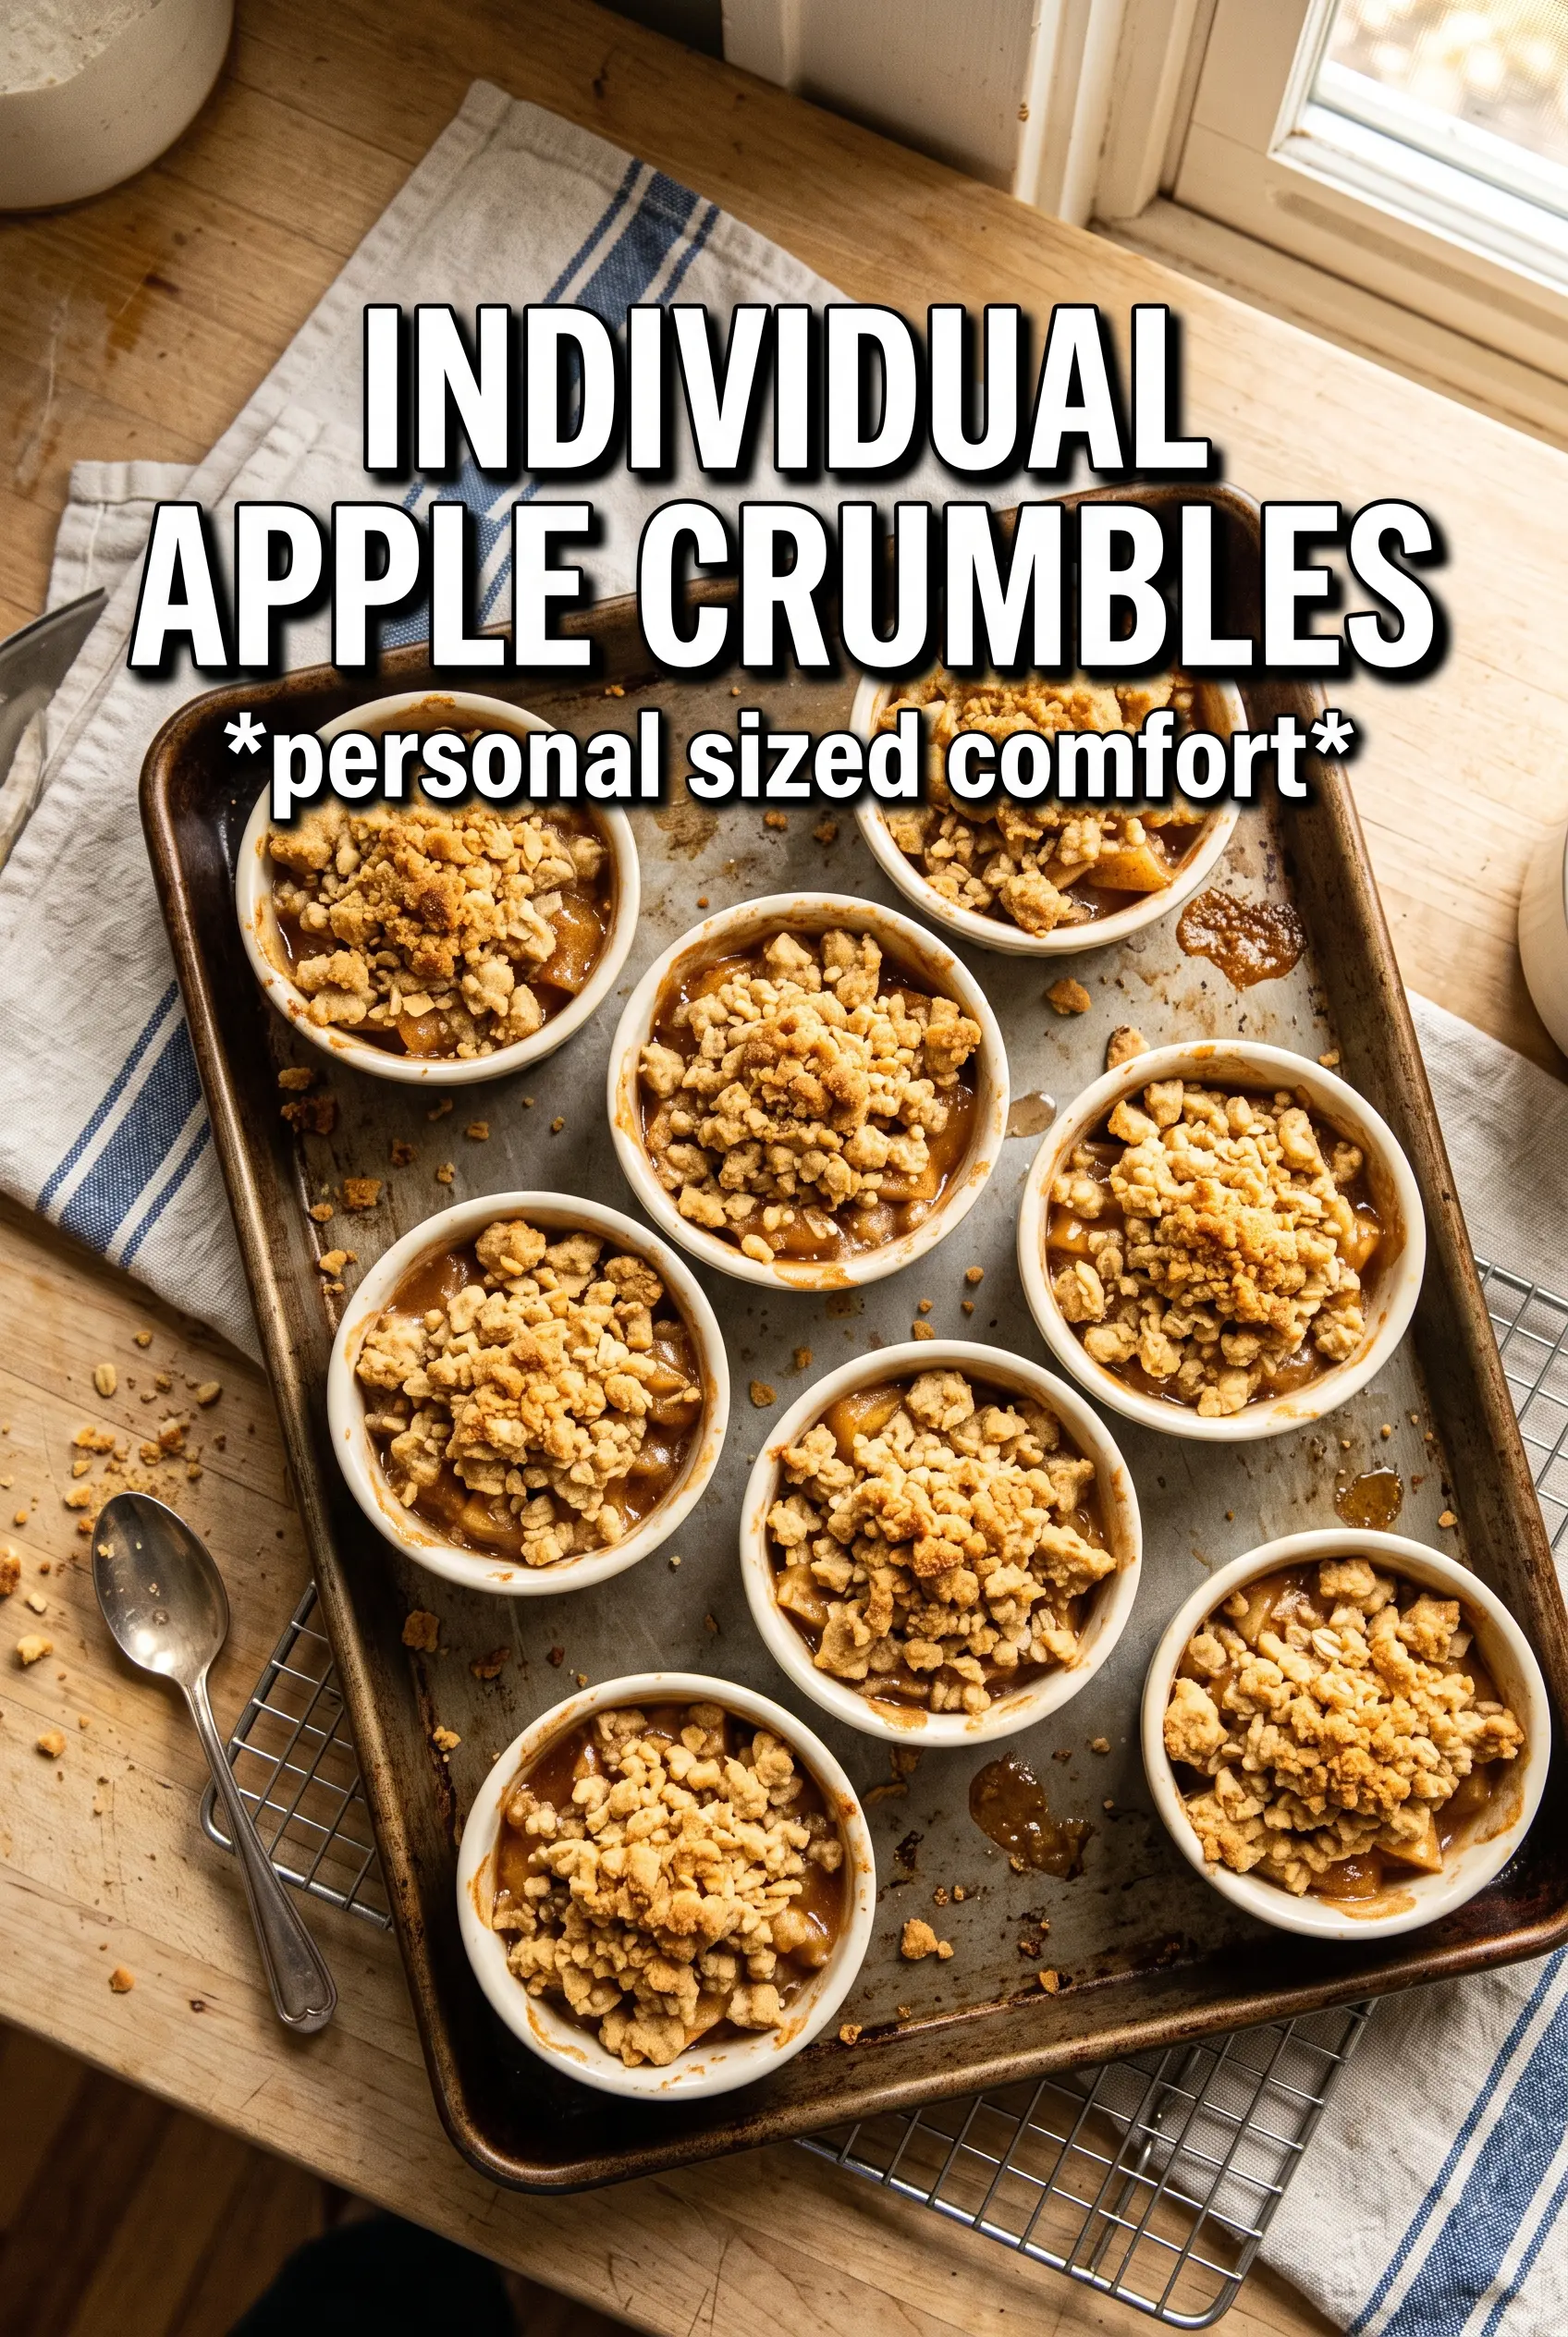
Top each ramekin generously, set them on a baking sheet, and bake until the tops are deep golden and the filling bubbles around the edges. That bubbling is the cue that the center has heated through and the starch has finished its job. Pull them too early and the filling can stay thin; wait for the first bubbles at the edge of the ramekin and the crumble will hold together better when served.
Make It With Pears Instead of Apples
Pears work well if they’re firm and ripe, but they soften faster than apples, so keep the stovetop cooking brief. You’ll get a sweeter, softer filling with a more delicate texture, and you may want a little extra lemon juice to keep the flavor from going bland.
Gluten-Free Crumble With the Same Crunch
Swap the all-purpose flour for a good 1:1 gluten-free baking blend. The topping will still clump and brown nicely, though it may bake up a touch more delicate, so don’t overmix once the butter goes in.
Dairy-Free Apple Crumbles
Use a plant-based butter that’s firm when cold, not a soft tub spread. The filling and topping still work, but the flavor is a little less rich, so serving with a cold dairy-free vanilla ice cream helps keep the dessert balanced.
Making It Ahead for Dessert Night
You can cook the apple filling and make the crumble topping a day ahead, then keep them separate and assemble just before baking. That keeps the topping dry and crumbly. If you assemble early, the oats start soaking up moisture and the bake loses some of its crunch.
Storage and Reheating
- Refrigerator: Store covered for up to 4 days. The topping softens a bit in the fridge, but the flavor stays good.
- Freezer: Freeze baked crumbles in their ramekins if they’re freezer-safe, or wrap tightly and freeze for up to 2 months. The topping won’t be quite as crisp after thawing, but it still works for a make-ahead dessert.
- Reheating: Warm in a 325F oven until heated through and the topping perks back up. The microwave makes the crumble soggy, so use it only if you don’t mind losing that crisp edge.
Questions I Get Asked About This Recipe
Individual Apple Crumbles
Ingredients
Equipment
Method
- Preheat the oven to 375F, then grease 6 individual ramekins (6–8 oz each). Set them on a work surface so filling can be portioned immediately.
- Cook the diced apples with unsalted butter, granulated sugar, cinnamon, nutmeg, cornstarch, and lemon juice in a skillet over medium heat for 5–7 minutes until thickened. Stir until the cornstarch thickens the juices so they cling to the apples.
- Divide the thickened apple filling among the 6 greased ramekins. Fill each ramekin evenly so the bake time sets the same texture across portions.
- In a bowl, combine rolled oats, all-purpose flour, brown sugar, cinnamon, and salt. Mix until the dry ingredients are evenly colored.
- Cut the cold cubed unsalted butter into the dry mixture until chunky clumps form. Stop when you see butter-streaked crumbs that hold together when squeezed.
- Top each ramekin generously with the oat crumble. Cover the surface fully so the topping bakes up golden.
- Place the ramekins on a baking sheet and bake at 375F for 25–30 minutes until the topping is golden and the filling bubbles. Look for active bubbling at the edges of the filling.
- Serve the apple crumbles warm with vanilla ice cream. Add the ice cream right before serving so it melts over the crumble and apples.