Ina Garten apple crisp lands with the kind of contrast that keeps people going back for a second spoonful: tender apples underneath, a thick buttery crumble on top, and just enough citrus to keep the whole thing from tasting heavy. The topping bakes into golden clumps with crisp edges, while the fruit underneath softens into a glossy, cinnamon-scented layer that holds its shape instead of collapsing into applesauce.
What makes this version work is the balance. Macintosh or Braeburn apples bring the right mix of softness and structure, and the orange and lemon zest add brightness that cuts through the sugar and butter. The topping is generous on purpose, with oats for texture and both brown and white sugar for a crust that tastes deep and caramelized without turning sticky.
Below, I’ll show you the one place people usually go wrong with apple crisp and how to avoid it, plus the little ingredient choices that make this Ina-style version stand out. If you’ve ever had a crisp come out soggy or bland, this one fixes both problems.
The apples baked up tender but still held their slices, and the topping stayed crisp even under the whipped cream. I loved the orange zest in with the cinnamon — it made the whole pan taste brighter without taking over.
Like this Ina Garten apple crisp? Save it to Pinterest for the nights when you want a golden oat topping and tender spiced apples with barely any fuss.
The Crisp Is All About Contrast, Not Soft Apples Beneath a Soggy Lid
The mistake with apple crisp is treating the topping like a blanket instead of a crust. If the butter melts into the flour before it hits the oven, you get a paste-like layer that bakes up dense and greasy. Keeping the butter cold and rubbing it in by hand gives you those pea-sized clumps that turn into crunchy nubs in the oven.
The other failure point is the fruit. Apples that are sliced too thin break down before the topping has time to brown, and the whole dish turns mushy. Thick slices hold their shape long enough to soften into tender layers, which is exactly what you want under a crisp like this. The citrus juice does more than add flavor; it keeps the filling bright and helps the apples taste like apples instead of just sugar and spice.
What the Apples, Citrus, and Oats Are Each Doing Here
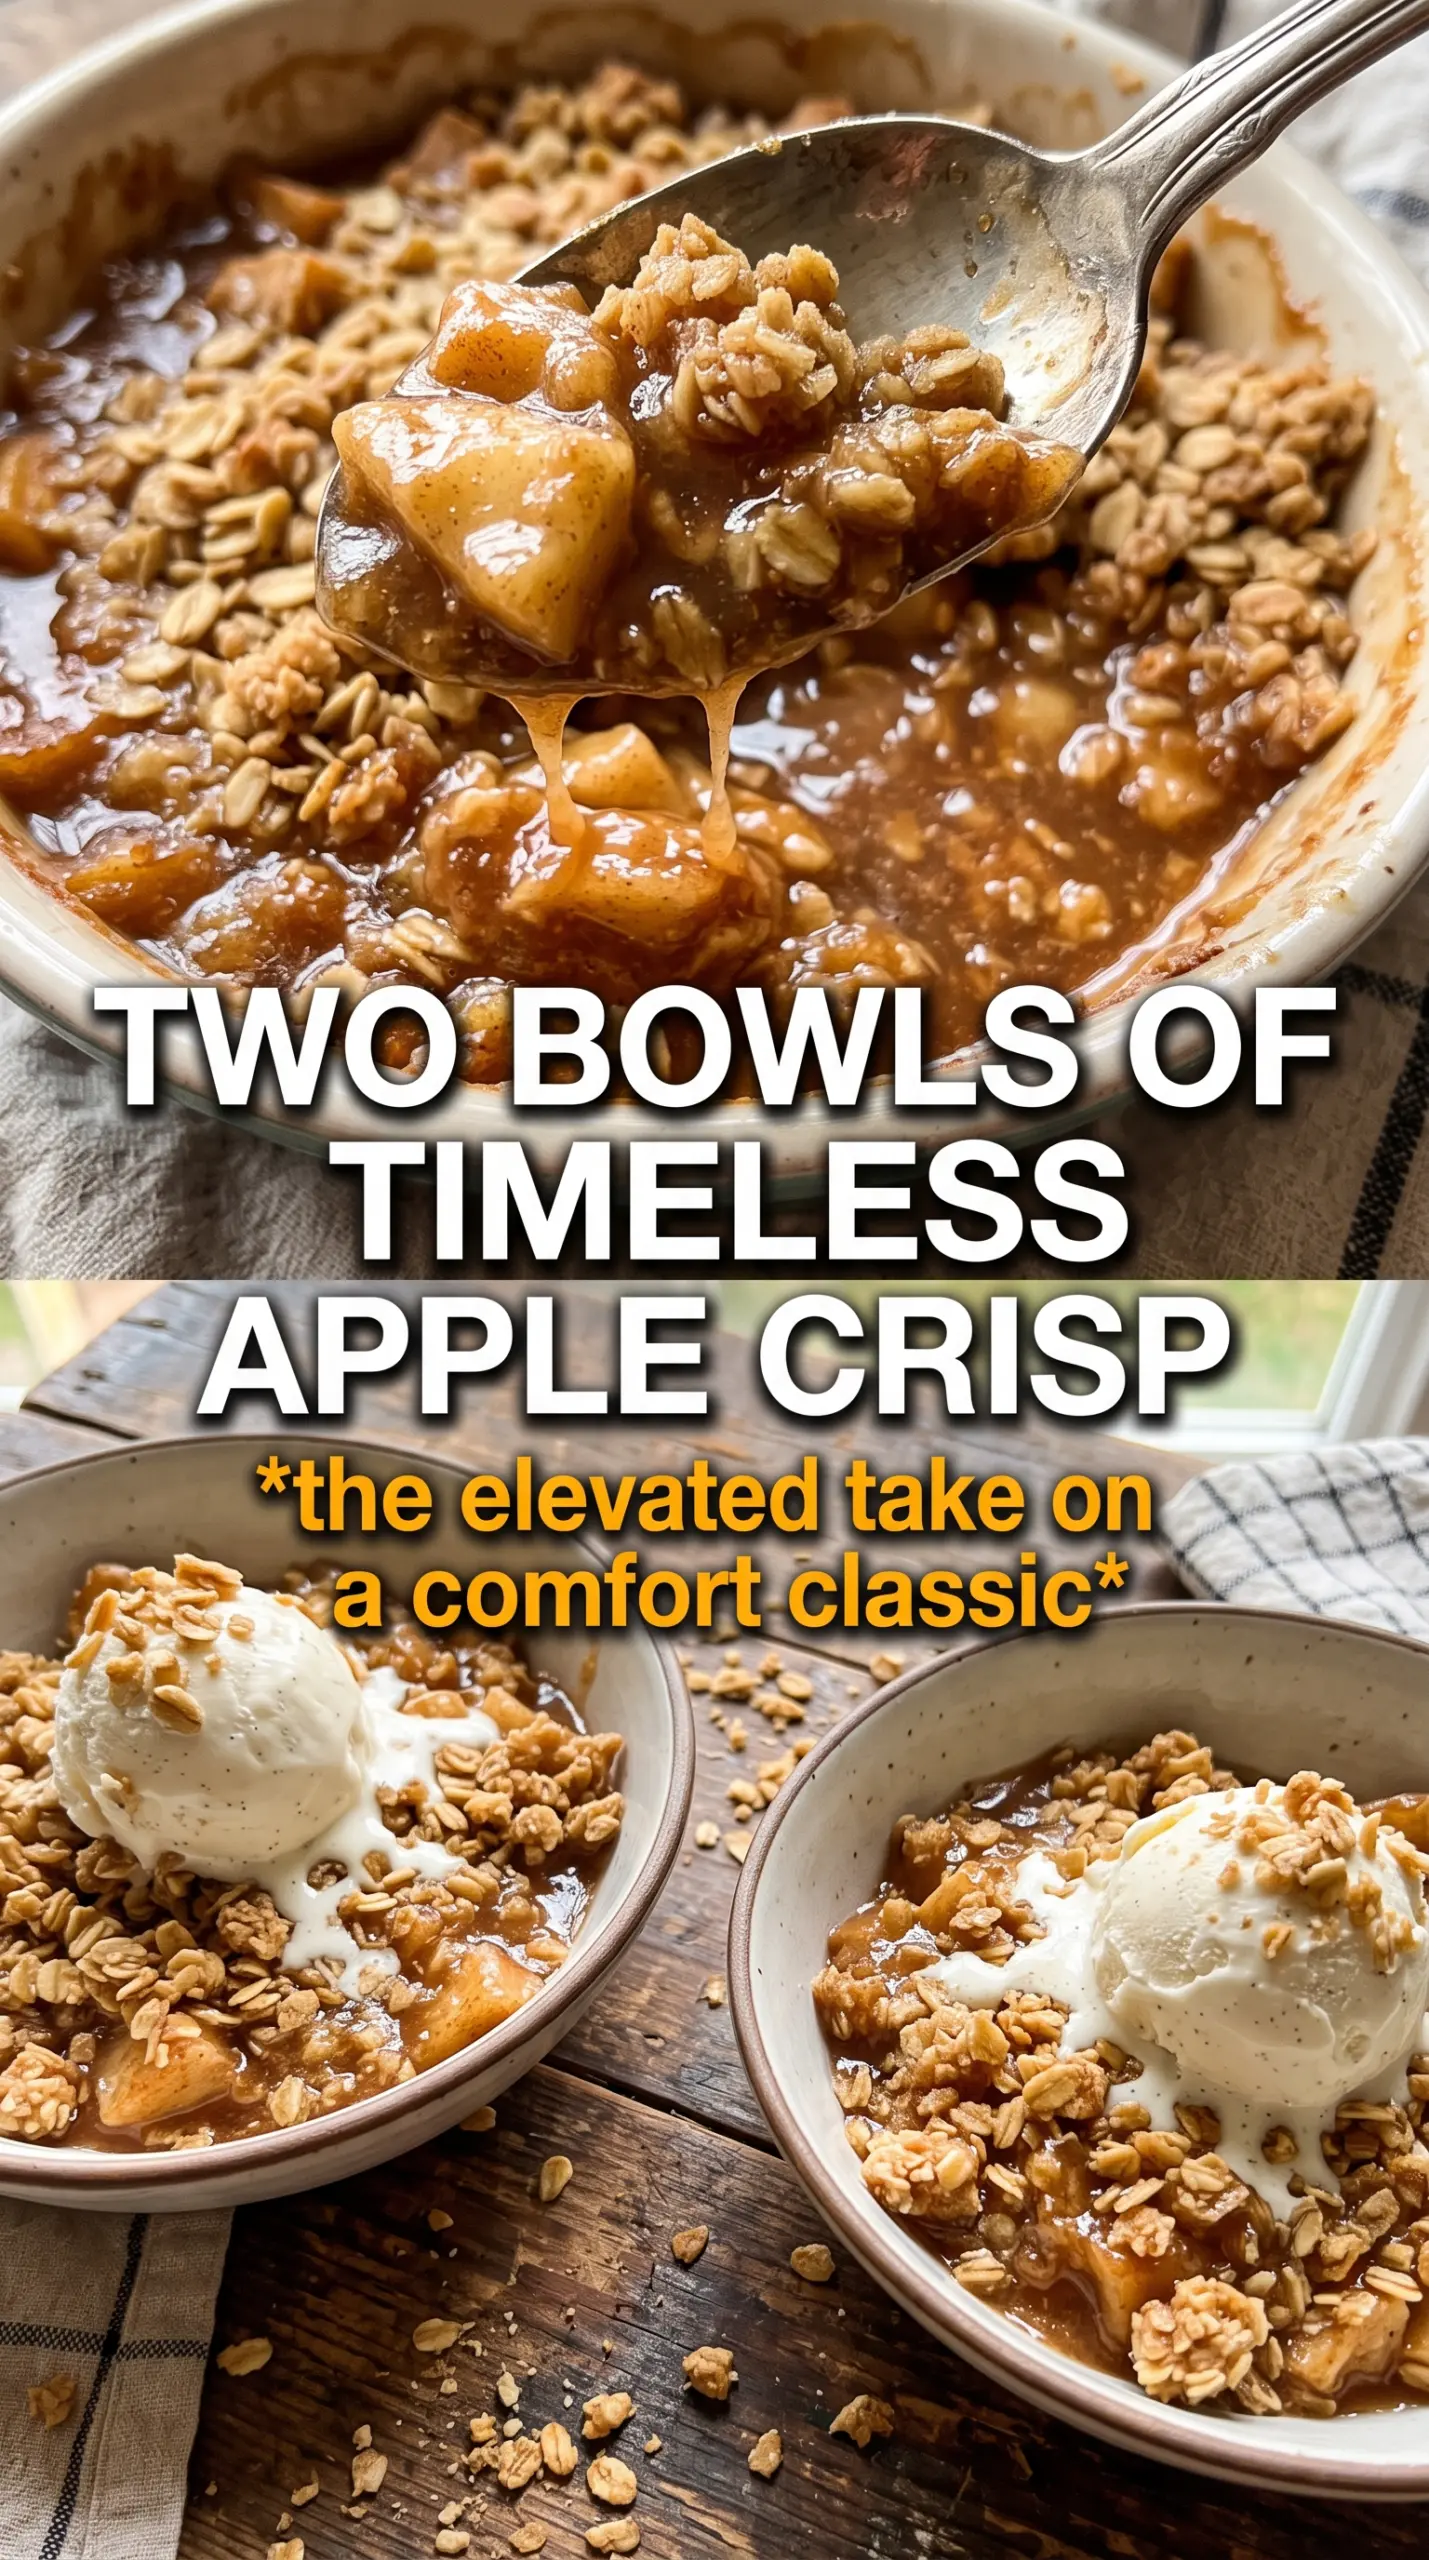
- Macintosh or Braeburn apples — Macintosh softens faster and gives you a very tender filling, while Braeburn keeps a little more structure. If you use only firm apples like Granny Smith, the flavor skews tart and the filling can stay a little too firm unless you bake it longer.
- Orange zest and lemon zest — This is the detail that keeps the crisp from tasting flat. The zest perfumes the filling without thinning it the way extra juice would, and it’s worth grating it finely so it disappears into the fruit instead of sitting in little bitter strands.
- Orange juice and lemon juice — The juices help the sugar dissolve and give the apples a little slippery coating so the spices cling. Bottled juice won’t hurt you in a pinch, but fresh juice tastes cleaner here and keeps the filling brighter.
- Old-fashioned oats — They give the topping its nubby, rustic bite. Quick oats will work, but they soften faster and make the crumble less crisp.
- Cold unsalted butter — This is what creates the topping’s texture. If the butter is too soft, the topping turns sandy and dense instead of clumping into a crumbly, golden lid.
Building the Crumble So It Bakes Up Crisp Instead of Sandy
Coating the Apples First
Toss the sliced apples with both zests, both juices, sugar, cinnamon, and nutmeg until every slice looks lightly glossy. That coating does two jobs at once: it seasons the fruit all the way through and starts drawing out a little juice so the apples bake in their own syrup instead of tasting dry. Spread the filling in the baking dish in an even layer; if it’s piled high in one corner, the topping browns unevenly.
Turning the Butter Into Clumps
Mix the flour, both sugars, salt, and oats first, then work in the cold diced butter with your fingers until the mixture looks like uneven gravel with some larger pieces mixed in. Stop before it turns smooth. Those bigger bits of butter are what melt and create the crisp, golden crags on top, while the smaller pieces fill in the gaps.
Baking Until the Fruit Is Tender and Bubbling
Scatter the topping over every inch of the apples, and don’t press it down. You want a loose layer so steam can move through and the top can brown instead of steaming into a crust. Bake until the top is deeply golden and you can see the filling bubbling up around the edges, which tells you the apples have softened and the sugar has turned into a proper sauce. If the top is browning too quickly before the fruit is tender, lay a piece of foil loosely over the dish for the last stretch of baking.
Make It Gluten-Free With a 1:1 Flour Blend
Swap the all-purpose flour for a trusted 1:1 gluten-free baking blend. The topping will still clump and brown, though it may be a little more delicate when you scoop it. Keep the oats certified gluten-free if you need the whole dessert to stay gluten-free.
Use All Granny Smith Apples for a Sharper Filling
Granny Smith apples make the filling tangier and firmer, which is a good move if you like a less sweet dessert. They hold their shape longer, so the crisp may need a few extra minutes in the oven to get the same tender texture as Macintosh or Braeburn.
Nuts in the Topping for More Crunch
Chopped pecans or walnuts can be folded into the crumble for a little extra bite. Add about 3/4 cup and reduce the oats slightly if you want the topping to stay balanced. The result is nuttier and more textured, but the topping won’t be as uniform.
Storage and Reheating
- Refrigerator: Store covered for up to 4 days. The topping softens in the fridge, but the flavor stays good.
- Freezer: It freezes well after baking. Cool completely, wrap tightly, and freeze for up to 2 months. Thaw overnight in the fridge before reheating.
- Reheating: Warm in a 325F oven until the center is hot and the topping re-crisps, about 15 to 20 minutes for a small portion. The microwave works in a pinch, but it softens the crumble, so use the oven if you want the texture back.
Answers to the Questions Worth Asking
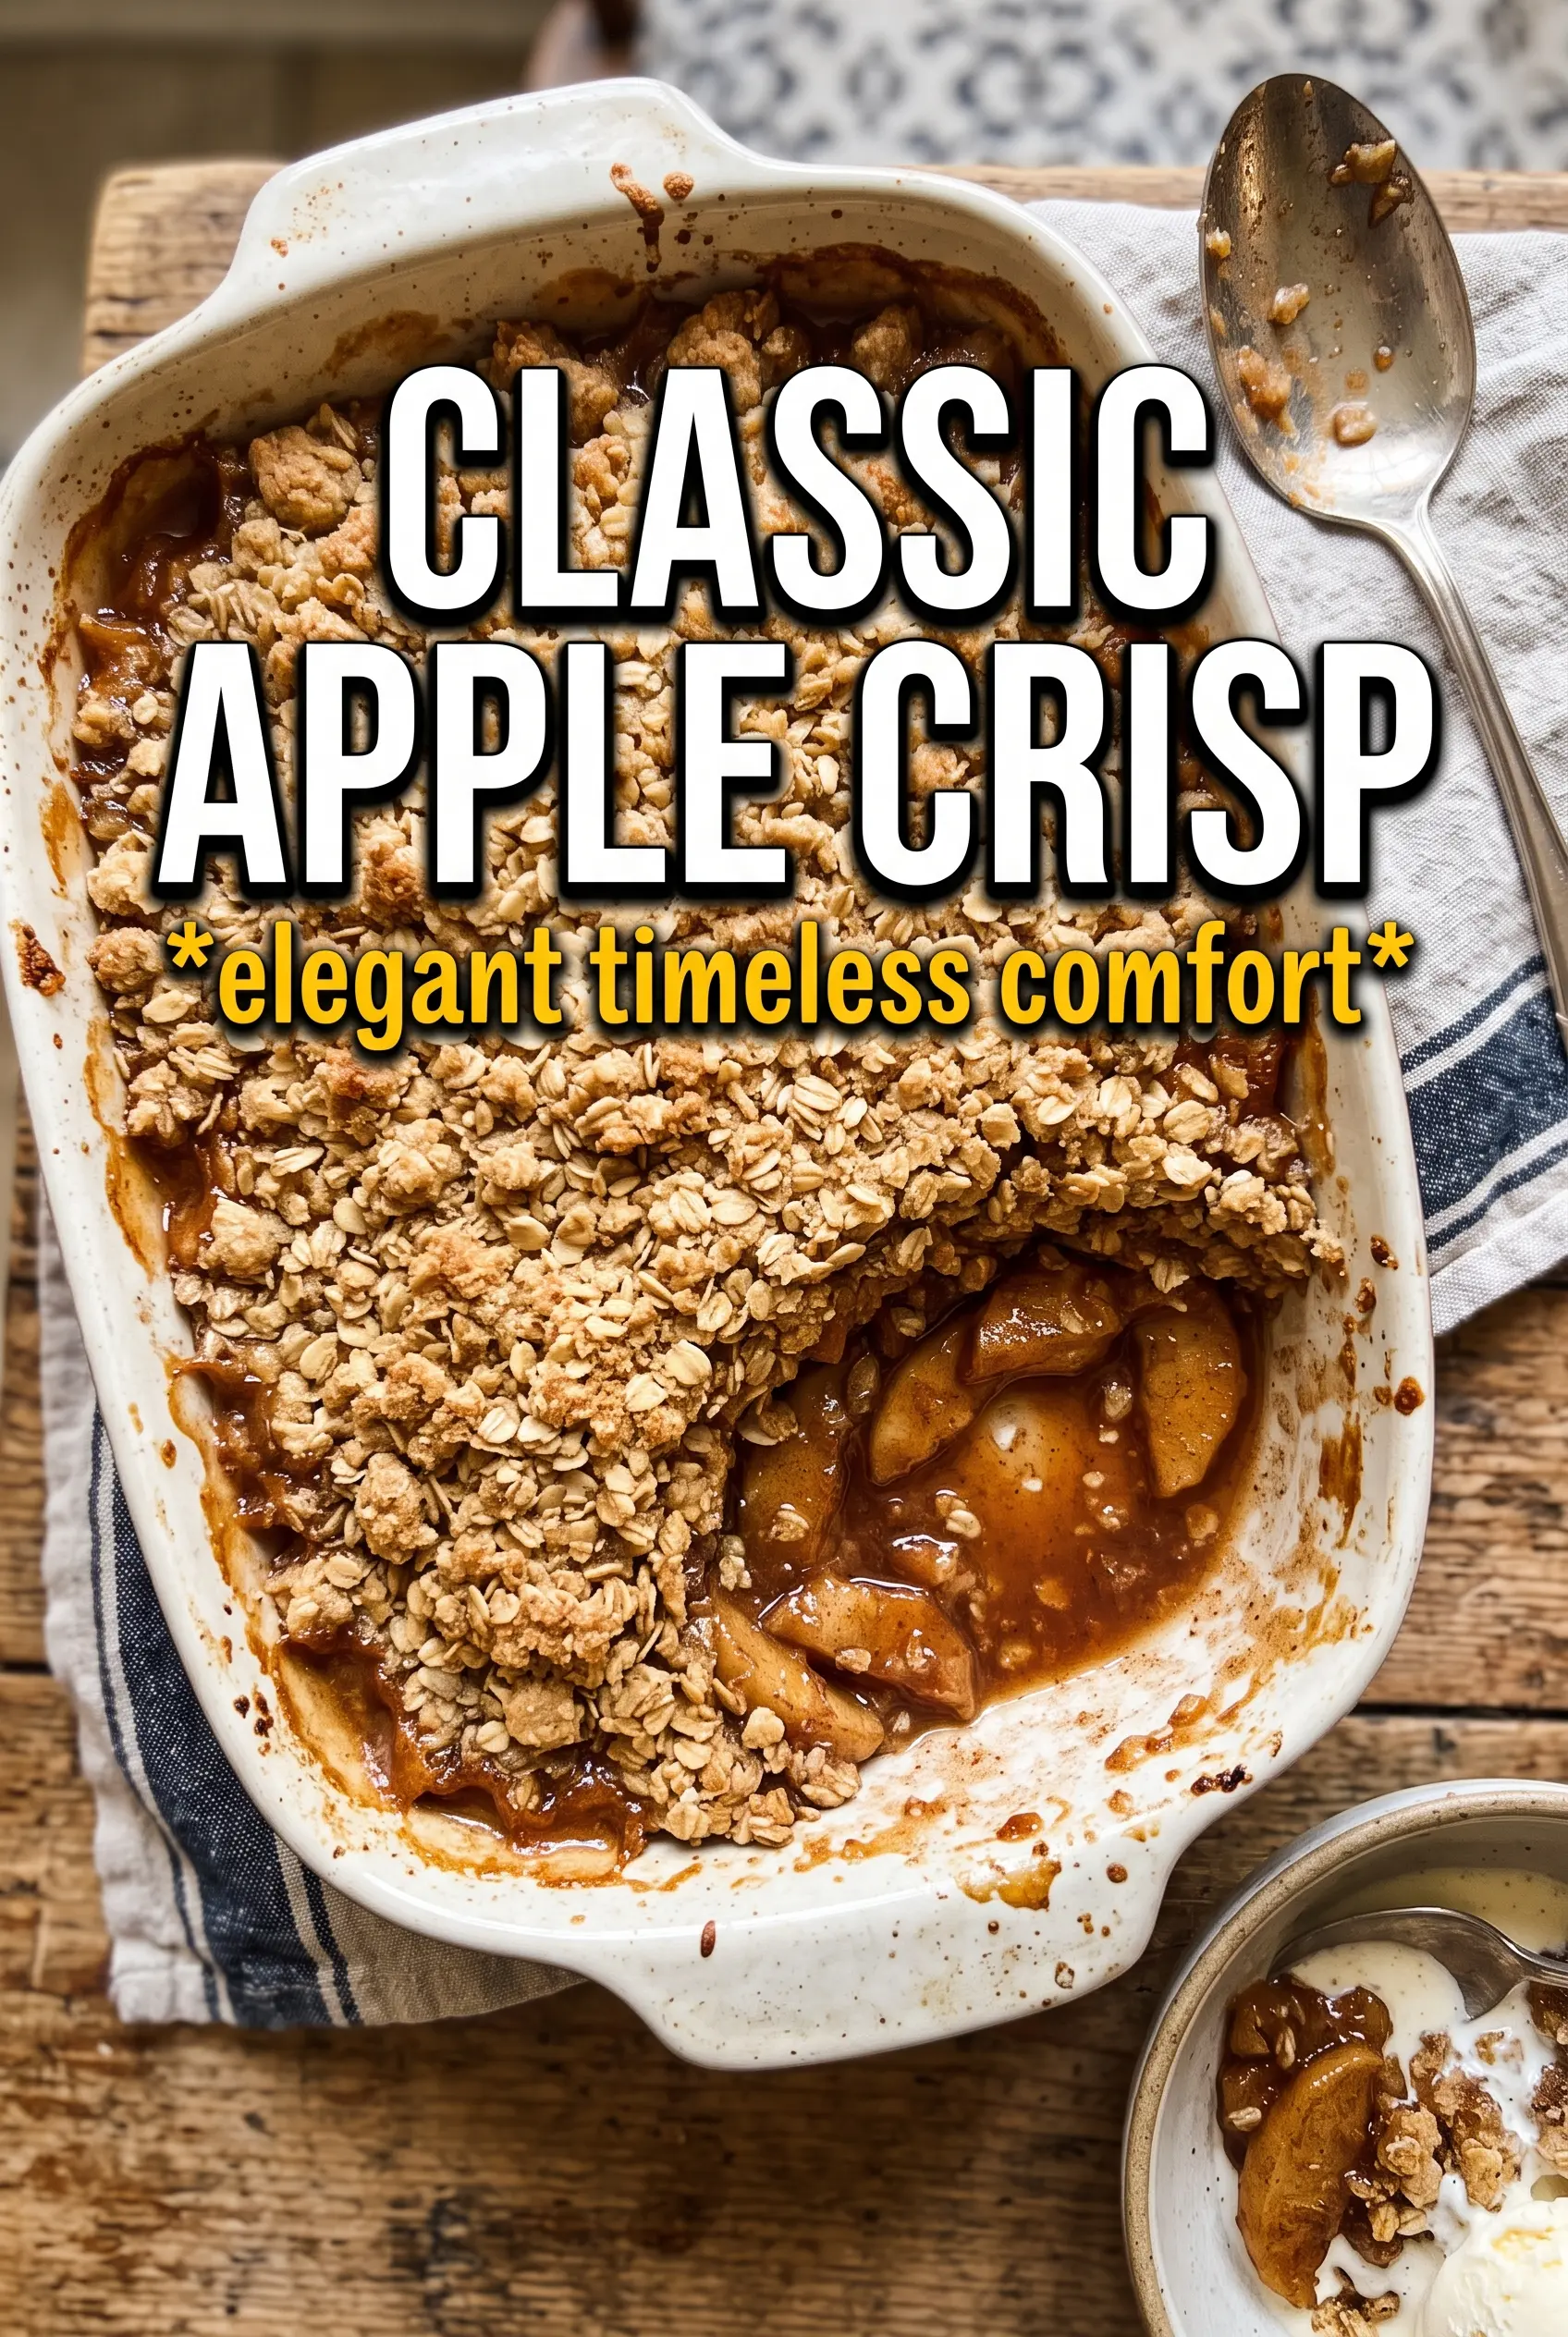
Ina Garten Apple Crisp
Ingredients
Equipment
Method
- Preheat the oven to 350F so it’s fully ready for baking.
- Arrange a 14x9x2 inch baking dish for the apple filling and place it on a sheet pan if needed to catch drips.
- Toss the sliced apples with orange zest, lemon zest, orange juice, lemon juice, granulated sugar, cinnamon, and nutmeg, then spread them in the baking dish.
- Combine all-purpose flour, both sugars, kosher salt, and oats, then add the cold diced butter and work with your fingers until the mixture forms pea-sized clumps.
- Scatter the crumble topping over the apples, covering every inch generously for a thick, crisp layer.
- Bake 55-60 minutes at 350F until the top is golden brown and the apples are tender and bubbling.
- Serve warm with vanilla ice cream or whipped cream.