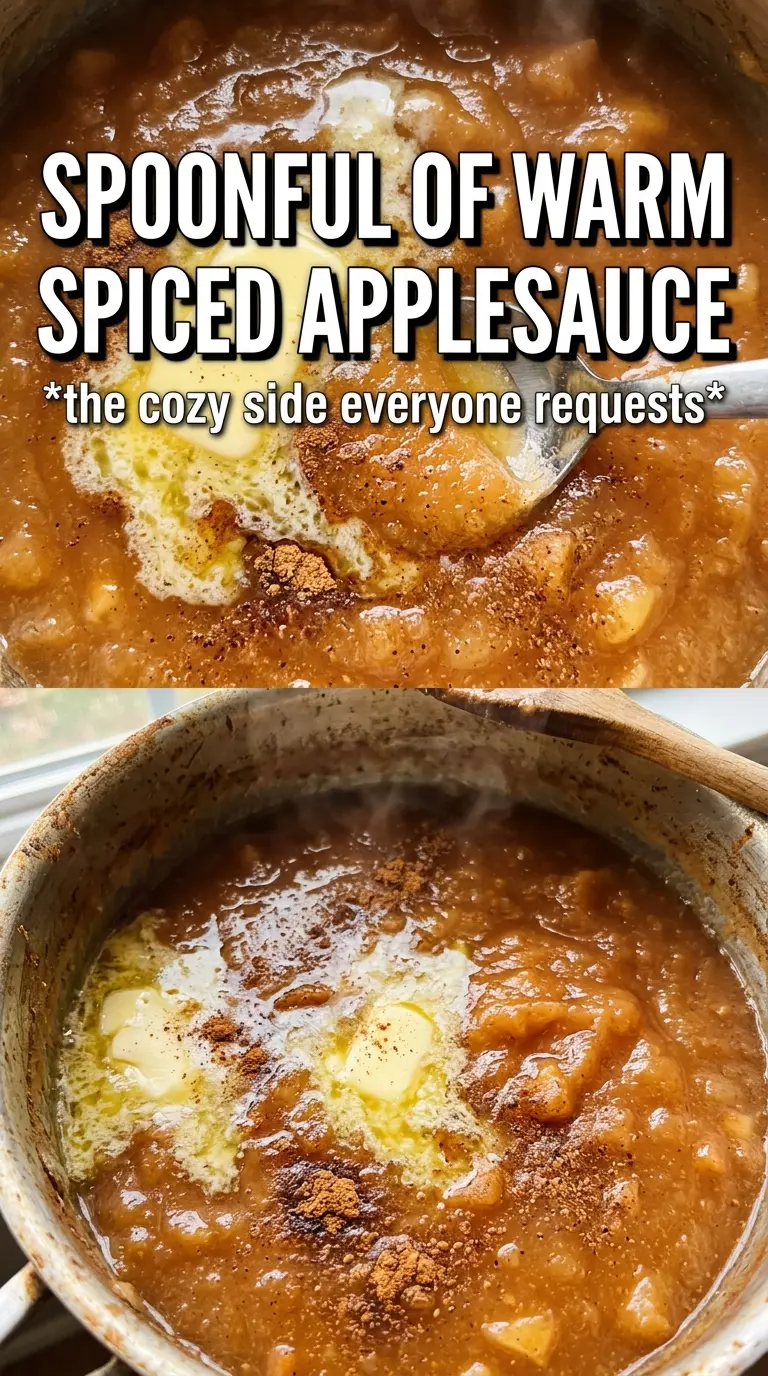
Hot buttered applesauce turns a simple pot of apples into something soft, fragrant, and just a little luxurious. The butter gives the apples a rounder, deeper taste than the usual stovetop version, while cinnamon and nutmeg keep it warm without burying the fruit. Served warm, it lands somewhere between a side dish and a spoonable dessert, and it disappears fast.
The trick is letting the butter take on a little color before the apples go in. That tiny bit of browning adds a toasted note that plain melted butter can’t match, and it keeps the sauce from tasting flat. A splash of cider helps the apples soften without scorching, and the brown sugar or maple syrup is there to support the fruit, not cover it up. I like using Honeycrisp or Fuji when I want a sweeter sauce and McIntosh when I want it to break down quickly.
Below you’ll find the method I use when I want applesauce that tastes homemade in the best way: soft, glossy, and balanced, with just enough spice. The texture is easy to control, too, whether you like it chunky or completely smooth.
The butter browned just enough to give the apples this deeper, almost caramel note, and the sauce thickened beautifully without needing extra cooking. I left mine a little chunky and served it warm with pork chops.
Love the browned butter and warm spice in this applesauce? Save it to Pinterest for an easy side dish that tastes cozy, glossy, and homemade.
The Butter Needs Color Before the Apples Go In
A lot of applesauce tastes one-note because the fat goes in too late or not at all. Browning the butter first changes that. You’re not looking for a dark nutty butter here, just enough amber color and toasted aroma that it stops tasting like plain melted fat. The apples hit the pan while the butter is still hot, so they start cooking right away instead of sitting in a greasy puddle.
The other thing that matters is how long you cook the apples before adding much liquid. A short head start lets the fruit pick up flavor from the pan and start releasing its own juices, which keeps the finished sauce from tasting watered down. If your apples are soft on the outside but still firm in the center after the full simmer, the pieces were cut too large or the lid wasn’t tight enough.
What Each Ingredient Is Actually Doing in This Sauce
- Apples — Honeycrisp, Fuji, and McIntosh all work, but they behave differently. Honeycrisp stays a little brighter, Fuji leans sweeter, and McIntosh breaks down the fastest for a softer sauce. Mixing varieties gives you better balance than using only one type.
- Butter — This is the flavor base, not just the cooking fat. Unsalted butter gives you control, and browning it before the fruit goes in adds a toasted note that makes the sauce taste richer. Don’t let it get too dark or it can turn bitter fast.
- Apple cider or juice — Cider brings a sharper apple flavor, while juice makes the sauce sweeter and smoother. Either one works, but cider gives you more depth. Use just enough to keep the pot moving; too much and the apples turn thin instead of glossy.
- Brown sugar or maple syrup — Both add sweetness, but they don’t taste the same. Brown sugar gives a deeper caramel edge, while maple syrup adds a softer, woodsy finish. Start with less if your apples are already sweet, then adjust at the end.
- Cinnamon and nutmeg — Cinnamon gives the familiar warm backbone, and fresh nutmeg adds the part people notice without always being able to name. Freshly grated nutmeg matters here because the flavor is cleaner and more aromatic than pre-ground.
- Vanilla — Add it at the end so it stays fragrant. If it goes in early, the flavor can cook off and disappear into the pot. It rounds out the spices and makes the apples taste fuller.
From Browning the Butter to the Finish
Wake Up the Butter
Melt the butter in a large saucepan over medium heat and watch for the foaming to settle. You want the milk solids at the bottom to turn golden and smell nutty, not burnt. The second you see that color, add the apples. If you wait for a deep brown color, the butter will keep cooking off the heat and can go too far before the fruit has even had a chance to go in.
Let the Apples Start Softening
Cook the apples for a few minutes in the butter before adding the cider, sweetener, and spices. That early contact with the hot pan builds flavor and helps the fruit start collapsing around the edges. If the pan looks dry at this stage, that’s normal; the apples will release juice as they warm. Stir them often enough that the bottom doesn’t catch.
Cover and Simmer Until They Collapse
Once the liquid and spices are in, cover the pan and keep the heat low enough for a steady simmer. You’re waiting for the apples to become completely soft, not just tender at the edges. A tight lid matters here because it traps steam and moves the fruit along without needing extra liquid. If the sauce looks soupy at the end, the lid was too loose or the heat was too high.
Mash, Blend, and Taste at the End
Mash the apples for a chunky texture or blend them with an immersion blender for a smoother finish. Stop before it turns gummy; applesauce should look glossy, not whipped. Stir in the vanilla after the heat comes down, then taste for sweetness and salt. That last check matters because the apples you used can swing from tart to sweet, and the finished sauce should taste balanced, not sugary.
Three Ways to Adjust This Applesauce Without Losing the Good Part
Make It Dairy-Free
Swap the butter for coconut oil or a plant-based butter if you need to avoid dairy. You’ll lose some of the browned butter depth, but the apples, cinnamon, and nutmeg still carry the dish. If you use coconut oil, keep the heat gentle so it doesn’t take over the flavor.
Lean Into Tart Apples
If you use Granny Smith or another tart apple, keep the sweetener on the lower end at first and taste near the end. Tart apples give you a brighter sauce with more contrast against the butter and spice. They also hold their shape longer, so expect a slightly chunkier texture unless you blend it smooth.
Make It Sugar-Free-ish
Use maple syrup sparingly or skip the added sweetener if your apples are naturally sweet. The sauce will taste a little less glossy and round, but the warm spice and browned butter still make it feel finished. Taste after blending, because sweetness reads differently once the apples are fully broken down.
Storage and Reheating
- Refrigerator: Store in an airtight container for up to 5 days. The sauce thickens as it chills, so expect a firmer texture after it sits.
- Freezer: It freezes well for up to 3 months. Cool it completely first, then leave a little space in the container for expansion.
- Reheating: Warm it gently on the stove over low heat or in short microwave bursts, stirring between intervals. Don’t blast it on high heat or the sugars can scorch at the edges before the center is hot.
Answers to the Questions Worth Asking

Hot Buttered Apple Sauce With Cinnamon And Nutmeg
Ingredients
Equipment
Method
- Melt the unsalted butter in a large saucepan over medium heat until it is just starting to brown, then add the apples immediately.
- Cook the apples for 3-4 minutes, stirring to coat, until they begin to soften.
- Add the apple cider or apple juice, brown sugar or maple syrup, cinnamon, nutmeg, and salt, and stir to combine.
- Cover and simmer for 20-25 minutes over medium heat until the apples are completely soft and tender.
- Mash the apples to your preferred texture—chunky or smooth—using a masher.
- For smooth applesauce, blend with an immersion blender until silky.
- Stir in the vanilla extract and taste, adjusting sweetness if needed.
- Serve warm with an extra pat of additional brown butter and a dusting of cinnamon.