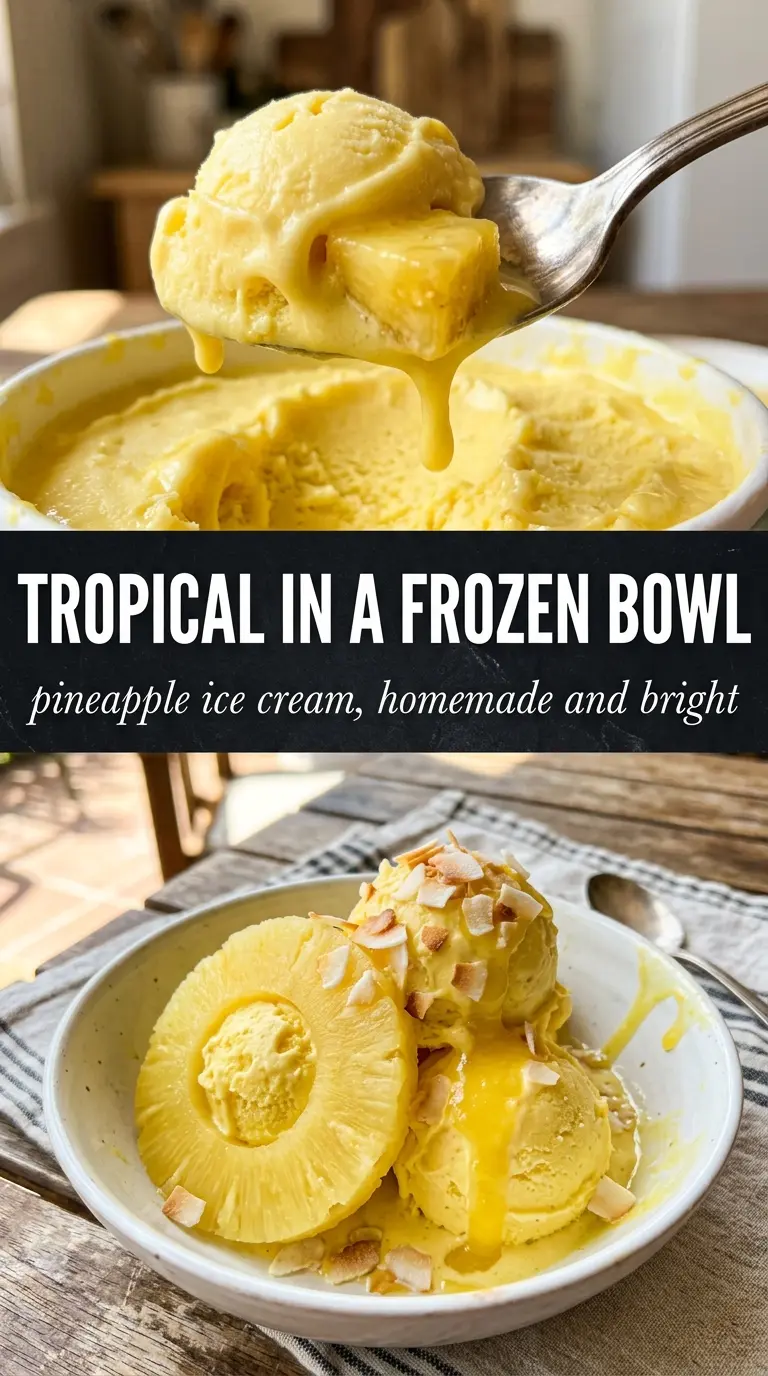
Homemade pineapple ice cream has a way of tasting brighter than anything from the freezer aisle, with a soft creamy finish and a clean tropical tang that keeps each spoonful from feeling heavy. The pineapple stays front and center here, but the custard base rounds off the sharp edges so the flavor lands rich, smooth, and balanced instead of icy or overly sweet.
The trick is cooking the pineapple first. That short simmer concentrates the juice, softens the fruit, and keeps the finished ice cream from turning watery. The custard base gets cooked just enough to thicken and give you that lush texture, then it’s cooled completely before churning so the machine can do its job instead of fighting warm mixture.
Below you’ll find the small details that matter most: how chunky to leave the pineapple, what to watch for when the custard thickens, and a few smart variations if you want to lean sweeter, tangier, or dairy-free.
The pineapple flavor came through beautifully, and the custard churned up with that soft, scoopable texture instead of getting icy. My kids kept sneaking spoonfuls before it even fully froze.
Save this pineapple ice cream for the kind of dessert that tastes extra fresh after a long freeze and still churns up creamy, not icy.
The Step That Keeps Pineapple Ice Cream from Turning Watery
Pineapple brings a lot of juice, and that’s where homemade versions often go wrong. If you fold raw diced pineapple straight into the base, the fruit keeps leaking moisture as it freezes, which gives you sharp ice crystals instead of a smooth scoop. Cooking it first changes the whole texture of the fruit and concentrates the flavor before it ever touches the custard.
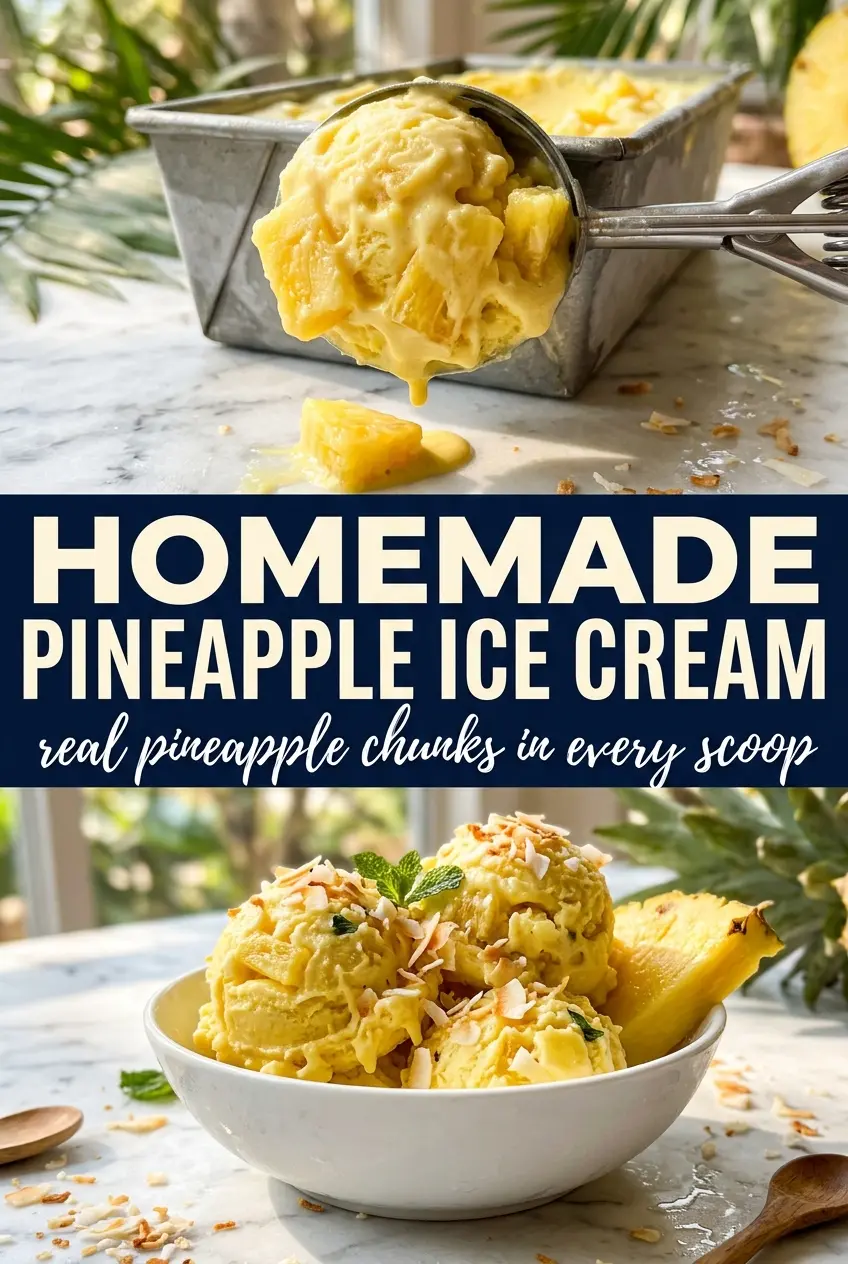
The other piece that matters is the puree. You want it chunky enough to taste like pineapple, not smooth enough to disappear. A little texture keeps the ice cream from feeling one-note, and it also helps the final scoop hold onto pockets of fruit instead of just tasting like sweet cream.
- Fresh pineapple — Fresh fruit gives you the brightest flavor and the best aroma. Canned pineapple can work in a pinch, but it’s softer and sweeter, so reduce the sugar slightly if you use it.
- Lemon juice — This sharpens the pineapple and helps the flavor stay vivid after freezing. Don’t skip it unless your pineapple is exceptionally tart already.
- Egg yolks — They build the custard body that keeps this ice cream creamy. There isn’t a true one-to-one substitute if you want the same rich texture.
- Heavy cream and whole milk — Cream carries the richness, while milk keeps the base from becoming too dense. Using lower-fat dairy makes the ice cream icier and less scoopable.
What Each Ingredient Is Actually Doing in This Ice Cream
- Base ingredient (cream, milk, or custard) — This provides the foundation and richness. Quality matters.
- Sweetener (sugar, honey, or condensed milk) — This sweetens and prevents ice crystals. The ratio is critical.
- Flavor element (vanilla, fruit, chocolate, or other) — This defines the ice cream personality. Use quality ingredients.
- Egg yolks (if making custard base) — These create richness and silky texture. Optional but elevates ice cream.
- Churning (if using ice cream maker) — This incorporates air and prevents ice crystals. Critical for smooth texture.
- Freezing temperature and time — Proper freezing prevents rock-hard texture. Store at 0°F or below.
- Mix-ins (chocolate, cookies, fruit, or swirls) — These add texture and prevent one-dimensional flavor. Add near end of churning.
- Serving temperature (slightly soft, not rock hard) — This provides creamy mouthfeel. Remove from freezer 5 minutes before serving.
Building the Custard and Pineapple Base Without Scrambling Either One
Softening the Pineapple First
Cook the diced pineapple with part of the sugar and the lemon juice until the fruit softens and the juices look glossy and concentrated. You’re not trying to caramelize it; you’re reducing the water content and deepening the flavor. Let it cool before blending, then pulse it only until you still have some texture. If you blend it completely smooth, the finished ice cream can lose that fresh pineapple bite.
Tempering the Yolks
Warm the cream and milk until they’re steaming, then whisk a little of that hot dairy into the yolks and sugar before adding the rest. That gradual change in temperature keeps the eggs from turning into bits of cooked yolk. The mixture should look smooth and slightly thicker when it goes back to the pot, and if you see any graininess, lower the heat immediately and keep whisking.
Cooking to the Right Point
Cook the custard to 175F. That’s hot enough to thicken properly without pushing the eggs into scrambled territory. It should coat the back of a spoon and leave a clean line when you drag a finger through it. As soon as it hits that point, strain it, then stir in the vanilla, salt, and cooled pineapple puree so the flavor stays bright.
Chilling and Churning
Cool the mixture completely in the refrigerator before it goes into the ice cream maker. Warm custard doesn’t just take longer to churn; it also churns up softer and can turn grainy when it finally freezes. Once it’s cold, churn until it looks like thick soft-serve, then freeze it until firm enough to scoop cleanly. If your freezer runs cold, give it a short rest on the counter before serving so the texture loosens up.
Three Ways to Adjust the Sweetness, Texture, or Dairy
Make It More Pineapple-Forward
Use a very ripe pineapple and let the fruit reduce until the pan looks nearly dry at the edges. That concentrates the flavor without needing extra sugar, and the final ice cream tastes sharper and less candy-sweet. This is the best route if you want a brighter, more fruit-first dessert.
Dairy-Free Version
Swap the cream and milk for full-fat coconut milk and coconut cream, then keep the rest of the method the same. You’ll lose some of the classic custard richness, but the coconut pairs naturally with pineapple and still freezes into a smooth, scoopable base. Use a little less vanilla so it doesn’t fight the tropical flavor.
Less Sweet, More Tart
Trim a couple tablespoons from the sugar and add an extra squeeze of lemon if your pineapple is very sweet. The texture will stay the same, but the finished ice cream will taste cleaner and a little lighter on the palate. Don’t cut the sugar too far or the base can freeze harder than you want.
Storage and Reheating
- Refrigerator: Not suitable for refrigerator storage once churned; it will melt and separate. Keep the base chilled before churning, not after.
- Freezer: Freeze in an airtight container for up to 2 weeks for the best texture. After that, it can still taste good, but the ice crystals get bigger and the pineapple flavor softens.
- Reheating: Not applicable. For serving, let it sit at room temperature for 5 to 10 minutes so it softens enough to scoop without turning slushy.
Questions I Get Asked About This Recipe
Homemade Pineapple Ice Cream
Ingredients
Equipment
Method
- Simmer the finely diced pineapple with 1/4 cup sugar and lemon juice for 10 minutes until softened and juices concentrate; keep the mixture at a gentle simmer. Visual cue: the fruit looks slightly translucent and syrupy around the edges.
- Cool the pineapple mixture, then blend to a chunky puree; pulse only until it thickens but still shows small pineapple bits. Visual cue: you should see visible chunks rather than a fully smooth sauce.
- Heat the heavy cream and whole milk until steaming, not boiling. Visual cue: small bubbles form around the edges and steam rises from the surface.
- Slowly whisk the steaming dairy into the egg yolks beaten with the remaining 1/2 cup sugar to temper. Visual cue: the mixture turns lighter and smooth as it thickens slightly.
- Cook the custard until it reaches 175°F, stirring constantly to prevent scrambling. Visual cue: it coats the back of a spoon and holds a clear line when you run your finger through it.
- Strain the custard, then stir in the vanilla, salt, and pineapple puree. Visual cue: the mixture becomes vivid pale yellow with specks of pineapple throughout.
- Cool completely, then refrigerate for 4 hours until cold through. Visual cue: the custard looks set and thoroughly chilled, not warm at all.
- Churn in an ice cream maker according to the manufacturer’s instructions until thickened to soft-serve consistency. Visual cue: the ice cream looks fluffy and holds ridges from the churn.
- Transfer to a container and freeze until firm. Visual cue: the texture becomes scoopable and dense with minimal melt at the edges.