Cloud-white marshmallow ice cream has a soft, billowy texture that lands somewhere between classic frozen custard and a scoop of sweetened whipped cream. The marshmallow flavor stays gentle and round instead of icy or artificial, and the mini marshmallows give each bite a little chew that keeps the texture interesting all the way through the bowl.
What makes this version work is the balance of custard richness and marshmallow creme. The egg yolks give the base enough body to freeze smoothly, while the Fluff melts in completely for that signature marshmallow sweetness without leaving grainy bits behind. Heating the dairy just enough to temper the yolks keeps the custard silky, and chilling it thoroughly before churning makes the ice cream come out lighter and cleaner.
Below, you’ll find the small details that matter: when to stop cooking the custard, how to keep the marshmallow creme from clumping, and how to use toasted mini marshmallows for a deeper flavor if you want that campfire edge.
The base turned out silky and the mini marshmallows stayed soft instead of turning hard and icy. I chilled it overnight and it churned up into the fluffiest ice cream I’ve made at home.
Like this fluffy marshmallow ice cream? Save it to Pinterest for the nights when you want a cloud-soft dessert with toasted marshmallow crunch.
The Part That Keeps Marshmallow Ice Cream Smooth Instead of Sticky
The trap with marshmallow ice cream is treating the marshmallow creme like an afterthought. If it goes in too late or onto heat that’s too aggressive, it can clump, streak, or sit in little gooey ribbons instead of disappearing into the custard. The cleanest texture comes from whisking it into the hot base while the pan is off the burner and the mixture is still warm enough to loosen the Fluff completely.
The other place people get into trouble is with the custard itself. Once the yolks have thickened the base, you want a spoon-coating texture, not a boil. If you keep cooking until it looks dramatically thick in the pan, it usually ends up overcooked and slightly grainy once frozen. Pull it at 175°F and strain it if you want that extra-smooth finish.
What Each Ingredient Is Actually Doing in This Ice Cream
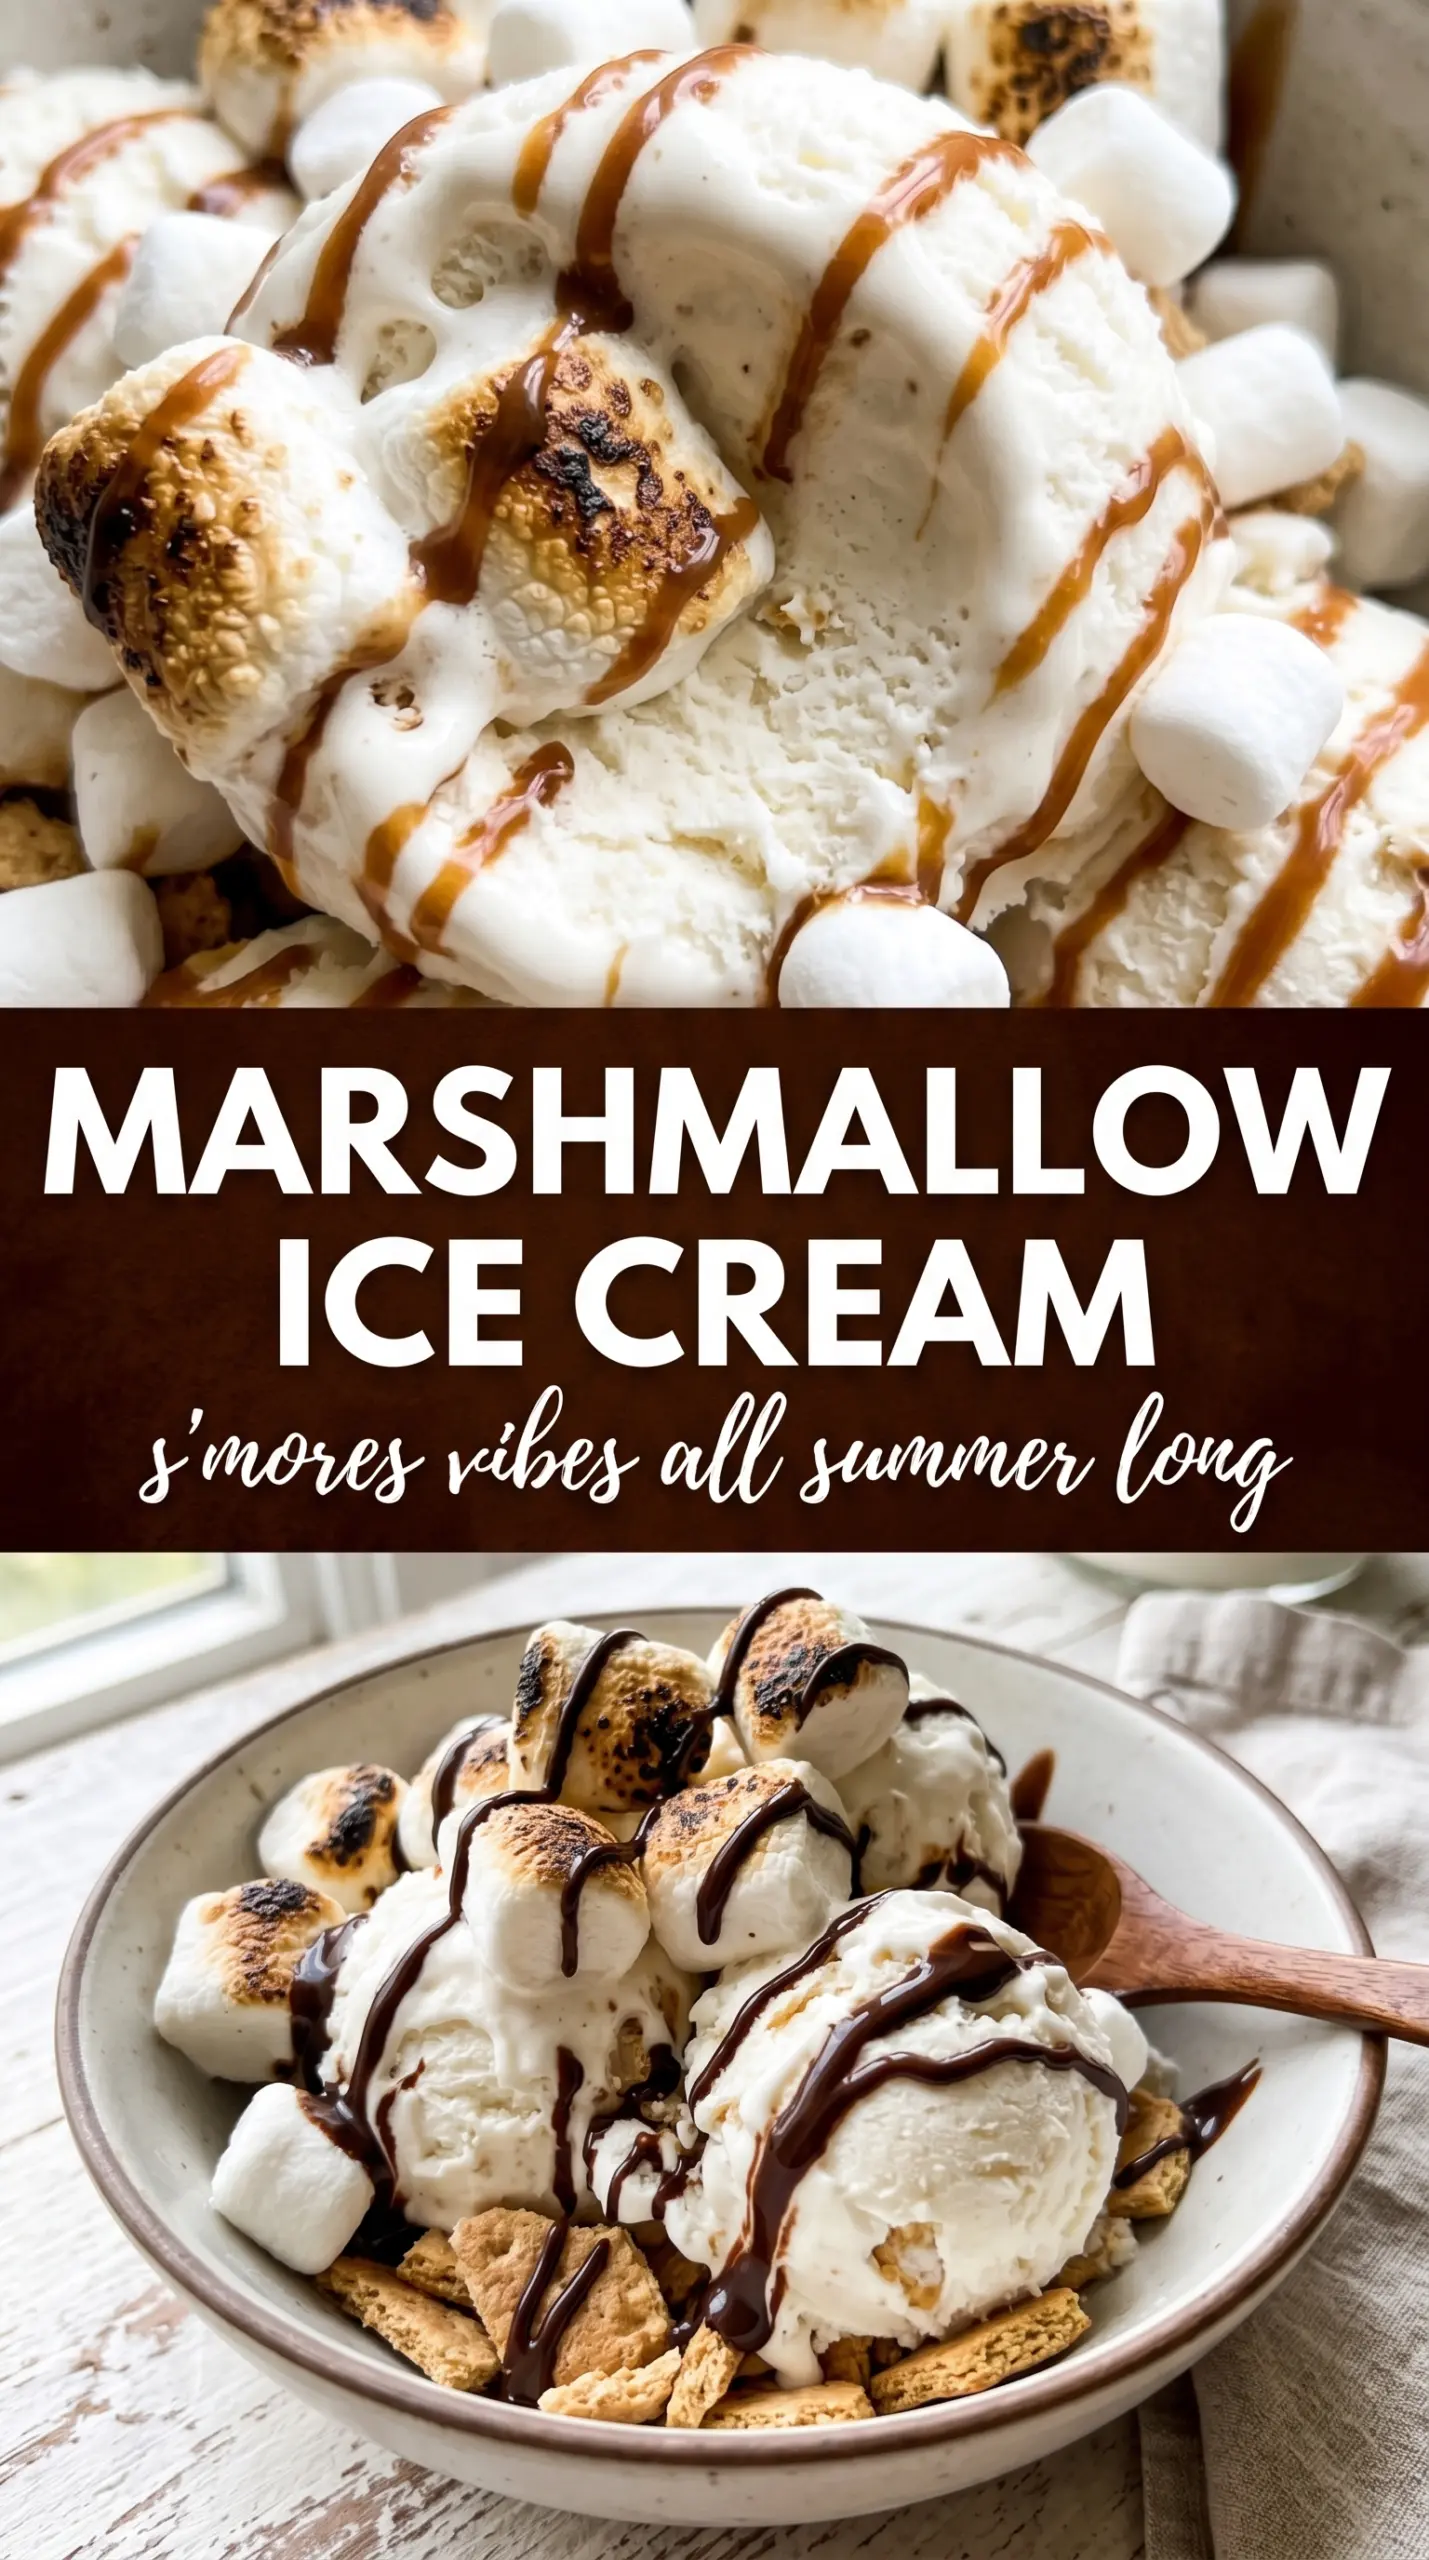
- Heavy cream — This brings the fat that makes the ice cream taste plush instead of watery. There isn’t a real substitute that gives the same body, though a lighter version can use part-half-and-half at the cost of some richness.
- Whole milk — Milk keeps the base from becoming too dense and gives the custard a softer scoop. Don’t swap in skim milk here; the texture gets thinner and icier.
- Marshmallow creme — This is the main flavor. It melts smoothly into the warm custard, which is why you get marshmallow taste throughout instead of scattered pockets of sweetness. If your jar is stiff, scrape it in while the base is still hot so it loosens fast.
- Egg yolks — Yolks thicken the base and help it freeze with a velvety, custard-style texture. There’s no equal swap if you want this exact mouthfeel.
- Mini marshmallows — These add chewy pockets after churning. Fold them in at the end so they stay soft and visible instead of dissolving into the mix.
- Vanilla and salt — Vanilla rounds out the sweetness, and salt keeps the marshmallow flavor from tasting flat. Salt matters here more than you might think, even in a dessert this sweet.
Building the Custard, Melting in the Marshmallow, and Freezing It Cleanly
Warming the Dairy Without Scorching It
Heat the cream and milk just until steamy, with tiny bubbles around the edge of the pan and no real simmer. That temperature is enough to temper the yolks without scrambling them. If the dairy boils, it can overheat the eggs when you combine them and leave you chasing little bits of cooked yolk later.
Cooking the Custard to the Right Point
Whisk the hot dairy into the yolks and sugar slowly at first, then return everything to the pan. Stir constantly over medium-low heat until the mixture reaches 175°F and lightly coats the back of a spoon. If you wait for it to thicken like pudding in the pan, it’s already too far; the custard should still flow, just with noticeable body.
Melting the Marshmallow Creme Fully
Take the pan off the heat before whisking in the marshmallow creme. It should disappear into the custard and leave the mixture glossy and smooth, with no white streaks or stubborn lumps. If the base cools too much before the Fluff goes in, warm it gently for a minute and whisk again until it smooths out.
Chilling Before Churning
Stir in the vanilla and salt, then chill the custard completely. Four hours is the bare minimum, but overnight gives a cleaner churn and a softer final texture. If you churn a warm base, the ice cream maker has to work too hard and the finished ice cream will be looser and less fluffy.
Folding in the Mini Marshmallows
Churn the ice cream until it reaches soft-serve thickness, then add the mini marshmallows during the last couple of minutes. That keeps them distributed without letting them break down too much. For a toasted version, torch the marshmallows quickly before folding them in, just until the edges color.
Three Ways to Shape This Marshmallow Ice Cream for Different Kitchens
Toasted Marshmallow Version
Torch the mini marshmallows before folding them in, or toast a few extra to pile on top at serving time. You’ll get a deeper, almost caramelized note that cuts the sweetness and makes the ice cream taste more like a campfire treat.
Dairy-Free Adaptation
Use full-fat canned coconut milk in place of the cream and milk, but expect a softer freeze and a light coconut note in the background. The base still needs the same gentle custard cooking, and the marshmallow flavor will stay front and center.
Less-Sweet Variation
Reduce the sugar a little if you want the marshmallow flavor to read less candy-sweet, but don’t cut it too far or the texture will suffer. Sugar helps the ice cream stay scoopable, so a heavy-handed reduction can make it icy.
Storage and Reheating
- Refrigerator: The base can be held up to 2 days before churning, covered and cold. After freezing, expect the marshmallows to stay soft for the first day and firmer after that.
- Freezer: This freezes well for about 2 weeks in an airtight container with parchment pressed on top. After that, the texture starts to pick up ice crystals around the edges.
- Reheating: Let it sit at room temperature for 5 to 10 minutes before scooping. Don’t microwave it; that melts the marshmallow bits unevenly and turns the edges slushy while the center stays hard.
Answers to the Questions Worth Asking
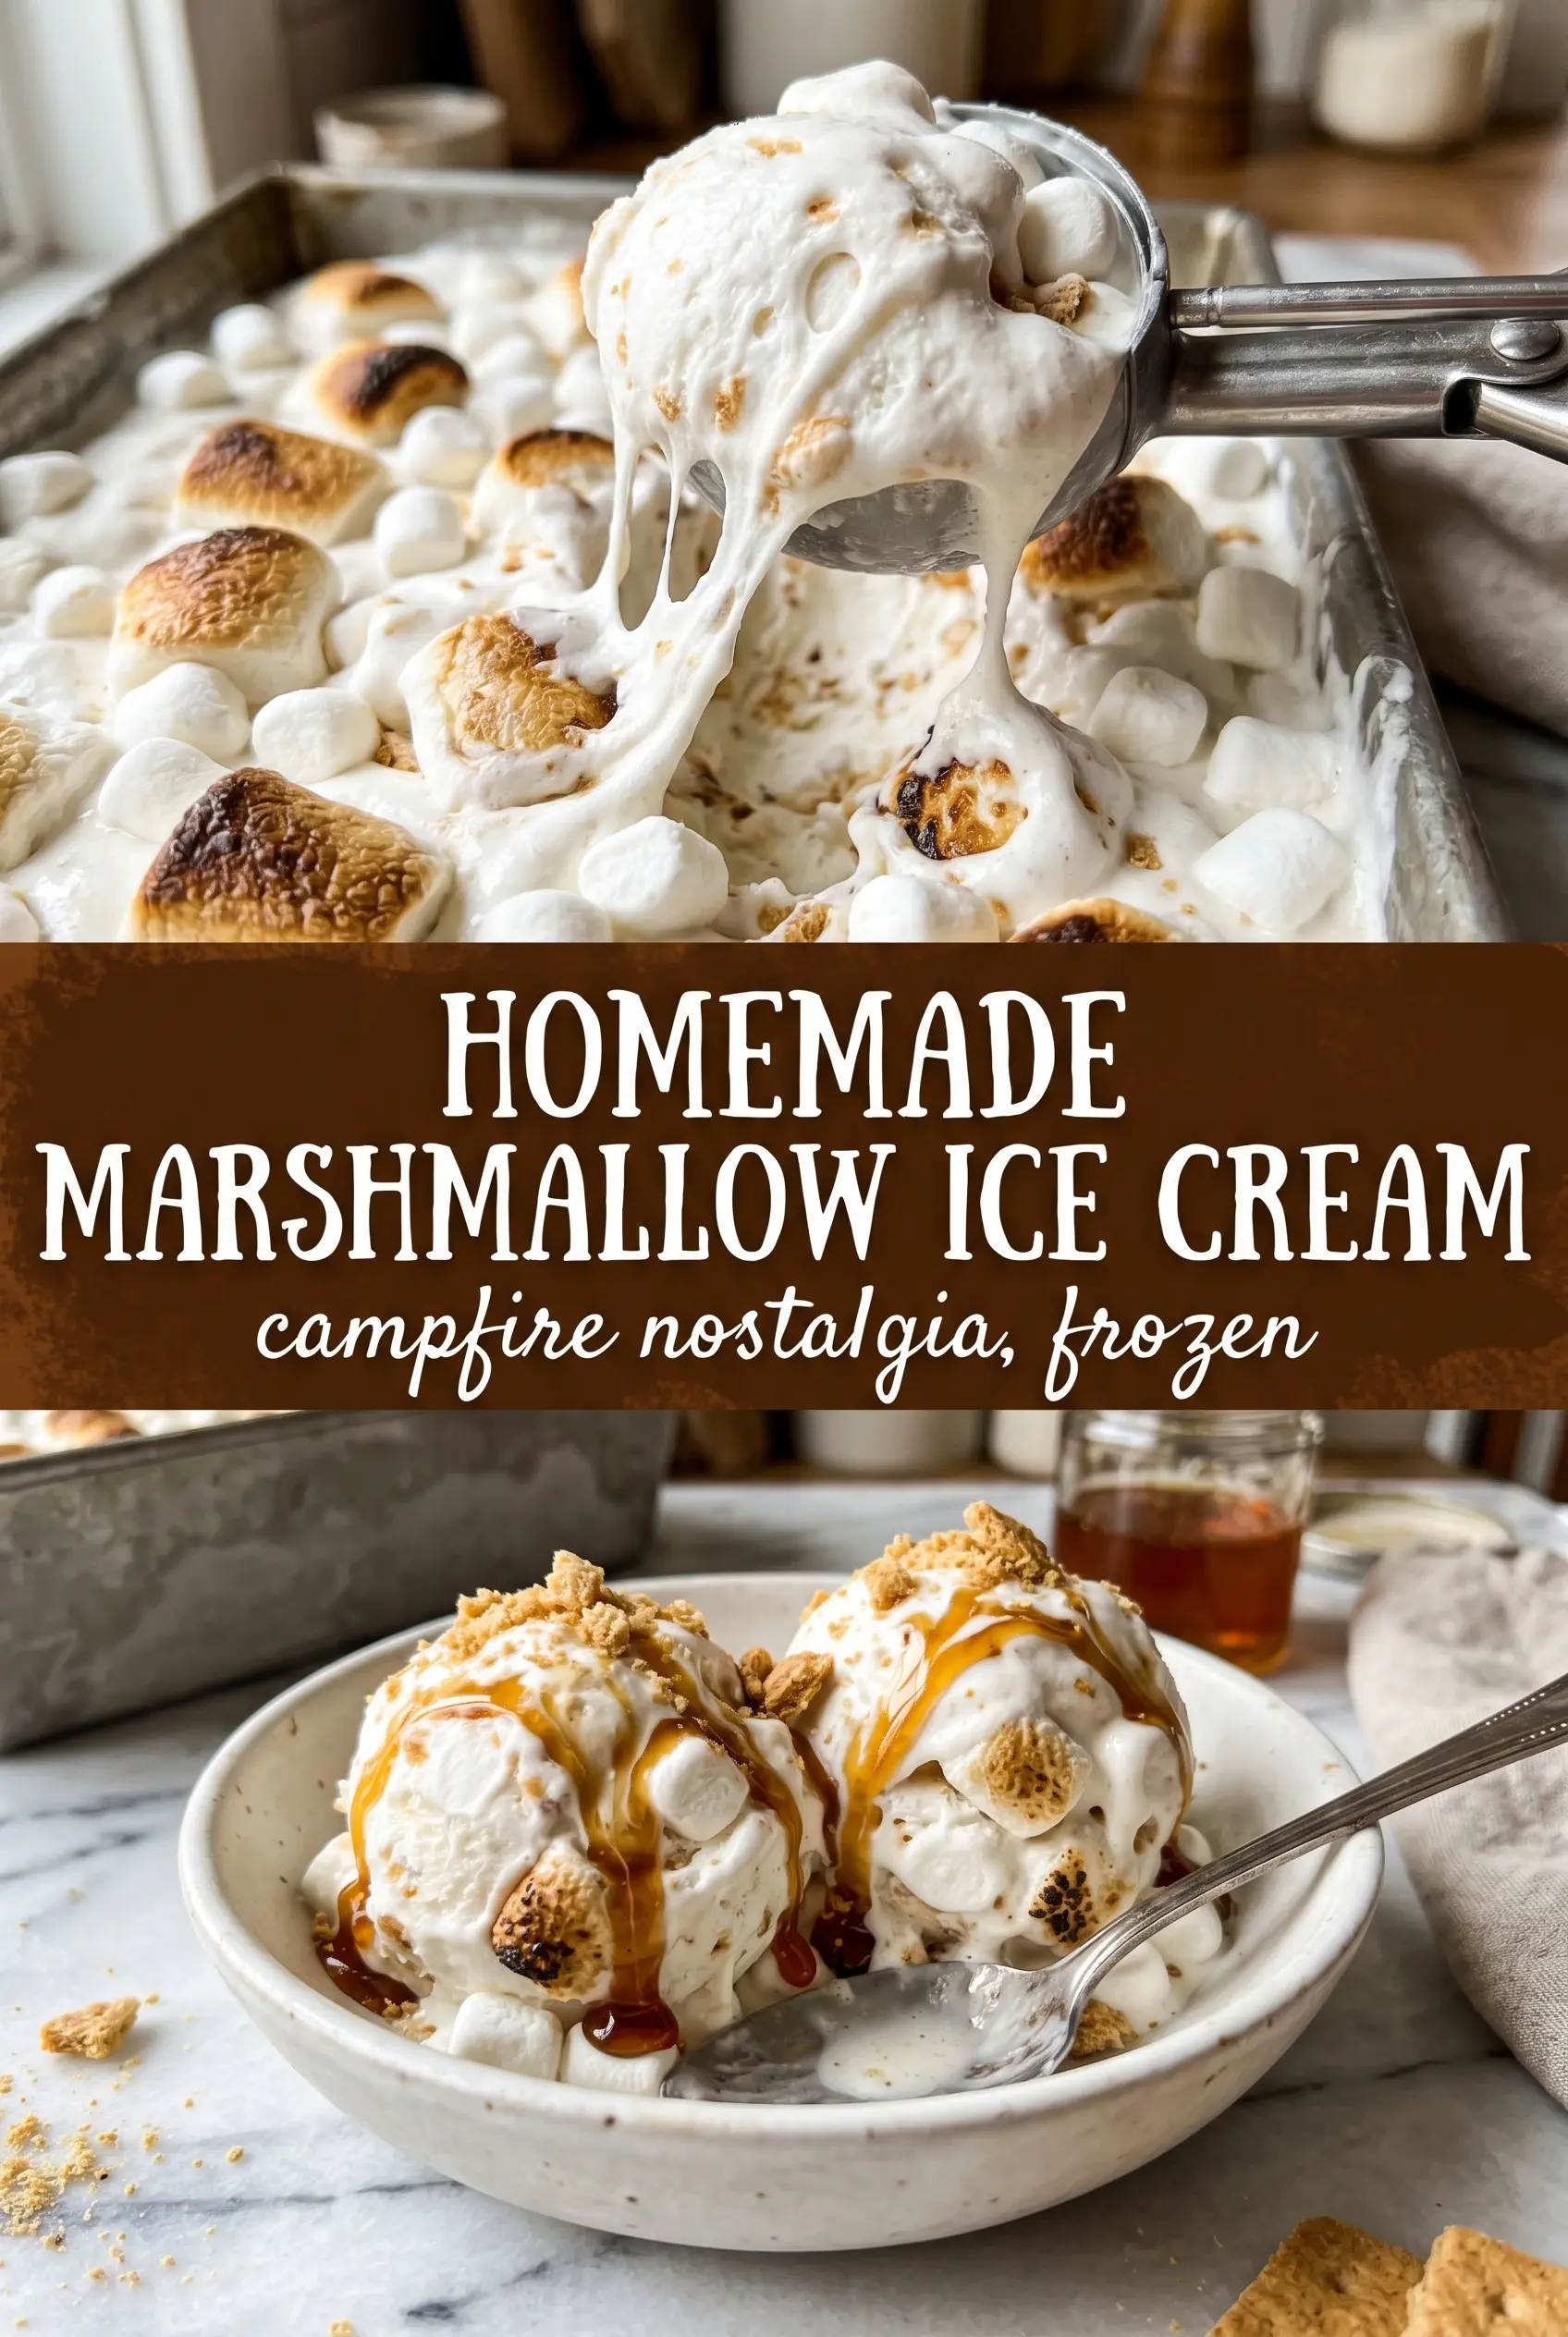
Homemade Marshmallow Ice Cream
Ingredients
Equipment
Method
- Heat the heavy cream and whole milk in a saucepan until steaming, not boiling. Keep the surface at a gentle steam so the dairy stays smooth.
- Whisk the marshmallow custard base into the egg yolks and granulated sugar a little at a time until glossy and combined. Use steady whisking to prevent scrambling, and stop when the mixture looks uniform.
- Return the mixture to the saucepan and cook while stirring until it reaches 175°F. The custard should thicken enough to coat a spoon, and you should see a thicker, clingy texture.
- Remove from heat and whisk in the marshmallow creme until completely melted and smooth. There should be no streaks or lumps, and the color will turn bright and creamy.
- Stir in the vanilla extract and salt, then mix until fully incorporated. The texture should look silky and consistent with no graininess.
- Cool completely, then refrigerate for 4 hours. Cover and chill until cold all the way through, with the custard thickened like pudding.
- Churn the chilled mixture in an ice cream maker according to the manufacturer’s instructions until soft-serve consistency. It should look airy and cloud-like as it thickens.
- Briefly torch the mini marshmallows for toasted marshmallow flavor, just until lightly golden, then let them cool. You should see toasted spots and a faint caramel aroma.
- Fold the (cooled) mini marshmallows in during the last 2 minutes of churning. The ice cream should stay fluffy while still studded with visible mini marshmallow pieces.
- Transfer to a container and freeze until firm. The texture should become scoopable with a set, creamy bite.