Silky homemade coconut ice cream has a way of tasting richer than you expect from such a short ingredient list. The texture lands somewhere between classic custard ice cream and a tropical frozen cream, with a clean coconut flavor that stays fragrant instead of turning heavy or icy. Folded toasted coconut gives every scoop a little chew and a nutty edge, which keeps the bowl interesting from the first bite to the last.
The key here is treating the coconut milk like dairy cream and building a real custard base instead of dumping everything into the machine. Egg yolks give the ice cream its dense body, and cooking the mixture to 175°F is what keeps it smooth and scoopable after freezing. The coconut extract boosts the flavor without making it taste artificial, and the toasted coconut goes in near the end so it stays distinct instead of softening into the base.
Below, I’ll walk through the part that matters most: keeping the custard from scrambling, getting the flavor balanced, and churning it at the right chill so it freezes with a creamy finish. If you’ve ever had homemade ice cream turn out grainy or too hard, the notes under the recipe card will help.
The custard thickened up beautifully and the toasted coconut stayed crunchy enough to notice in every scoop. I chilled it overnight, churned it the next day, and it came out smooth instead of icy.
Save this creamy toasted coconut ice cream for the nights when you want a custard-style dessert with deep coconut flavor and a scoopable finish.
The Custard Step That Keeps Coconut Ice Cream Creamy
Coconut milk behaves a little differently from dairy cream, and that’s where a lot of homemade versions go wrong. If the base gets too hot too fast, the yolks can scramble before they thicken the mixture, and if the custard never reaches the right temperature, the finished ice cream freezes soft in the middle and brittle around the edges. The sweet spot is steady heat and constant stirring, with the custard thick enough to coat a spoon but never bubbling.
Another thing worth knowing: full-fat coconut milk matters here. Light coconut milk doesn’t bring enough fat to carry the texture, so the ice cream turns thin and coarse after freezing. The straining step is worth keeping, too, because it catches any tiny bits of cooked egg and gives you that smooth, polished finish you want from a custard base.
What Each Ingredient Is Actually Doing in This Coconut Ice Cream
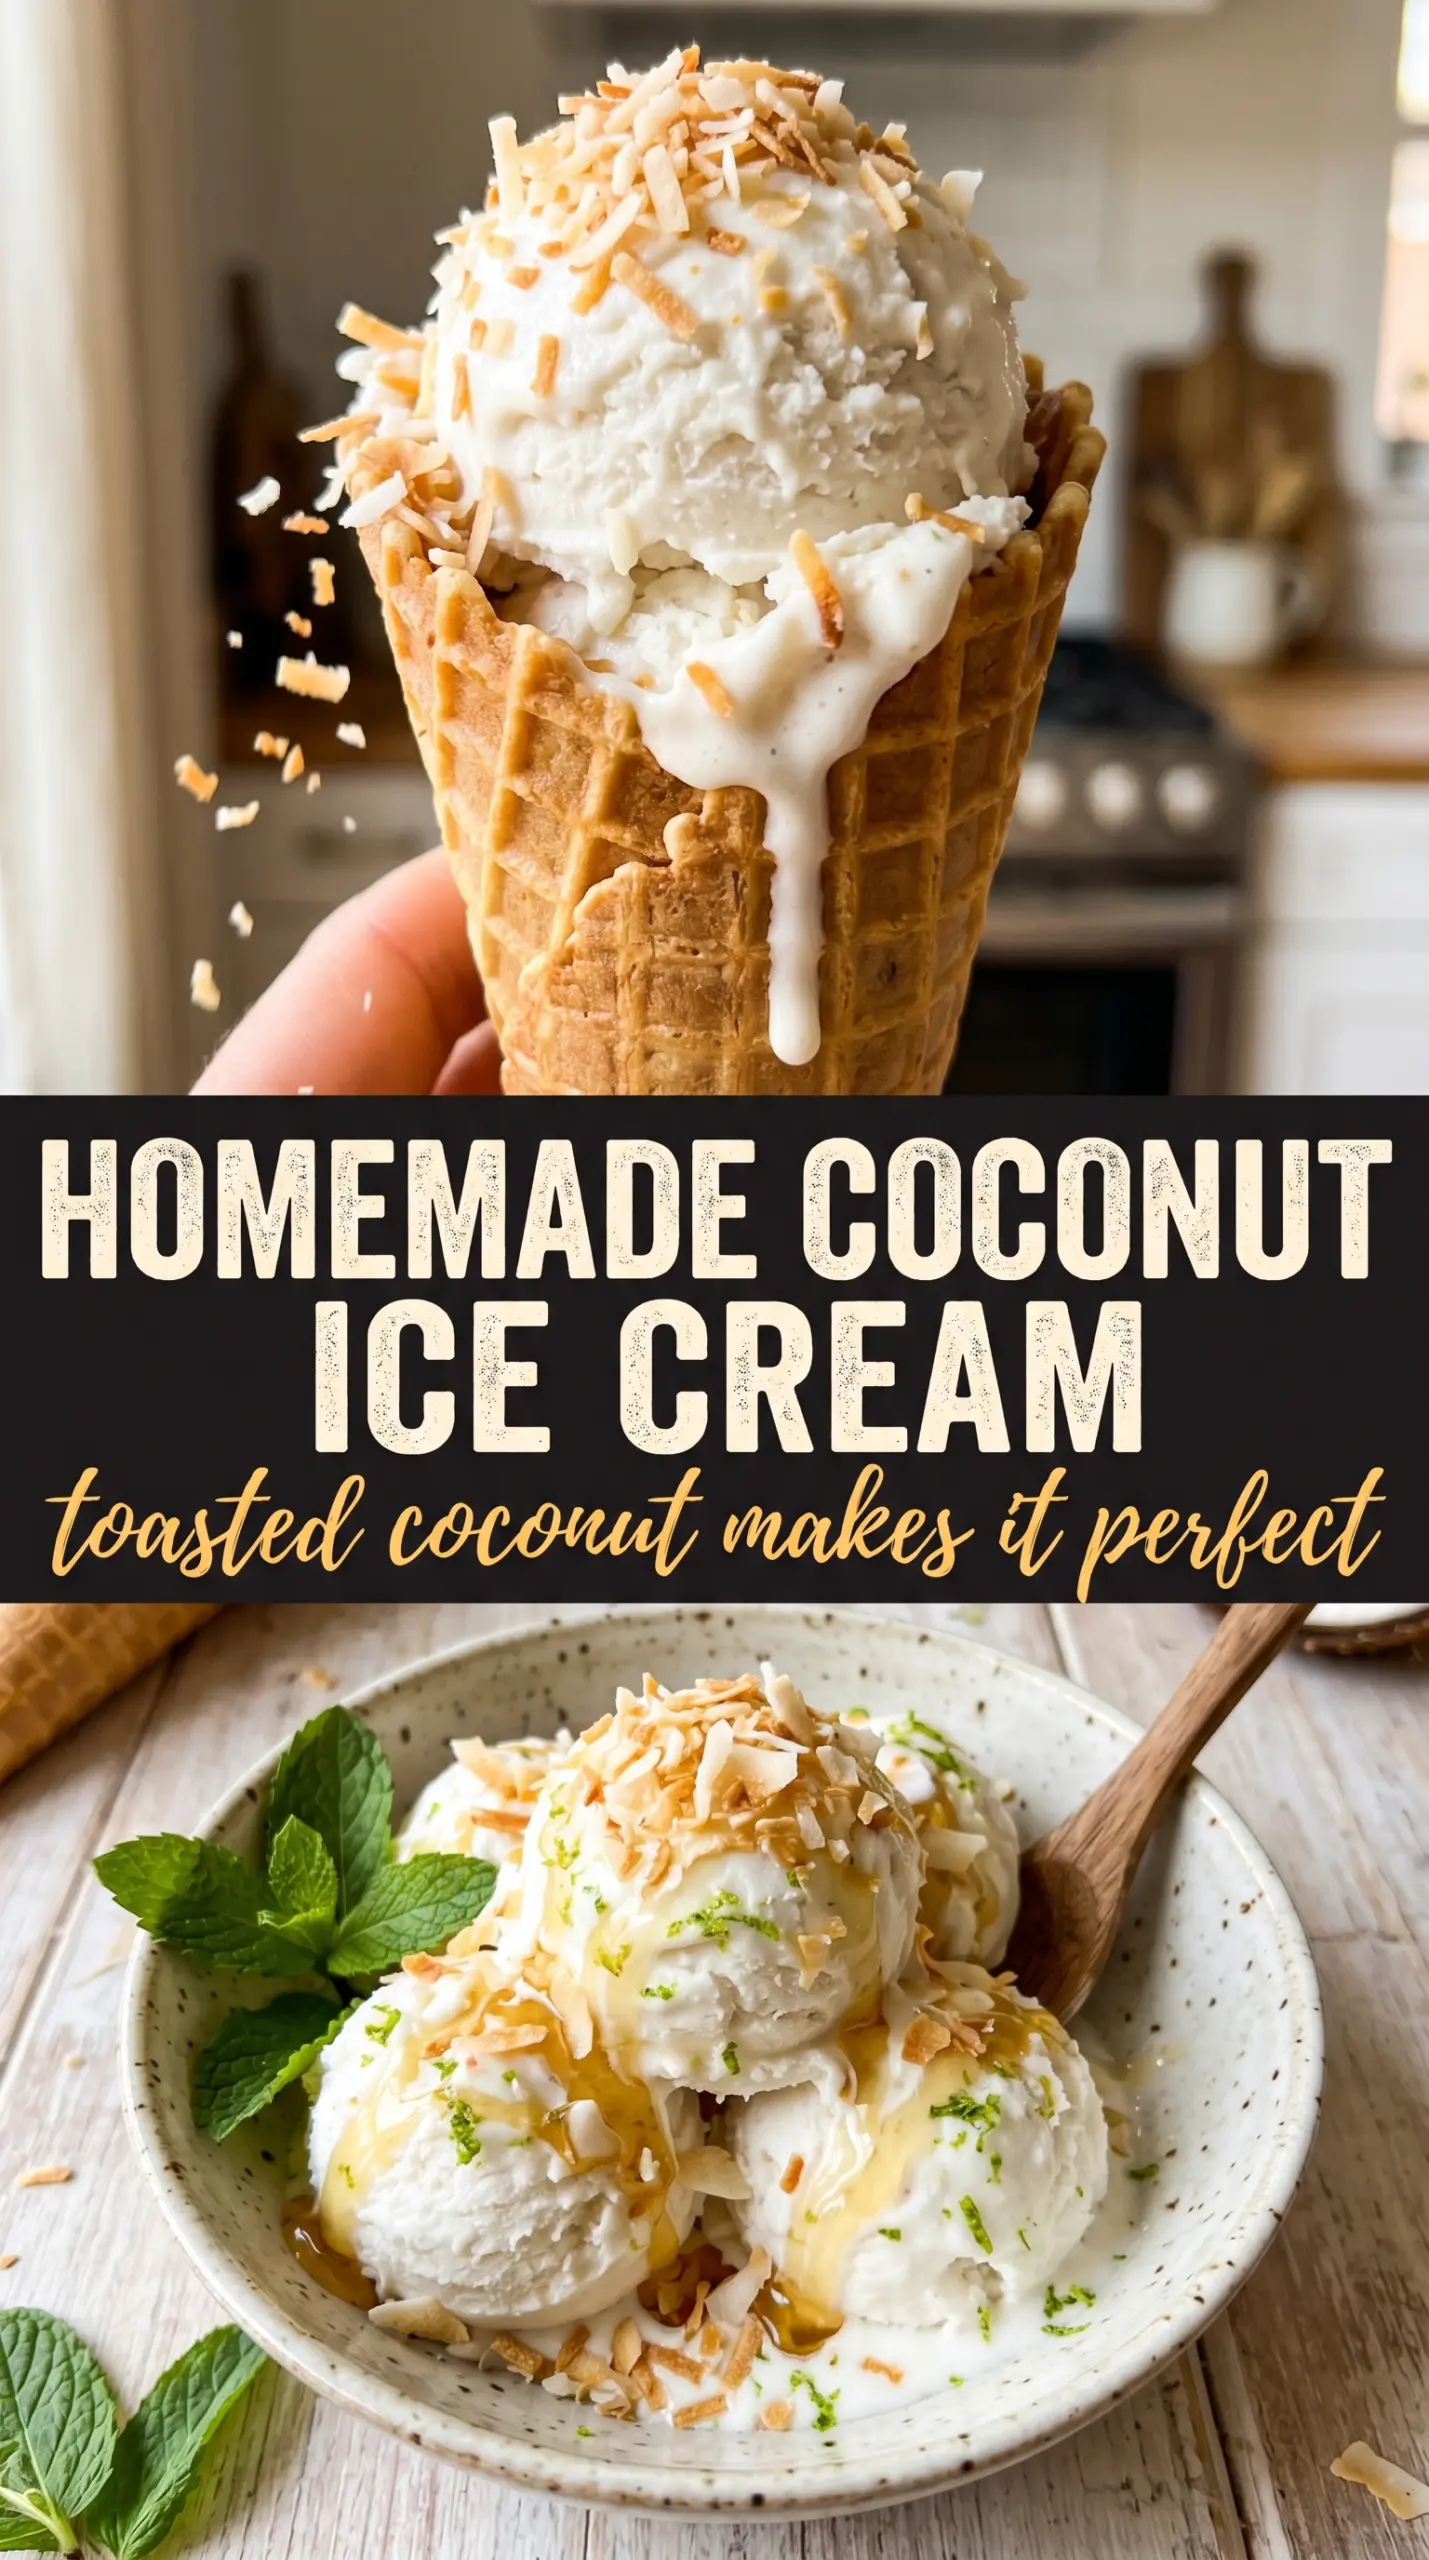
- Full-fat coconut milk — This is the backbone of the recipe. It supplies the fat and coconut flavor that make the ice cream taste lush instead of watery. Shake the cans first, then whisk them well in the pan so the thicker cream and thinner liquid don’t cook unevenly.
- Egg yolks — The yolks turn the base into a custard, which is what gives this ice cream its dense, scoopable body. Whole eggs won’t give the same velvety texture, and skipping them entirely changes the result from custard ice cream to a much icier frozen dairy-free style. Whisk them until smooth before adding the hot coconut milk in a slow stream.
- Sweetened shredded coconut — Toasting matters here. Untoasted coconut tastes flat and can turn chewy in the wrong way, while toasted flakes add a nutty contrast that breaks up the richness. Fold it in near the end of churning so it stays distinct.
- Coconut extract — This is the ingredient that makes the coconut flavor read clearly after freezing. Cold desserts mute flavor, so a little extract brings it back without needing a heavy hand.
- Vanilla extract — Vanilla rounds out the coconut and keeps the custard from tasting one-note. It doesn’t need to be expensive, but it should taste clean.
Turning the Custard into Ice Cream Without Scrambling It
Warming the Coconut Milk Base
Heat the coconut milk and sugar together just until the sugar dissolves and the mixture starts to steam. You’re not trying to boil it; you’re just loosening the sugar and warming the base so it blends into the yolks without shocking them. If you see the mixture bubbling hard, pull it back immediately, because that’s when the custard starts to tighten too fast later.
Tempering the Yolks
Whisk the yolks in a separate bowl until they look smooth and a little lighter in color. Then drizzle in the hot coconut milk slowly while whisking constantly. That gradual addition raises the temperature of the yolks little by little, which keeps them from turning into bits of sweet scrambled egg the moment they hit the pan.
Cooking to the Right Thickness
Return everything to the saucepan and cook over medium-low heat, stirring constantly and scraping the bottom and corners of the pan. The custard is ready when it reaches 175°F and coats the back of a spoon; a finger swiped through the custard should leave a clean line. If it gets too hot, you’ll feel the texture turn grainy, and at that point there’s no fixing it, so keep the heat low and patient.
Chilling, Churning, and Folding in the Coconut
Strain the custard, stir in the vanilla, coconut extract, and salt, then cool it completely before chilling it in the refrigerator for at least 4 hours. Cold base churns faster and freezes smoother, while warm base turns loose and icy. Add the toasted coconut during the last couple of minutes of churning so it gets evenly distributed without disappearing into the base, then freeze until firm enough to scoop cleanly.
How to Adapt Homemade Coconut Ice Cream Without Losing the Texture
Dairy-Free Version
This recipe is already dairy-free as written, which is part of what makes the coconut flavor stand out. Keep the full-fat coconut milk and don’t swap in coconut beverage or light coconut milk, because both are too thin and the finished ice cream will freeze harder and lose that custardy feel.
No Ice Cream Maker
You can freeze the custard in a shallow pan and stir it every 30 to 45 minutes until it firms up, but the texture won’t be as smooth as churned ice cream. The frequent stirring breaks up ice crystals, which helps, but the result will still be a little denser and less airy.
Toast the Coconut for a Stronger Nutty Note
If you want a deeper, more caramelized flavor, toast the shredded coconut until it’s golden at the edges and fragrant. Pull it off the tray as soon as it cools, because coconut burns fast and a scorched batch will make the whole dessert taste bitter.
Storage and Reheating
- Refrigerator: Store the churned ice cream in an airtight container for up to 1 week. It will firm up more as it sits, so let it rest at room temperature for a few minutes before scooping.
- Freezer: It freezes well for about 2 weeks with the best texture in the first several days. Press parchment or plastic wrap directly on the surface before sealing the container to help prevent ice crystals.
- Reheating: Not applicable, but for easier scooping, set the container on the counter for 5 to 10 minutes. Don’t microwave it; that softens the edges unevenly and ruins the clean, creamy texture.
Answers to the Questions Worth Asking
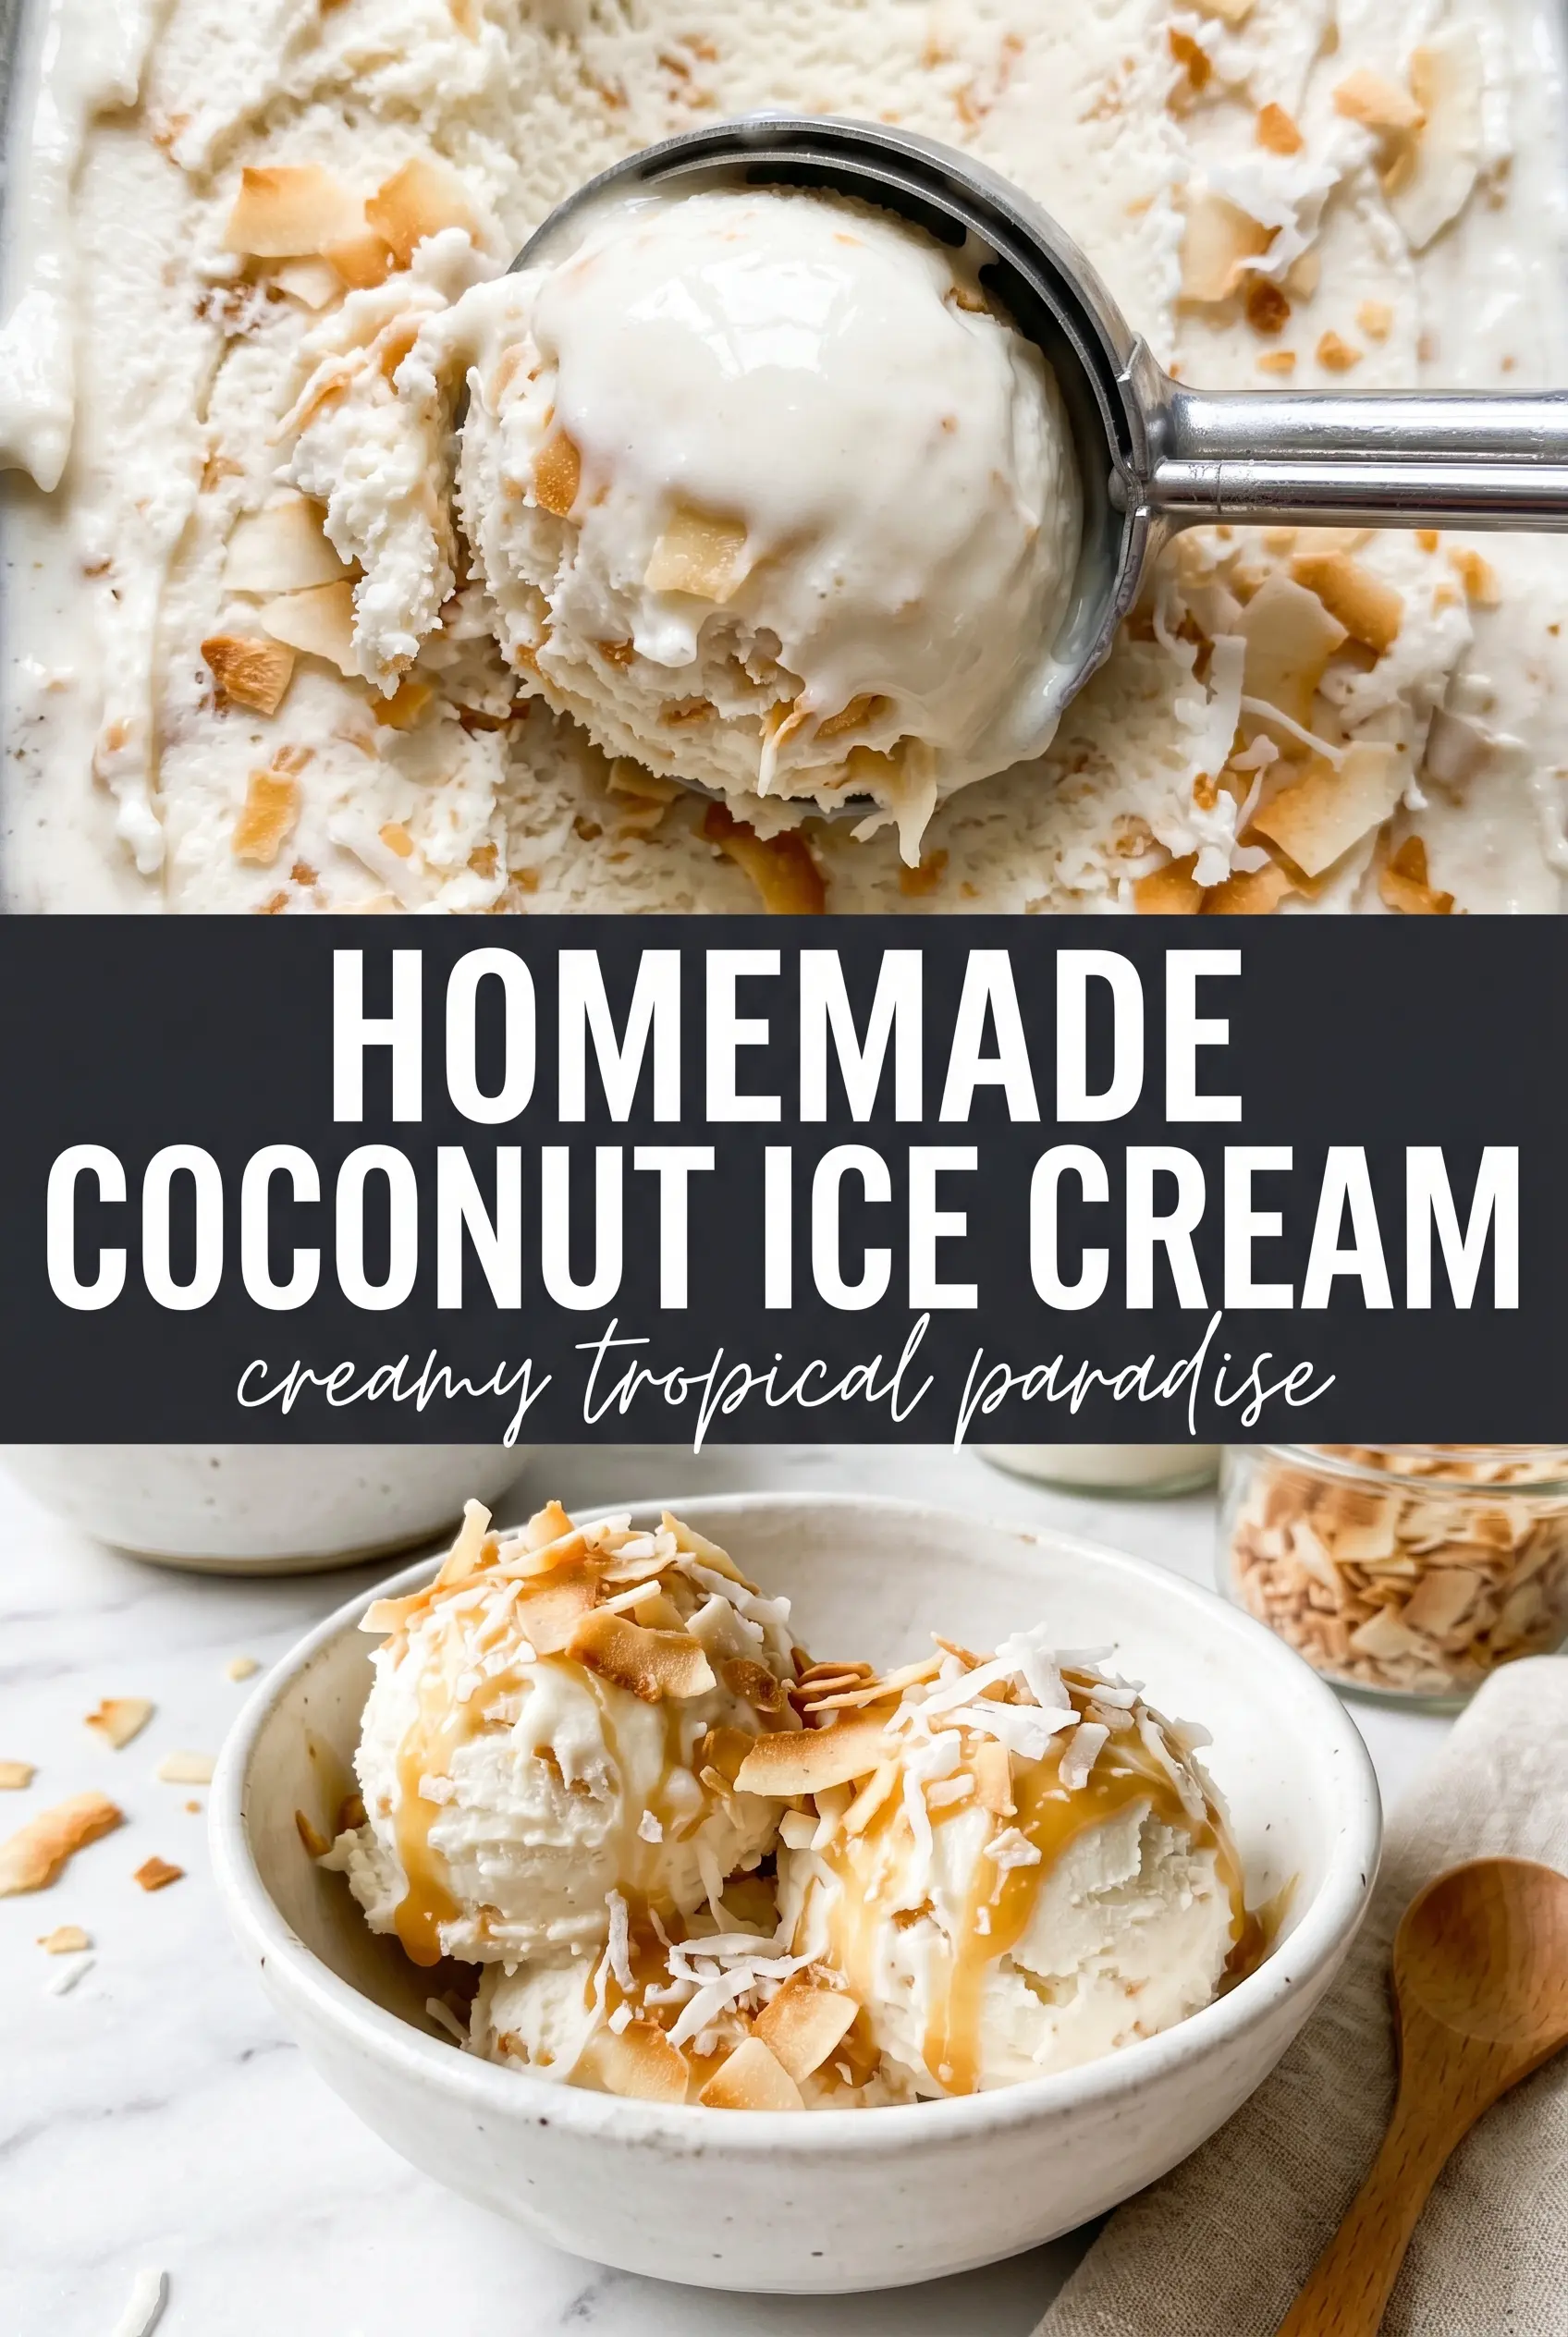
Homemade Coconut Ice Cream
Ingredients
Equipment
Method
- Heat the full-fat coconut milk and granulated sugar in a saucepan over medium heat until the sugar dissolves and the mixture steams.
- Whisk the egg yolks until smooth, then slowly whisk the hot coconut milk into the yolks to temper them.
- Return the mixture to the saucepan and cook over medium-low heat, stirring constantly, until the custard reaches 175F and coats the back of a spoon (about 10 minutes).
- Strain the custard into a clean container, then stir in vanilla extract, coconut extract, and salt until fully combined.
- Cool completely, then refrigerate for 4 hours until very cold.
- Churn the chilled custard in an ice cream maker according to the manufacturer’s instructions, until thickened.
- Fold in the toasted shredded sweetened coconut in the last 2 minutes of churning, then freeze until firm.